
Many needlewomen, having mastered the main nodes in the Macrame technique, trying to weeze something interesting and at the same time large-scale, in order to demonstrate their skills. As practice shows, the first serious work is always becoming weaving owls in different variations. Young masters who did not have time to try out their skills in practice, it is worth paying attention to the weaving Macrame owls, the master class of which is equipped with consistent instructions.

This is fundamentally simplify the task and will give a complete picture of the practical application of Macrame nodes in solid products.
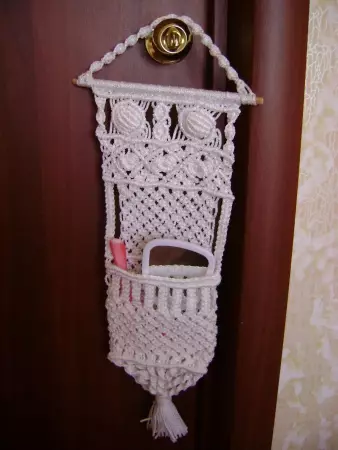
Panel "Sovka"
Such a panel appropriate looks in the interior of the children's room or in a country house. A cute bird, made in white, will create a rainbow mood and, if desired, will be able to carry a functional load.
For example, completing the pock of pockets, you can use it as a decorative case for storing combs.
What will be needed for work:
- liner cord;
- 2 wooden sticks;
- 2 large black buttons;
- 2 yellow buttons (less black size);
- Wire for the base under the "Eye";
- Portnovo pins;
- needle with thread;
- scissors;
- Black and yellow markers.
Tip: If any instruction is questioned or misunderstanding, it is recommended to focus on a step-by-step photo attached to each work cycle.
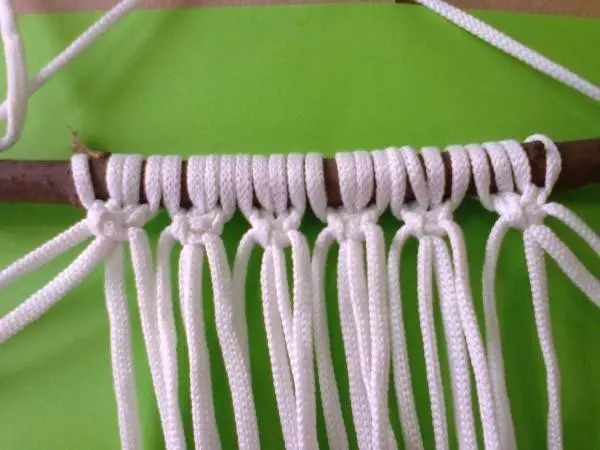
At the first stage, 12 cord segments of 2 meters each are cut.
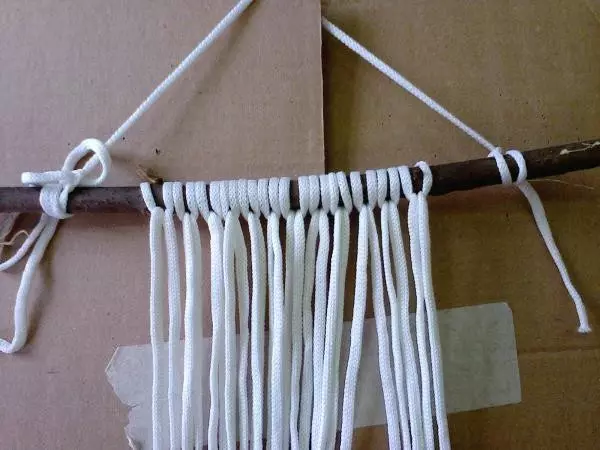
The resulting threads are fixed on a wand.
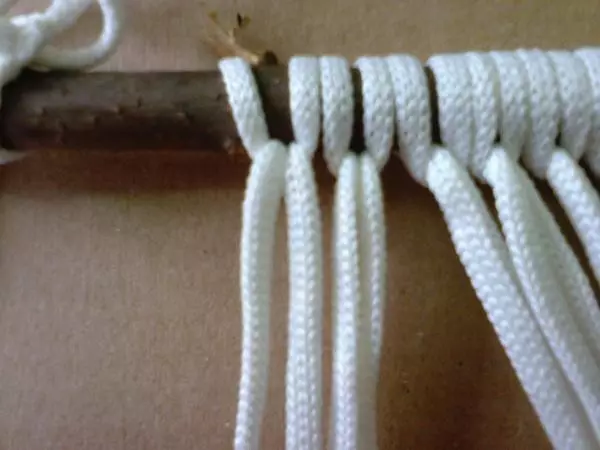
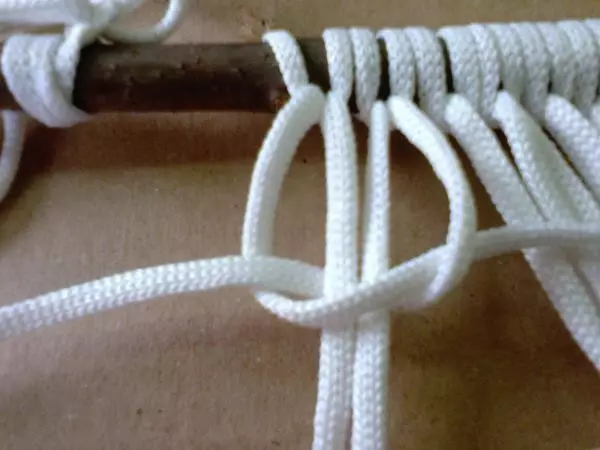
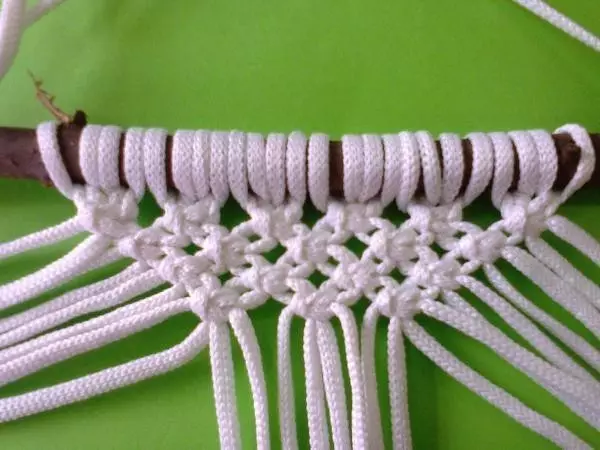
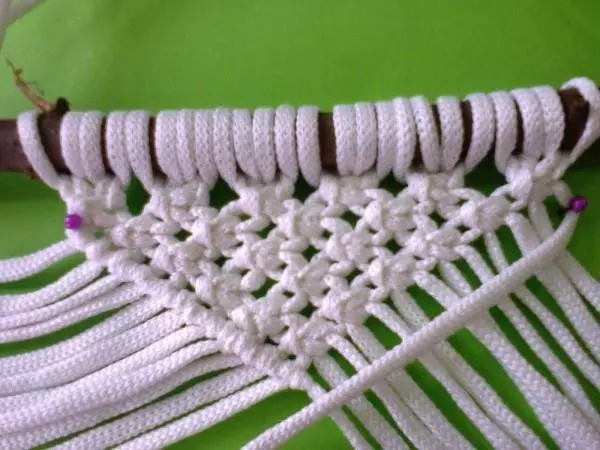
Starting on the left side, 4 threads are taken, with which a flat knot is formed.
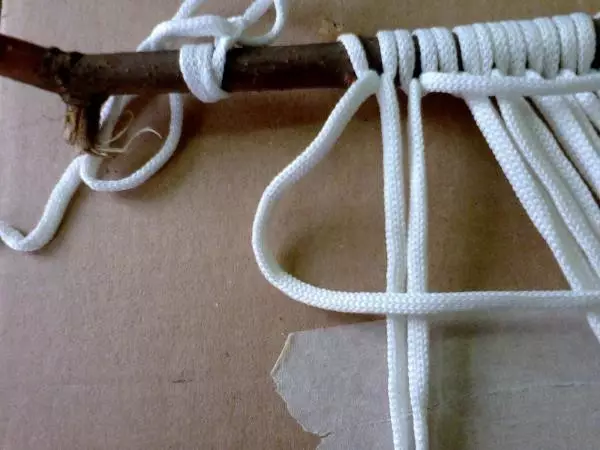
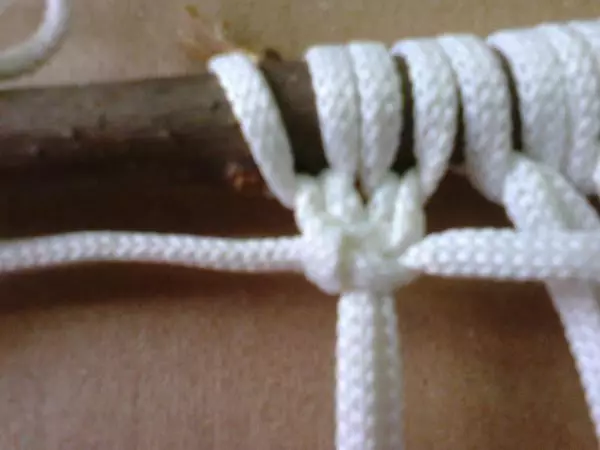
The next four segments are made another flat knot. The operation is repeated on all cords until the end of the row.
The new line is woven with flat knots in a checker order.
It is possible to achieve this location of the nodes in case not to affect the extreme two threads, and start weaving immediately with the third.
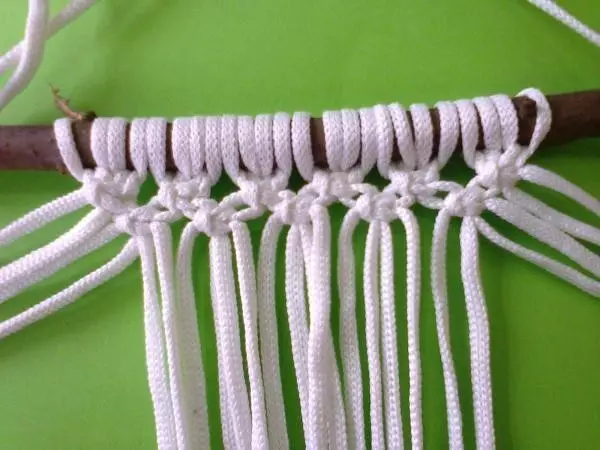
With each subsequent next to the extreme two threads in the weaving process are not involved.
Article on the topic: Batik Pictures for beginners
The work continues before the formation of a corner in the middle of the product.
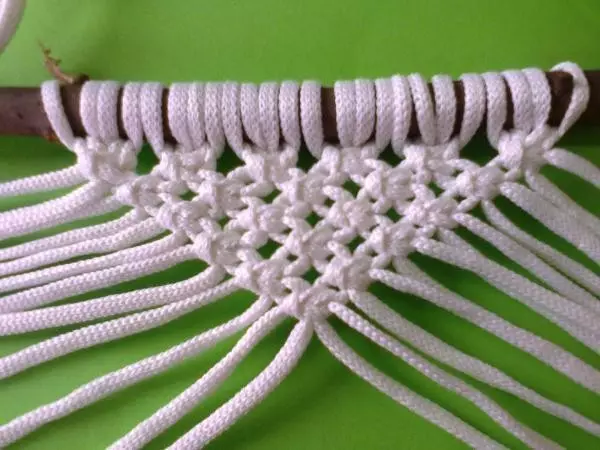
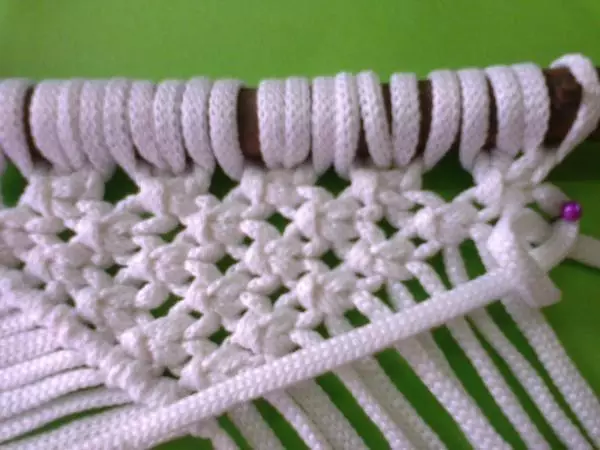
The extreme left thread is stretched along the last diagonal row to the corner.
For the convenience of tension, it is recommended to use the port of the pore.
The following series is created using horizontal nodes.
The same operation is repeated with the right thread on the appropriate diagonal.
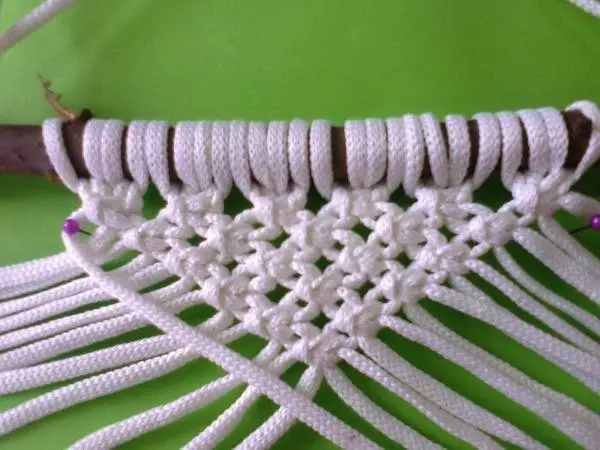
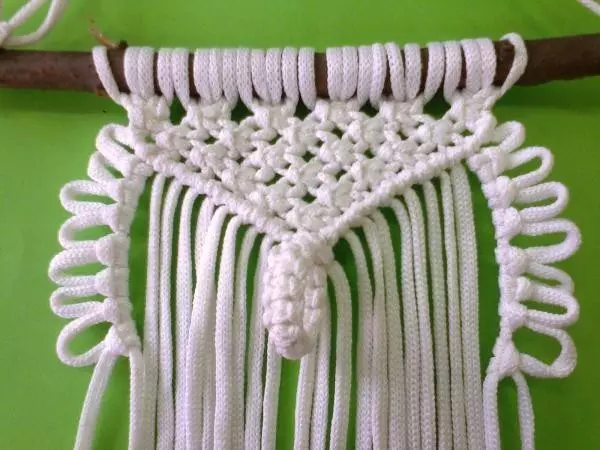
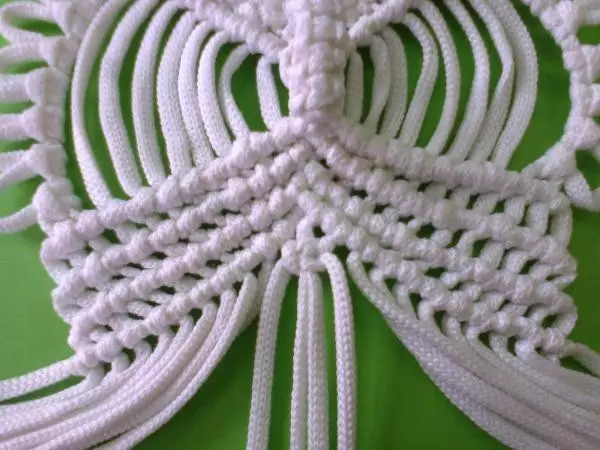
In the middle of the product, 4 central threads are distinguished, on which flat nodes in the amount of 12 pieces are wearing.
Two medium threads stretch through the hole at the top of the angle formed earlier.
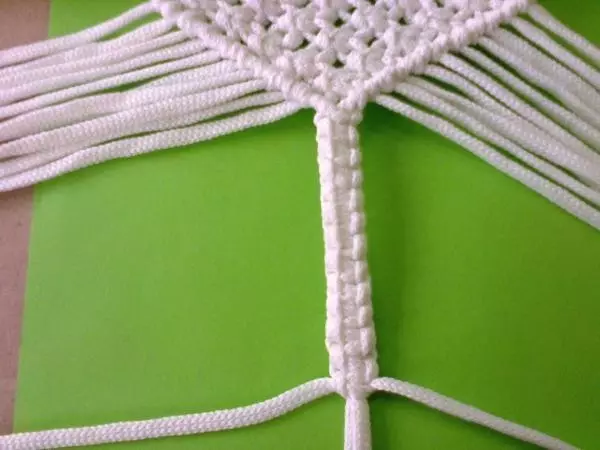
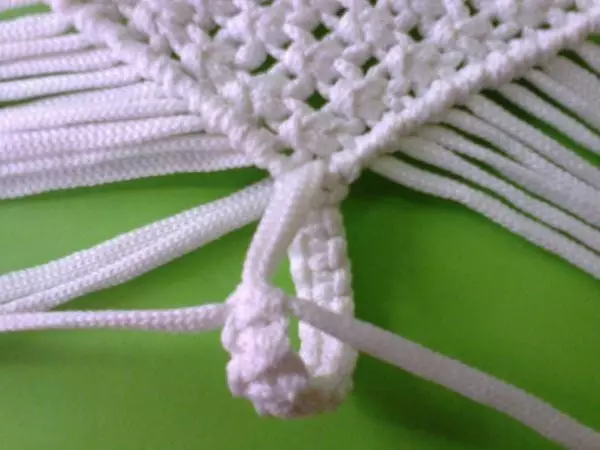
At the outlet of the shoelace are fixed by one flat knot.
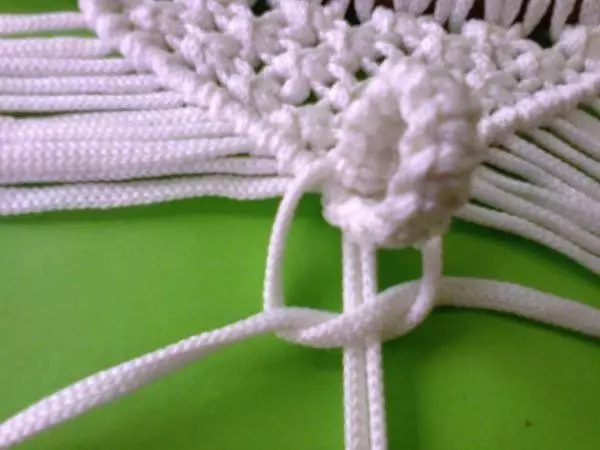
The beak owl is ready.
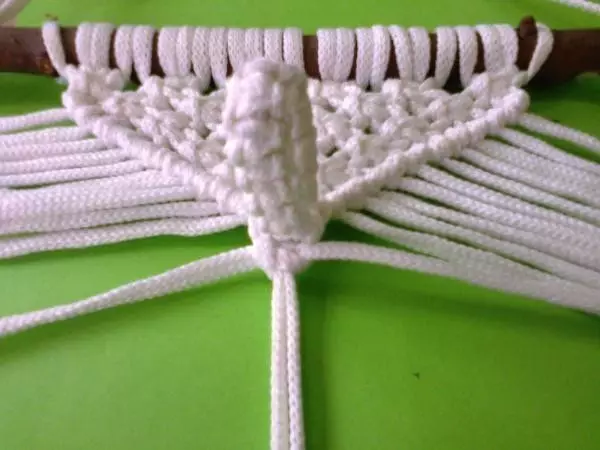
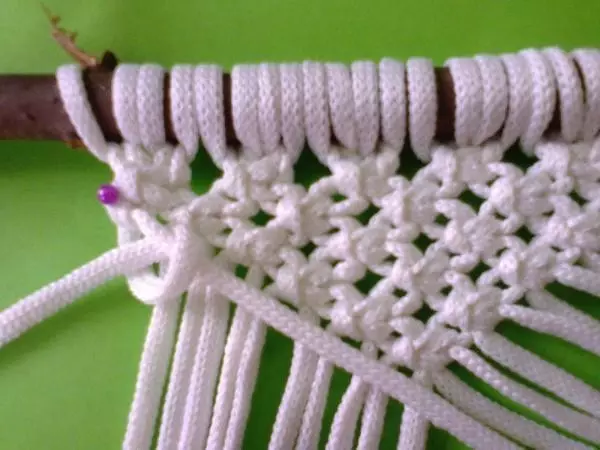
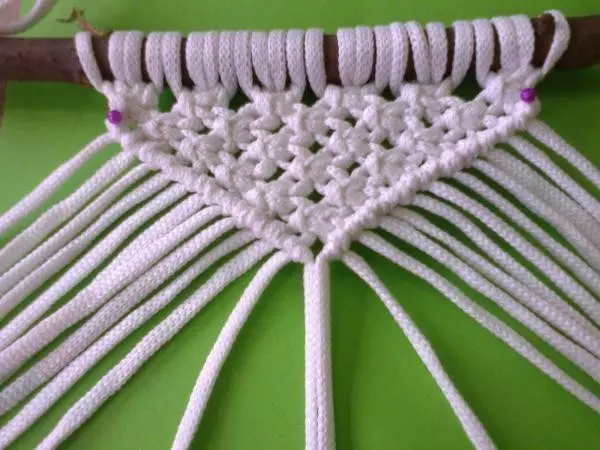
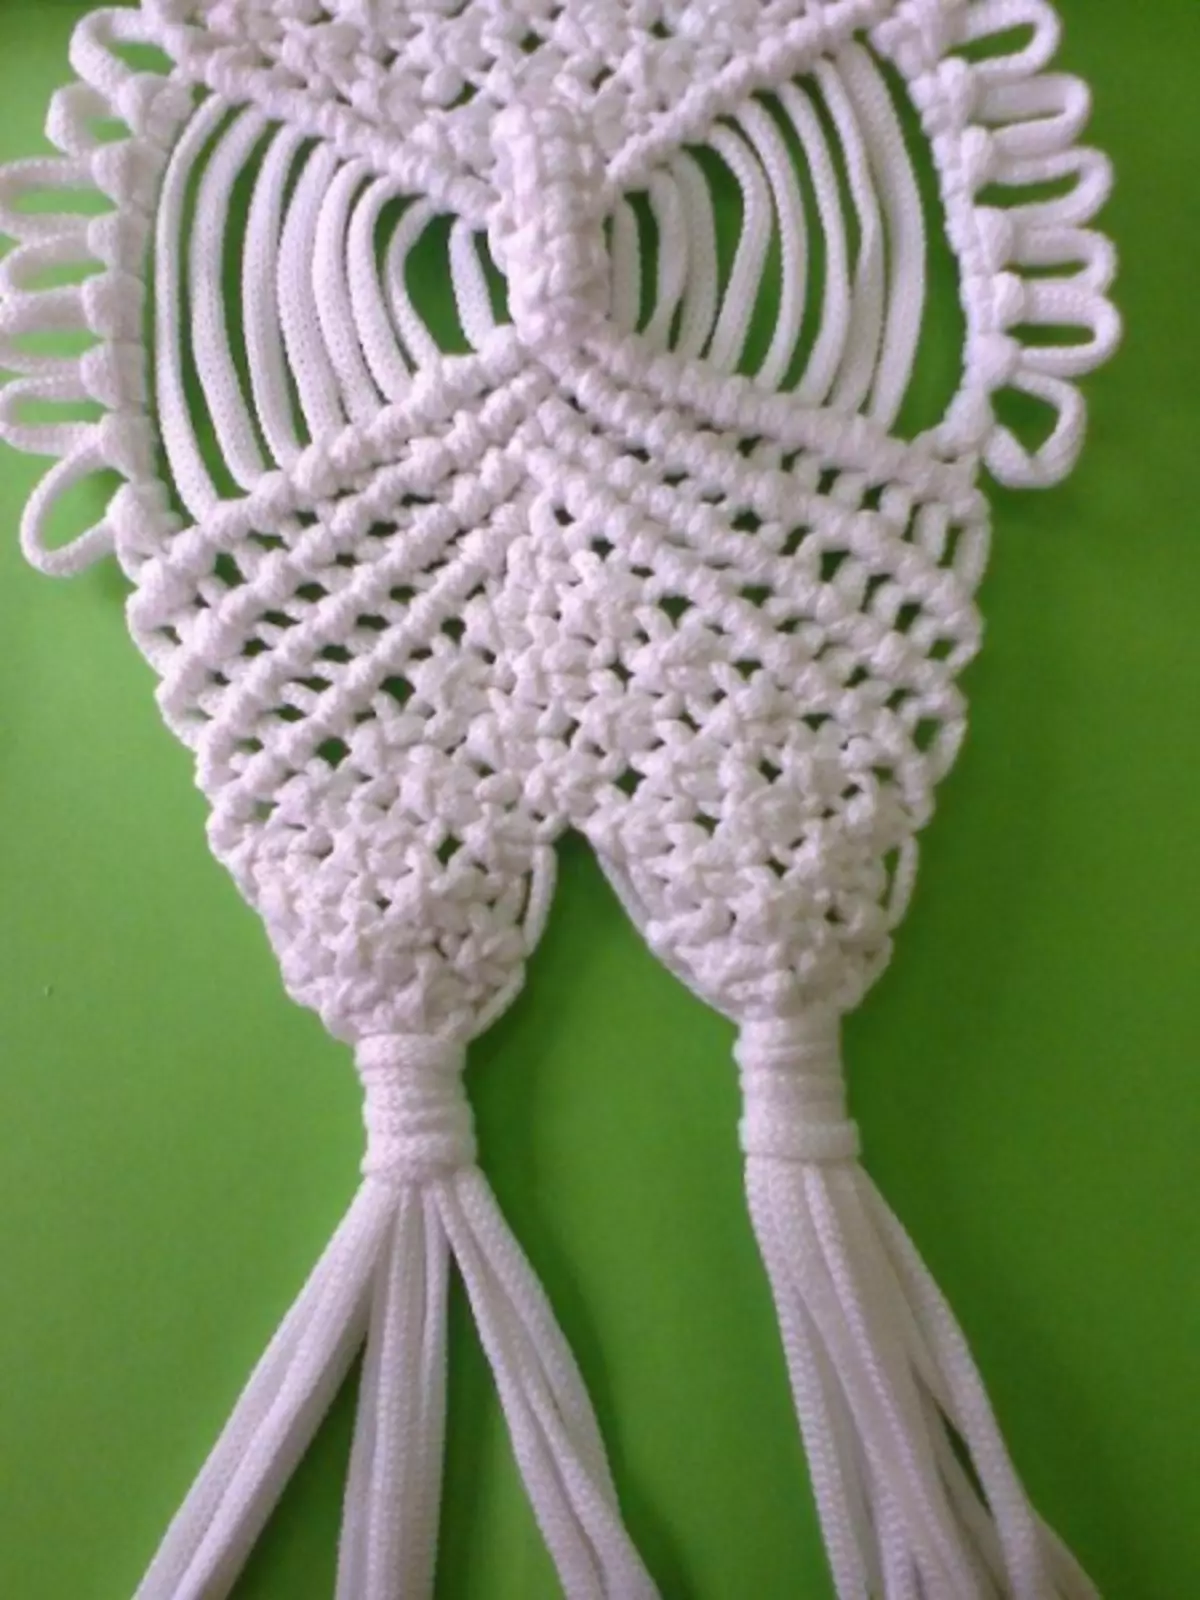
On both sides, "Frivolite" nodes are formed on two extreme threads. Seven on each side.
Two central threads are tensioned into the right and left side, forming an angle expanding from the center. Horizontal knots are rushing.
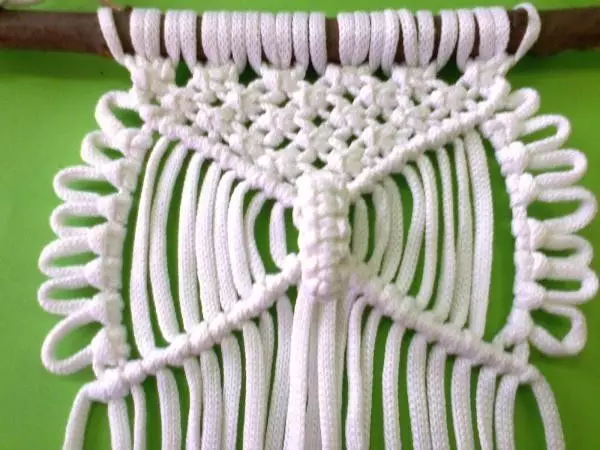
Rows with horizontal nodes are repeated four times on each side.
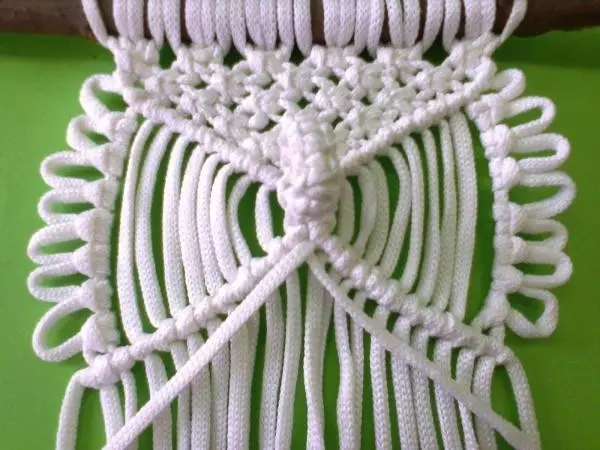
The central four lace is fixed with one flat knot.
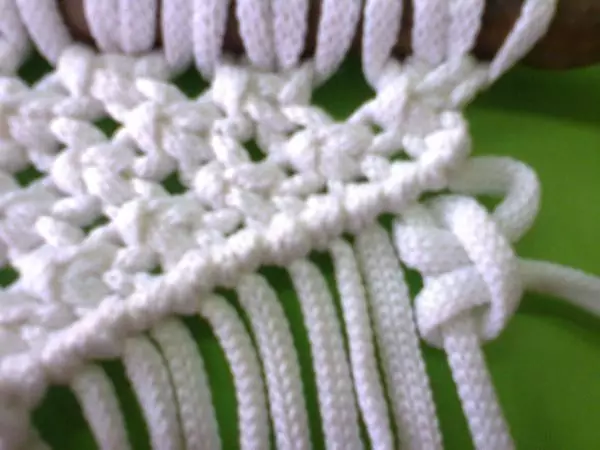
Each party is added gradually two threads and flat nodes ride. The rows thus create a chess drawing.
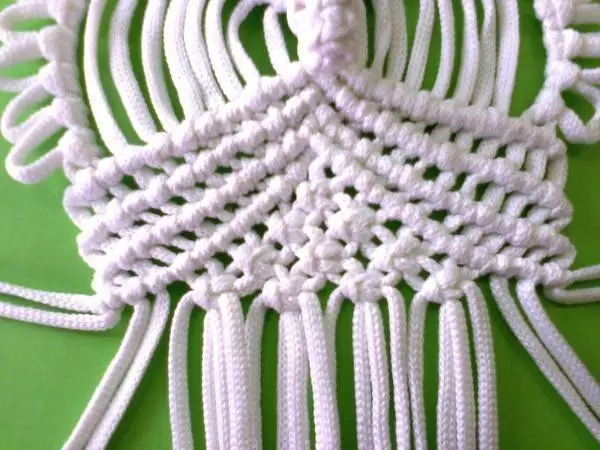
After all the threads were involved in the formation of a chess pattern, work is divided into two equal parts.

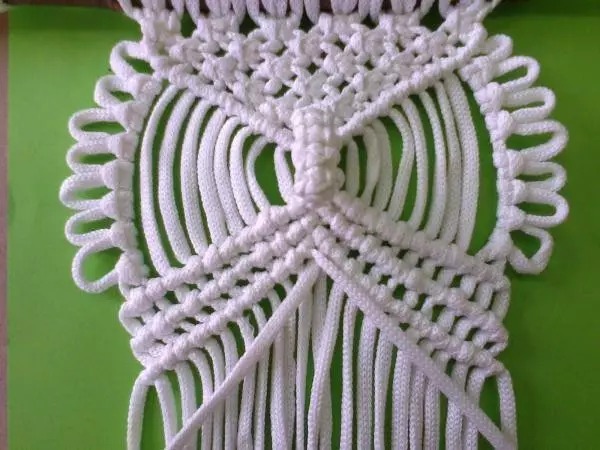
Flat nodes are formed separately on each part. With subsequent ranks, two extreme threads are leaning for creating a chess order.

Weaving continues 4 rows. Next form owls are formed. For this, one thread is taken, which all the other cords are wrapped several times.
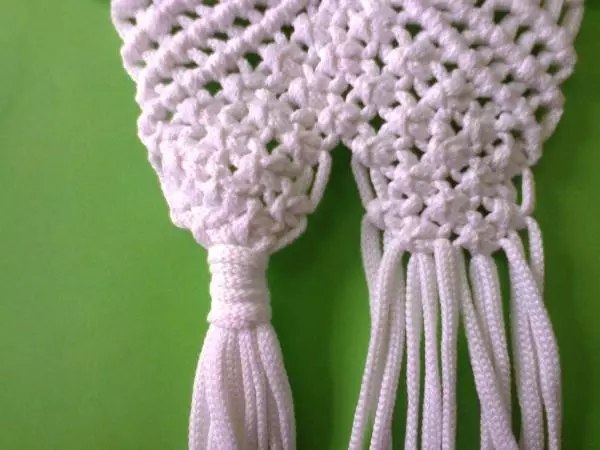
Then the thread is fixed. In the same way, another foot is made.
Laces emerging from each foot are divided into five pieces of beams.
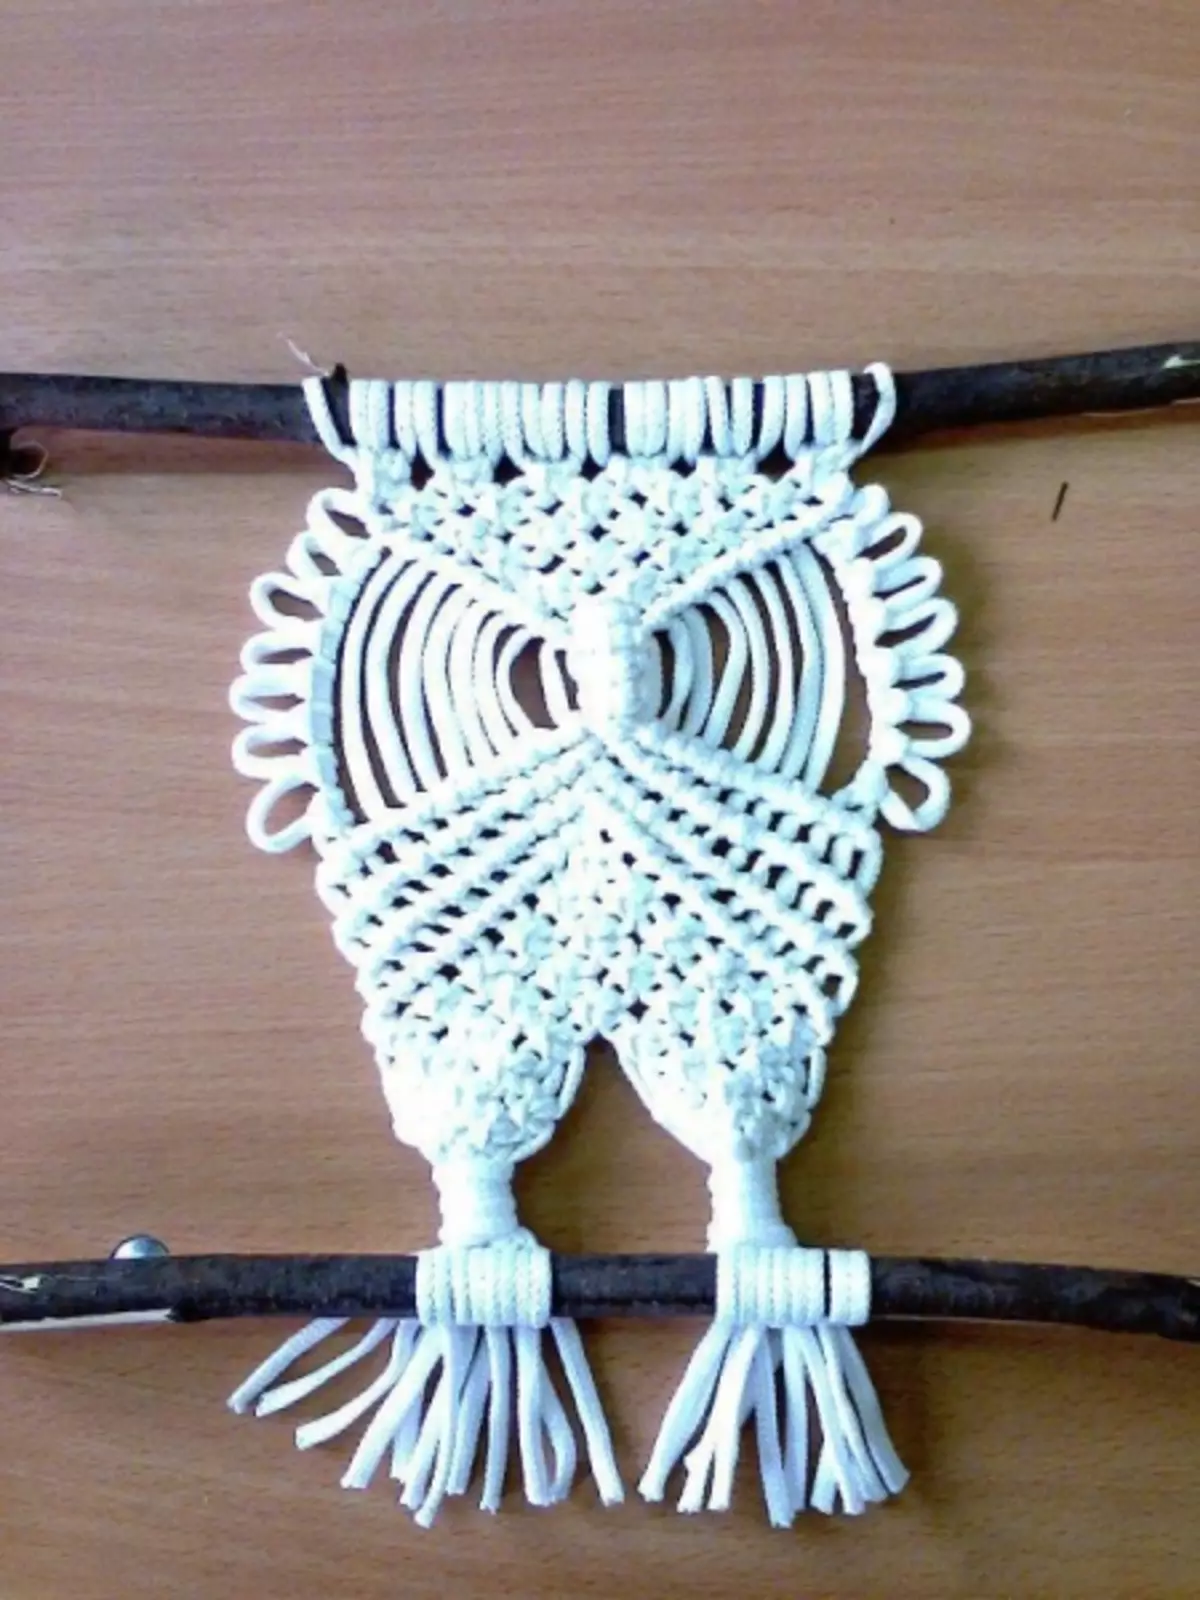
On the second stick, horizontal nodes are forming four threads thick each.
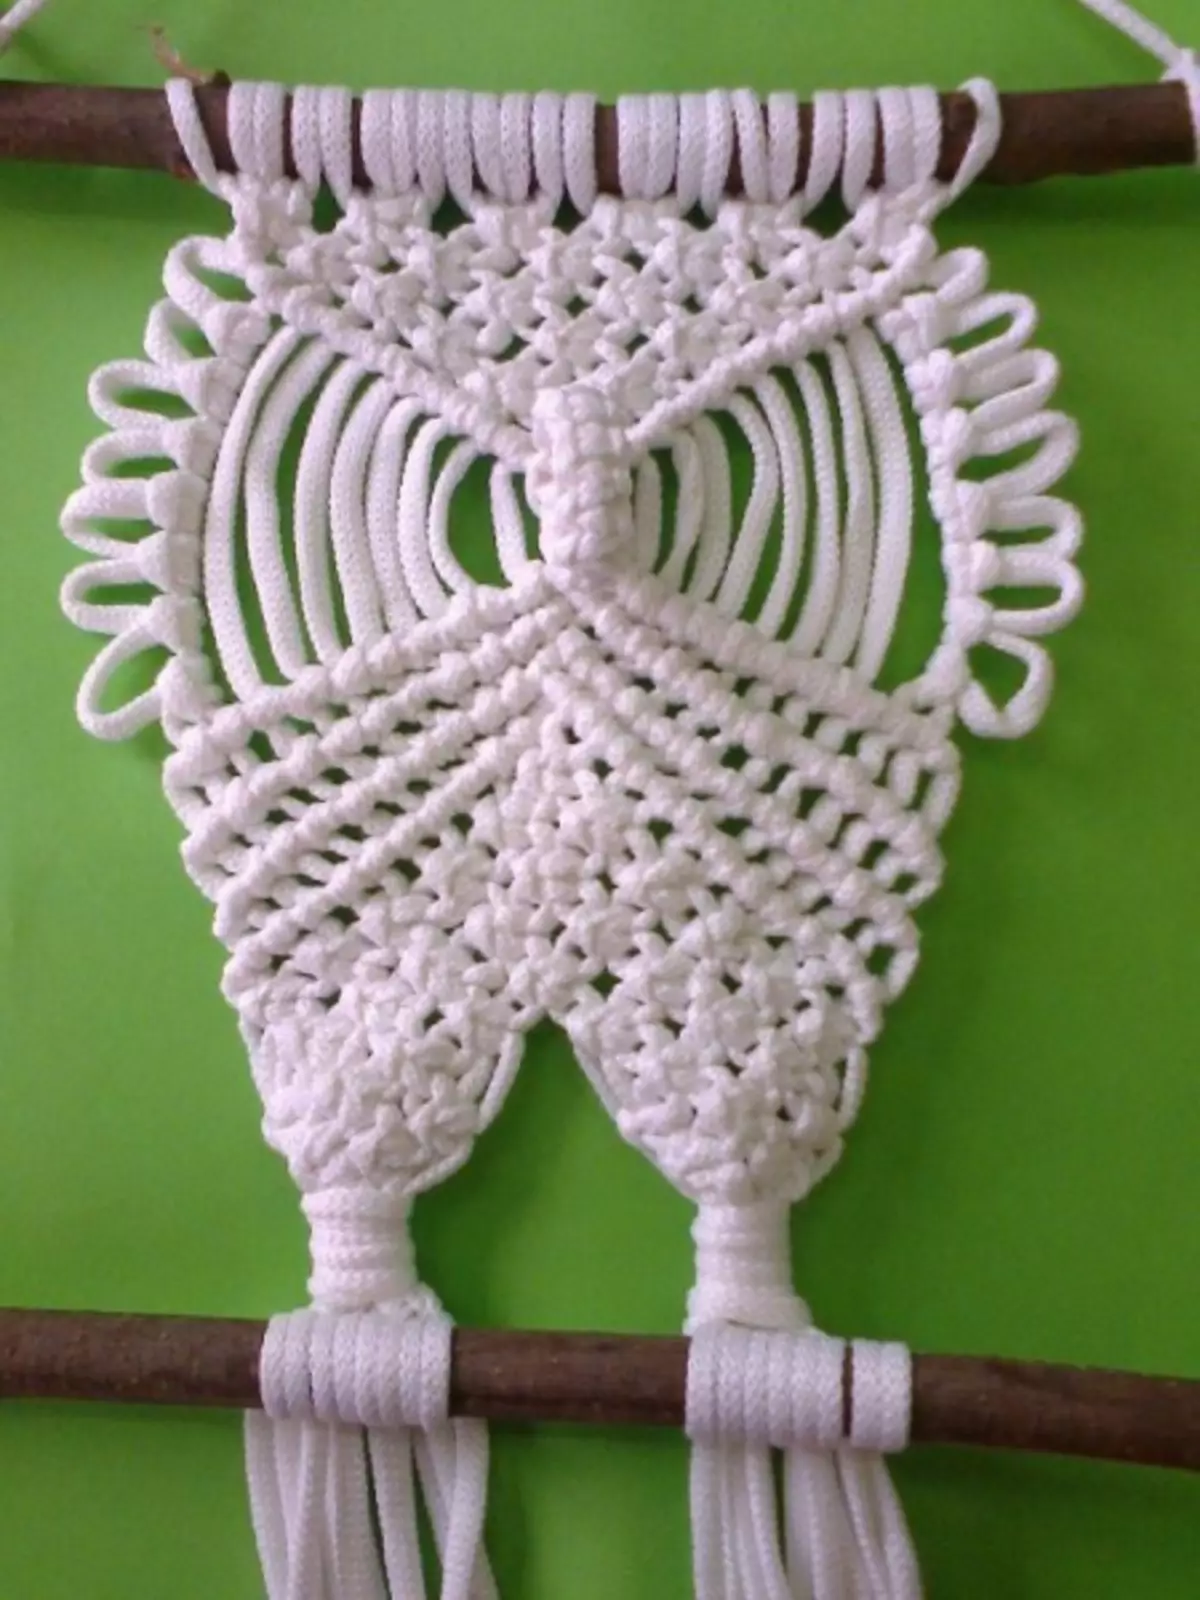
All threads are cut below the sticks by 3-4 cm.
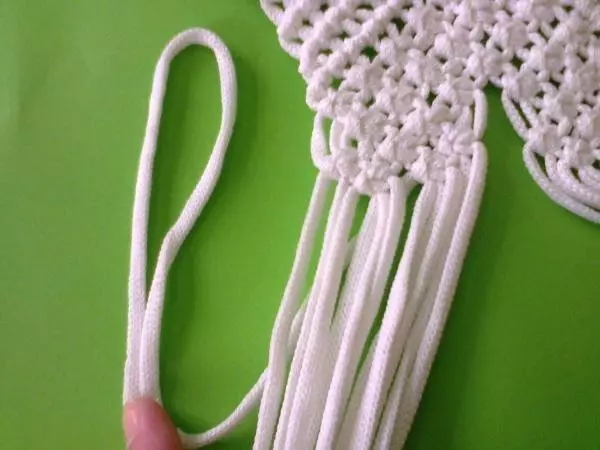
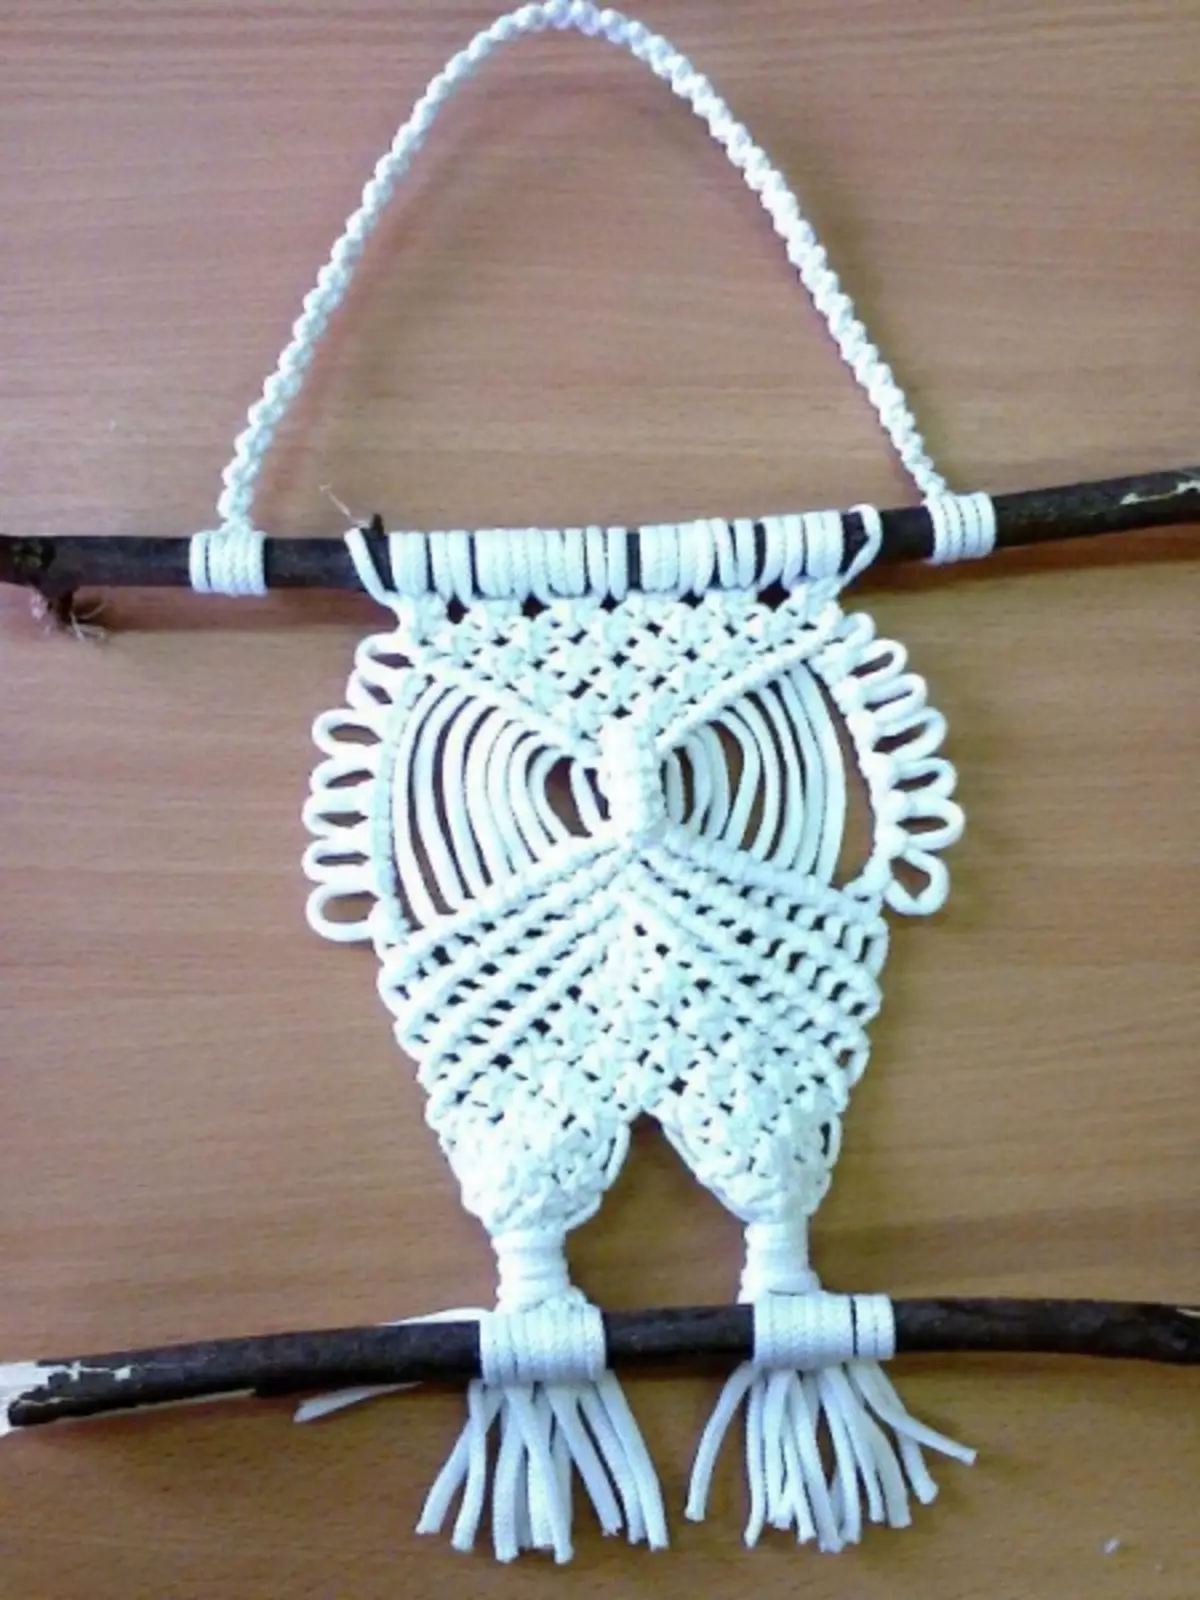
The loop-mold for hanging panel is made: two cords are cut down one meter. They are fixed on one side of the upper stick and weave with simple nodes to the desired length.
Article on the topic: Cap-helmet for a Boy with Pompon: Master class with photos and video
Weaving is fixed on the other side of the stick.
Two rings bend from the wire with a size exceeding the prepared large buttons.
The cord is cut into a segment of 5 cm. Each segment is hung with a dense layer on the rings, closing the wire.

Buttons are sewed to the eyes: the yellow smaller buttice is superimposed on black (larger) and are attached to the product with a needle and thread.
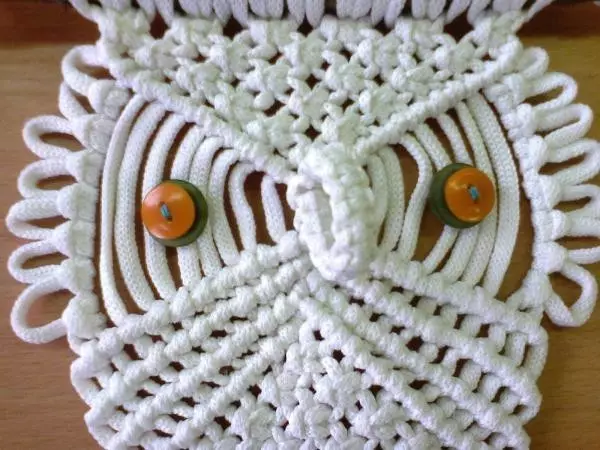
Prepared rings with fringe sewls around buttons. Eyes are scratched with a black marker around the buttons, and yellow - along the edge of the ring.
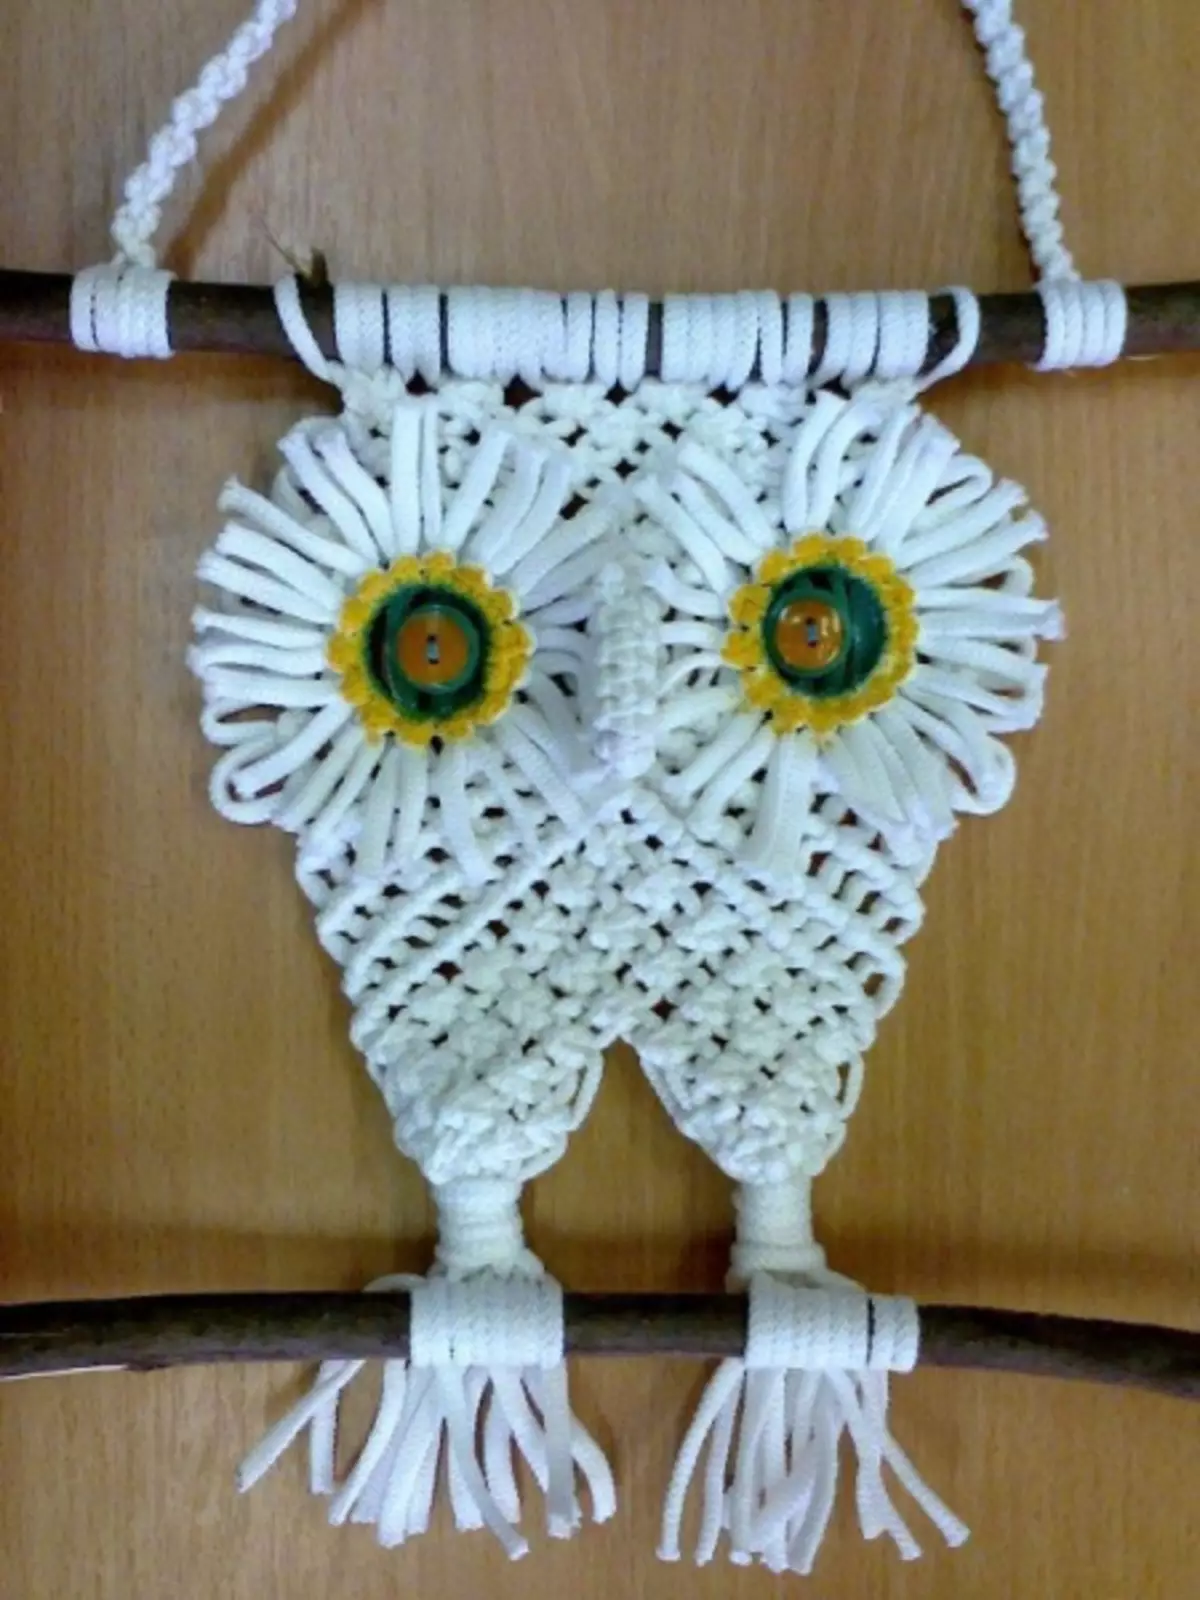
"Sovka" is ready.
Work can be improved using instead of ordinary markers embroidery with small beads of the corresponding colors.
Light shine beads will give the look of the owl of mysteriousness, and the panel will look luxurious.
Thanks to the technique of Macrame, owls are created not only in the form of a panel, but also as cute jewelry-suspension, even keyfobs.
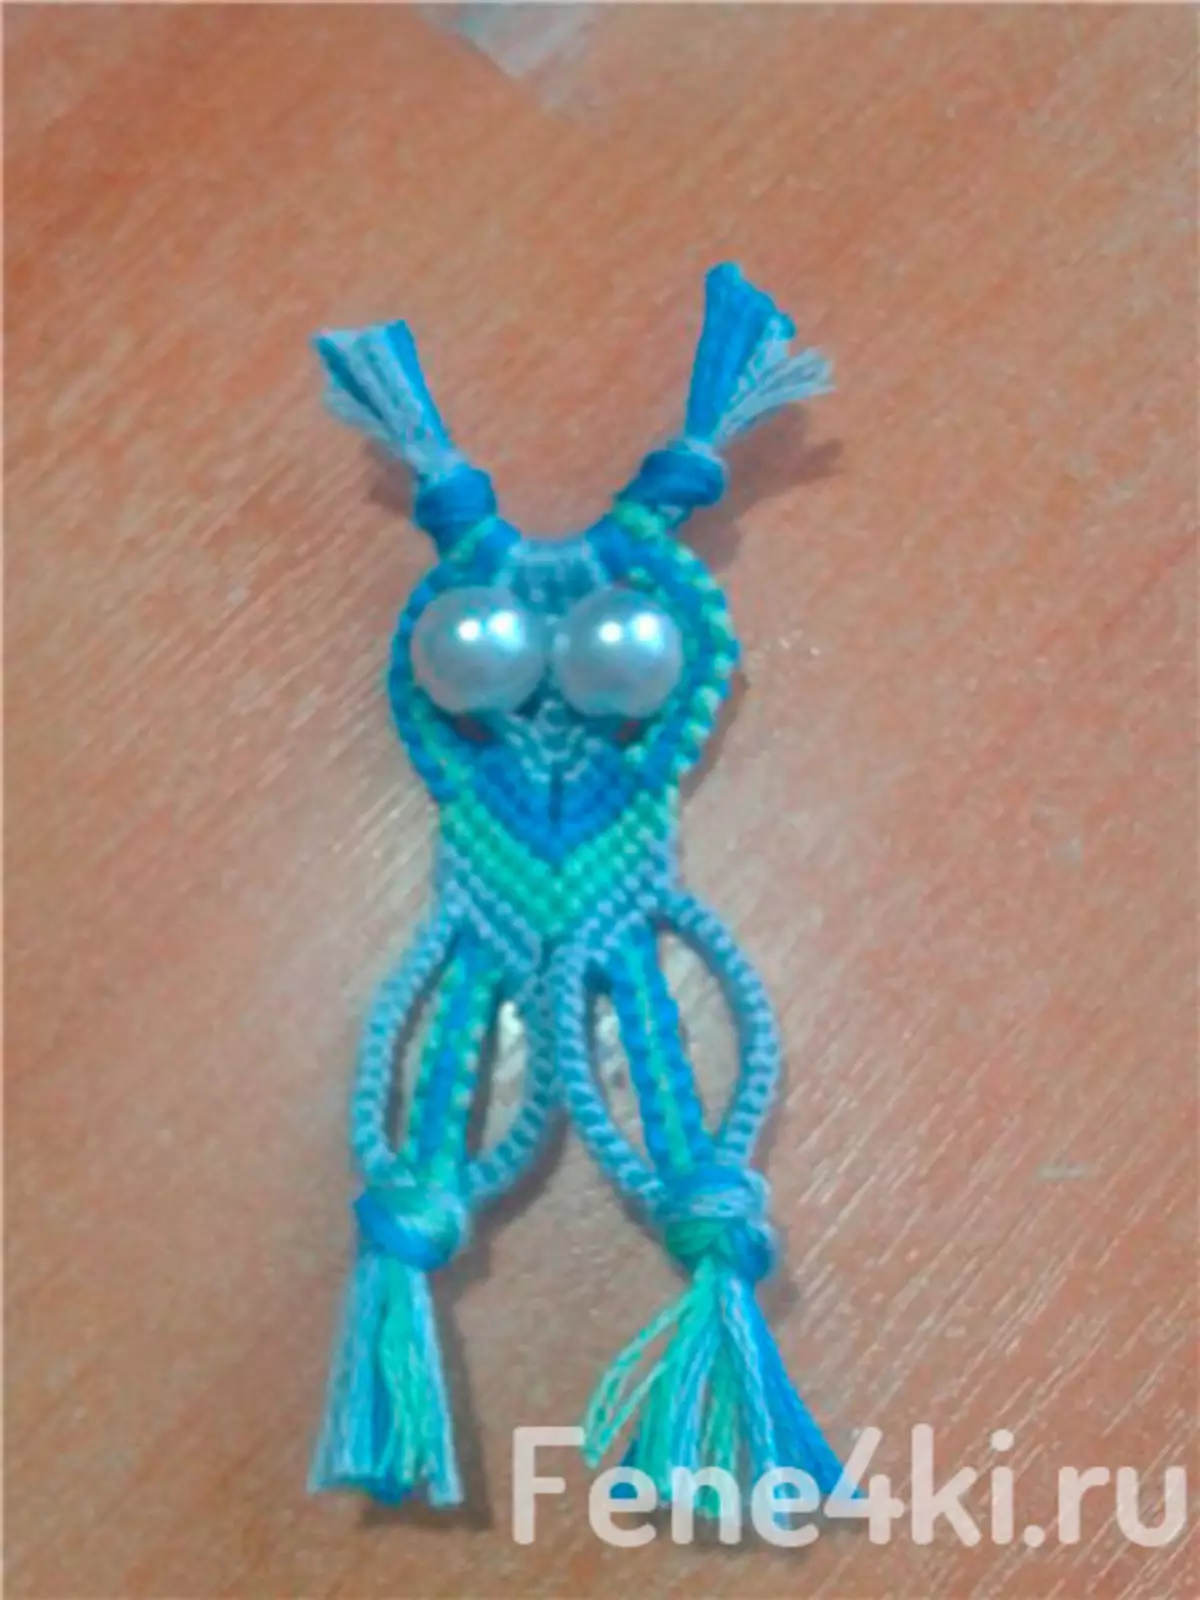
The video attached to the creation of masters to create various types of owls by macrame.