
Technique Modular origami is one of the most popular paper technicians around the world, and interest in it grows every day more and more. The biggest attendance of classes masters is on this technique. And most of all today, people are interested in diagrams of dragons. It is these characters that are gaining great popularity in fairy tales, myths, films, cartoons, books, comics. In one case, they personify evil, in another ─ good, they are with wings and without them, also often the fire dragons are described in the literature. But in China, the dragon is one of the most revered animals. It is this country that is the founder in creating crafts of their paper in the Origami technique. Today we want to present you a step-by-step instruction for making a dragon, modular origami due to it will be mastered quickly.
First, let's see what dragons are in modular origami.
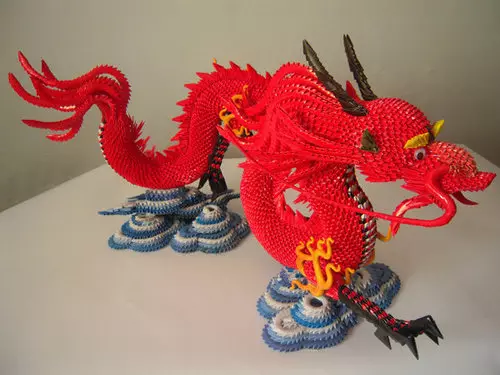
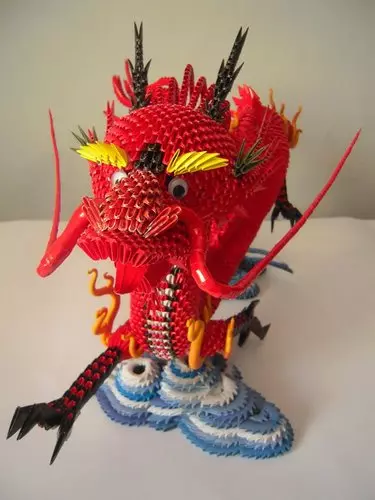
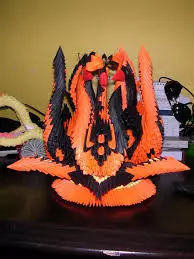
Red Dragon:

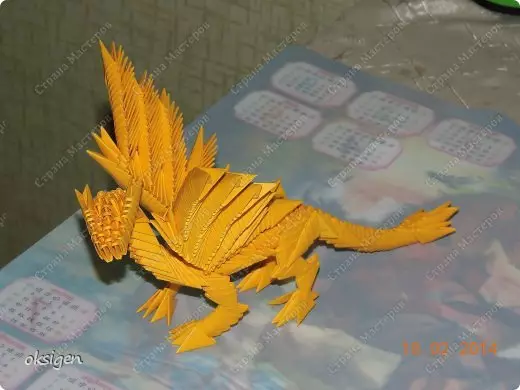
Dragon with wings:


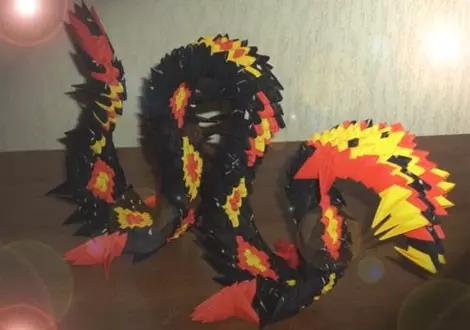
And other dragons:

Start with small
Now proceed to work.
We have to make building material for our dragon ─ it will be ordinary modules with paper.
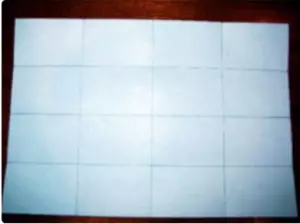
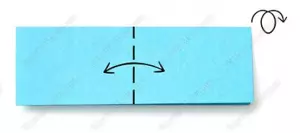
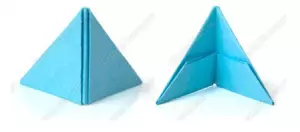
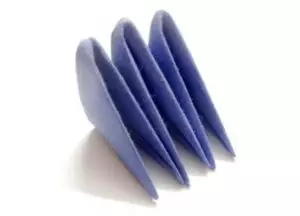
1) To do this, take a sheet of A4 of the color that you will need to craft, and fold it every time in half, as in the picture.
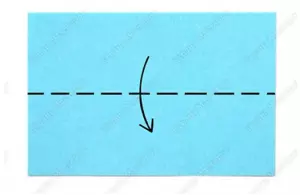
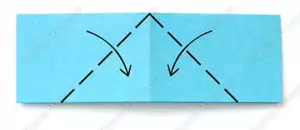
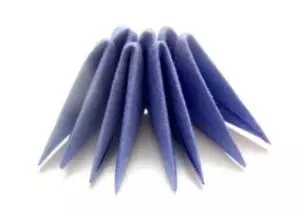
2) After that, by a breakdown and apply to small parts that are obtained after flexion. And then proceed to the manufacture of the module itself. Bend the resulting rectangle in half.
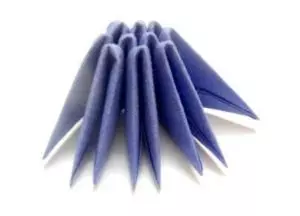
3) Further flexing and extending the leaflet, it is necessary in order to schedule the middle. Turn the bend to yourself.
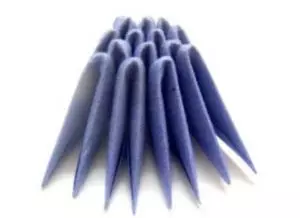
4) And now bend the edges of the workpiece to the middle of the sheet.
5) turn the module to the other side.
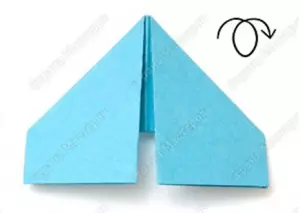
6) and raise the edges of the leaf up.
Article on the topic: Cuisine interior 9 sq M - Secrets of successful design - 45 photos
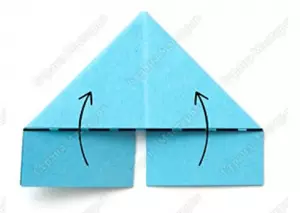
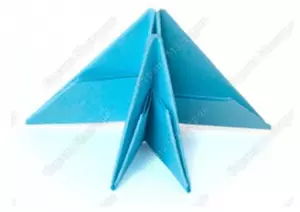
7) Now bend the corners of the module, passing them through a large triangle.
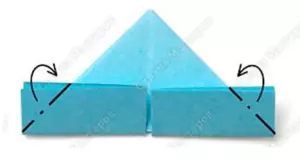
8) and extend back.
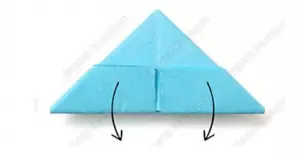
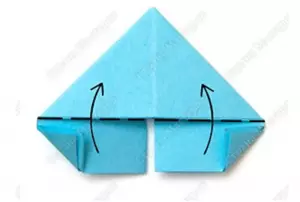
9) We repeat the small triangles over the outlined lines and raise the edges of the future module upwards.
10) And finally, bend the leaflet in half.
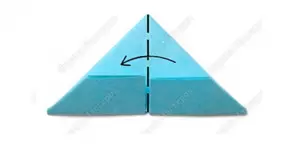
11) So we made a module that is suitable for this technique.
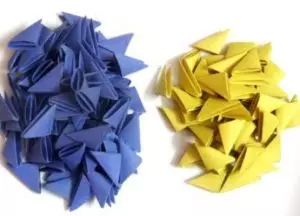
12) After we make the required number of modules, we need to learn to connect them among themselves. To do this, you need to put the modules one to one, as shown in the picture.
For our future crafts, you need 251 blue module and 264 yellow modules, as well as red paper and plow glue.
And now we turn to the dragon assembly scheme.
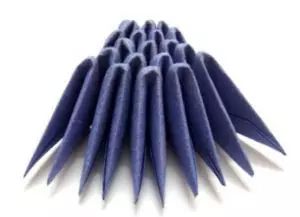
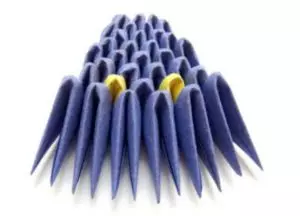
1) Initially, we will make your head. To do this, take 55 blue and 2 yellow modules, and we will collect it according to this scheme.

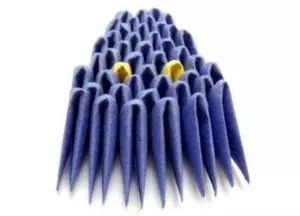
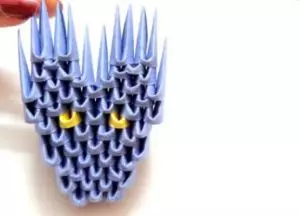
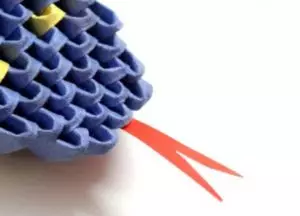
2) We glue the tongue to the finished head that can be cut with red paper. And here our head is ready.

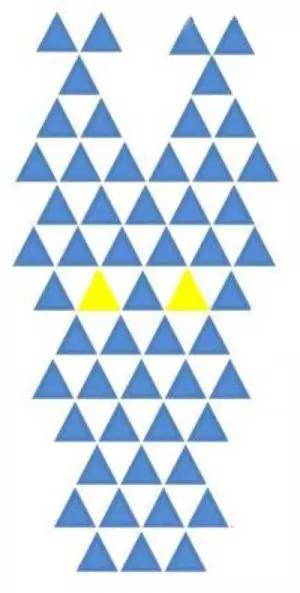
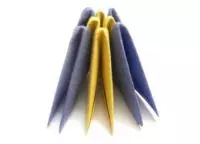
3) Getting to make the body of the dragon. To do this, take 2 blue modules, and between them put the 1 yellow module, it will be the 1st row.

4) 2nd row ─ put on 2 yellow module.
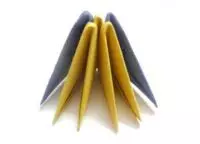
5) 3rd row ─ in the center put another 1 yellow module, and at the edges of 2 blue modules.
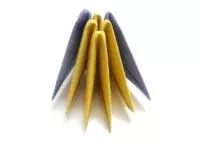
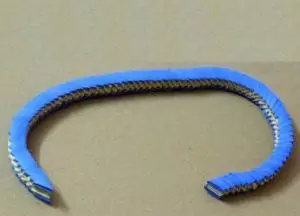
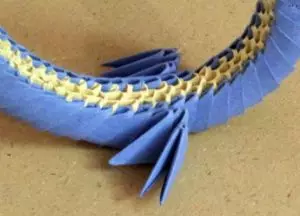
6) And now we need to make a long chain with modules, which will be represented by a body, so we repeat the last actions until we get 88 rows.
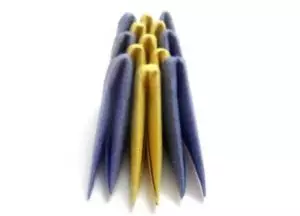

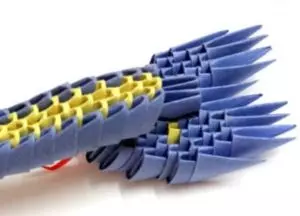
7) After the long chain is ready, it will have to look like this:
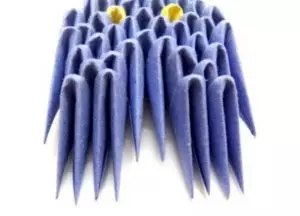
8) We proceed to the assembly of the dragon itself. Take your head on the reverse side and next to the place where our eyes are, insert 2 modules of blue.
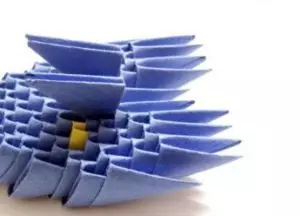
9) We did in order to insert into them the body. To keep it better, we smear its top with glue.
Article on the topic: Shawl "Flower Echo": Scheme and Description with photos and video
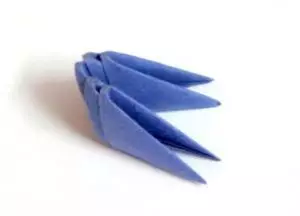
10) In order to make legs, take 5 blue modules and connect them as in the picture. Make 4 legs for our beast.
11) Then it is necessary to make bending the wave on the body and insert the legs into it with one corner in front and behind 2 from different sides.
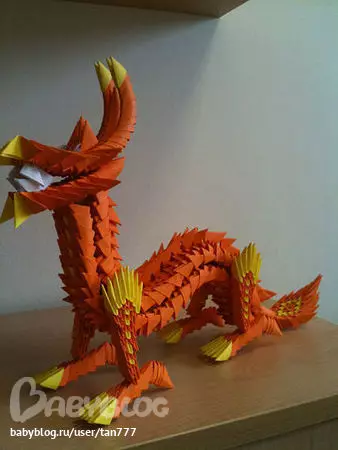
12) Well, here is our yelling dragon and ready!

Fireless beauties
We also offer you a less detailed scheme of the dragon assembly, for those who have already folded not one figure in this technique.

In order to make such a handsome man, we need modules of red, yellow and black. According to this scheme, we will put our shape.
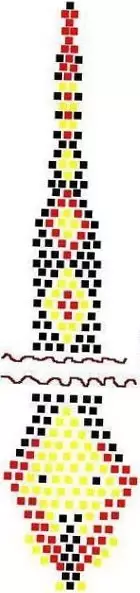
When folding the beast, the modules will be pockets to the head. And we will start the assembly from the tail. Between the wavy lines that we see in the drawing, yellow and red rhoms are repeated. A total of 9 rhombuses should turn out: 4 yellow and 5 red. After that, we collect your head and give the diagonal body shape.
You also need to make the paws that we showed how to do in the previous scheme, all of them need 4 pieces. And attach them to the bends on which the dragon will stand. So the second dragon is ready.
Today, our master class described in detail how to manufacture modules, how to fix them with each other, how to do the figures themselves. Thanks to the schemes, you will quickly learn to make origami, and you will delight yourself and all your family. Since such a bulk figure can serve as a gift for some celebration and interior item, be sure to learn how to make items in the technique of modular origami and teach their relatives that will become your assistants in this difficult, but very interesting and exciting business.
Video on the topic
And now you can view videos for the manufacture of other dragons in the technique of modular origami.
Article on the topic: Savings for newlyweds with their own hands: We select text and poems for the catering, detailed master class