
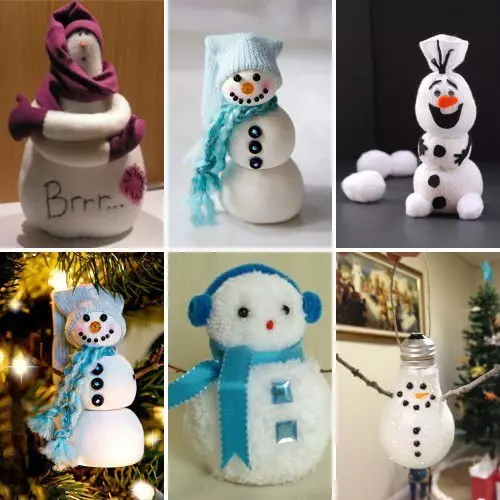
Remember how in childhood we love to sculpt snowmen? And so here is sure that with carrots. And how my mother scolded me for carrying this valuable vegetable to the street, and not only mine, by the way. From our entire company, each in turn burned from the house of a carrot for a new masterpiece. There was a fun way, and now I give my children to the carrot herself, and I love to sculpt snowball with them. But this is a small digression, nostalgia, so to speak. For you, dear readers, I propose to make such funny snowmen from a variety of materials. Master classes are interesting and creative, and the snowmen themselves can be put under the Christmas tree for the New Year, next to the Snow Maiden and Santa Claus!
Master class number 1: Soft toy Snowman do it yourself

Such a soft toy will have to be very useful for home decoration in the new year, and as a pillow on a sofa, she is good, in general, a universal hugging soft toy, she who stitched with her own hands everywhere come in handy, even in the summer - as a reminder of New Year holidays =)
Materials
- Fleece
- Riban cotton.
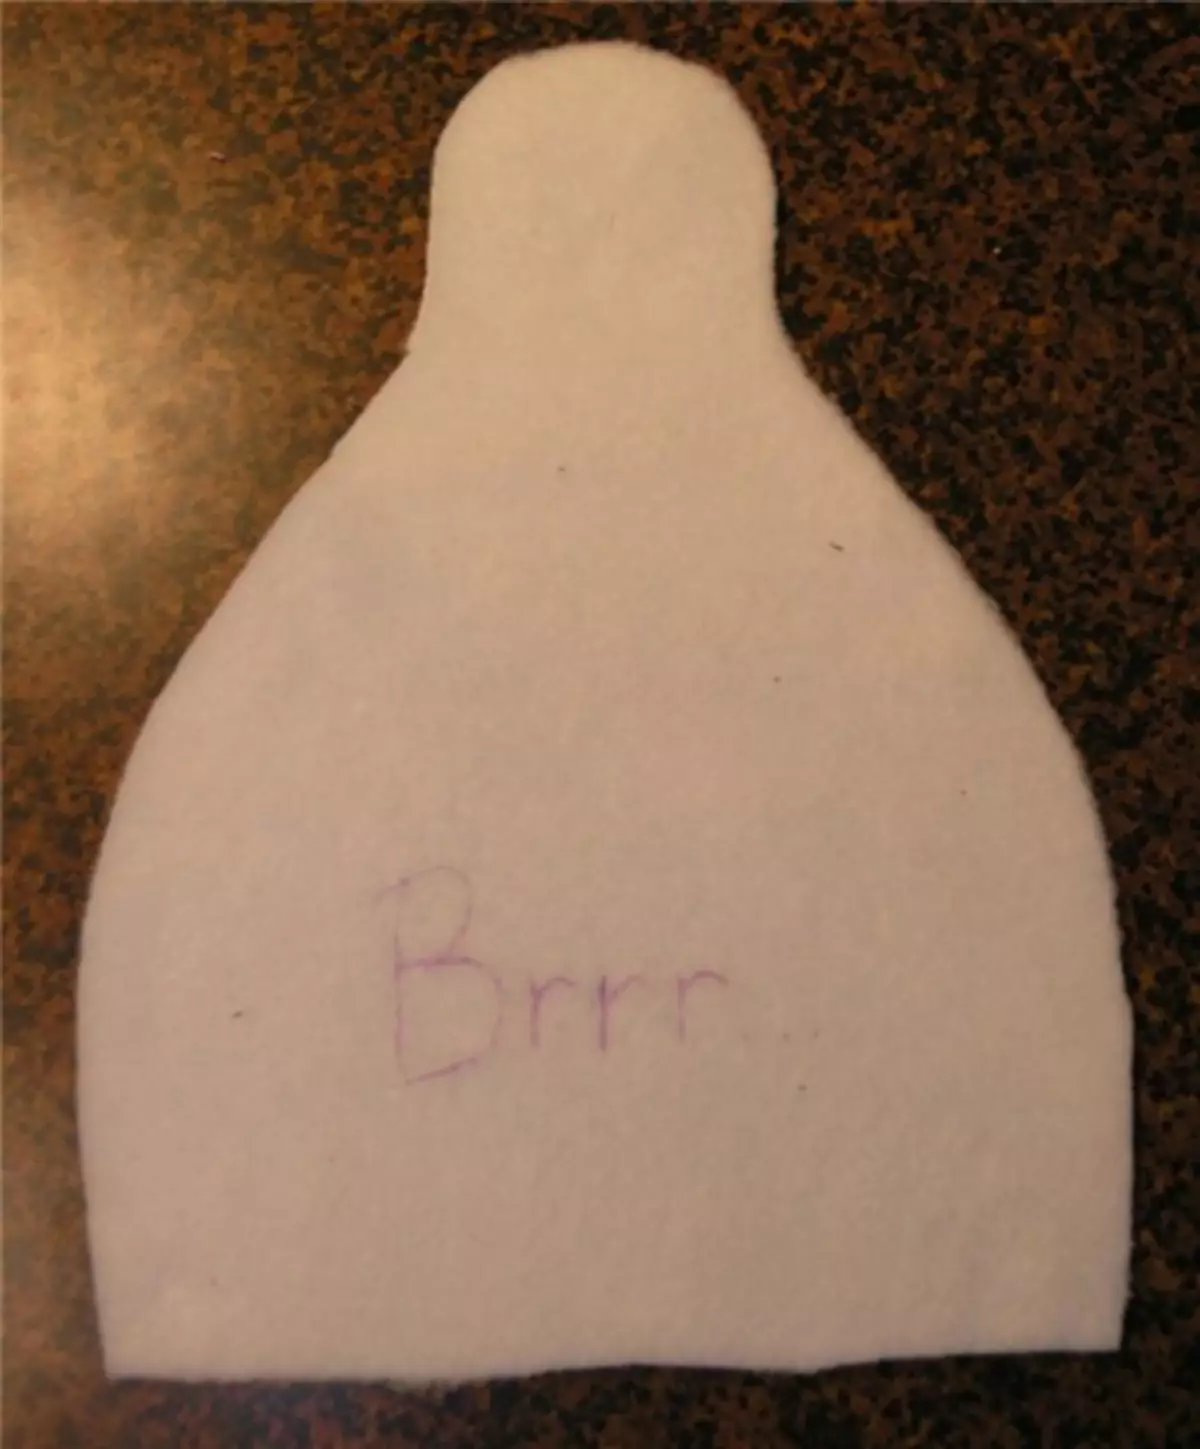
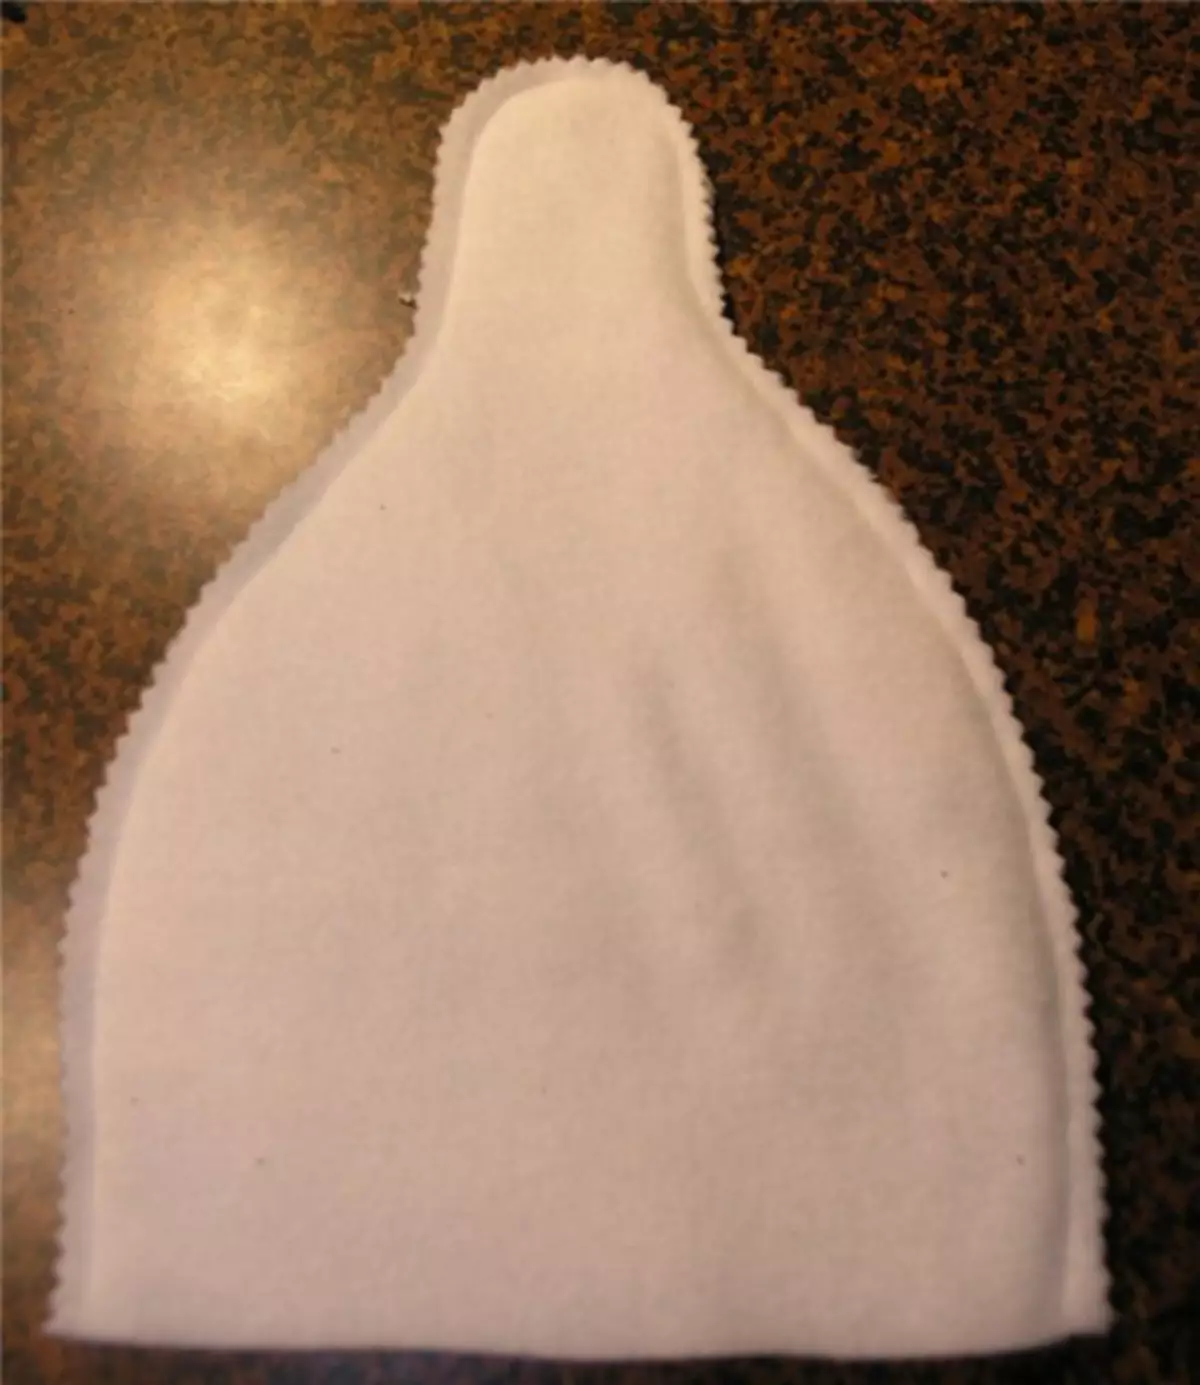
Pattern:
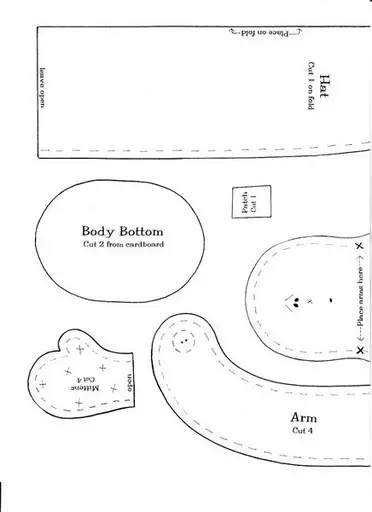
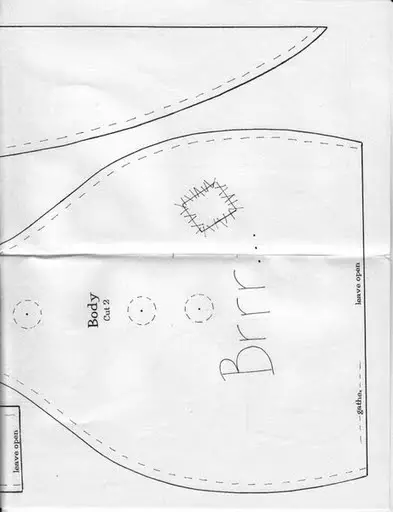
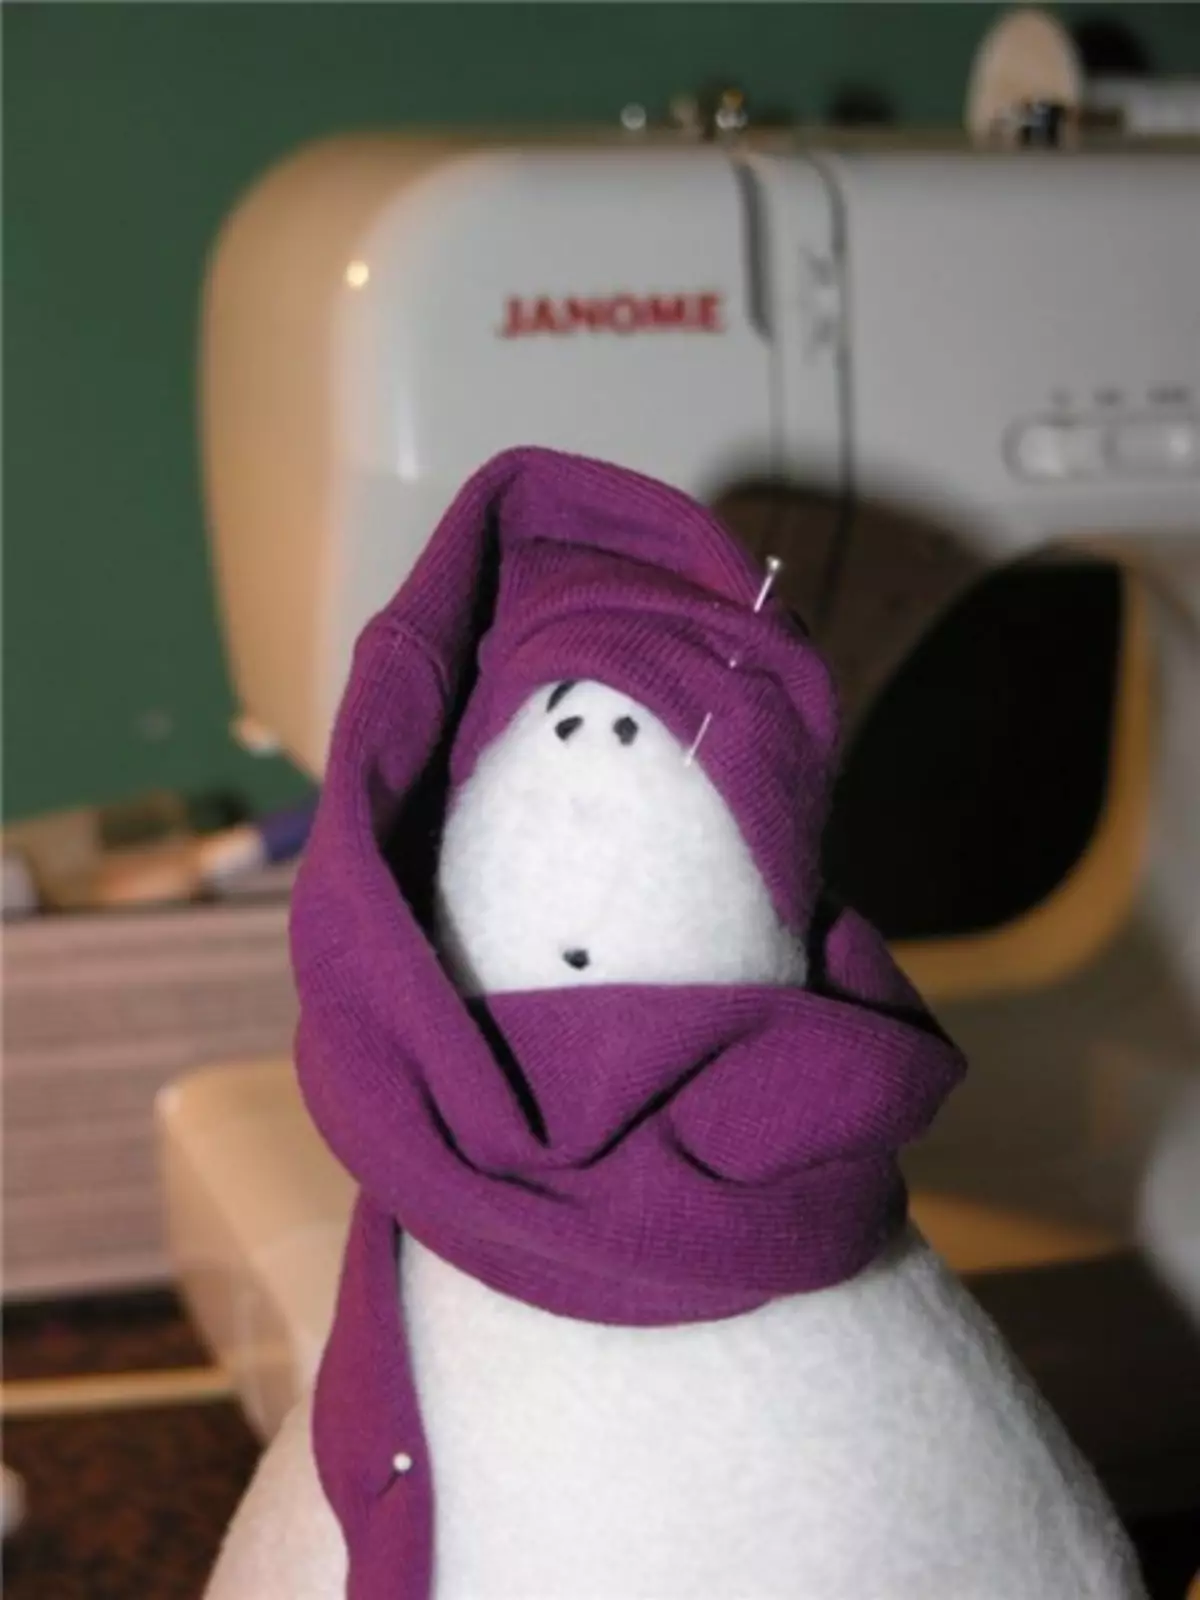
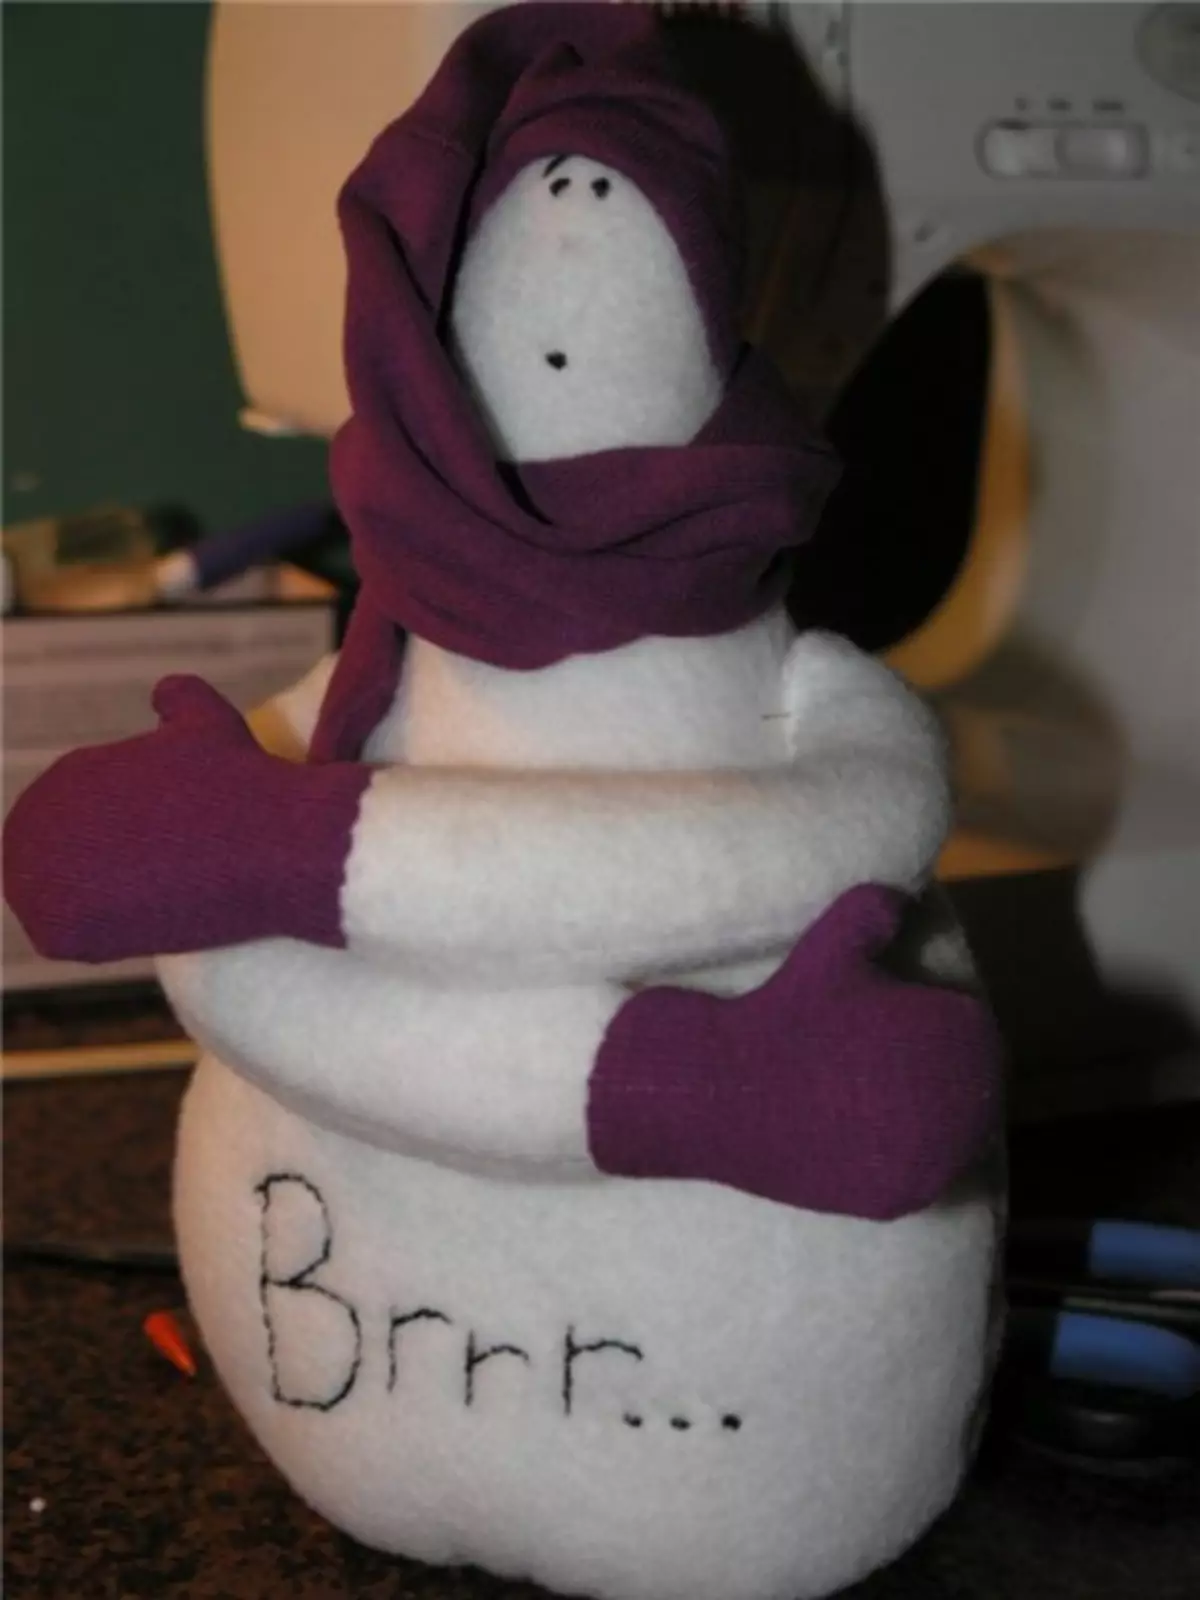
Especially touching the soul of the pose of a soft toy of a snowman, such "frozen - hinting for heating hugs and, of course, the inscription" Brrr ... ", and it is necessary to sew it with their own hands - a white fleece, something knitted-knitted, already -New - but it's a pity to throw away - somewhere will fit, for example, the old knitted sweater and of course love =)
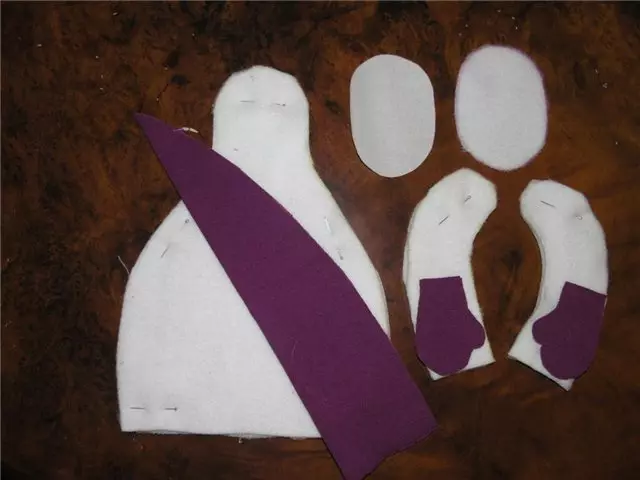
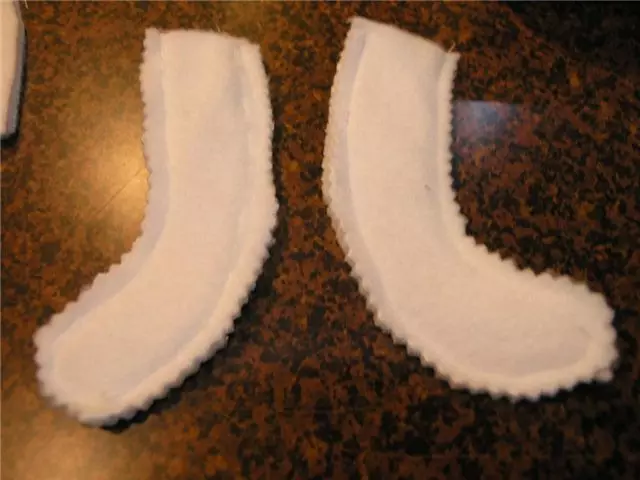
Step 1 . Strip details. Hand hat and knitwear mittens. Rodyshko from the main fabric and from rigid Dublerin.
Step 2. . Duplicate Flizelin Front Half Carcush. In order for us to be easier to embroider facet and letters.

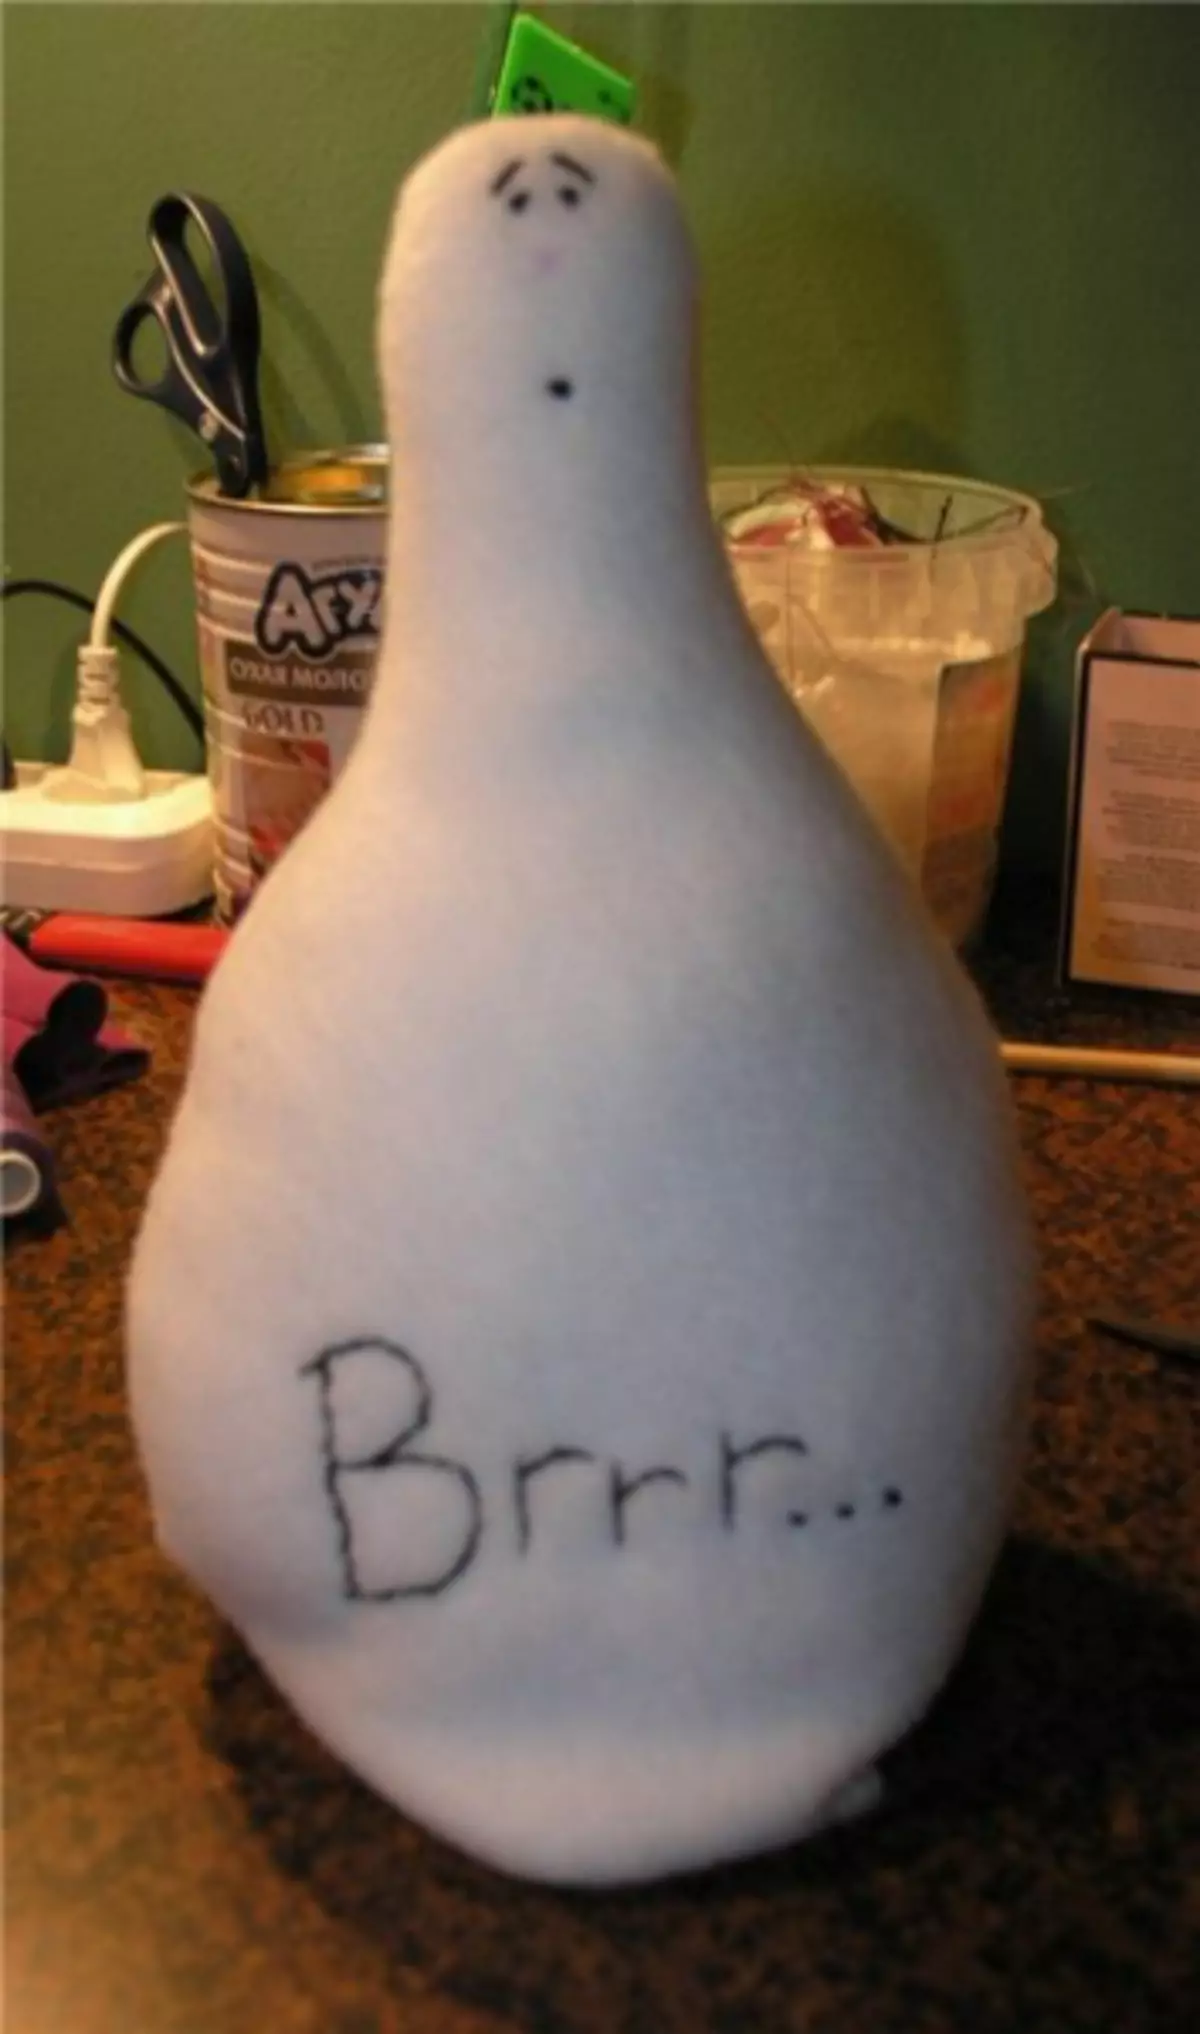
Step 3. . Write the ending marker letters.
Step 4. . Embroide Muline threads (in 3 threads) seam "Back needle."
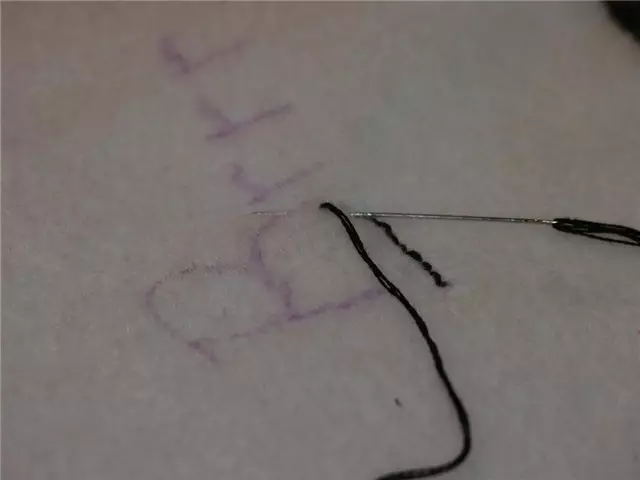
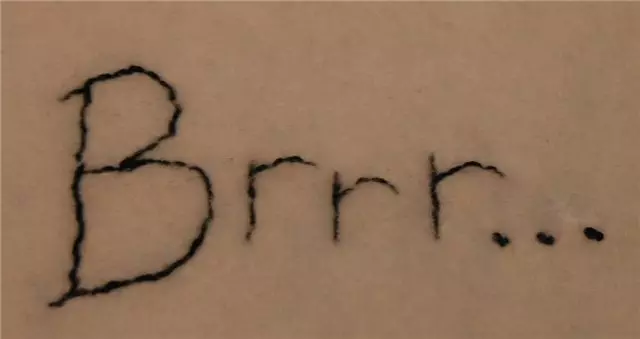
Step 5. . Embroidered letters.
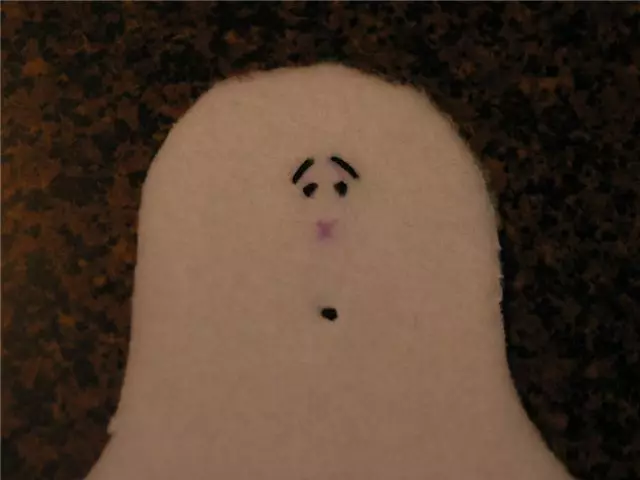
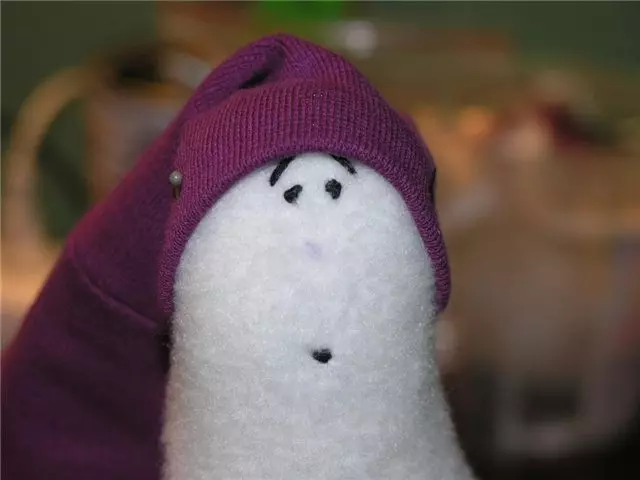
Step 6. . Now the muzzle. I embroidered everything in black, the mouth could be and pink.
Step 7. . Seam should not be !!!! It's just my fabric was not enough.
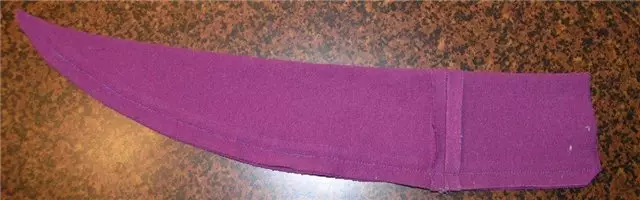
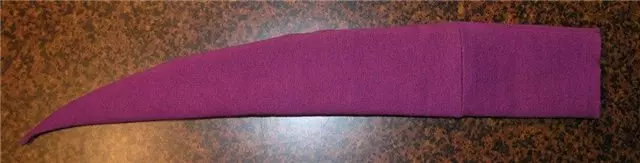
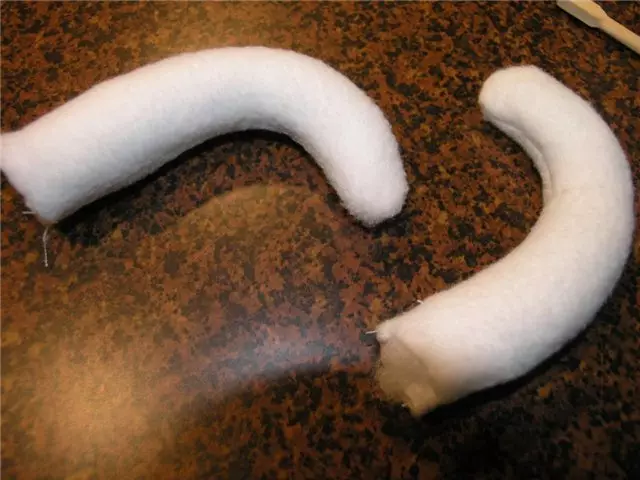
Step 8. . Almost ready hat left to sew it.
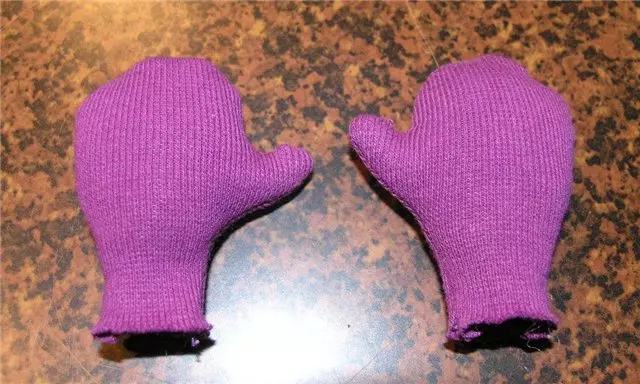
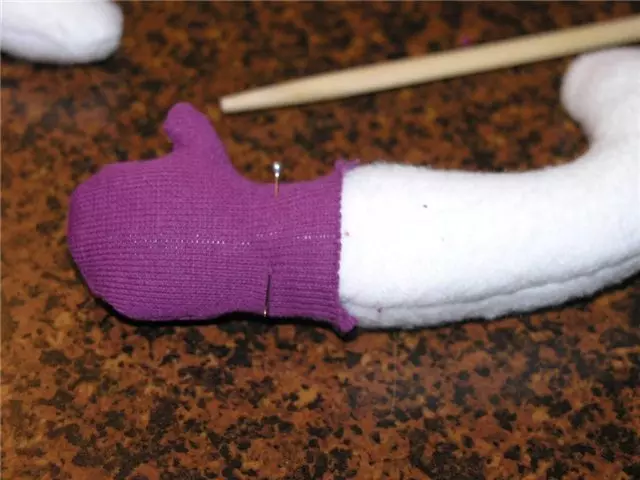
Step 9. . Mittens. I already understood late that I had to do the allowance.
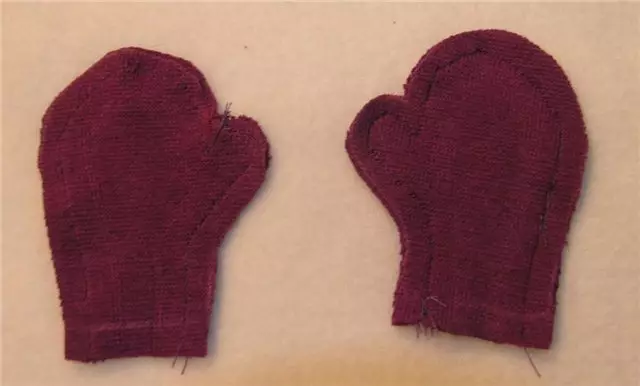
Step 10. . Handles sew.
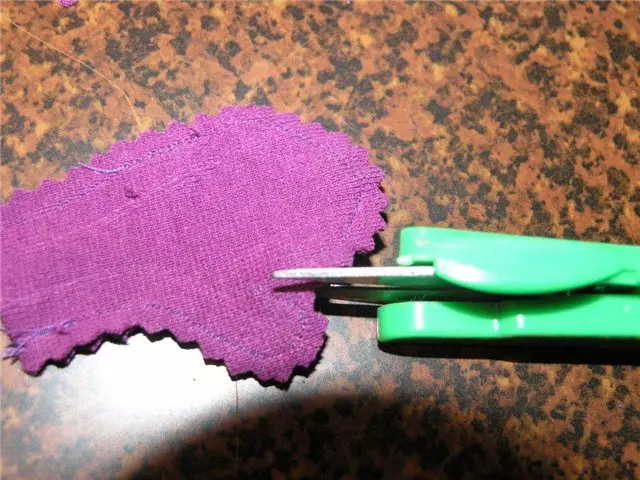
Step 11. . Cutting with scissors "Zig-Zag" or bypassing for concave lines. Roundness cut off.
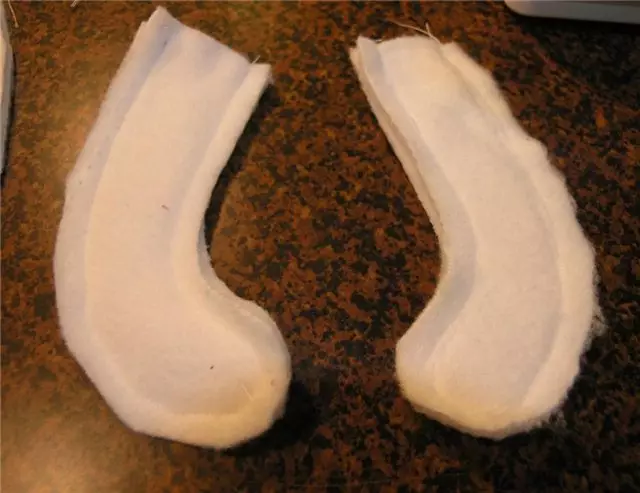
Step 12. . Stitching, shoulder should remain empty to lay the handle.
Article on the topic: crochet sweater (female and male): how to tie with schemes and video
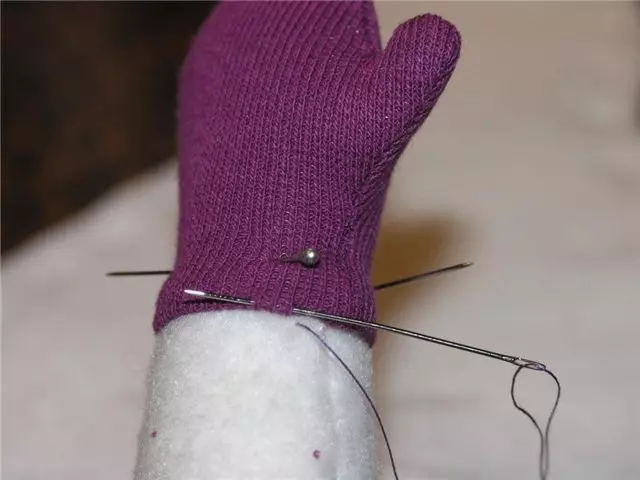
Step 13. . Be sure to wait the mitten between the finger and palm. Only without fanaticism!
Step 14. . Passed mittens. Below leave a place to stretch.
Step 15. . We stretch into your hand, fix the pins. The battery is about 0.7-1 cm.
Step 16. . Powder sweep inside and sew a verge of a secret seam.
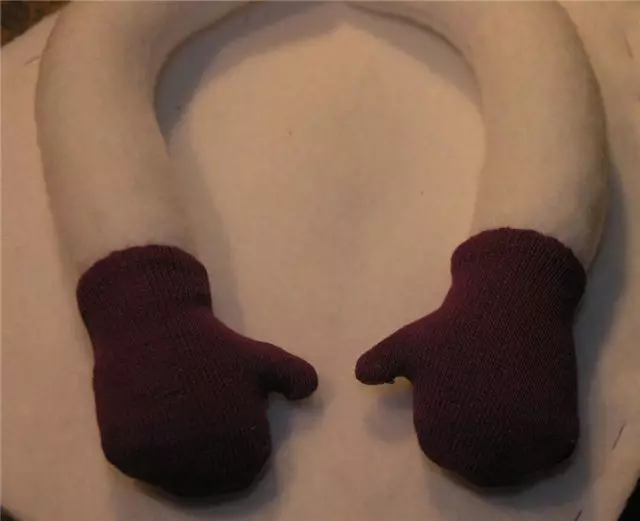
Step 17. . That's what happened. Taking this beauty to the side while this beauty.
Step 18. . Attention! If you sew from the fleece, the details must necessarily leapt. Pins are not for this case.
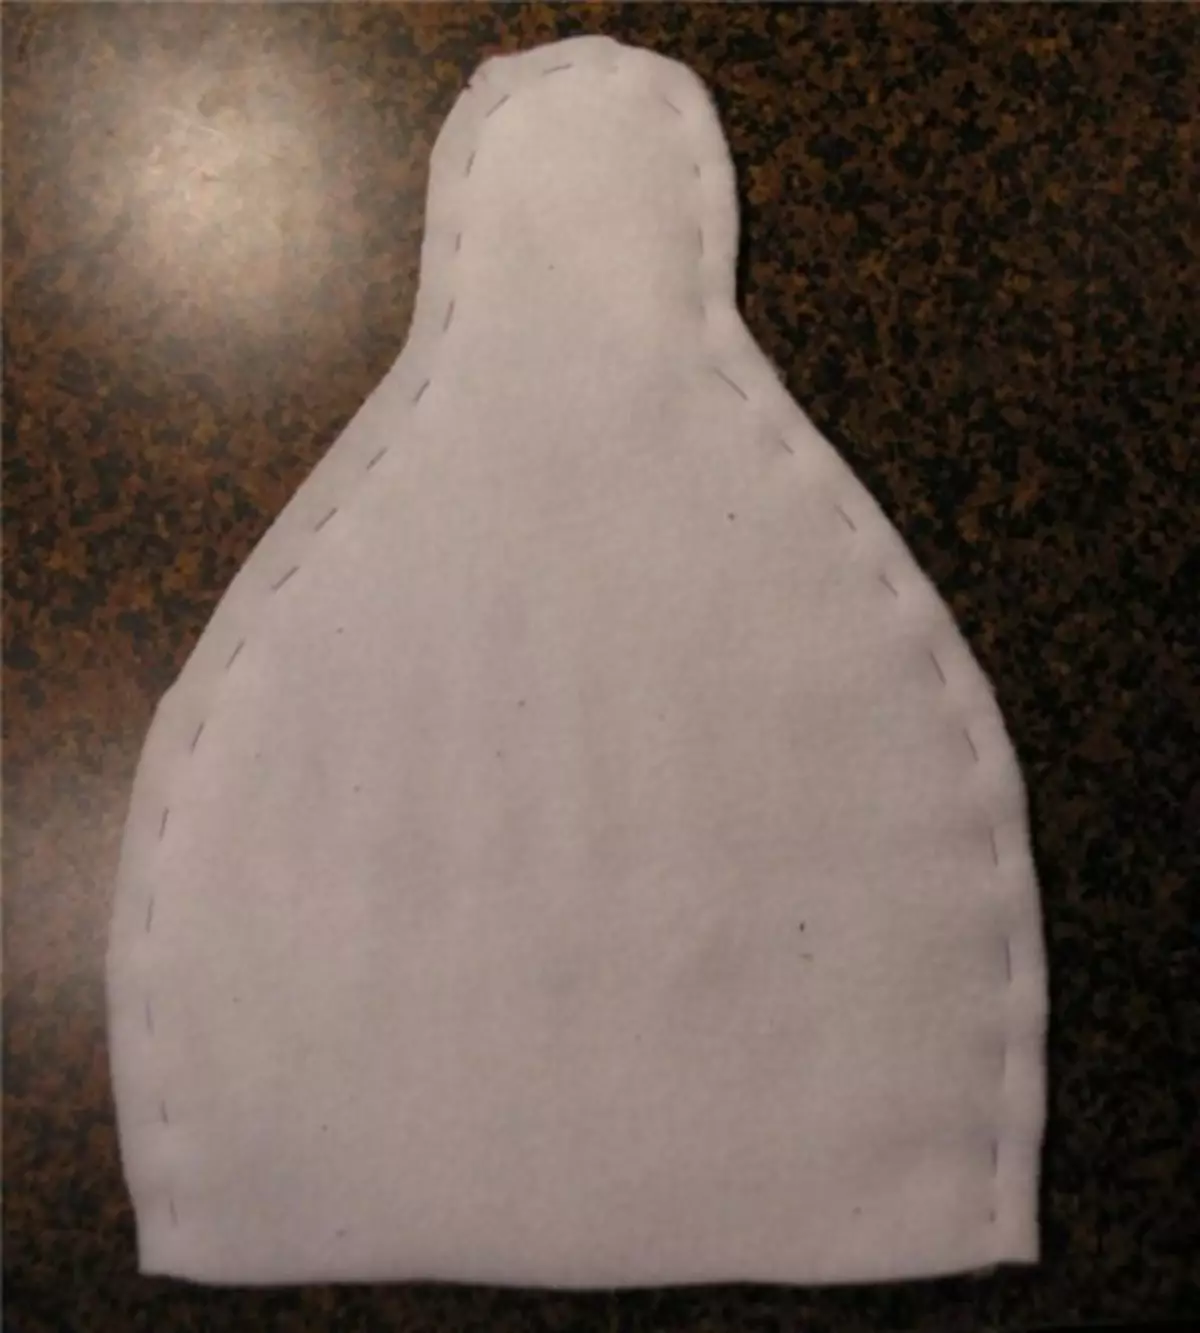
Step 19. . She stitched - cut off - turned out.
Step 20. . Blocked.
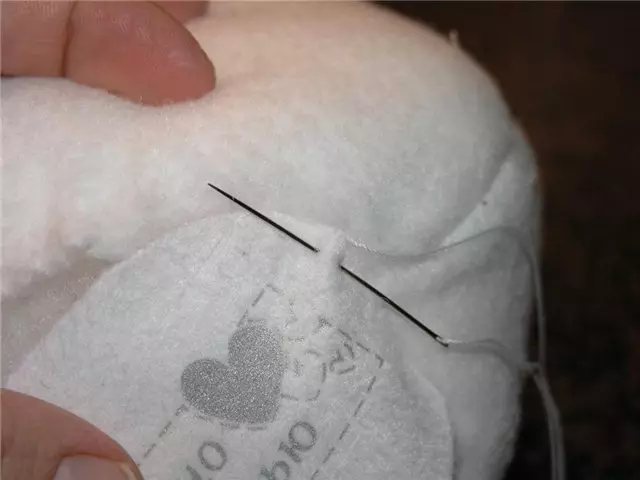
Step 21. . Now on the bottom of the carcass we flash the usual seam.
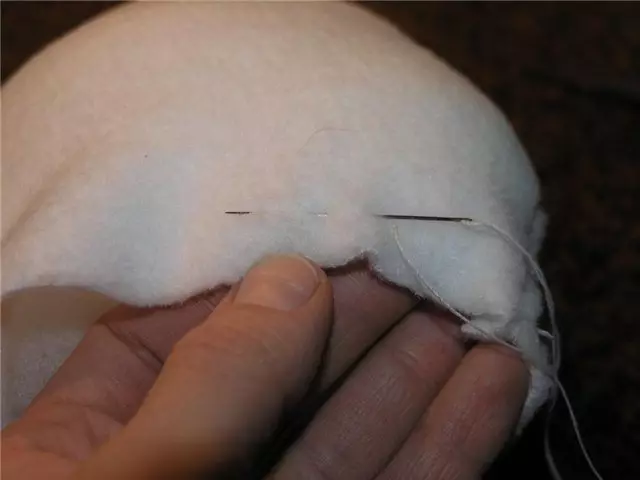
Step 22. . We are tightened to the size of the bottom.
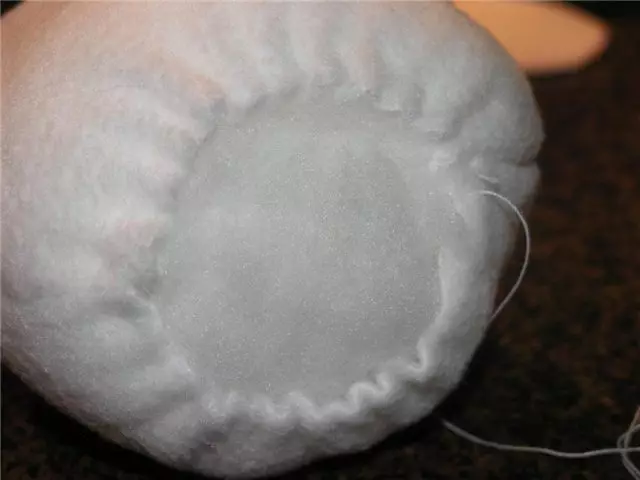
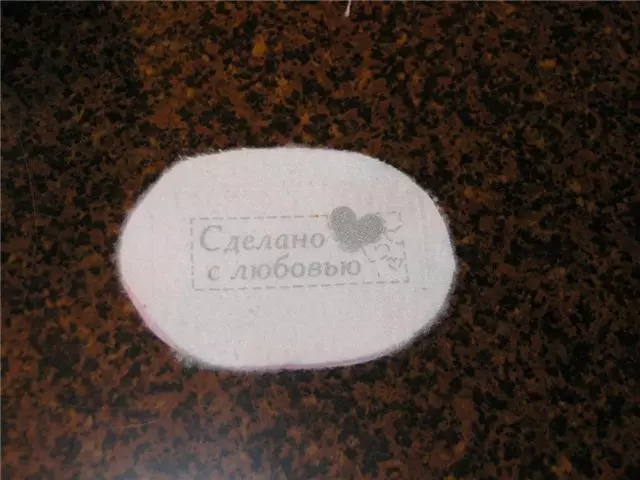
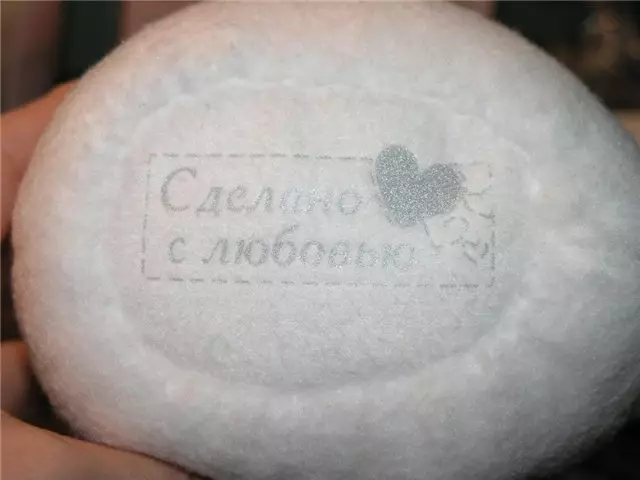
Step 23. . And I have a donyshko, with the label.
Step 24. Sevive dyshko to the stewing stew.
Step 25. . That's how it will be.
Step 26. . We rush the hat with the cap to the head, again we sew a secret seam.
Step 27. . We formold folds, chain.

Step 28. . Fix the folds of single stitches.
Step 29. . We try hands.
Step 30. . The arrows are shown in what places the handles are attached.
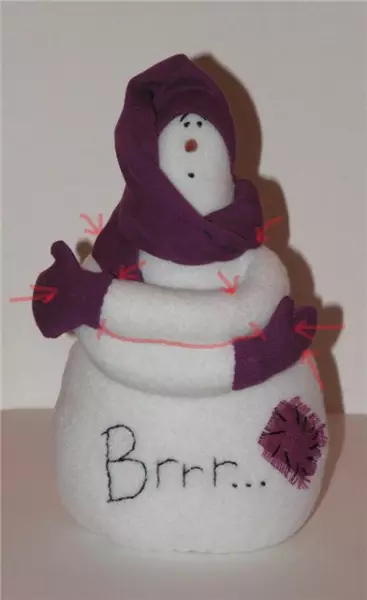
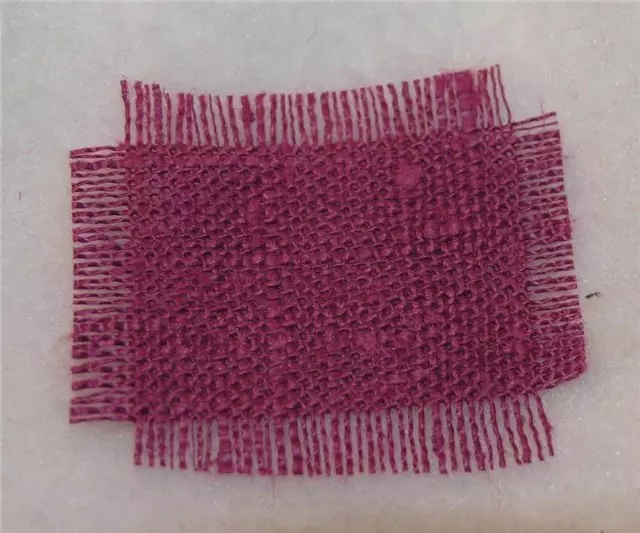
Step 31. . Cut the patch.
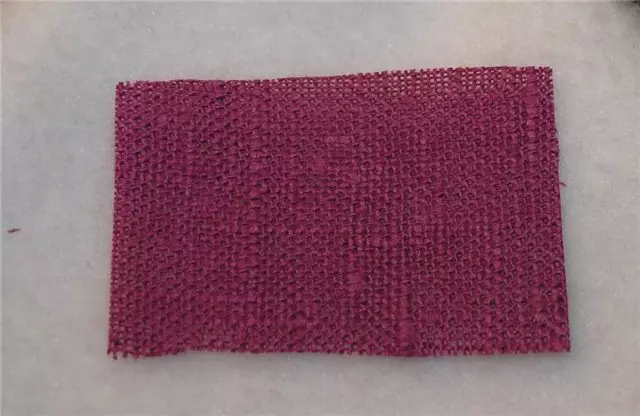
Step 32. . I pull out a few threads on each side.
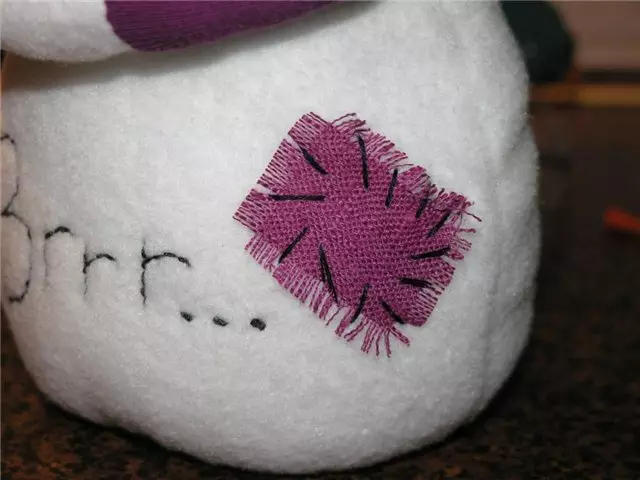
Step 33. . Send careless stitches to the snowman calf.
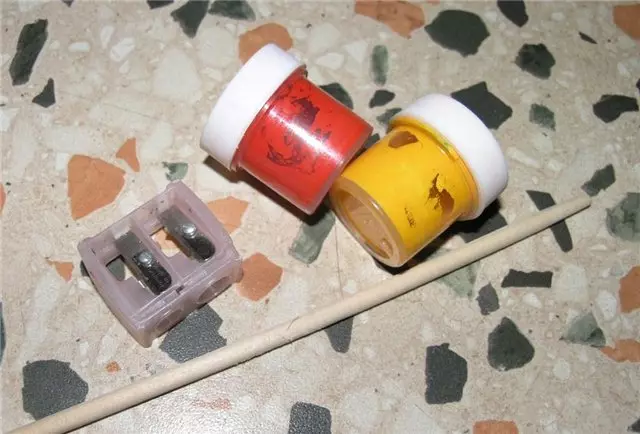
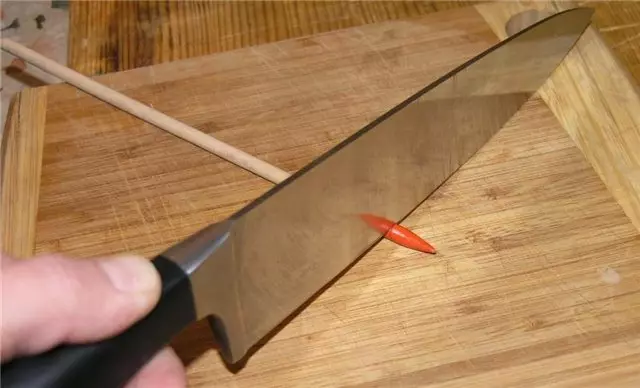
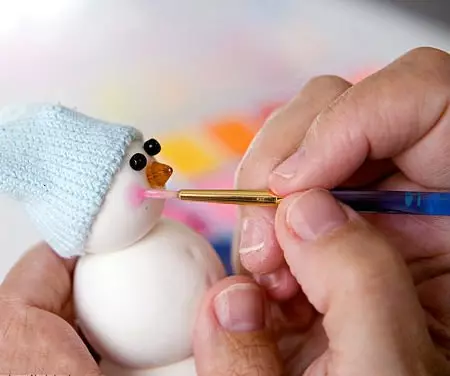
Step 34. . Now the most interesting thing: nose. We will need: acrylic paints (I have no orange, so mixed), sharpener, one-time wand for sushi, sandpaper, knife (not in the frame).
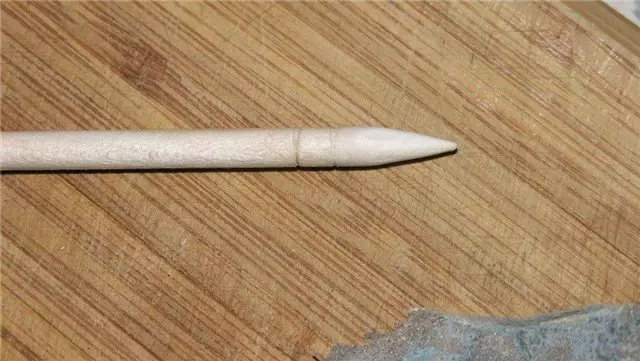
Step 35. . Please the wand, if necessary, correct the knife and sandpaper.
Step 36. . Pray.
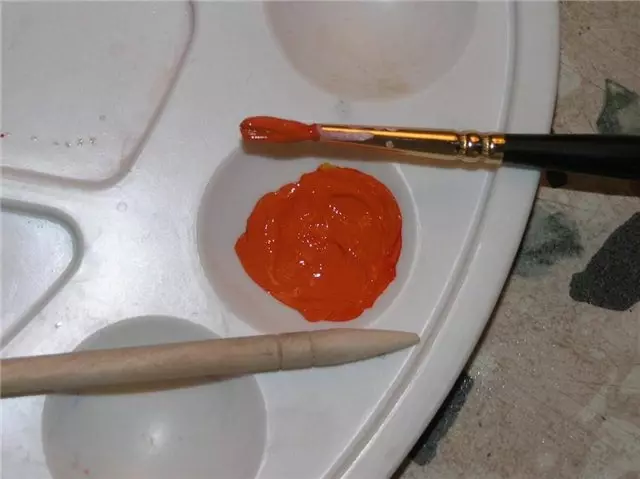
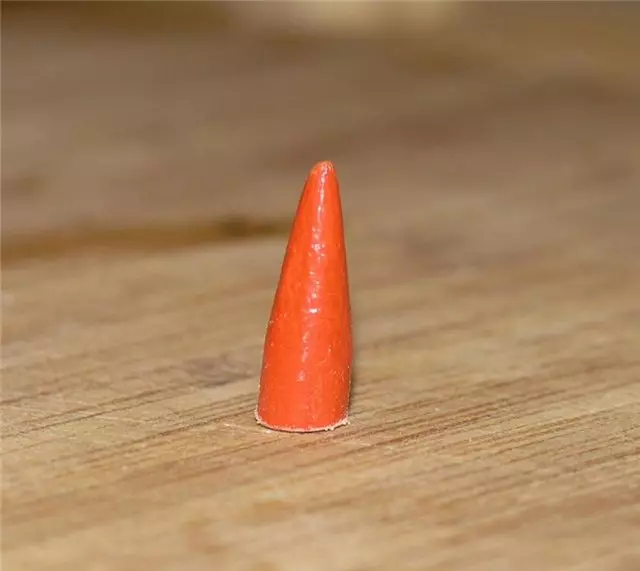
Step 37. . It is necessary to paint at least 2-3 times. Each layer is given to dry well.
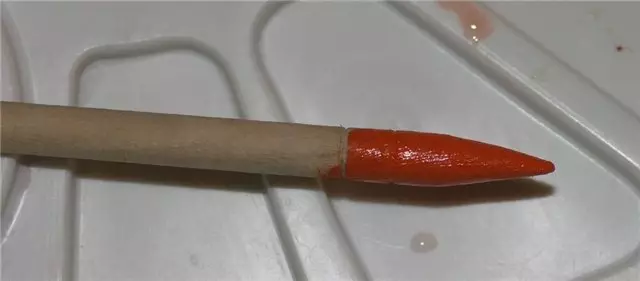
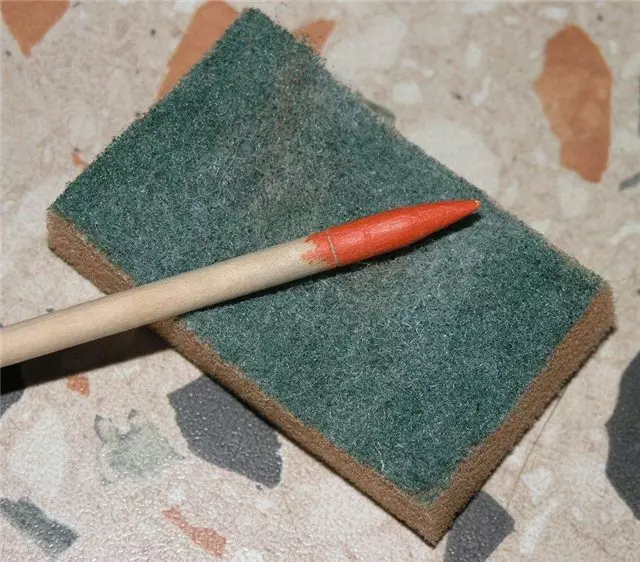
Step 38. . After complete drying, it hurts a little nose about a sponge for dishes, in order to remove the irregularities of painting.
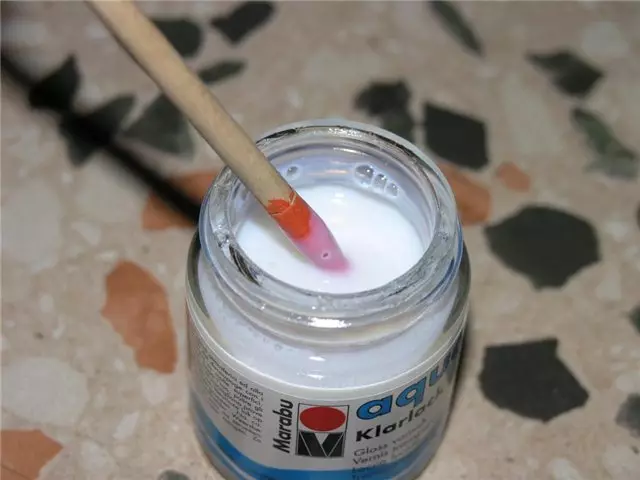
Step 39. . Focus in acrylic varnish, give drain, excess varnish we remove the nonwoven napkin. Just blocked slightly.
Step 40. . After drying the varnish, cut off the tip with a knife
Step 41. . Nose bottom process sandpaper for better adhesion with glue.
Step 42. . We glue the nose with a glue gun.
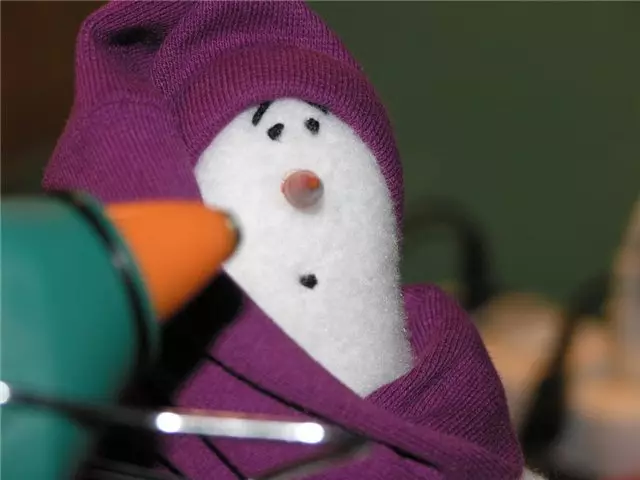
Ready snowman. Brrrr !!!!!

Master Class number 2: Snowman do it yourself from polymer clay
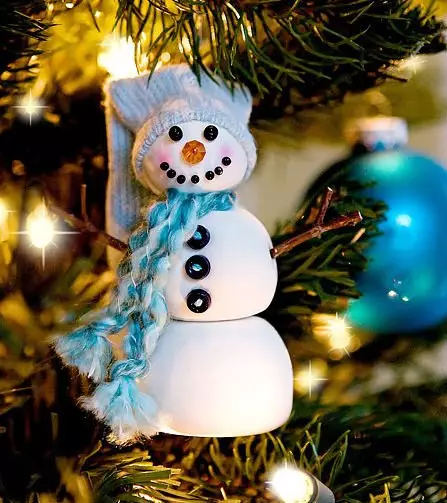
Cute figures of snowmen are obtained from polymer clay. Tender texture, they externally resemble real snow women. Make a snowman with their own hands from the polymer clay is not difficult. The main thing is to accurately follow the instructions of step-by-step instructions.
Materials
To create a New Year's craft, prepare:
- polymer clay white;
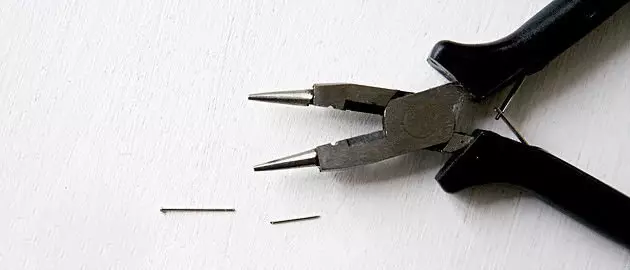
- round-rolls;
- wire;
- old sock;
- thread;
- needle;
- beads;
- a piece of chalk;
- brush;
- glue for solid materials;
- Splits.
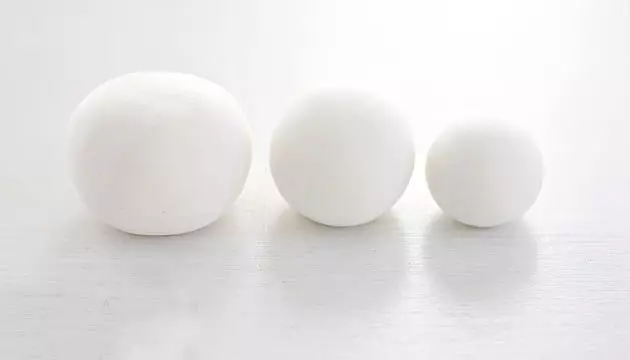
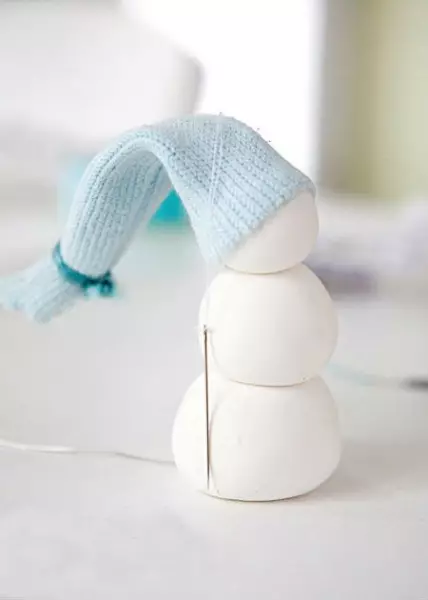
Step 1 . From polymer clay roll three balls of different sizes. They will make up the body of a snowman.
Article on the topic: Schemes of hares amiguruchi crochet for beginners with video
Step 2. . Put the balls on each other, press them a bit and insert a piece of wire in the middle. On the length of the wire should look a little from the figure. Wire upstairs. Bend round the heads in the loop.
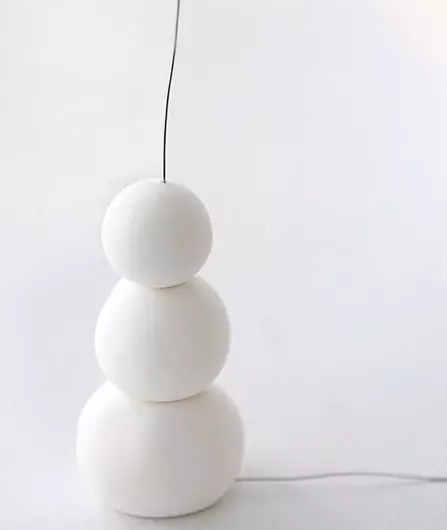

Wire is needed that the snowman has fixed stronger. The loop can then be used as a tape mount so that the figure can be suspended.
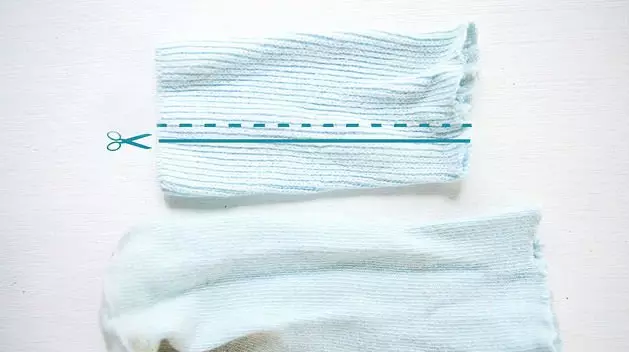
Step 3. . Make a sock for a snowman. Cut the upper part of it and cut down scissors along. Pick the fabric for the scope of the head of the figure. Sisting the resulting pattern of caps from the wrong side and remove it on the front side. At the end of the hat, tie the fetters of suitable color.
Step 4. . Put on a hat on a snowman's head. Carefully thread the wire loop through the fabric. Pencil will read the line where the bottom of the cap will be held and lubricate it with glue. Stick your cap so that it does not slip.
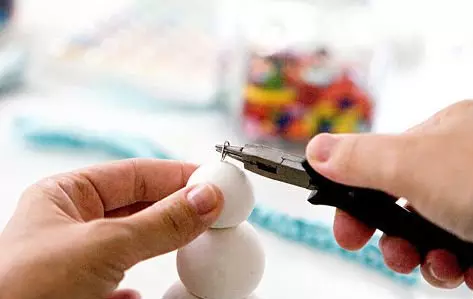
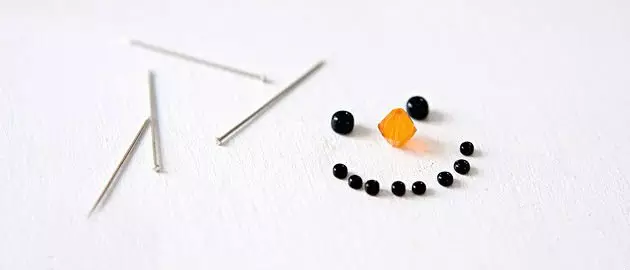
Step 5. . Make a snowman face. Crepping beads with carnations, shuffling them. The latter are commonly used to make jewelry or securing paper to the recording board.
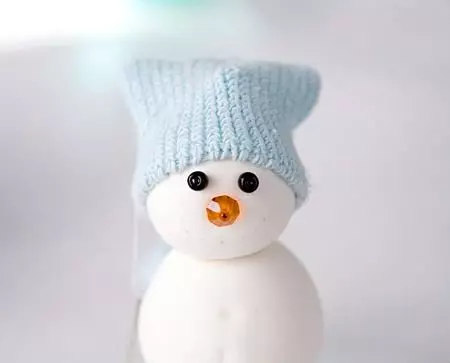
Step 6. . Tassel and chalk of pink color Draw the cheeks on the face of the figure.
Step 7. . The final strokes of the figurines will be buttons, a smile of black beads, scarf in the form of pigtails from the threads, as well as twigs. Crepa them with glue and carnations.
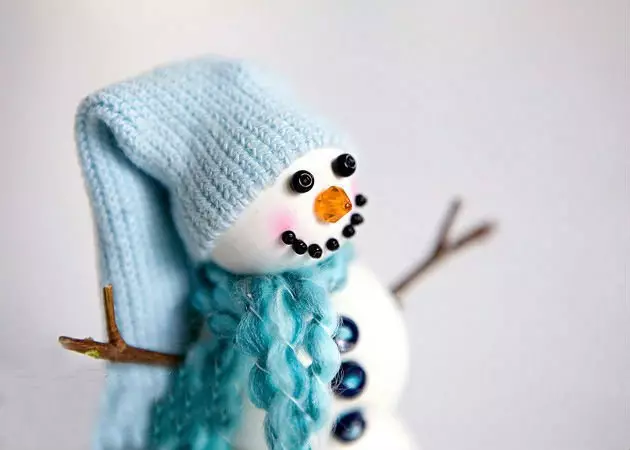
Snowman ready!
{Google}
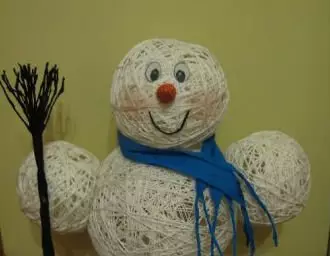
Master Class No. 3: Snowman from Pomponov DIY
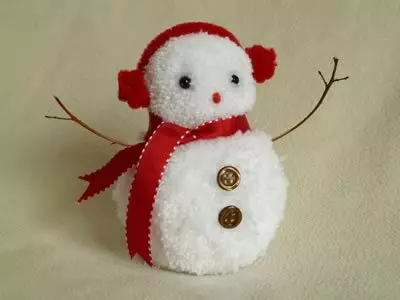
Very quickly and easily you can make a snowman from pumps with your own hands. The figure is funny. This can not just decorate the room before the New Year, but also to present it as a craft at the school exhibition.
Materials
For this craft you will need:
- tangle yarn white or cream flowers;
- cardboard;
- scissors;
- brush for cleaning the tubes;
- branches;
- beads;
- Buttons;
- ribbons;
- glue.
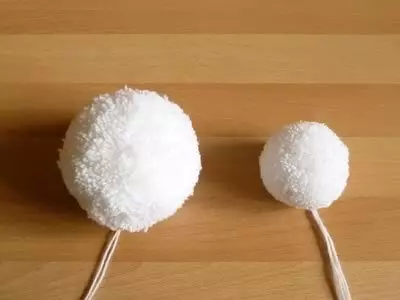
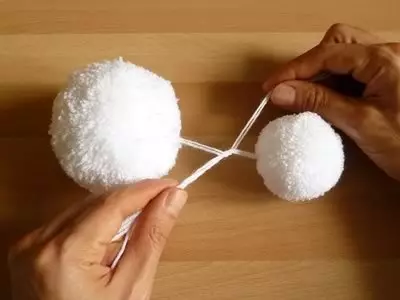
Step 1 . Initially, do the manufacture of a body of a snowman. These will be two pumps with a diameter of 9 and 6 cm. To make them, you can use a special bottle for making pumps or simple cardboard.
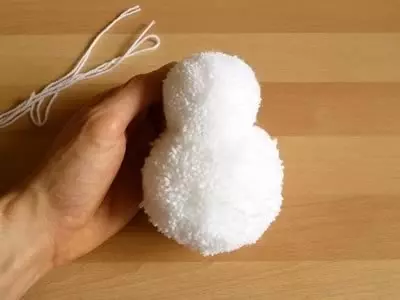
Step 2. . The body and the head of the figures are connected with each other, tolding long threads into the knot.
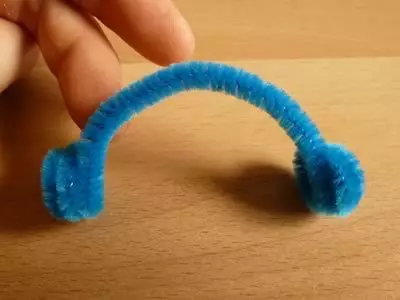
Step 3. . Thin brush for cleaning the tubes, bend in the form of warm fur headphones. You can make it with your hands or using the round rows.
Step 4. . Stick to the head of a snowman two beads at the place of the eyes and one as a nose. Instead of beads you can use small felt balls. On a similar toy they also look.
Step 5. . To complete the image, stick to the snowman twigs, butt and tape as a script. The edges of the ribbon neatly fall out or proof from the wrong side so that they do not crumble.
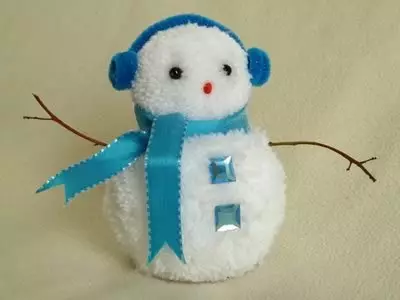
A snowman figure is ready!
Article on the topic: Lurex fabric, which is. Application and care
Master class number 4: Snowman Olaf from sock with their own hands

Lovely for many children of Olaf Snowman can be made very quickly and for this you will need the simplest and firing materials. Even a child can cope with such a task, and it is possible to use such figures not only for the new year, but also for a children's thematic party.
Materials
To make a sock snowman with her own hands, prepare:
- Children's sock white;
- rice;
- threads;
- cotton balls;
- hot glue;
- Eye of adhesive basis;
- scissors;
- Pieces of fabric or felt of black and orange colors.
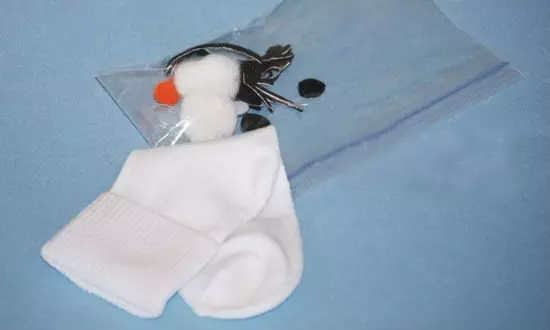
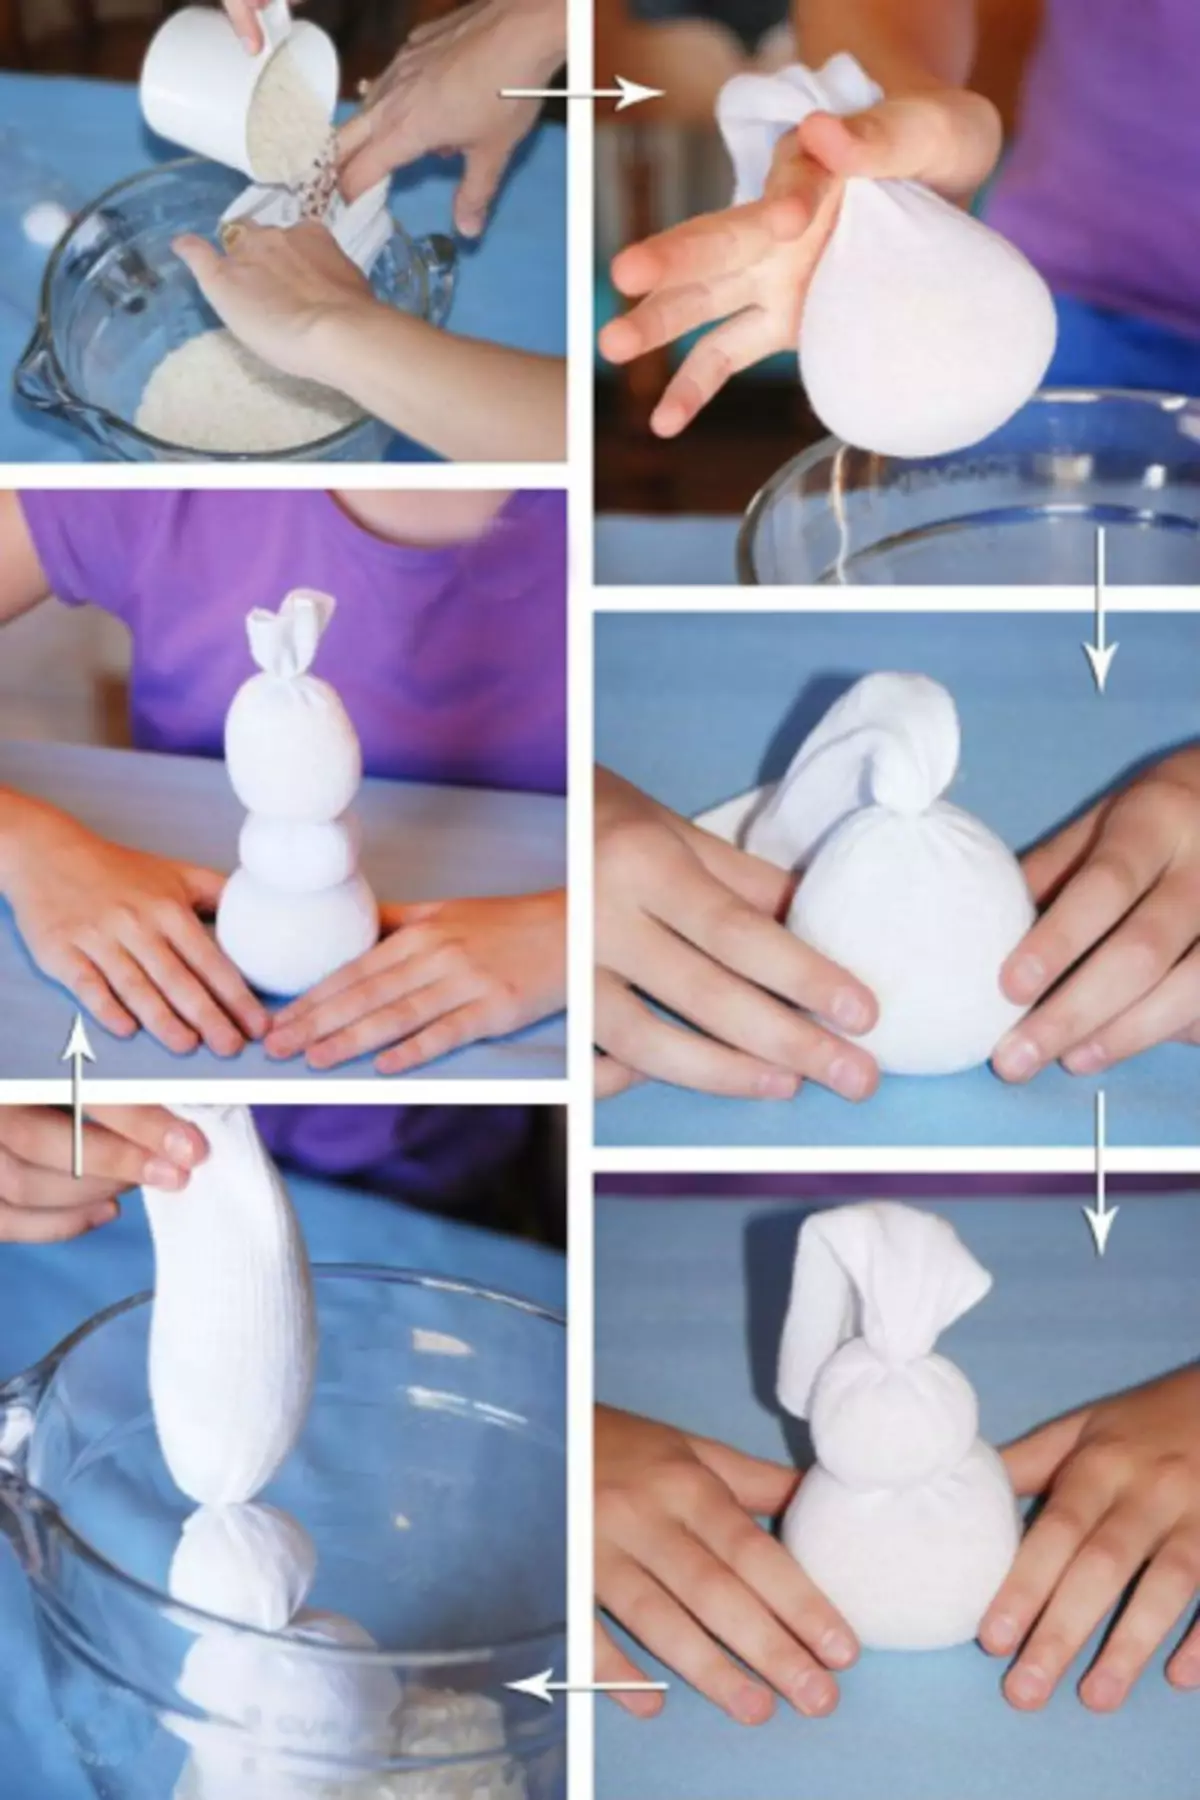
Step 1 . Rice for convenience Personalize on a wide bowl. Take the sock and fill it with rice by a third. Form the semblance of a bowl and make this part of the sock with a thread.
Step 2. . Similarly, form two more parts of the Snowman's body. In size, they must be slightly smaller and in form are more elongated than the base of the figure.
At the very top of the sock, leave a small rig out of the fabric.
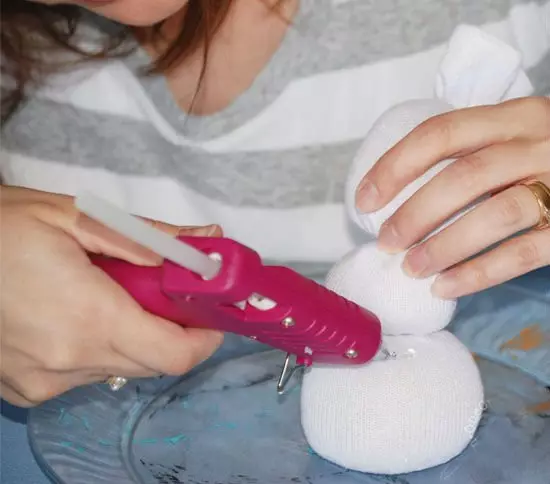
Step 3. . Felt or fabric cut out the basic details of the cartoon character: hands, buttons, joking, nose and mouth. Stick all of them on a snowman figure using a thermopystole.
Step 4. . With eye, remove the adhesive base and stick them on Olaf's head.
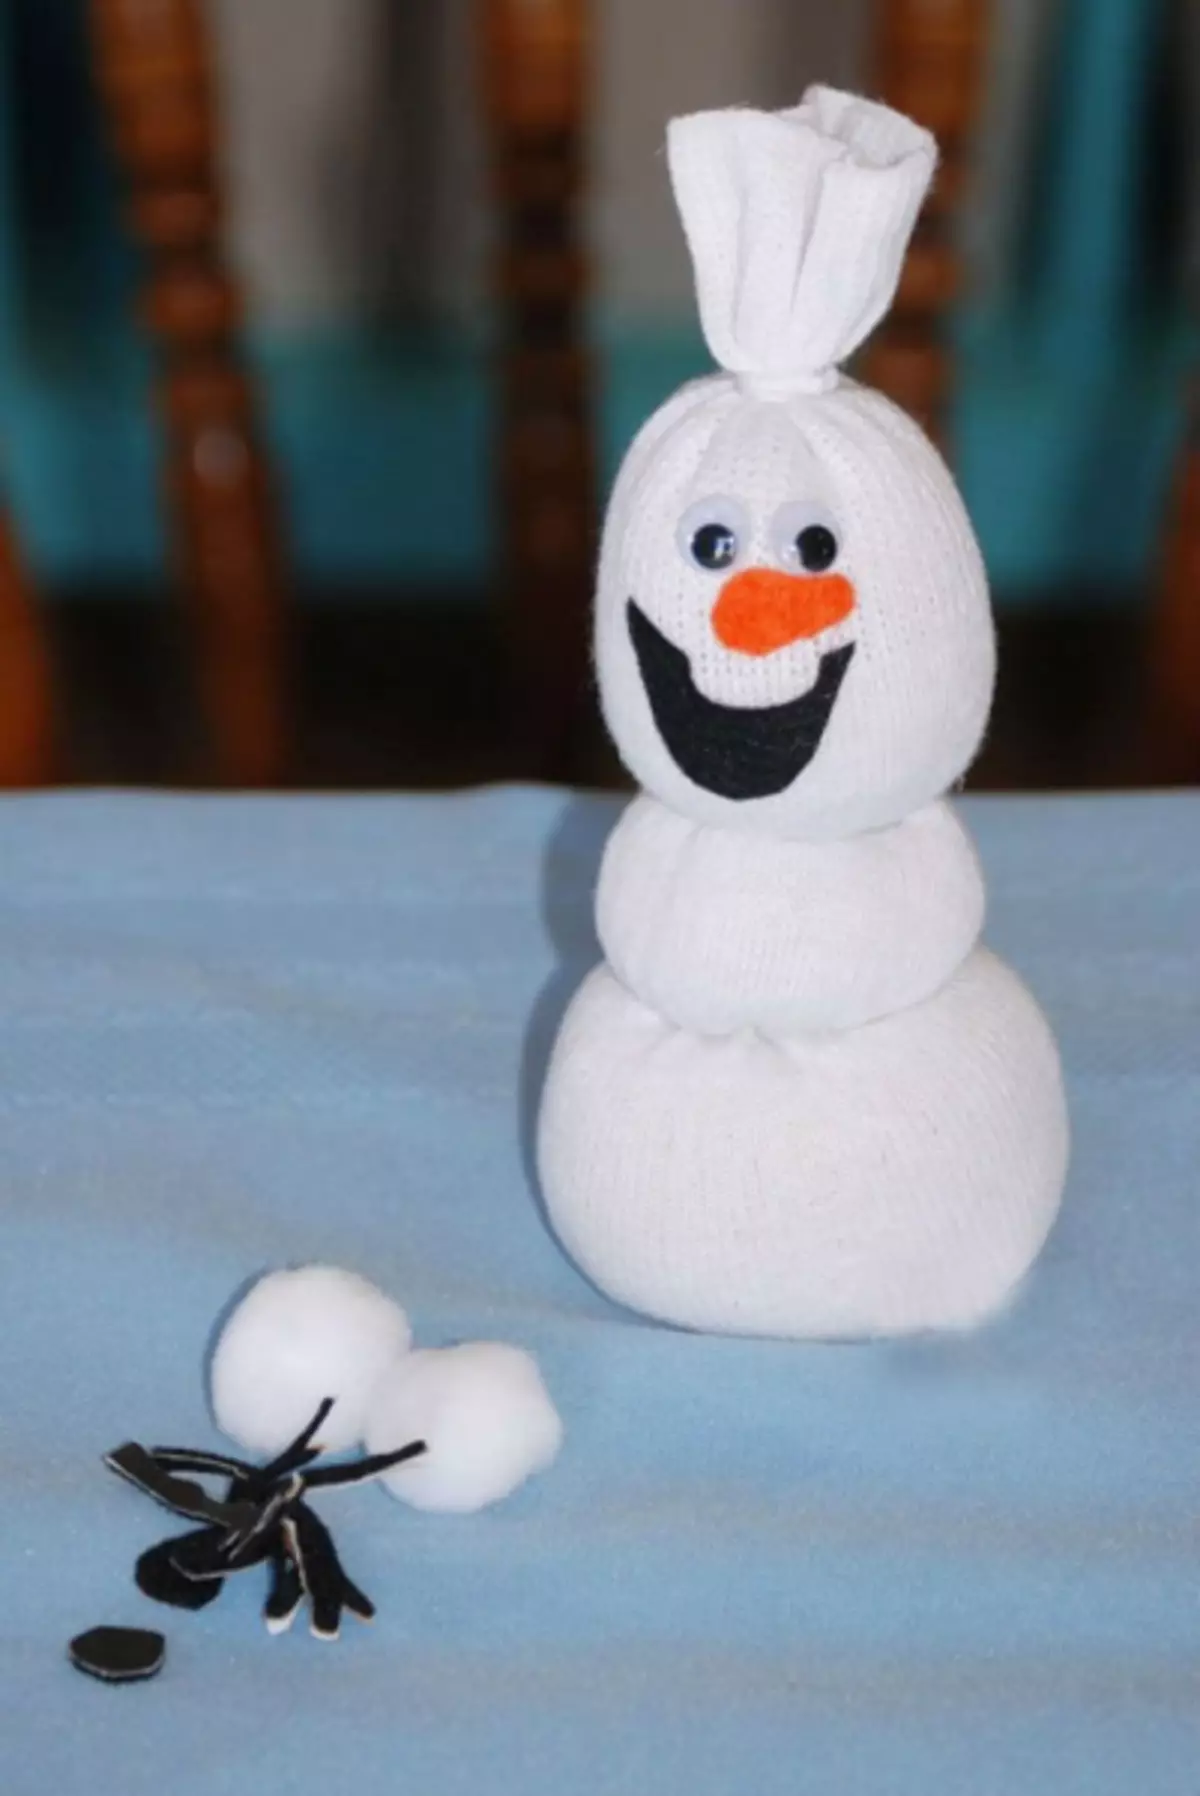
Step 5. . Cotton balls are glued at the bottom of the body - it will be the feet of the character. You can replace balls with small pompons from yarn or felt balls.
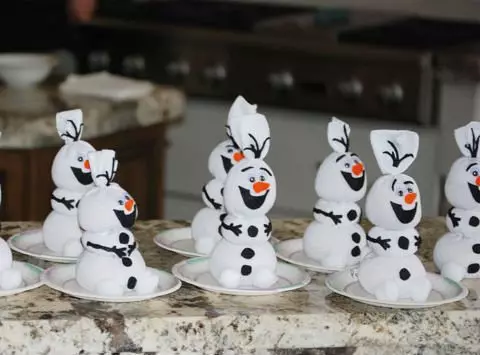
Olaf is ready!
Master class number 5: Snowman on the Christmas tree made of light bulb do it yourself
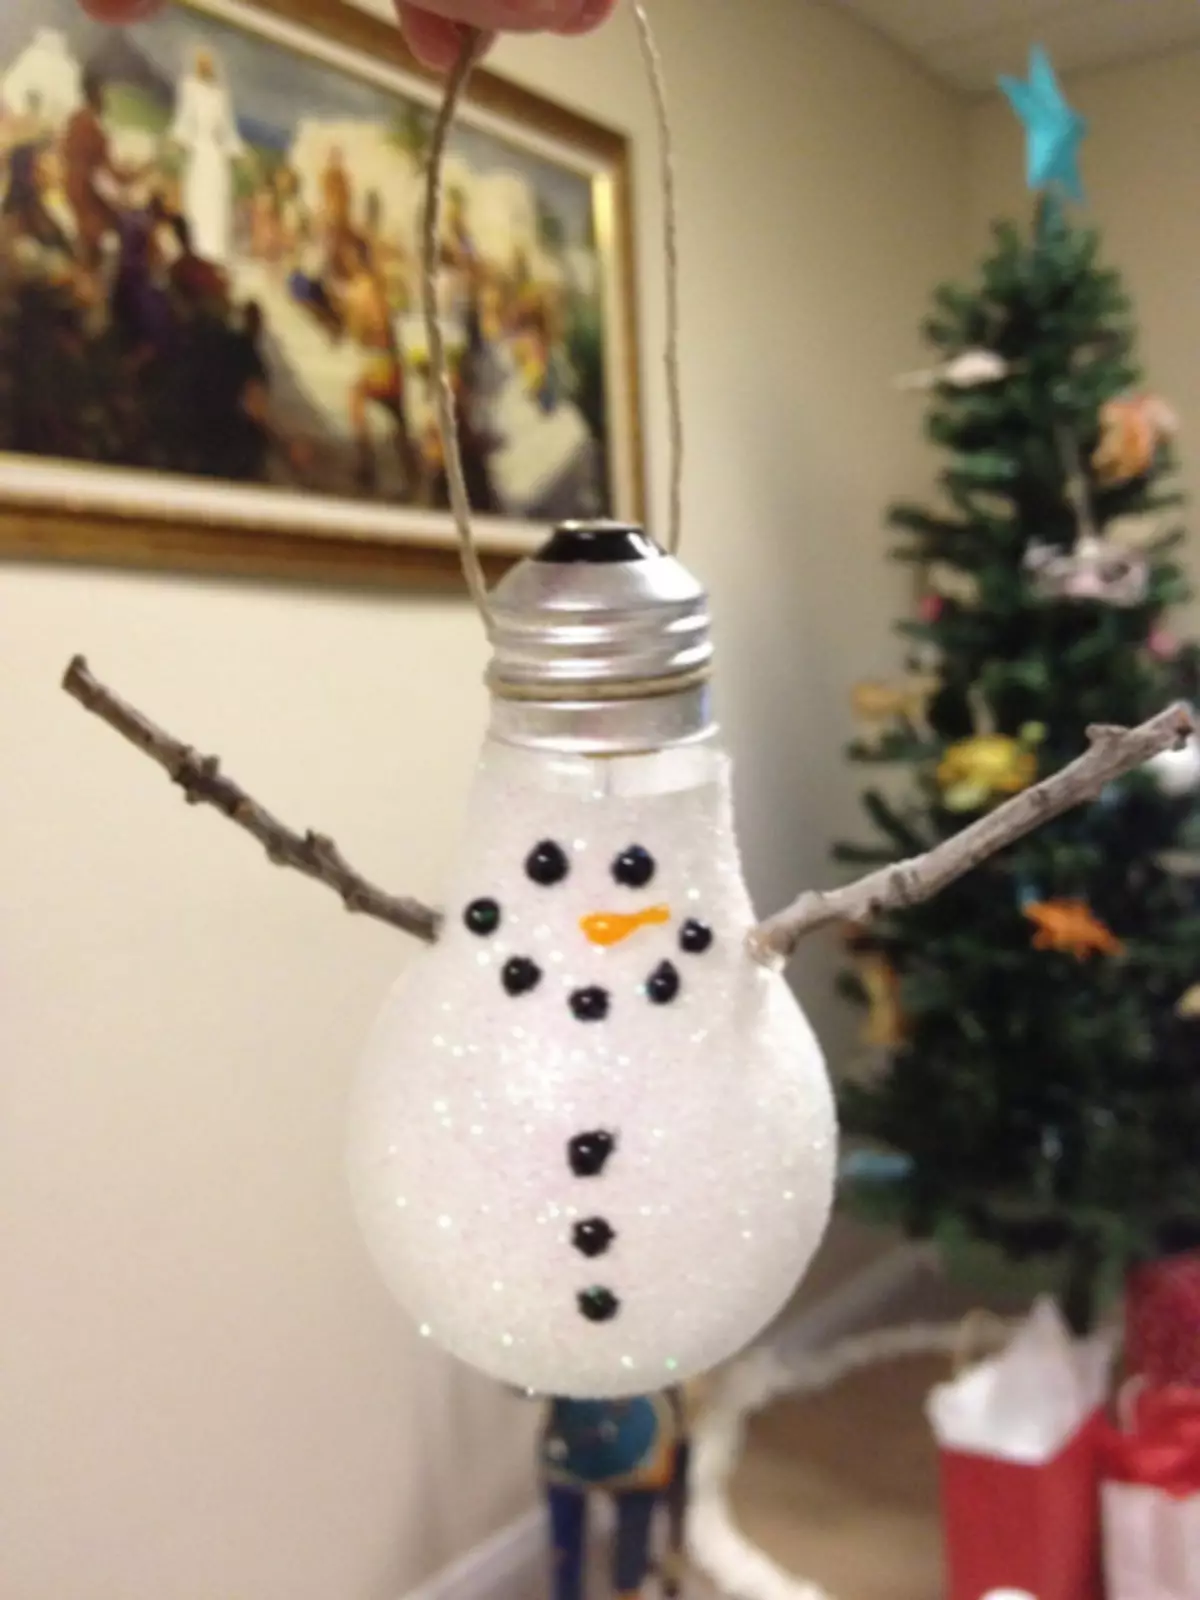
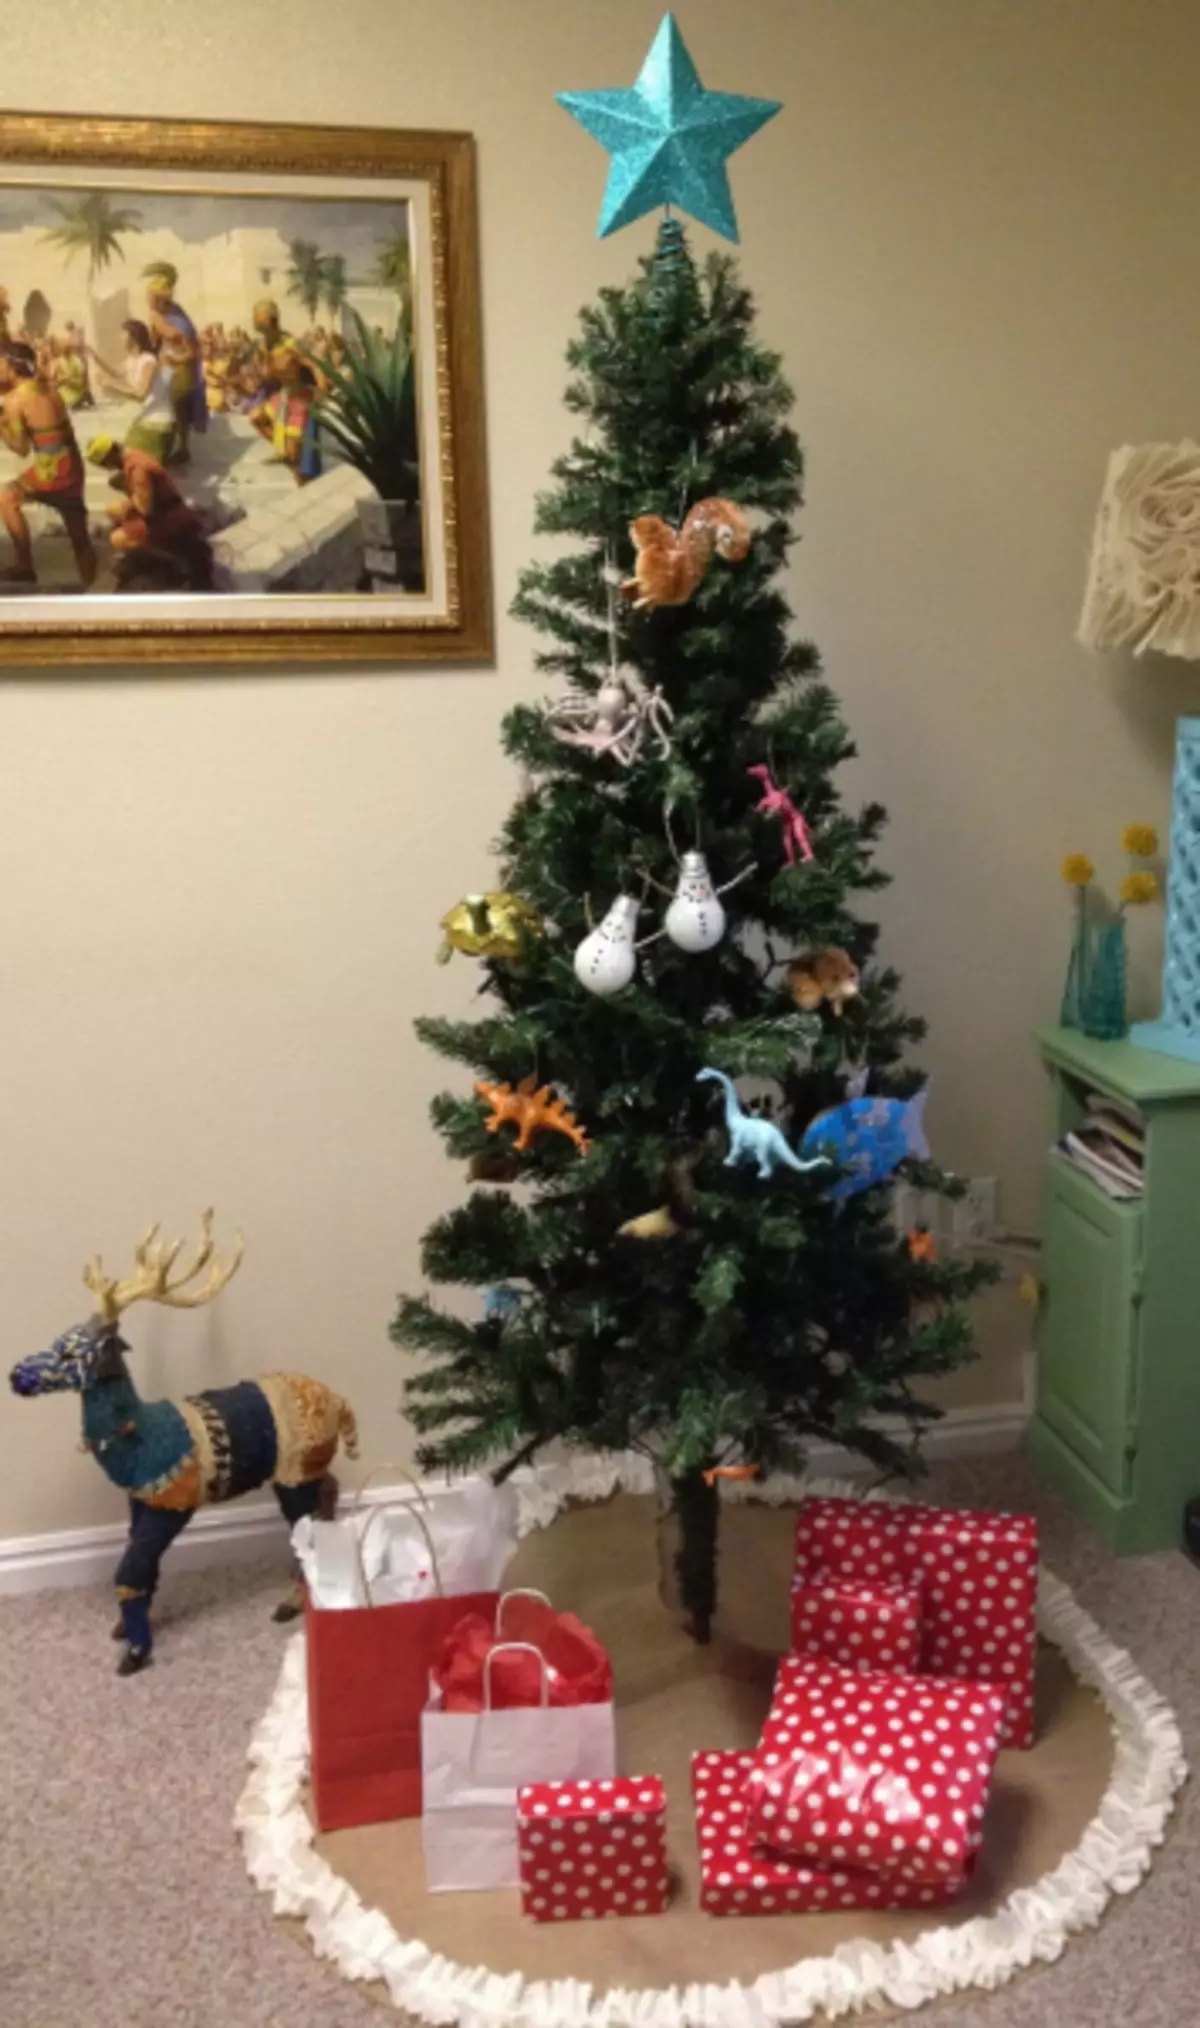
Another simple and imperious basis for the manufacture of a snowman is a blown light bulb. Such a figure can easily be used as a Christmas tree, and the method of its manufacture is very simple and understandable. If you wish, you can experiment with materials for the decor and make even more interesting options toys.
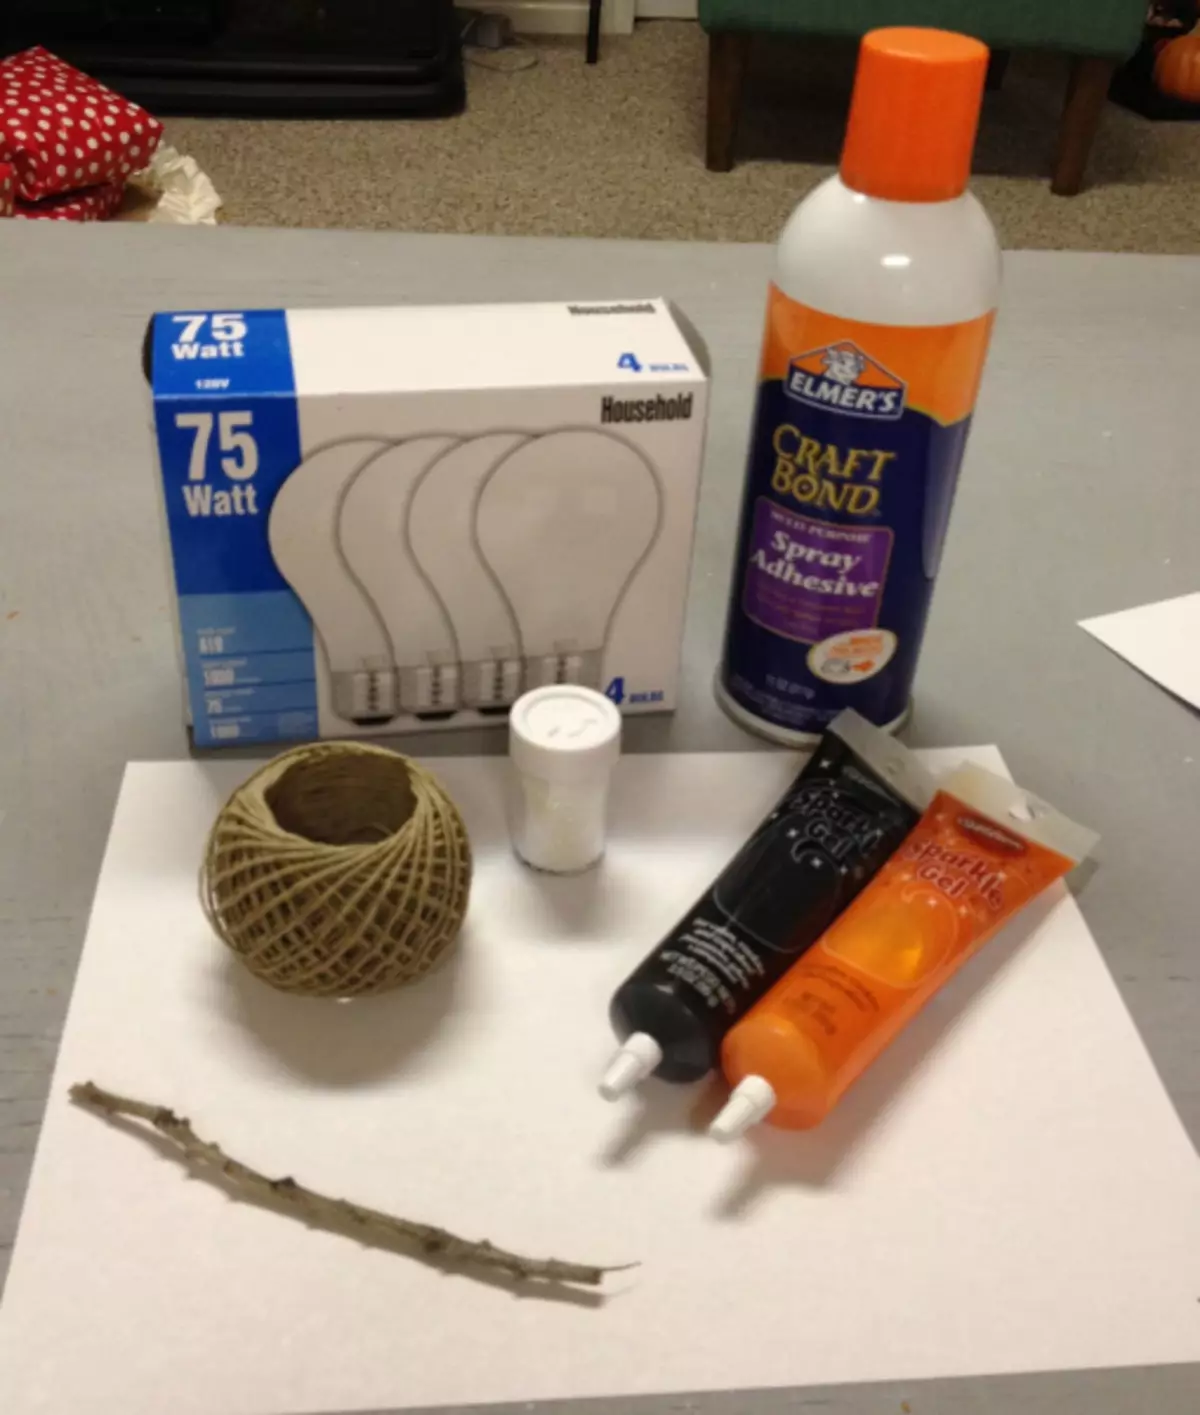
Materials
For the manufacture of a snowman on the Christmas tree from the light bulb with their own hands, you will need:
- light bulb;
- aerosol glue;
- twine or tape;
- acrylic paint;
- dry sequins;
- Splits.
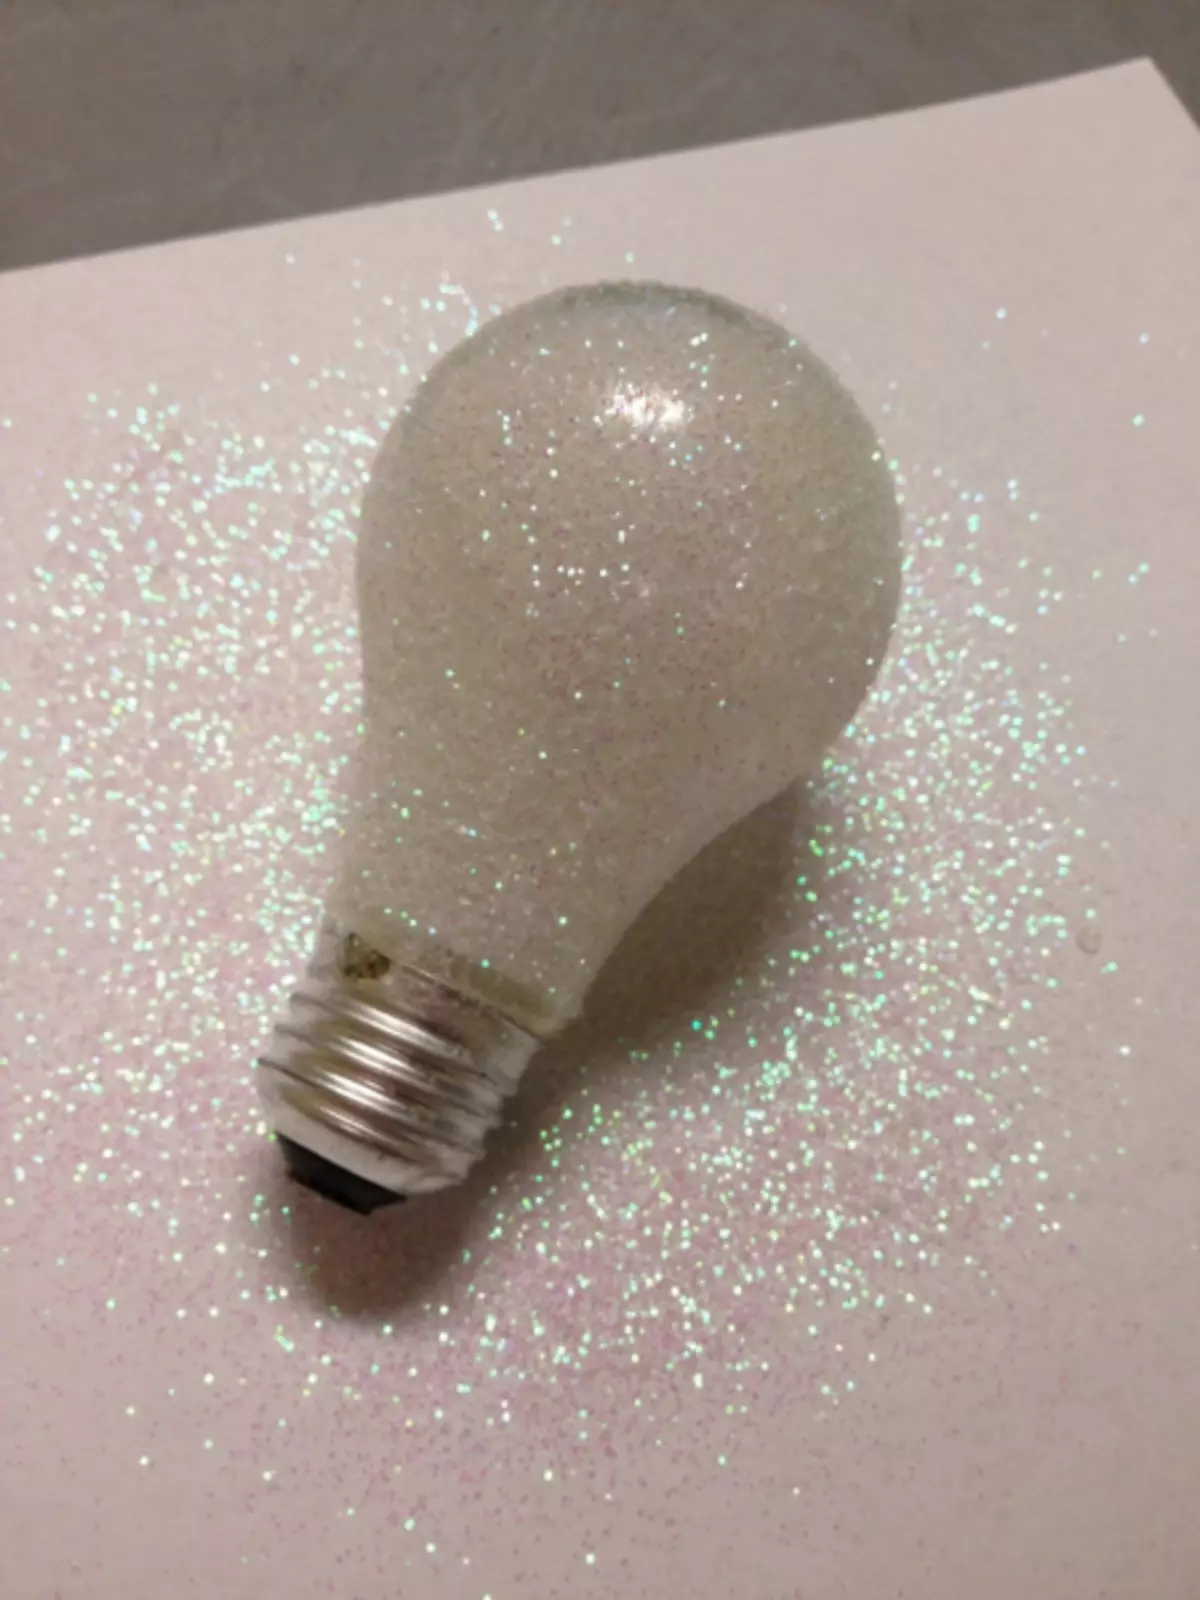
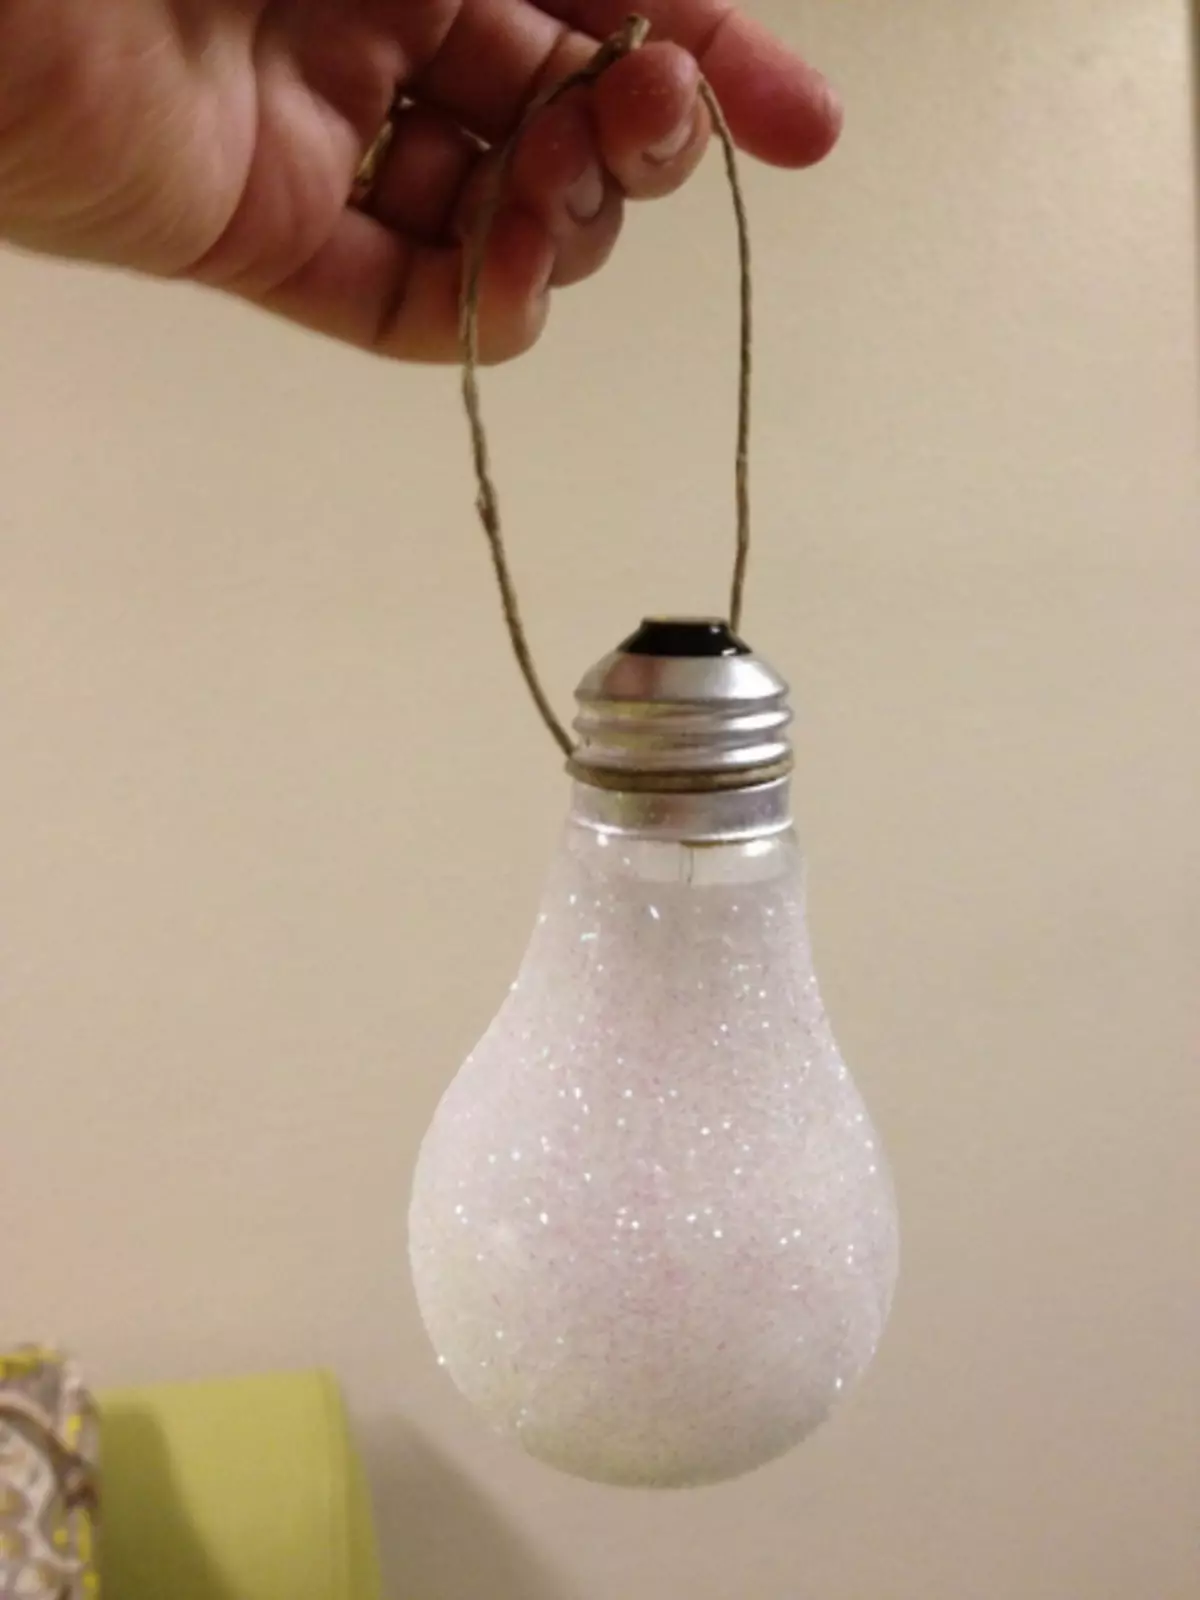
Step 1 . Light bulb wipe the dry cloth, clearing it from dust, and cover with an aerosol varnish. While the varnish is not drying, sprinkle with sparkles light bulb. Give the lacquer to dry completely, excess the brilliance of the stake.
Step 2. . The base of the light bulb will be tied by twine or ribbon, forming a loop like.
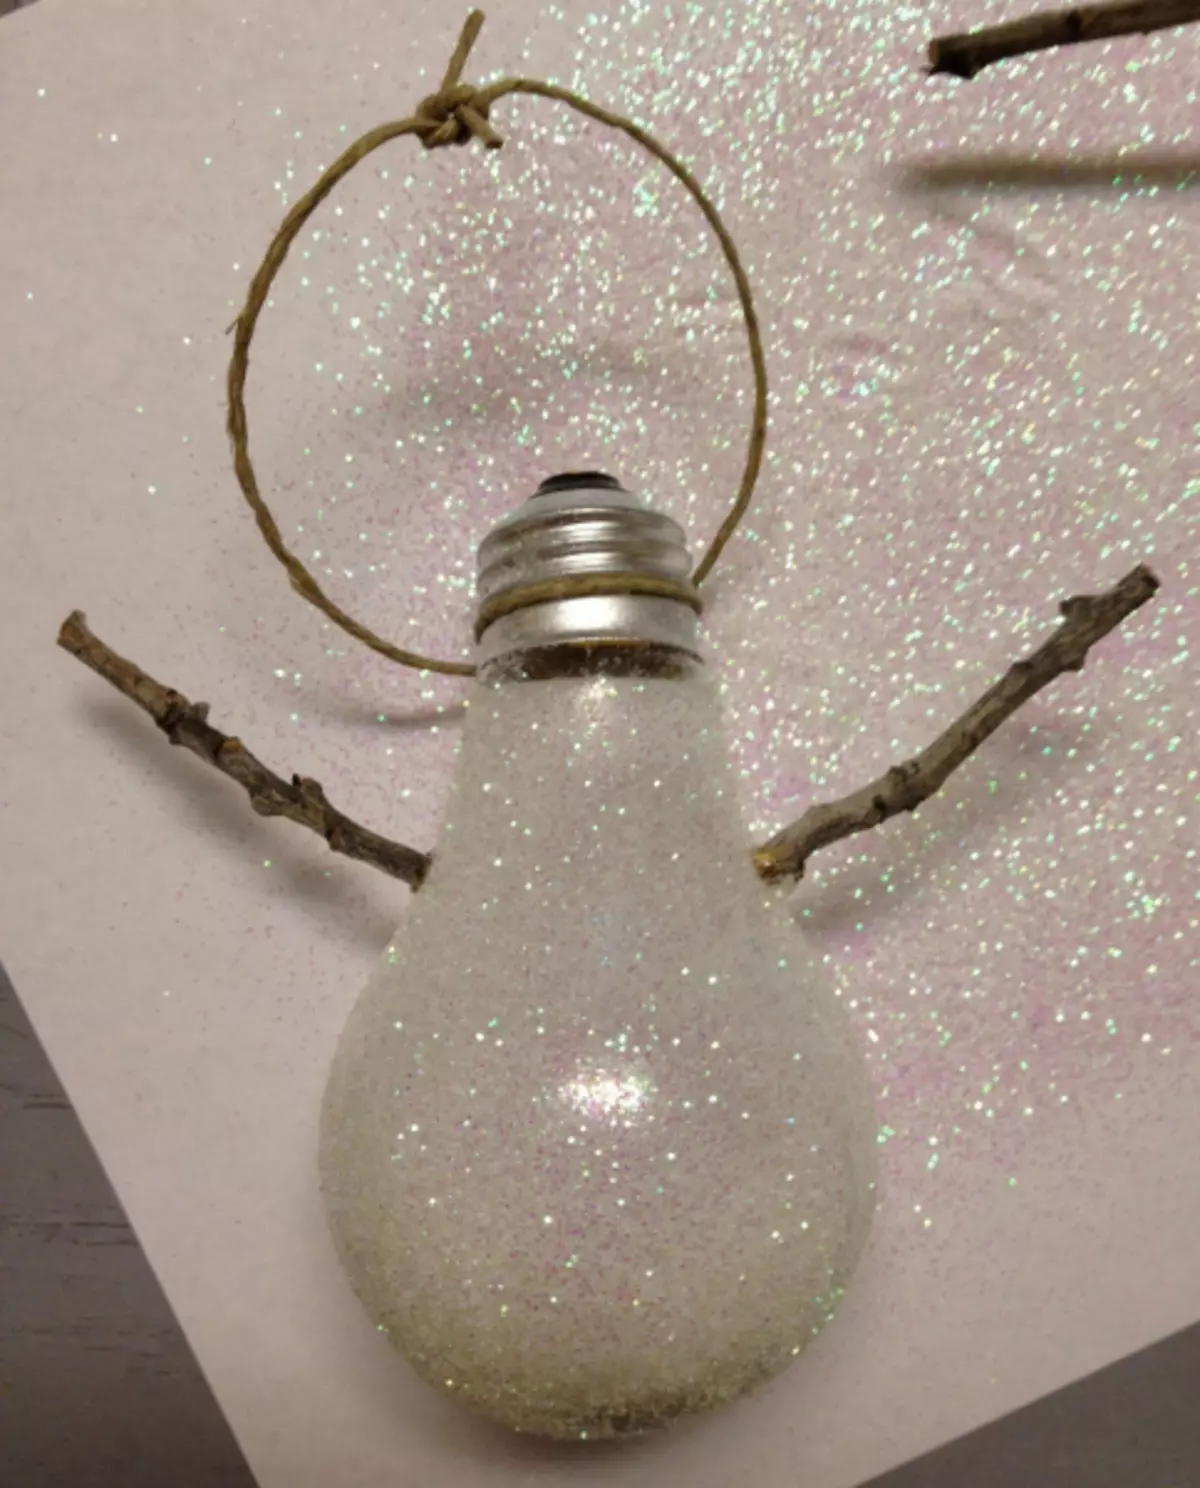
Step 3. . Burn two twigs of the same size and with the help of hot glue, glue them from the side of the light bulb.
Step 4. . Acrylic paints draw eyes, mouth, nose and buttons on a snowman torso.
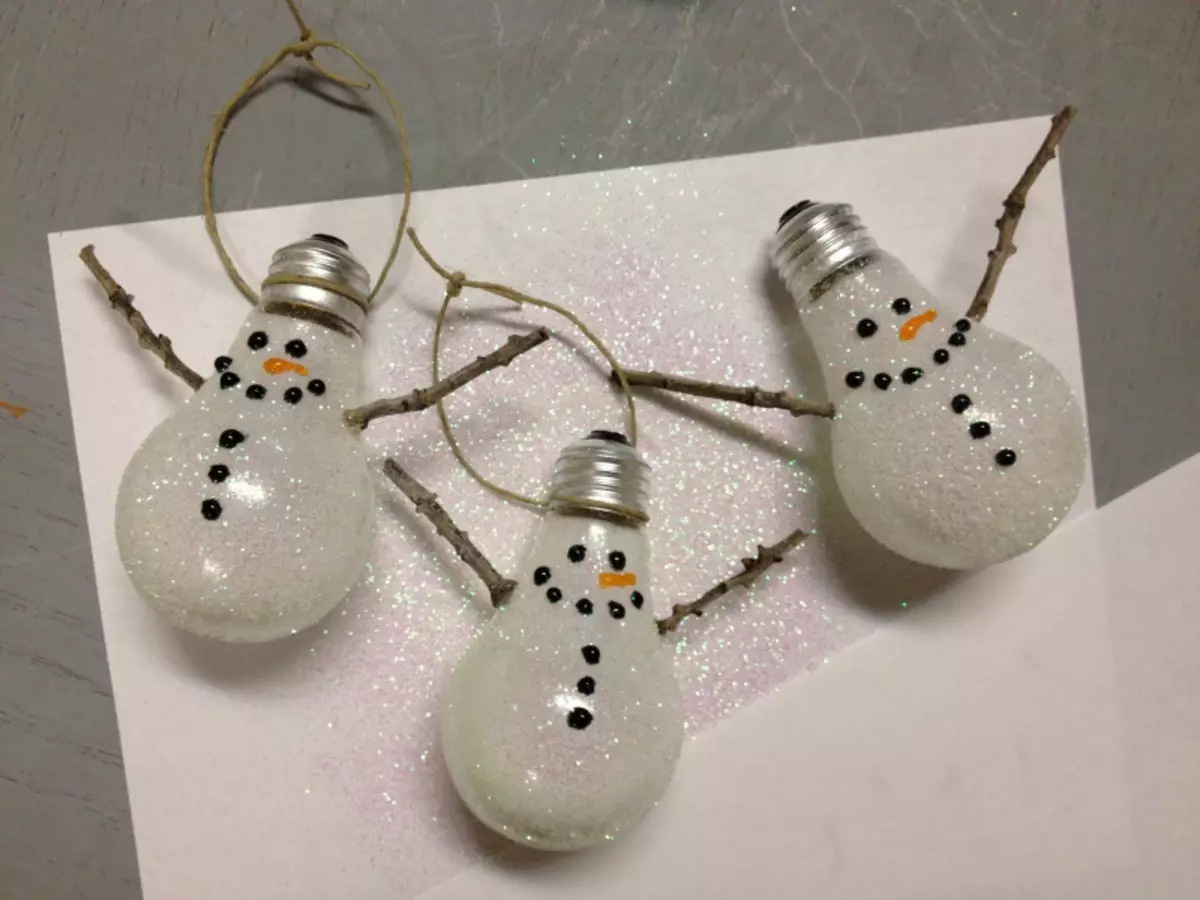
After the paint is dry, a snowman can decorate his New Year's fir tree.
See also other Master Classes Snowmans (Clickable Pictures):
| 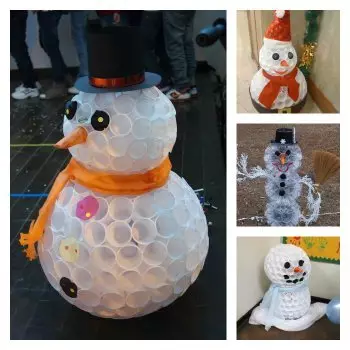
|