
When the cold comes, I want to warm up as much as possible. And it applies not only to the head, neck, but also hands. Many prefer gloves because of the amenities to use, but still mittens are the attribute of the winter itself. Now there are a large number of options for knitting vechers, as well as patterns for them. Every year more ornaments are added to the piggy bank using drawings of the vechers. Some of the most famous and popular patterns are braids. But not all newcomers know how to knit this pattern. If you follow the instructions, I will definitely do not arise how to tie mittens with braids.
Spit patterns are very beautiful and there is not one type of weaving such a drawing. There are braids in the spit, double, triple. Therefore, you should not worry, just highlight the time, reserve patience and start knitting mittens with such a wonderful pattern.
Amazing ornament
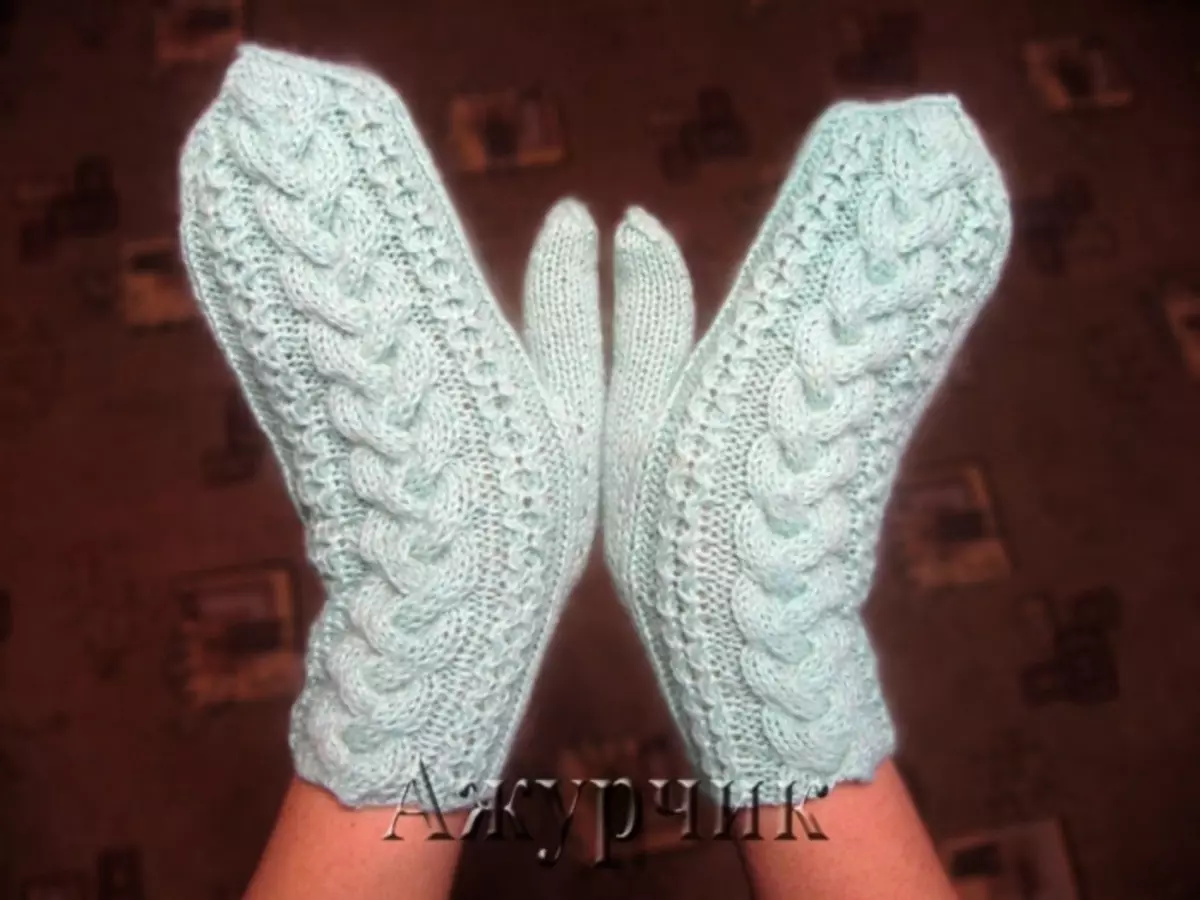
Not only summer, but also winter is a time when you want to look beautiful and challenged, but besides this also do not freeze. Therefore, in this master class we will learn how to knit mittens with two braids. To facilitate the work below, schemes are presented with which you can easily associate such mittens.
What needs to be prepared:
- Threads Elysee Laine 100% acrylic, we will need approximately 70 g;
- Fire knitting spokes, size 3.5.
We remember that mittens we knit the same, with the exception of thumbs. This is the basic rule when knitting.
We need to score 48 loops, evenly distribute them for 4 knitting needles, each should turn out 12 loopers. Next, we knit the gum two in two, the height of which will be 3.5 cm, can be made higher as who likes. When the gum is accurate, start knitting the main drawing. In order to be more convenient to knit, carry the loops from the first and second knitting needles for one. We begin to lie with the knitting needles, where 24 loops.
Article on the topic: knit crochet mittens for the winter
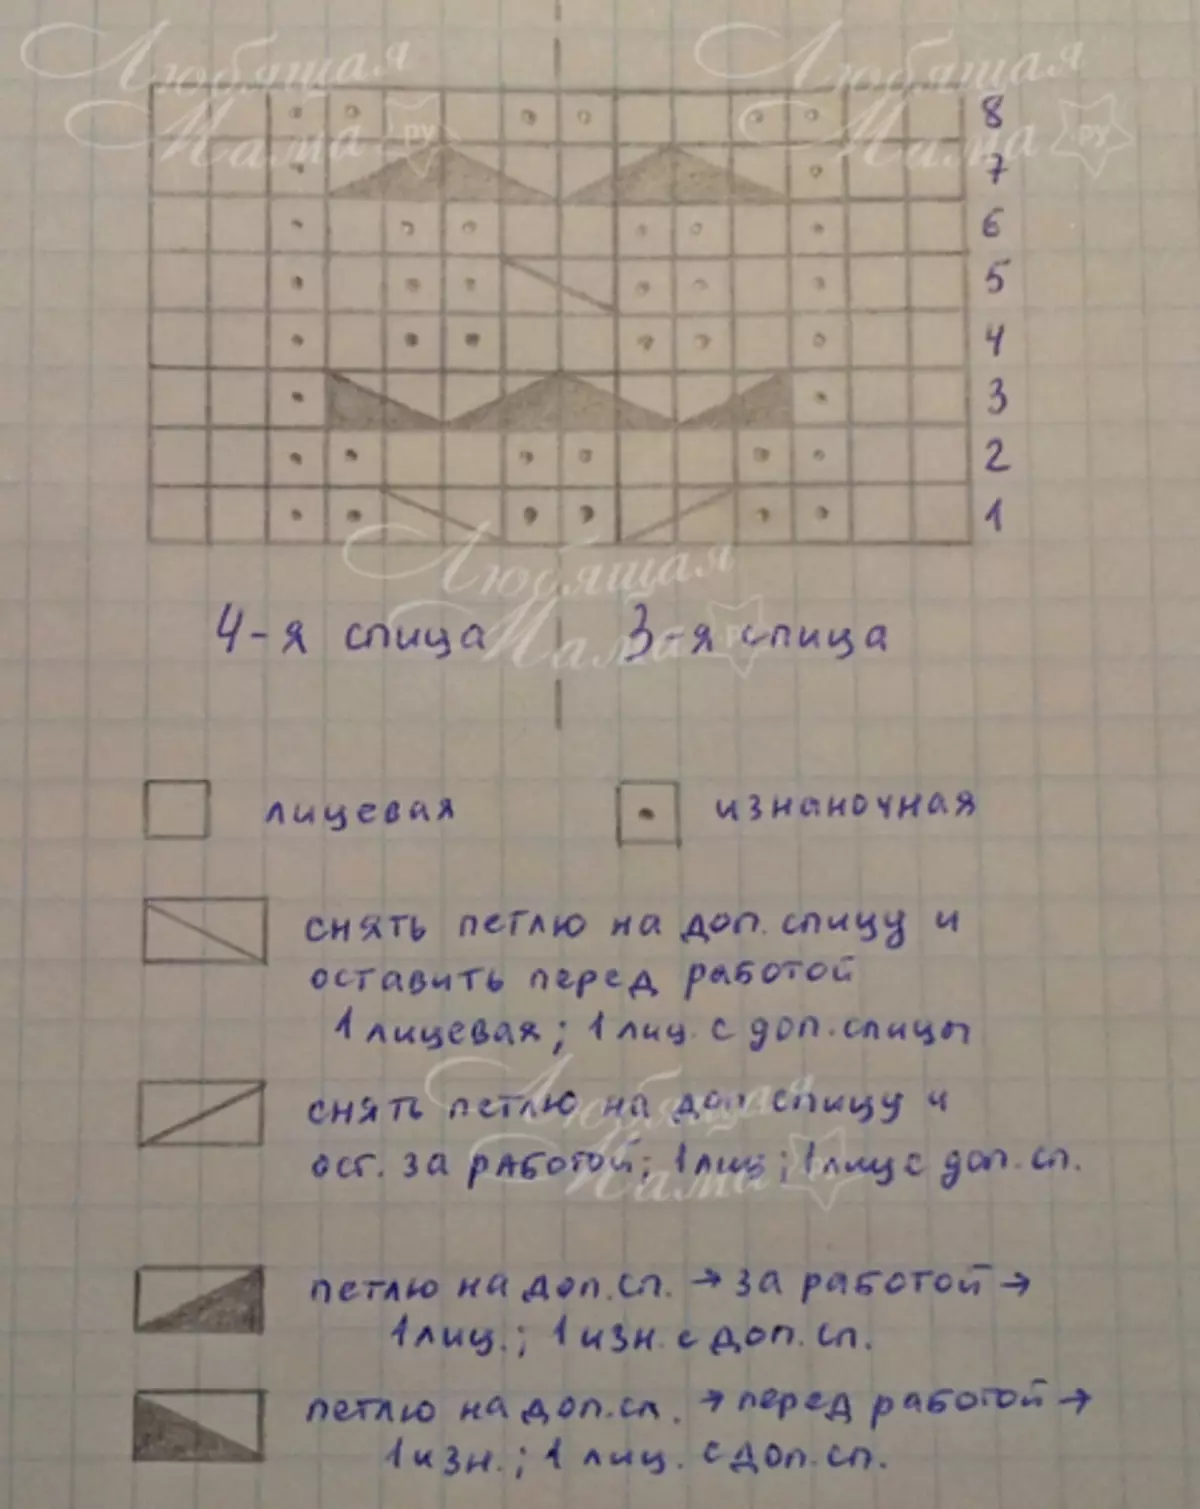
1 and 6 row - knit first faithful, then two irons, front is again, only 8, 2 irons, 8 facial, 2 irons and one facial, and the buttercups from the palm squeeze.
7 row - facial, 2 irons, 8 loops need to be taken to the left side, 2 invalid, now 8 we intersect in the right side, 2 invalous, facial, and so knit until the end of the mittens, repetition from the first to the seventh row.
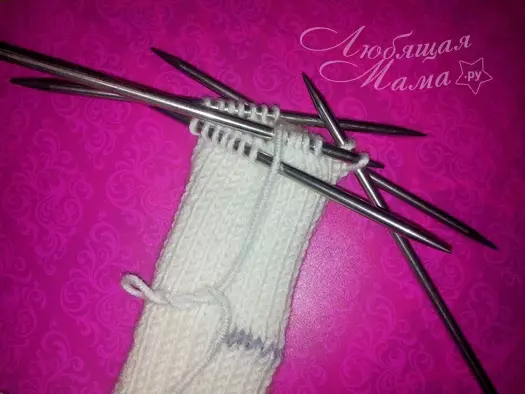
When knitting, it is necessary to try a mittens to determine the place of thumb. And when I will take it to your finger (knit on the left math), on the side of the palm on the third knitting needle 4 facial and 6 kettops. It is necessary to remove it on the pin, after the needle you need to dial 6 loops, so that it was 12, and insert 2 facial. Knit taking into account the pattern. We begin to subscribe the buttercups when I take the tip of the maiden. For the mittens to be rounded, it is necessary to check in the center for each needle together. So we reflect until it remains on each needle one. Then carefully remove and with the help of the hook stretch the thread through all four butterms. The second vespeck knit symmetrically.
Next you need to raise a thumb. To do this, remove the buttercups from the pin to the knitter, then we score on the opposite side on the opposite side and on the sides of 4 butters. As a result, 20 loops should be obtained, which distribute to all four knitting needles. And then in a circle knit facial buttercups. Removing with the middle of the nail plate as in such a way as in the main part. We finished.
For harsh winter
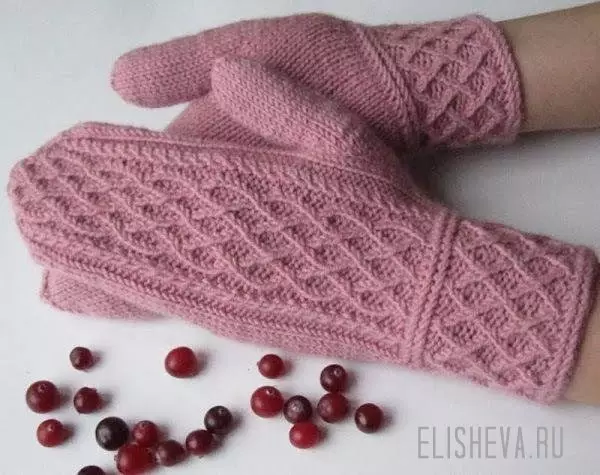
Mittens, which are associated with the help of the spokes, are azami knitting. Such mittens with this pattern is easy, the main thing is patience. Homemade mittens will look no worse than ordinary stores. In this master class, newcomers will be able to learn how to knit such mittens, which fit on five knits.
Article on the topic: Invisible ink at home without lemon: Composition and recipe
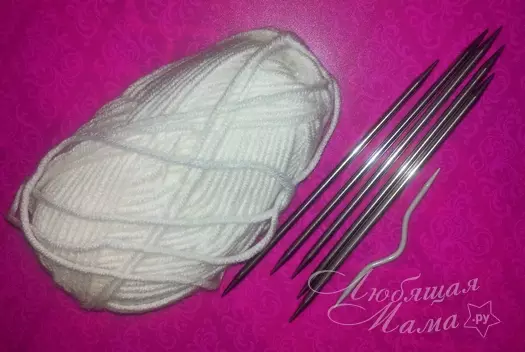
What is necessary for knitting:
- yarn nako arctic 100 g per 100 m, 40% wool and 60% acrylic;
- Spokes at number 6 and auxiliary needles.
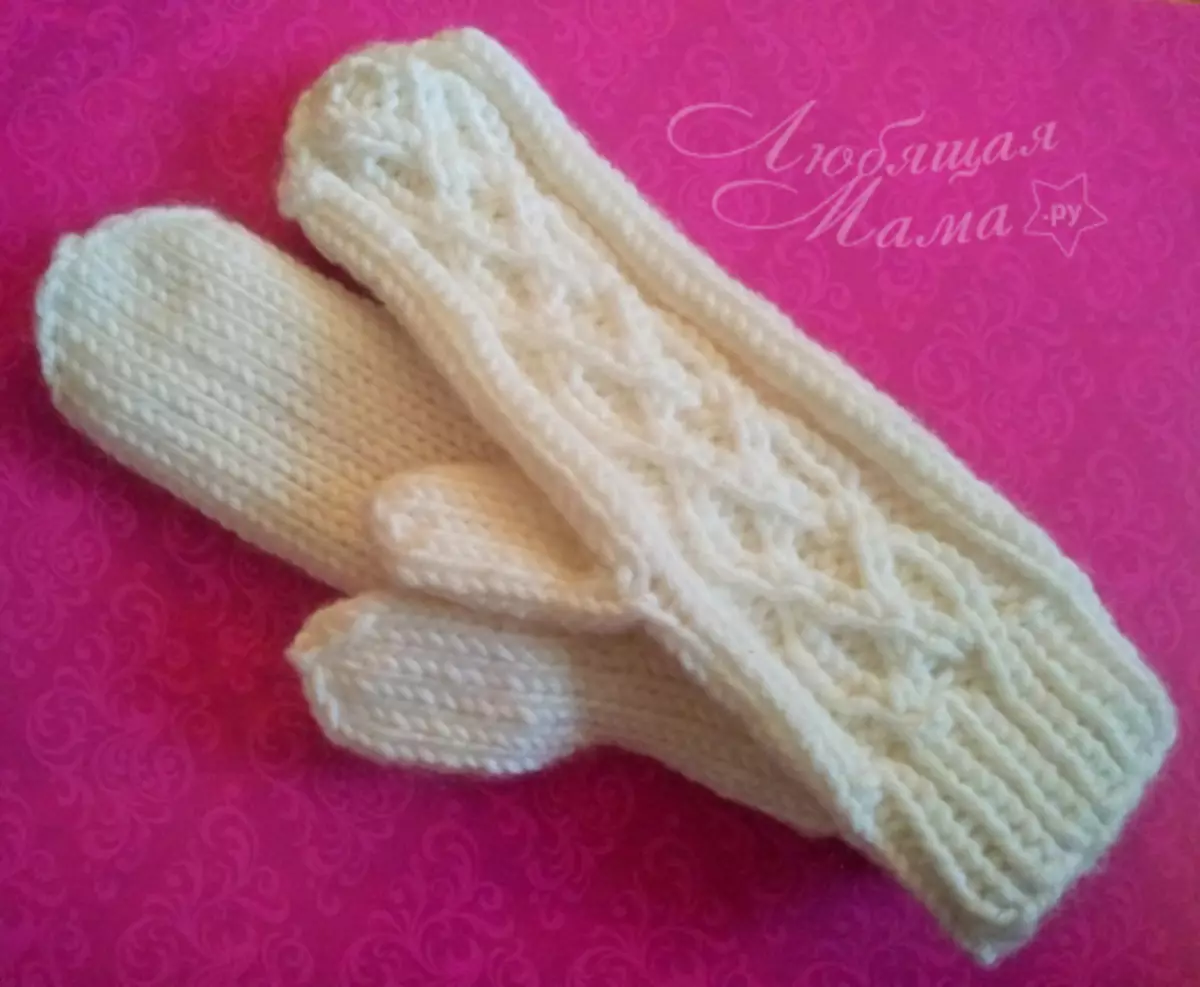
We recruit 24 loops and now distribute them for 4 knitting needles. It turns out that there will be 6 spokes on each needle. We start knitting the cuff, for this it is necessary to check the gum, as it is preference - one through one or two in two. When knitting it is necessary to add four more butterms. As a result, it should be 28. Knit the desired cuff altitude, usually up to 5 cm. If there is a need, you can add a little loop in the middle of knitting. And additional loops are preserved as ordinary. Using the scheme that is presented below, the pigtail pattern fit. The scheme is light and read it will not be difficult.
It is important that half the drawing will be on the third of the third, and the second is on the fourth.
When the web will be accurately closed to the place of the finger, there must be a mittens during the mating, the place of my finger, we allocate another thread. The first pettle on the first spin knit facial, but already in the next loop we introduce a thread of another color. The latter in the working color and then all the loovers return to the needle, where one remained. Varezhka knit to the tip of the maiden. Then we begin to make the relevant. Relatives are done at the beginning of the first and second buttermits, and in the third and fourth - at the end. This means that with two loops we do one. And so until it remains on the knitting alcohol. Then remove them from the spokes and stretch through them rubber - tighten.

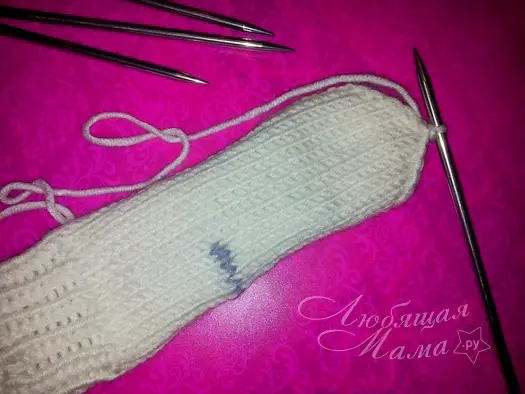
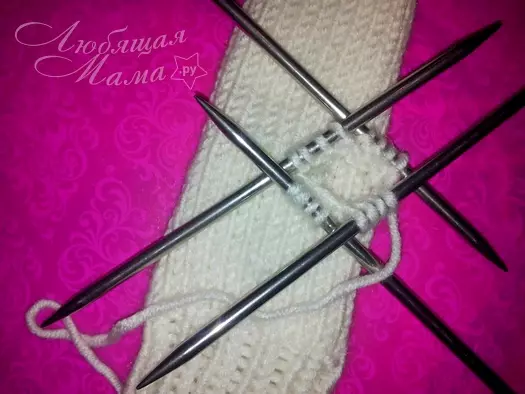
We start knitting your finger, for this stretch the extra thread and insert the needles in the loops. Downstairs should turn out one loop more. Do not forget to distribute all the loops for four knitting needles and begin to knit the usual facial stroy. When you get to the nail plate, we begin to make a failure. Subscribe loops will be in the same way as in the main part. And here is our mitten ready.
Article on the topic: Swan from beads for beginners: master class with schemes and video

Video on the topic
This lesson presents a video selection with which you can learn to knit mittens with braids.