
What is Papier Masha? It is a beautiful phrase of France and a detailed translation meant chewing paper. In this article we will teach you to make crafts from papier-mache with your own hands, after which you can share such experience with your children!
For kindergarten
As soon as our Chado grows, the first stage of his life is a kindergarten, in which of course there are lessons and tasks for work at home. One of these tasks is crafts for a garden from Papier-Masha.
To perform this task, we will need:
- Paper;
- Glue;
- Paint and tassels;
- Apron;
- Oilcloth for the working surface;
- Water;
- Calm.
For crafts from dad-mache in kindergarten, you can use something simple, such as plates or mushrooms.
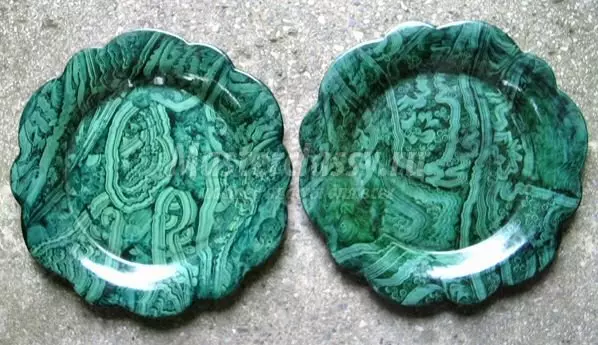
Make a plate in this technique is very simple, for this we use any favorite plate in the form of the basis.
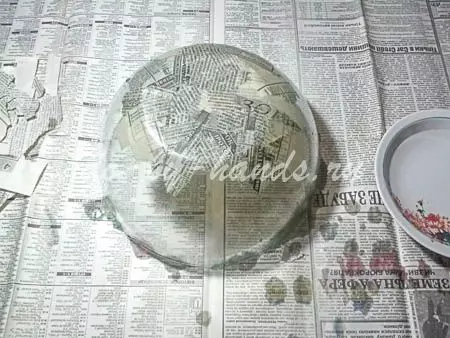
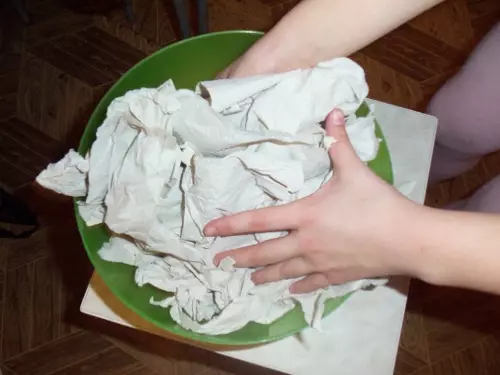
While your baby tears paper on small shreds, you pour water and soak them.
If you cut the paper, and not to break, then the bulls will not slander on your product, this is the first rule of Papier-Masha - no scissors!
After they are well splamented, squeeze excess water and put the layer behind the layer. Now our plate is worth a little relax and dry.
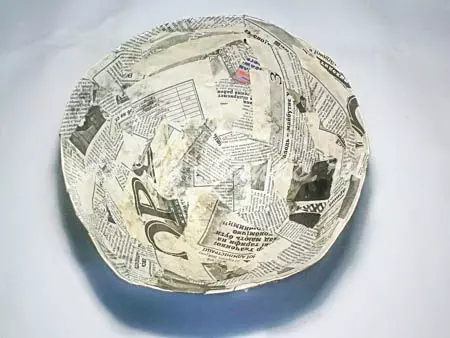
As soon as the paper plate will dry up, go to the sizing step with glue and the ball behind the ball overlap new layers of paper, abundantly lubricating glue. After complete drying of the glue, we remove the glass of the cooler. The remaining stage of the manufacturer will be staining. We hope your karapuza liked the manufacture of plates, and he received many positive emotions.
Video Tips:
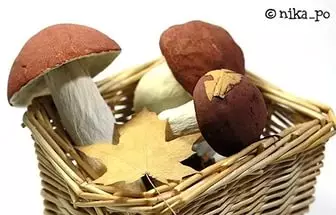
"Mushroom rain"
Mushrooms are such a beauty that our kids love to find under the leaflets in the forest and the park.Article on the topic: How to decorate the glasses with your own hands
Make a fungus in a papier-mache technique with your own hands just with the help of the papier-mache technique. For this we need:
- Paper - the basis of any papier-mache;
- PVA or flour glue, cooked as sour cream;
- Hemnter, like a shape of a mushroom hat;
- Paint.
Bending pieces of torn paper in water, press excess water. We take our shape of the midst, put it up to the edges, we make a deepening in the center of the mushroom, and the hat is ready. We make a feet for a mushroom. Simple movements we collect our base in the form of sausages.
All these parts dry on the battery. After complete drying, we look with the help of glue with smaller pieces and abundantly wist with glue. The last stage will become painting our mushroom happiness and feet feet.
Video tips for making fungi:
"Apples that can not eat"
The easiest for kids is the manufacture of fruits and vegetables in the technique of Papier-Mach, with their own hands. Fruits and vegetables can be done with a crumpled paper into the ball and pasting with small flaps glue.
Or completely from the liquid dough for the modeling - papier-mache.
Simple video selection here:
Whatever craft for the garden you did not do, the main thing is to remain calm and balanced, then everything will turn out.
Mastery animals
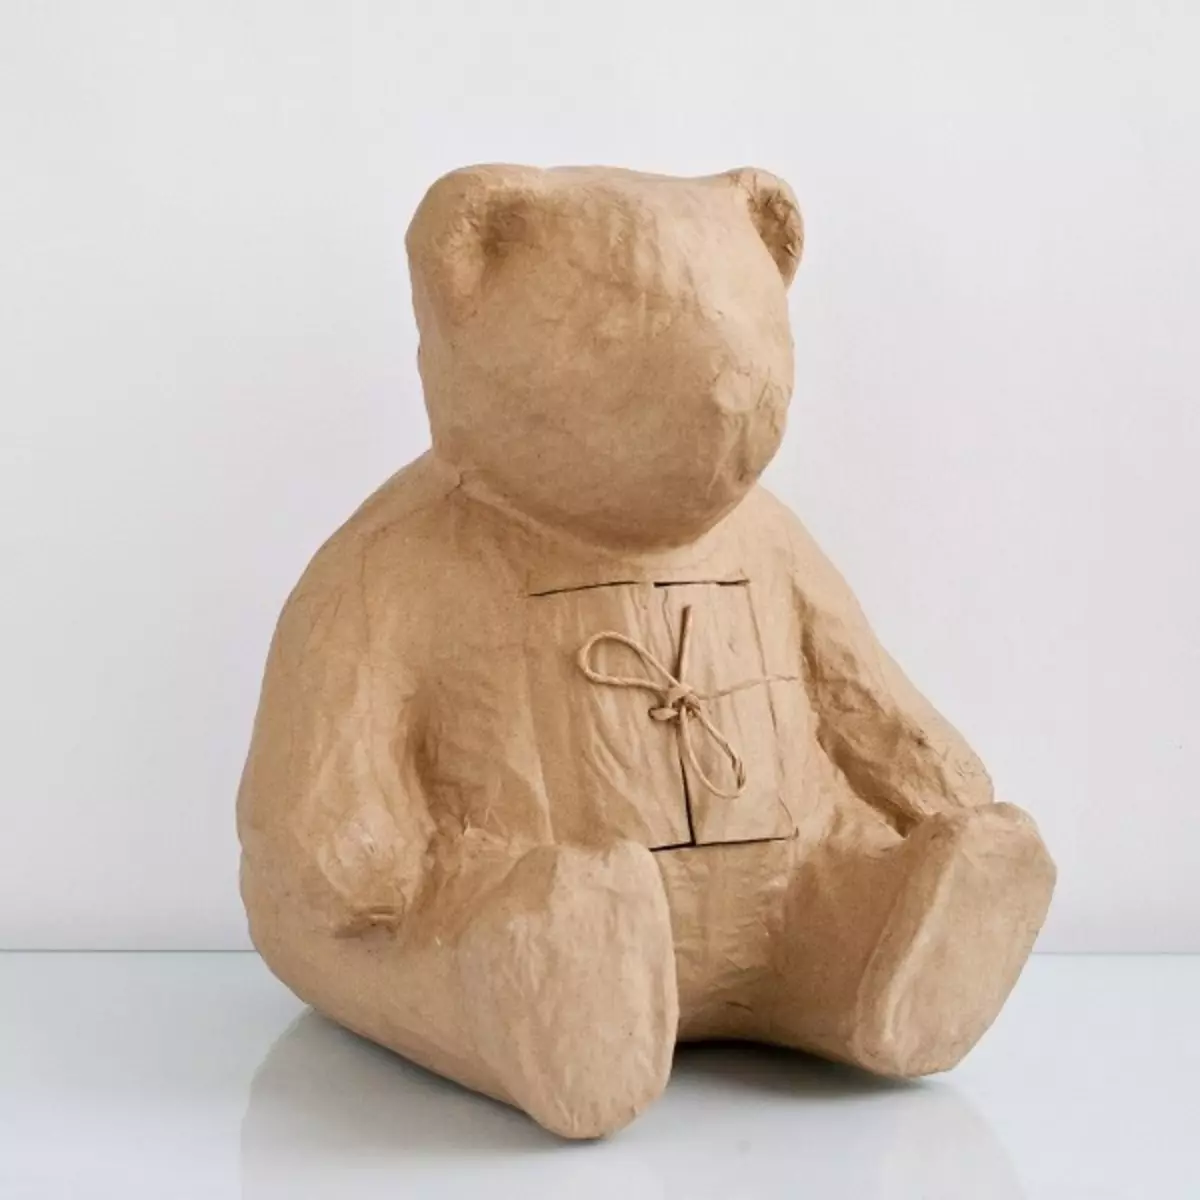
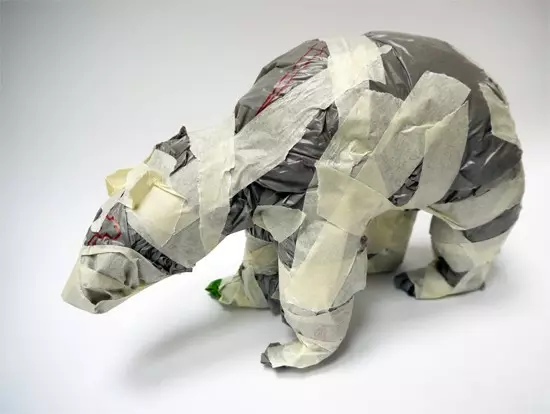
Each mother, watching the child, concludes that the TV is harm. Let's look at how to distract the child using a MK on making a bear in a papier-mache technique.
Before the start of the workshop on the manufacture of papier-mache, do not forget about the safety, for this we prepare the desktop and cover it, for example, with a loaf. For a child, this work will help to work out perfection and concentration, and of course improve fine motility.
So, let's proceed to the preparation of our paper, it should be broken into small pieces, your child will be happy to help in this matter. Do as shown in the photo.
Then the paper should be soaked in a small amount of water, because for the animal we will need to make a frame-torso frame. For our teddy bear we will need:
- paper, cardboard;
- Scotch or adhesive pistol;
- paints;
- PVA glue.
Remember that the smaller a piece of paper, the better your toy will get better.
Clay can be different. If your child's age allows you to use any wallpaper glue that is in every home after repair. But if your baby is still small, we cook a simple starch to the state of the celest.
Article on the topic: Bow of fabric with your own hands on the head or on a dress with a master class
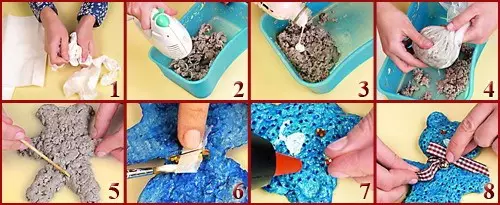
The first is pressing paper from excess water, we turn it into a circle for the head and oval for the body, thoroughly fasten your head and torso with the help of a tape or adhesive pistol. We make hands and legs from cardboard, as fast, turning it tight at the ends, make cuts for fastening to the body. That's not a cunning way our bear is almost ready.
And do not forget about the ears, you can make a layer behind the layer, there is necessarily a layer of glue between the layers, then the bear will look beautifully. The final stage of manufacturing the carcass torso will be checking the attachment of all parts, since the quality of our toy depends on the mount. After all manipulations, the stage of stripping products from unnecessary sticking blocks arrive and, of course, painting.
If the fantasy does not allow you to navigate, give the stage of painting with your tea, he will gladly come up with the color of the bear and will be happy.
Let me dry the bear in a warm place, for example, on the window.

A video clip on the manufacture of a bear can be found here:
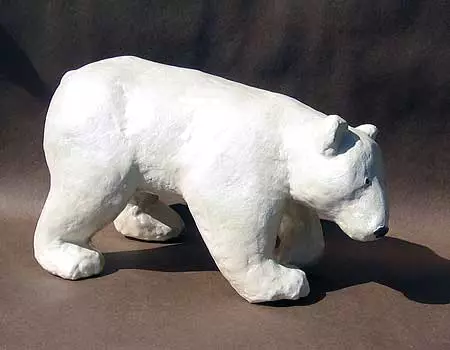
Other animals from Papier Masha, video lesson:
Remember, no matter how your bear, in the style of Umkki or in the style of the Grizzly Bear from the cartoon, most importantly, so that you like you and your baby.
Sculptures for the garden
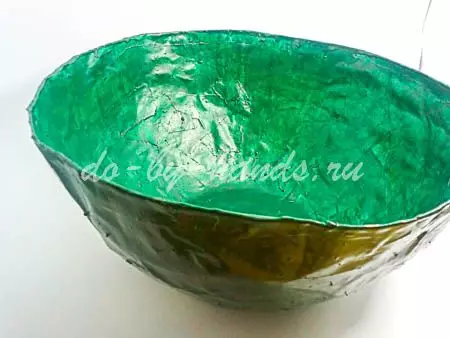
Each housewife would like to achieve purity in the house and in the garden. And, of course, this article will help you in the manufacture of garden jewelry in the papier-mache technique.
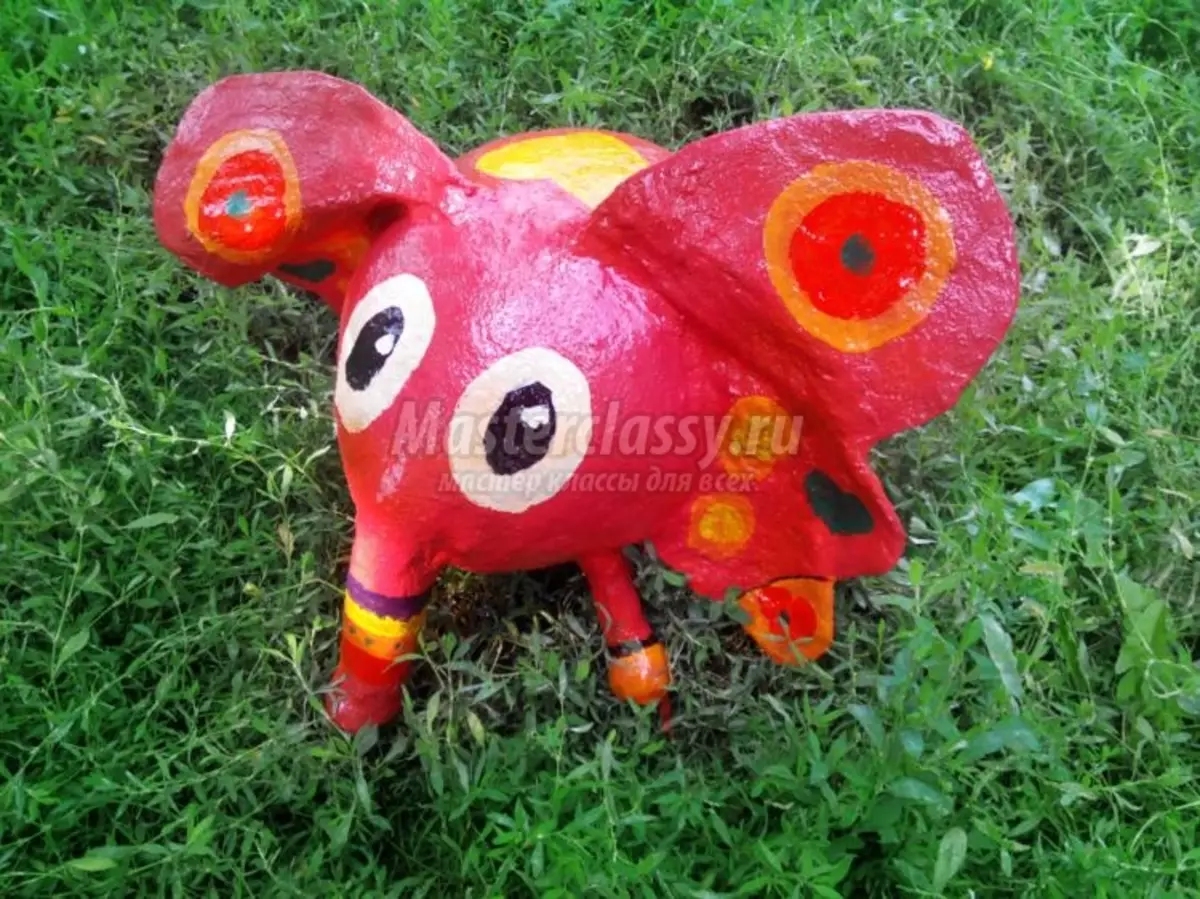
For greater originality, you can make a large fly for the garden:
- Toilet or newspaper paper;
- Balloon;
- Glue;
- Water;
- Scotch;
- Wire for paws and nose;
- Acrylic paint;
- Tassels;
- Building gypsum;
- Gloves.
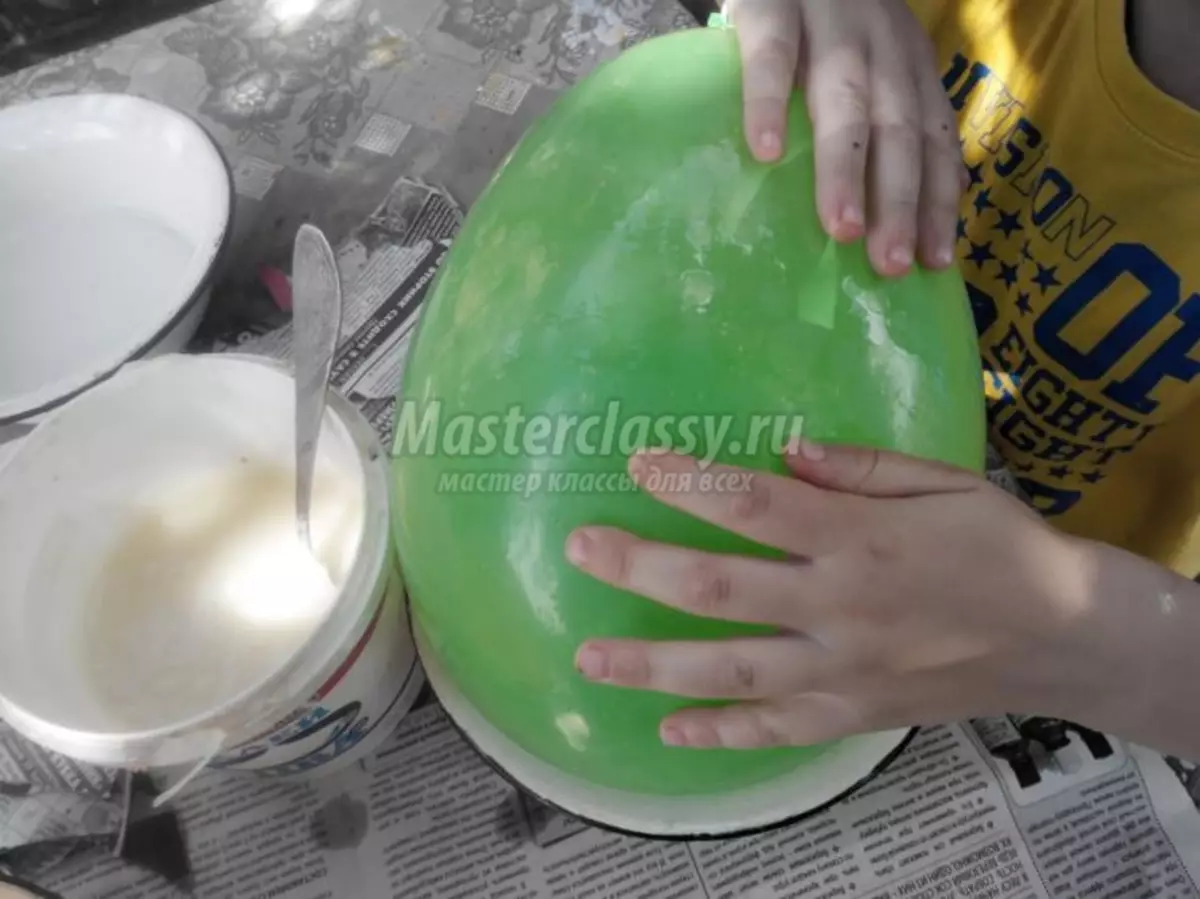
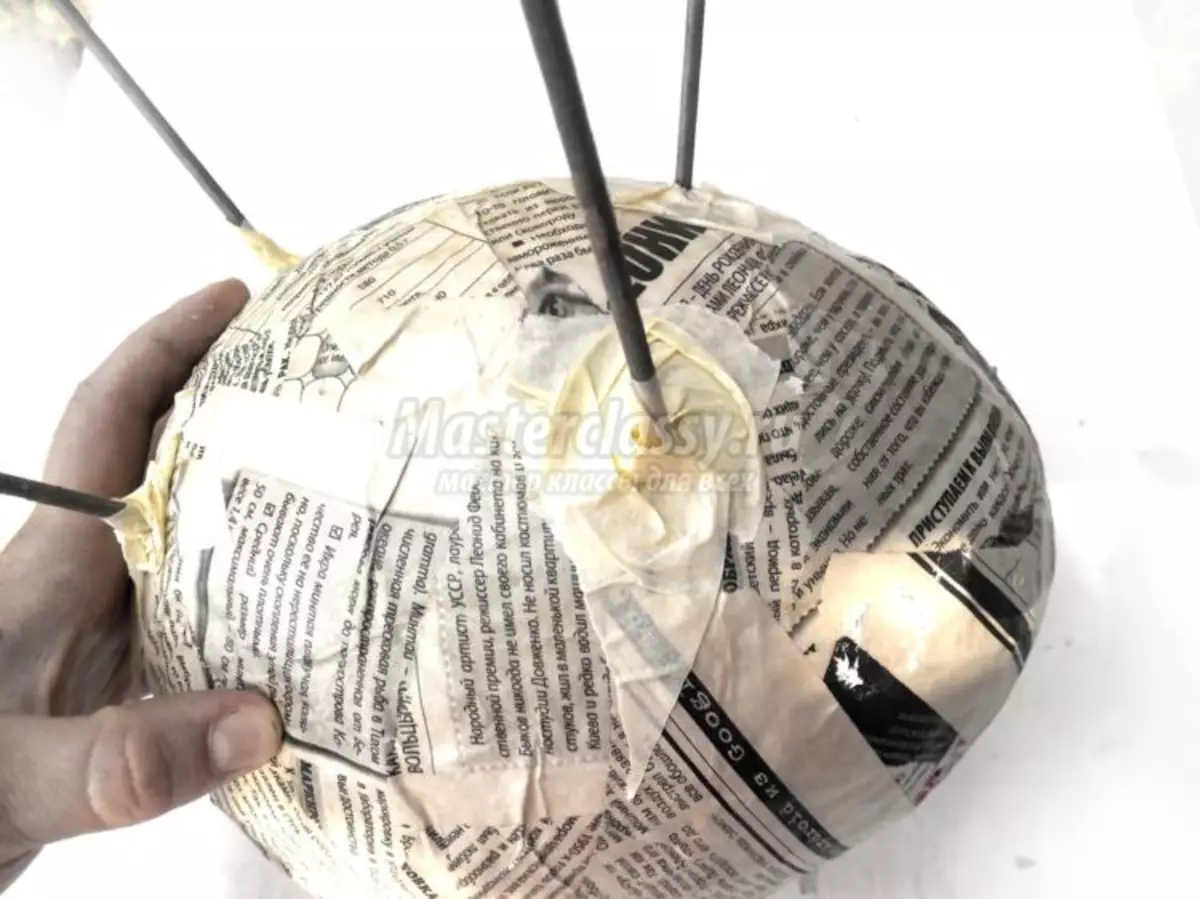
The first stage of cooking a garden sculpture is as always a paper break into small pieces. After inflate the ball in such a size that you would like to see your fly. The ball should be wedged with wet hands, so that the paper lay on it with a smooth layer.
Article on the topic: Lush lady in a hat. Knit Amiturum doll
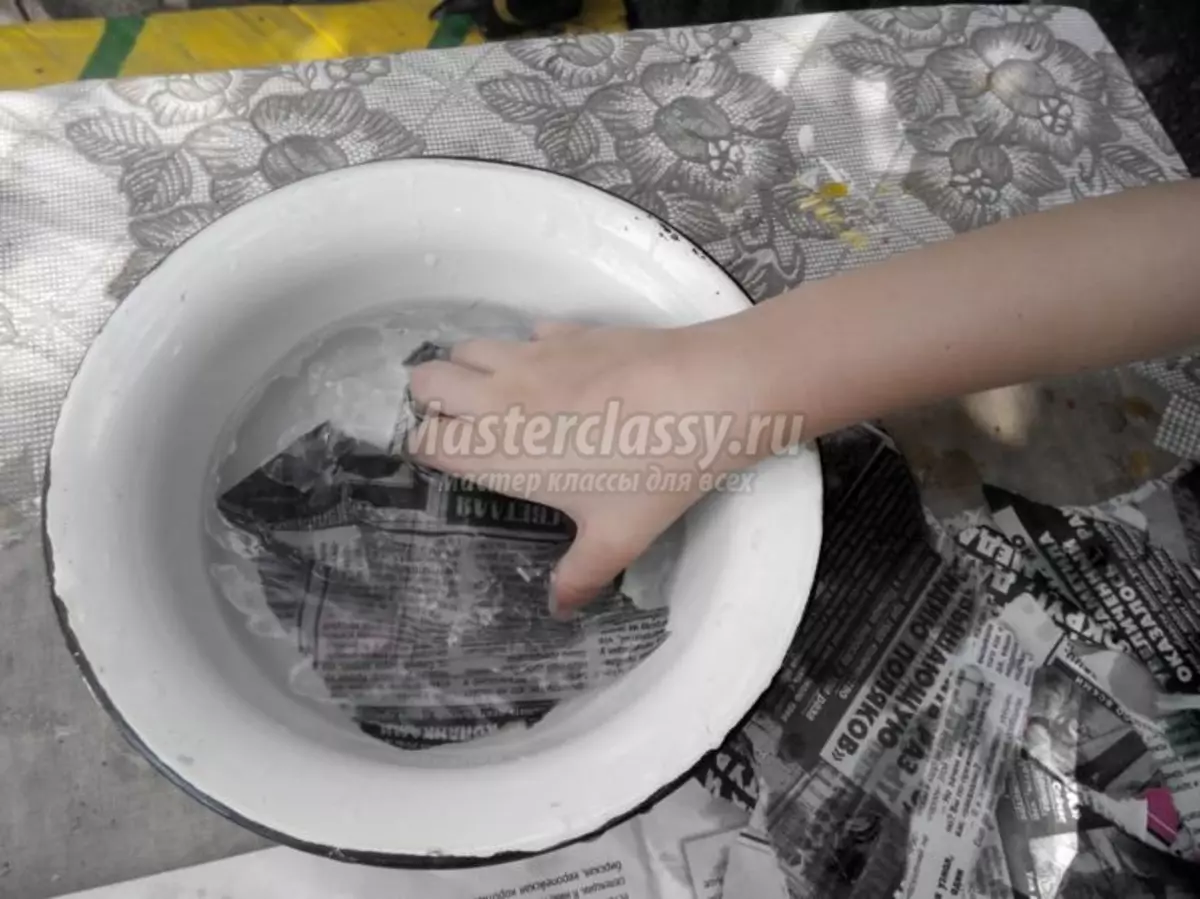
Next for papier-mache, we use paper invented in water.
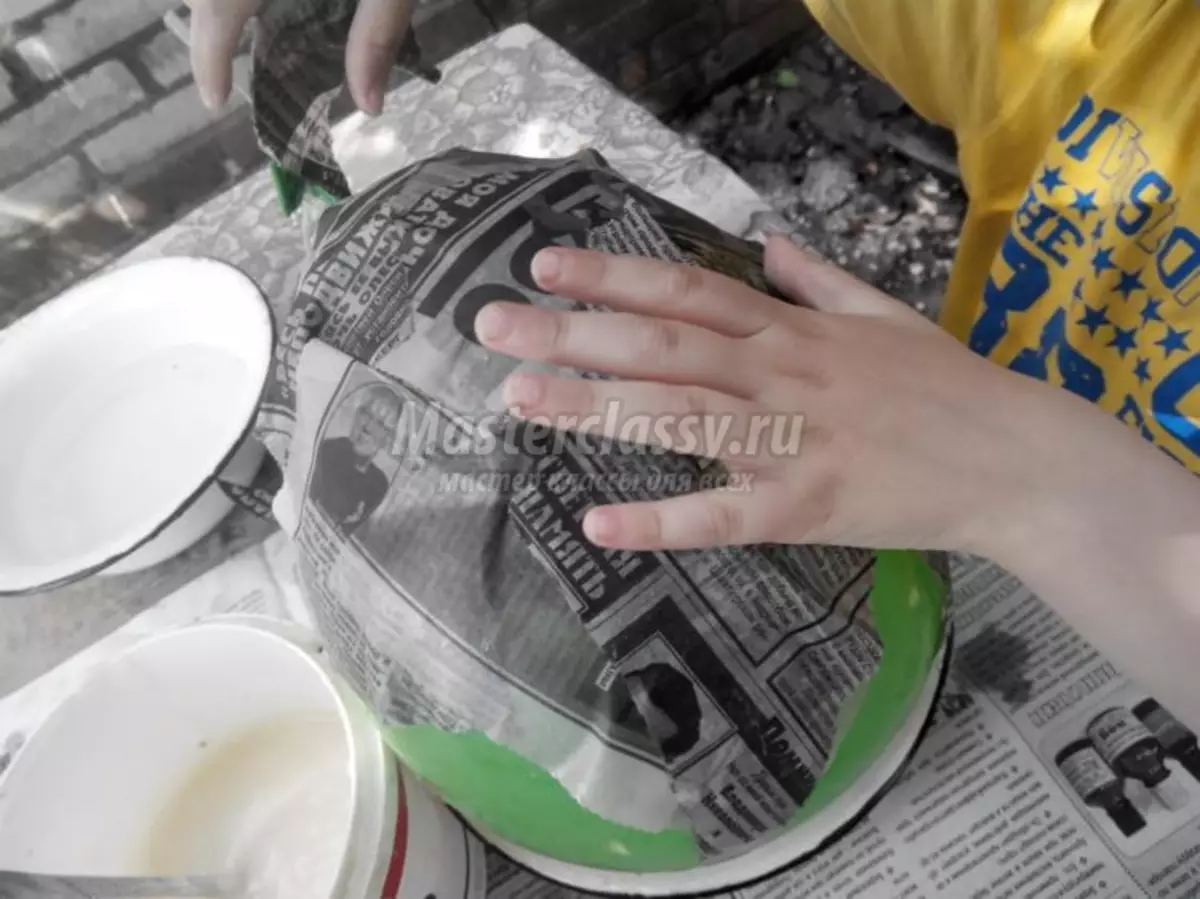
Each layer of the product is abundantly lubricated with glue, so repeat about 10-15 times.
Remember that the more layers you will do, the better your fleece will turn out.

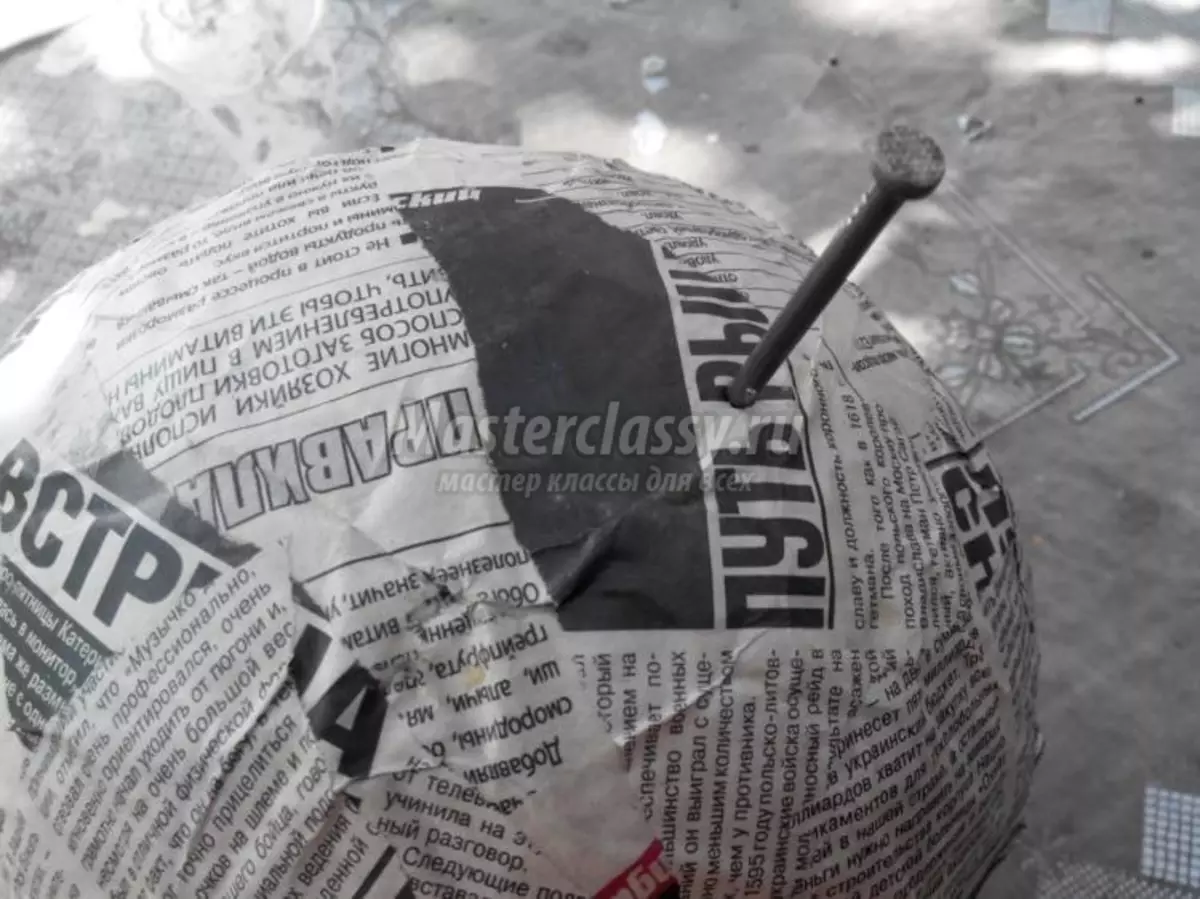
After the last layer of the newspaper, the torso should dry well. When everything dried, do not forget to pierce the ball with the help of a nail and you can move to the manufacture of paws and a trunk.
For greater strength, we make a frame with wire. Cut off the equal parts of the wire, fix our legs and spout with molar scotch, leaving the naked wire at the ends to fasten into the garden of our fleece so that the wind does not carry it throughout the front desk.
Wings for flies we cut out of roll wallpaper.
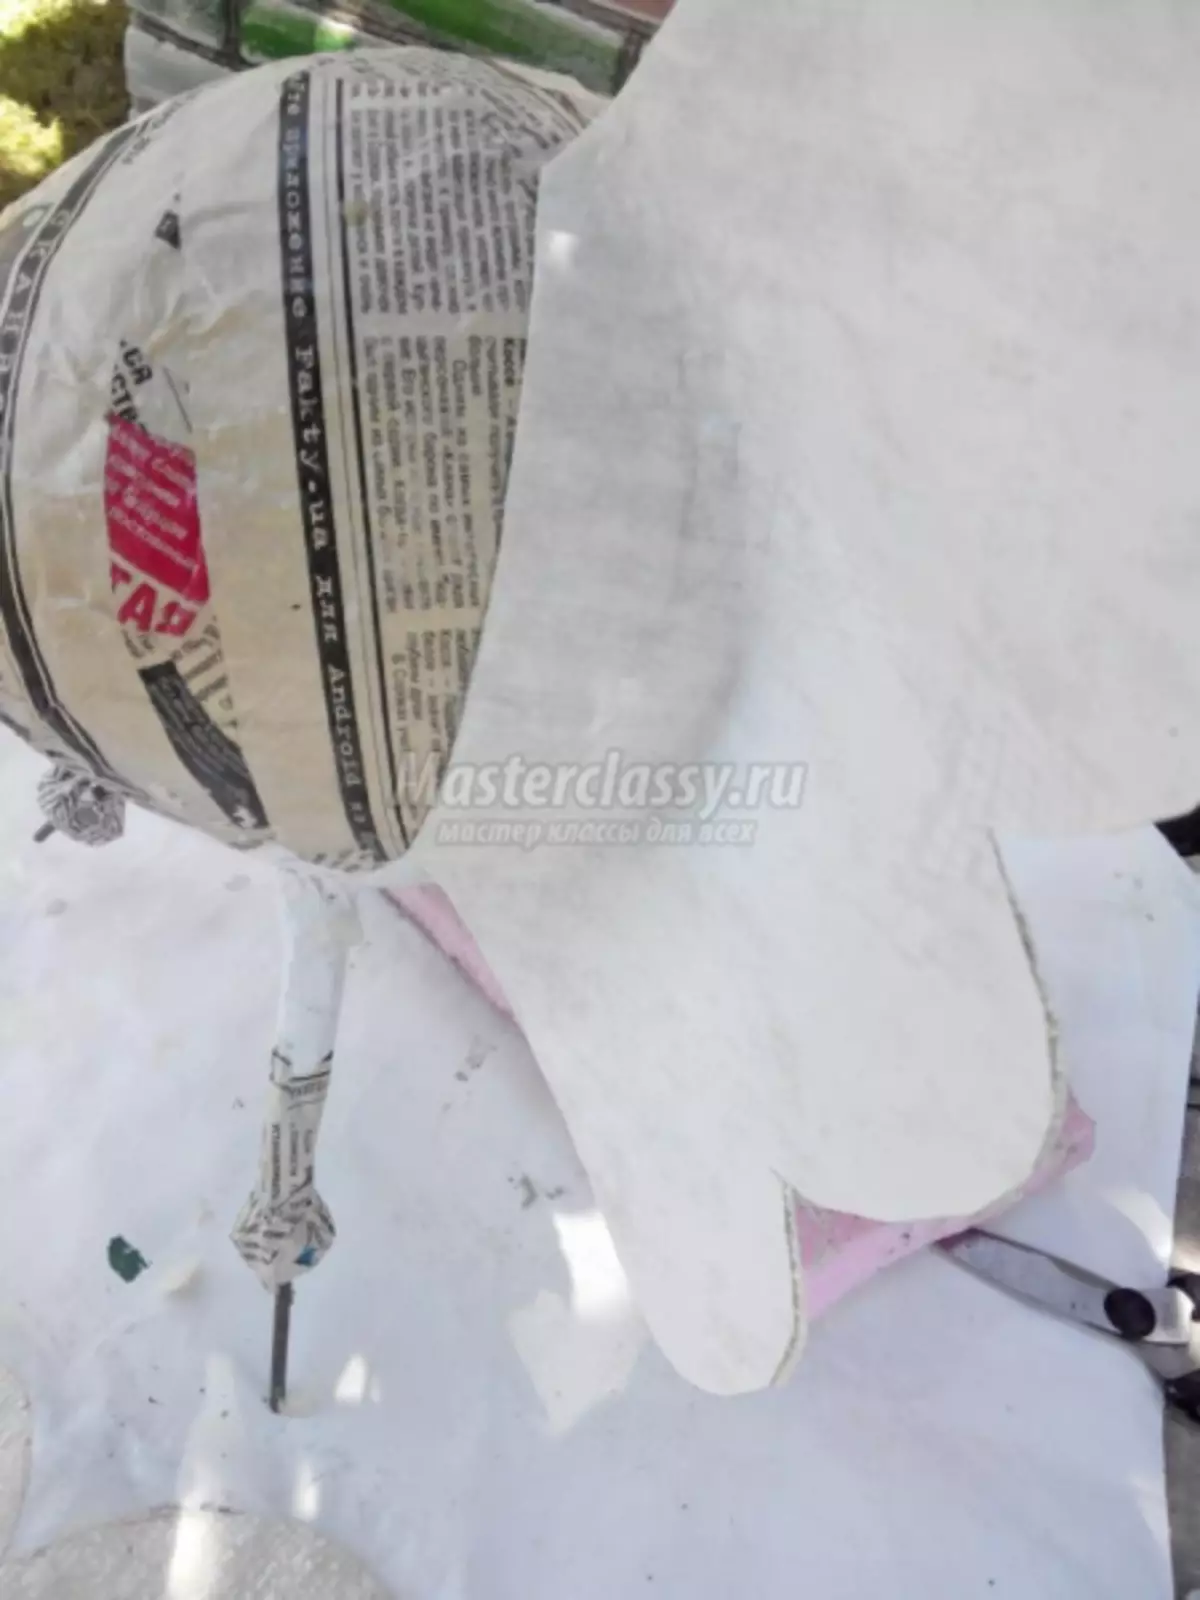
Since the basis is ready, we grind toilet paper with a blender in a small crumb and fill with water, leaving all this mixture somewhere for 15 minutes.
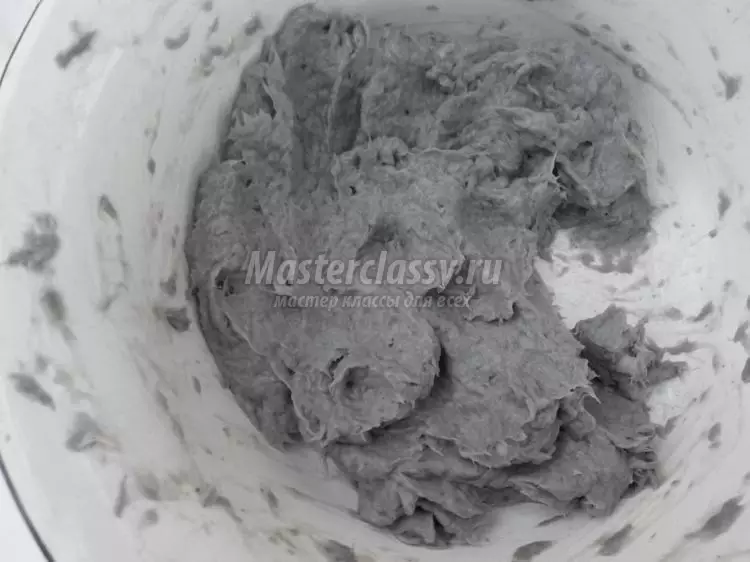
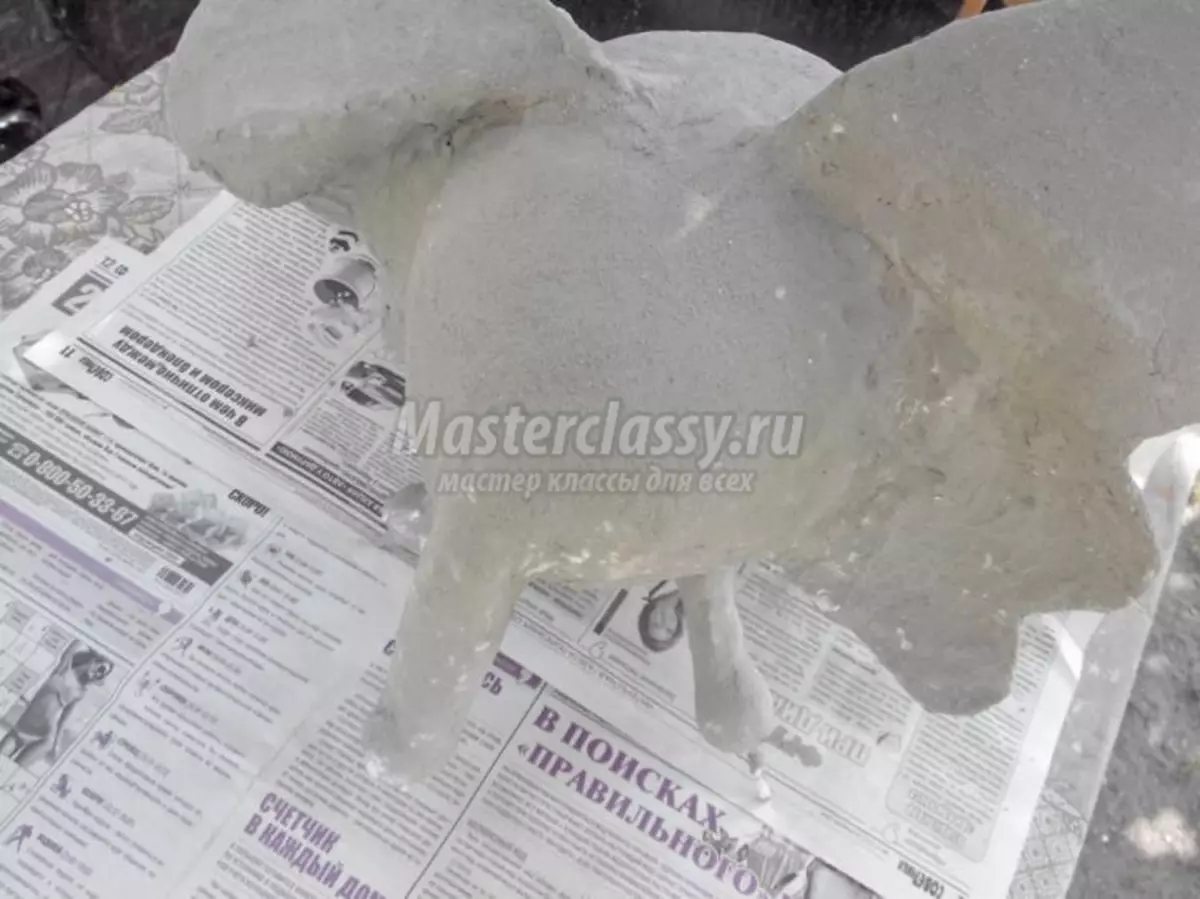
Garden sculpture should be dense and waterproof, otherwise all work will become unsuccessful, so it is necessary to seriously obscure the finished frame with a mixture of plaster and toilet paper.
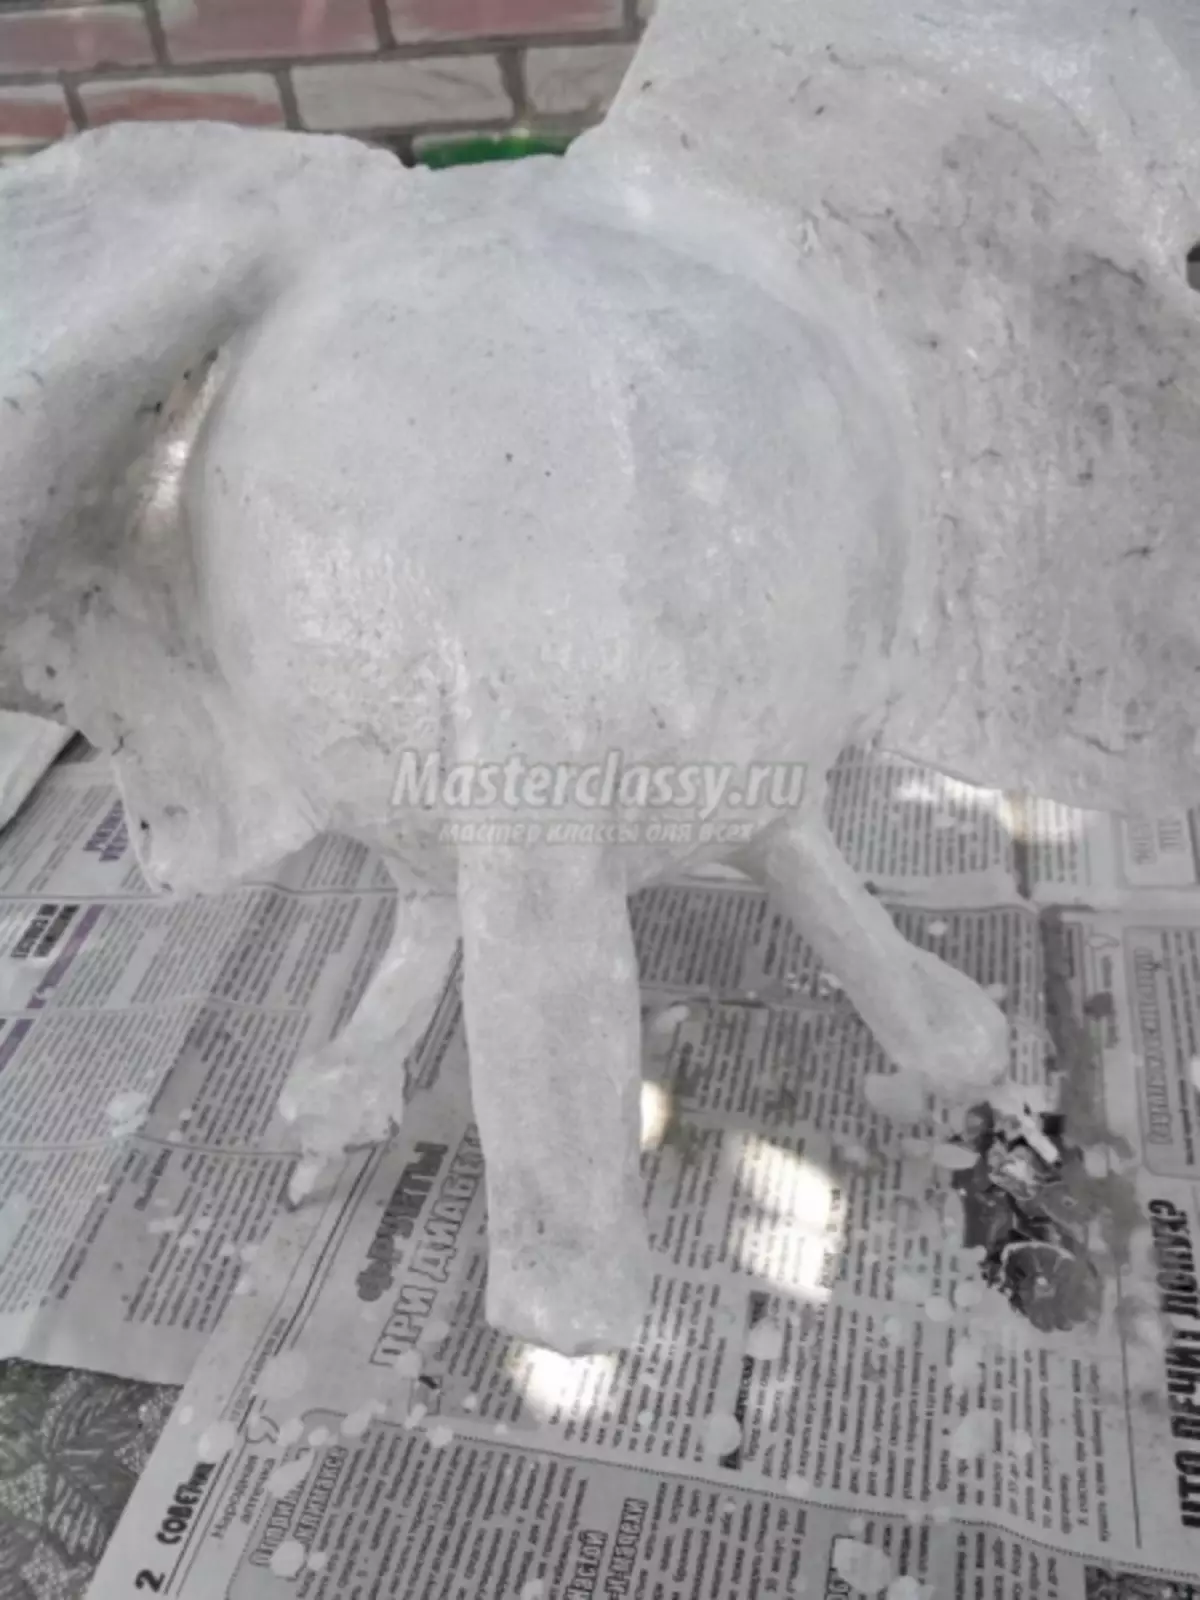
After drying the plaster, we score our agile paint fly into the desired color and draw her eyes and wings.