
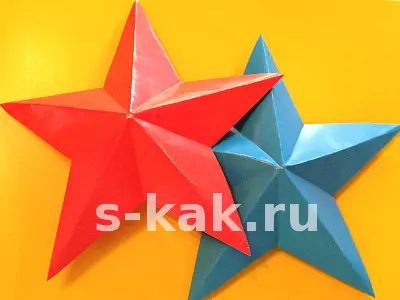
On the eve of the holidays, it is often necessary to think about how to decorate the house or what congratulations to come up with for loved ones and colleagues, and people who have children have to help make school festive crafts. So everyone is a little familiar with needlework creativity. This article will tell how to make a star from paper with your own hands, which can be used both in New Year's decorations and for other festive and not only events.
Variants of asterisk
Volumetric stars can be made in several different ways, or rather countless ways. Consider three options.For work, we will need the following materials:
- For the first two variations, colored paper, and for the third - cardboard, also color. If you do not have it at hand, use the usual white paper. Then it can either paint with paints or wovers, or leave white;
- Pencil, glue, scissors.
All stars are very simple in performance.
Eight-pointed star
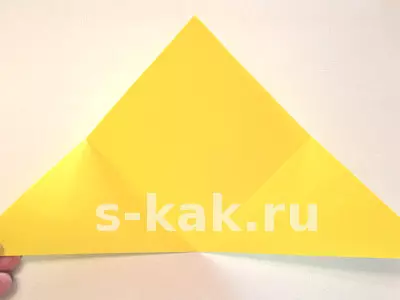
For a start, two identical color squares are cut and folded in half.
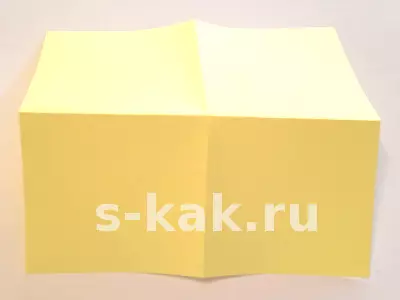
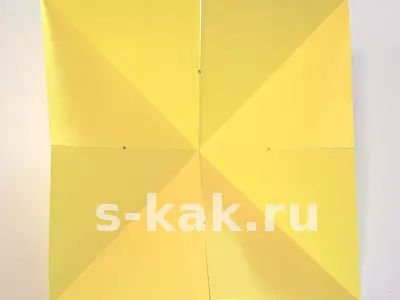
After that we fold the square in half two times in a row, the result should be, as in the photo:
We divide the distance from the middle to the edge of the sheet for two, and after we will make four outbreaks.
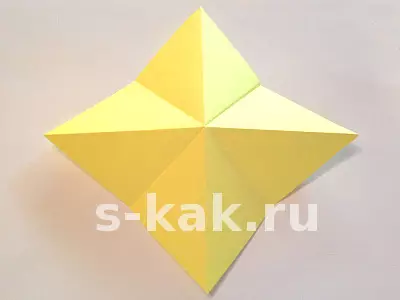
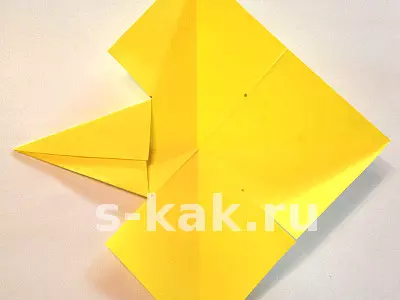
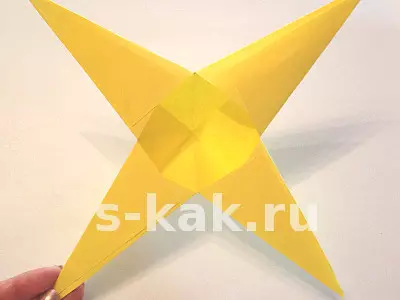
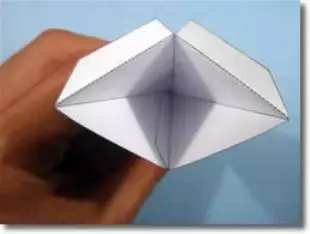
Now the cuts made will allow us to bend the edges that will be wedges of the future asterisk. Focus on the photo and bend.
Now the bends process glue and glue.
We get a finished one half of the star.
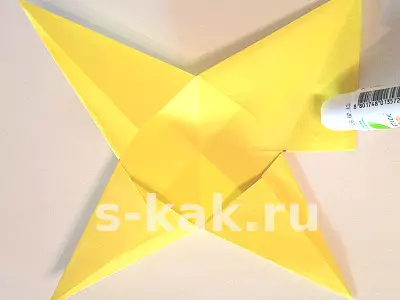
It remains to do another exactly the same half, you can also color, and you can absolutely opposite.
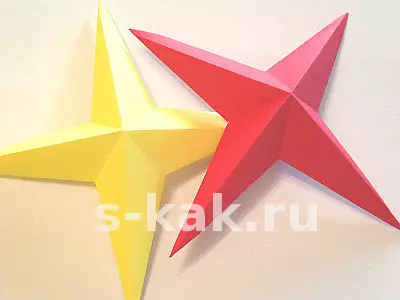
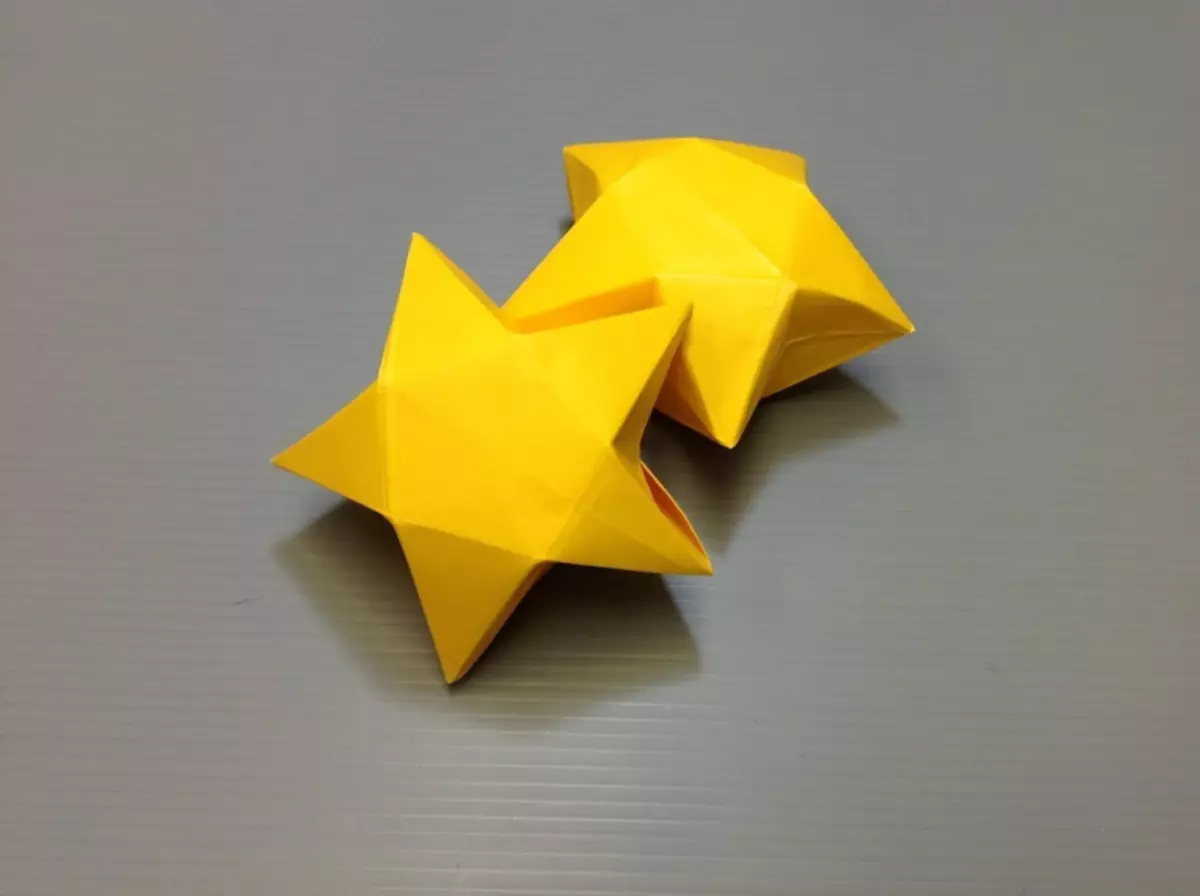
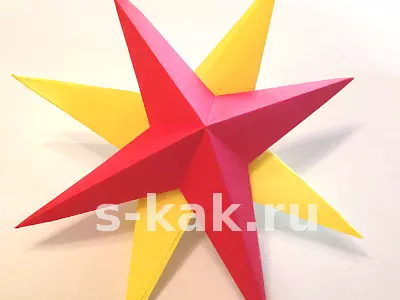
The inner side of the lunches of one star lubricates glue and connecting two halves, we get a real beautiful star.
Article on the topic: Takes from thick yarn crochet and spokes: Schemes with a step-by-step description
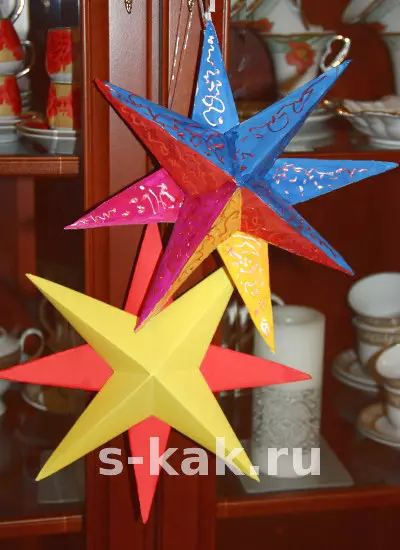
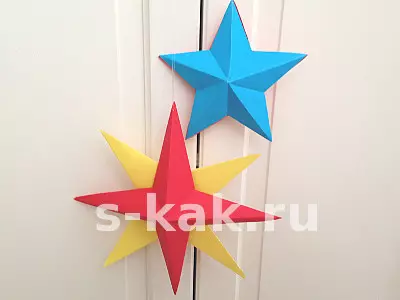
The decorated option may look something like this:
Second option
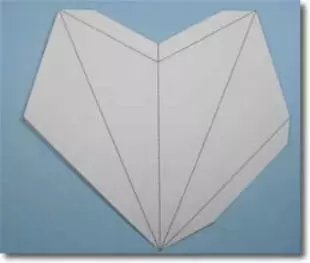
If the star should be volumetric, then it must be understood that it will consist of two parts. So in this case, we prepare one half, after another and connect. We use the workpiece scheme.
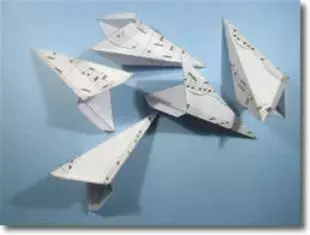
Carved parts are obtained by flat curly pieces of leaf.
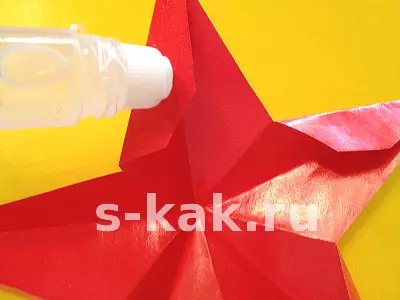
To give them the volume it is worth pressing on the folds of the folds and as a result, it is already a little convex details.
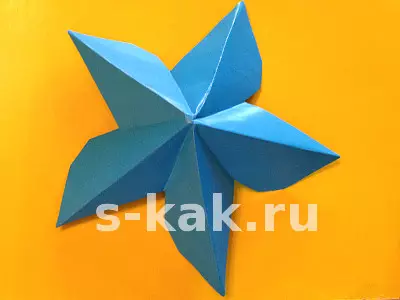
The places of gluing parts are aligned and the finished smooth part of the star is obtained.
The second half is performed in the same way.
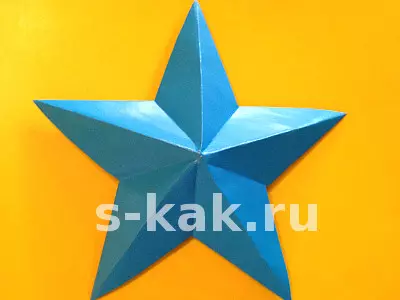
Using all the same stationery glue, we connect the asterisk.
Simple and volume
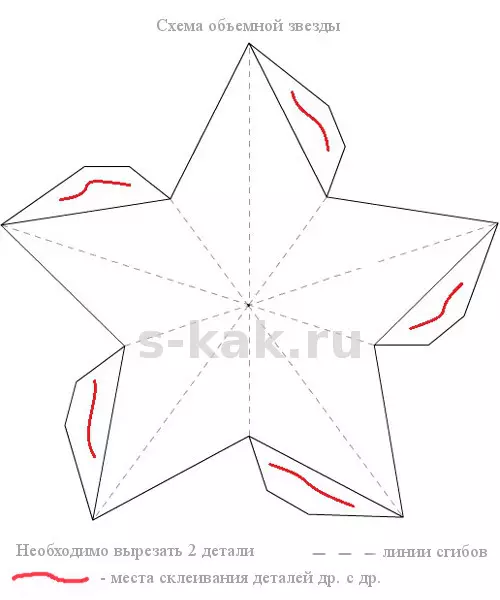
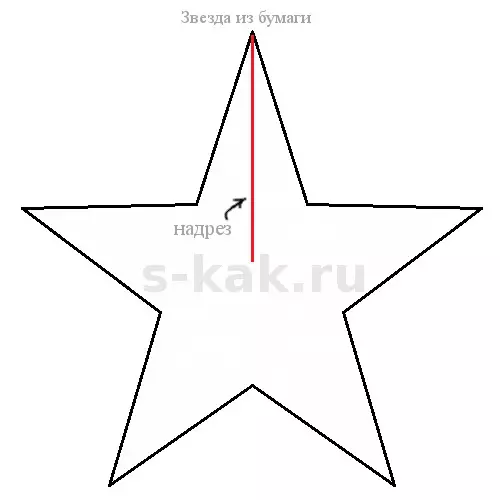
For this craft, you will need a cardboard and a diagram that is attached below.
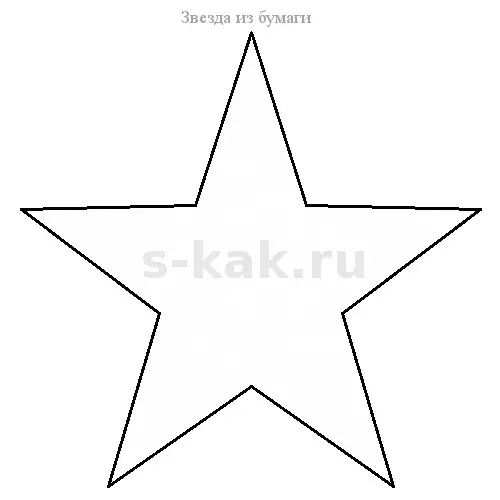
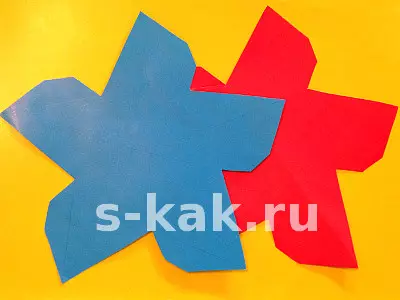
Two such elements are cut on the template. Now there is an incision on the first one according to the red line indicated in the diagram:
On the second element in the same red line, but with this scheme:
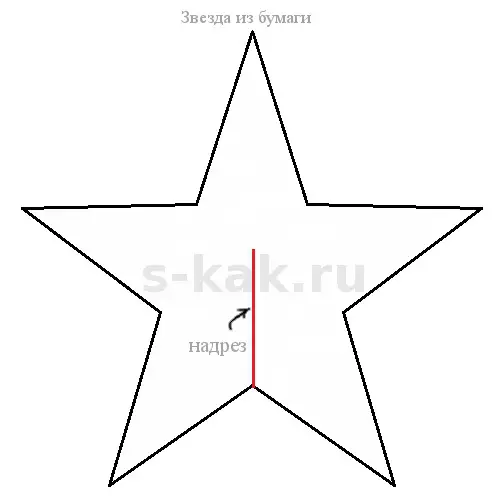
The asterisks are connected and it turns out quite simple, but an unusual asterisk.
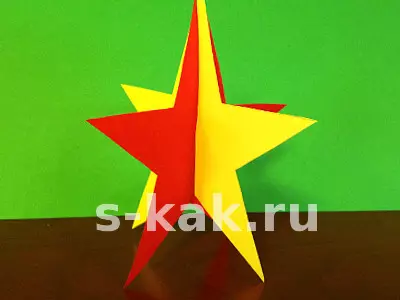
Any of variations of such stars can be decorated with colored wovers, paints, sculpting beads, sequins, and so on, in general, to make them colorful and elegant at their own wishes.
Christmas decorations
The asterisks can be done with their own hands not just as a handicraft, but specifically for some event, for example, on Christmas and Christmas holidays on the Christmas tree. Several ideas for such stars are presented in video:
We show a sequence of actions when creating a Christmas decoration - stars.
To create a festive star, we will need the following materials:
- Printer that will print a real-sized pattern for cutting;
- Color paper or thin cardboard;
- Scissors and glue.
Initially, the template is printed, the billet is cut on it.
Places that are indicated by dotted lines are intended for folds.
When the individual parts are ready, they can begin to glue everything together.
Article on the topic: Afghan square crochet with schemes, photos and videos
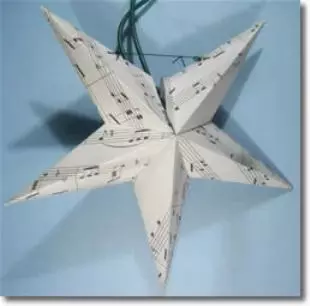
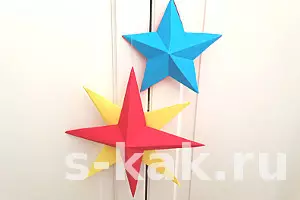
Such an asterisk can be used as a decoration of the Christmas tree, it is enough to attach a thread or a beautiful ribbon.
Decoration of male holiday
On February 23, I always want to make a rather original gift. You can add and diversify it with unusual asterisks. Multicolored origami stars are perfect for such an event. To create them, you need just a strip of paper a little more centimeter. Such a strip can either cut out of monophonic colored paper, and can be made of absolutely multi-colored journal.
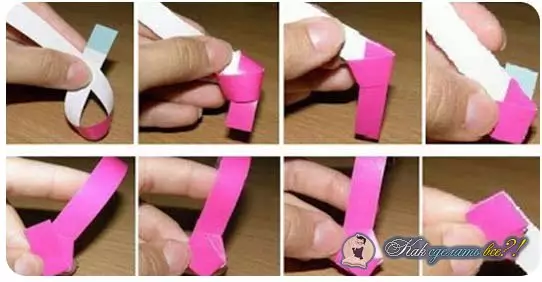
The photo is clearly visible by a step-by-step instruction, but we describe it in more detail. We begin to make an asterisk from the very edge, the loop and the tail of the shelf turns into it, we get a knot. On the knot, pressing it flat. The idea should be a distinct pentagon. Turning the star, tailored inside.
An asterisk is quite small, but its size can be controlled by the width of the strip, and the number of even such small elements of the decor of congratulations will be very pleased.
There is a lot of way to create asterisks with your own hands, detailed instructions with photos, video lessons and so on. It remains only to choose something that is suitable for you, and do.
Video on the topic
This selection of video will help you decide which stars you need.