
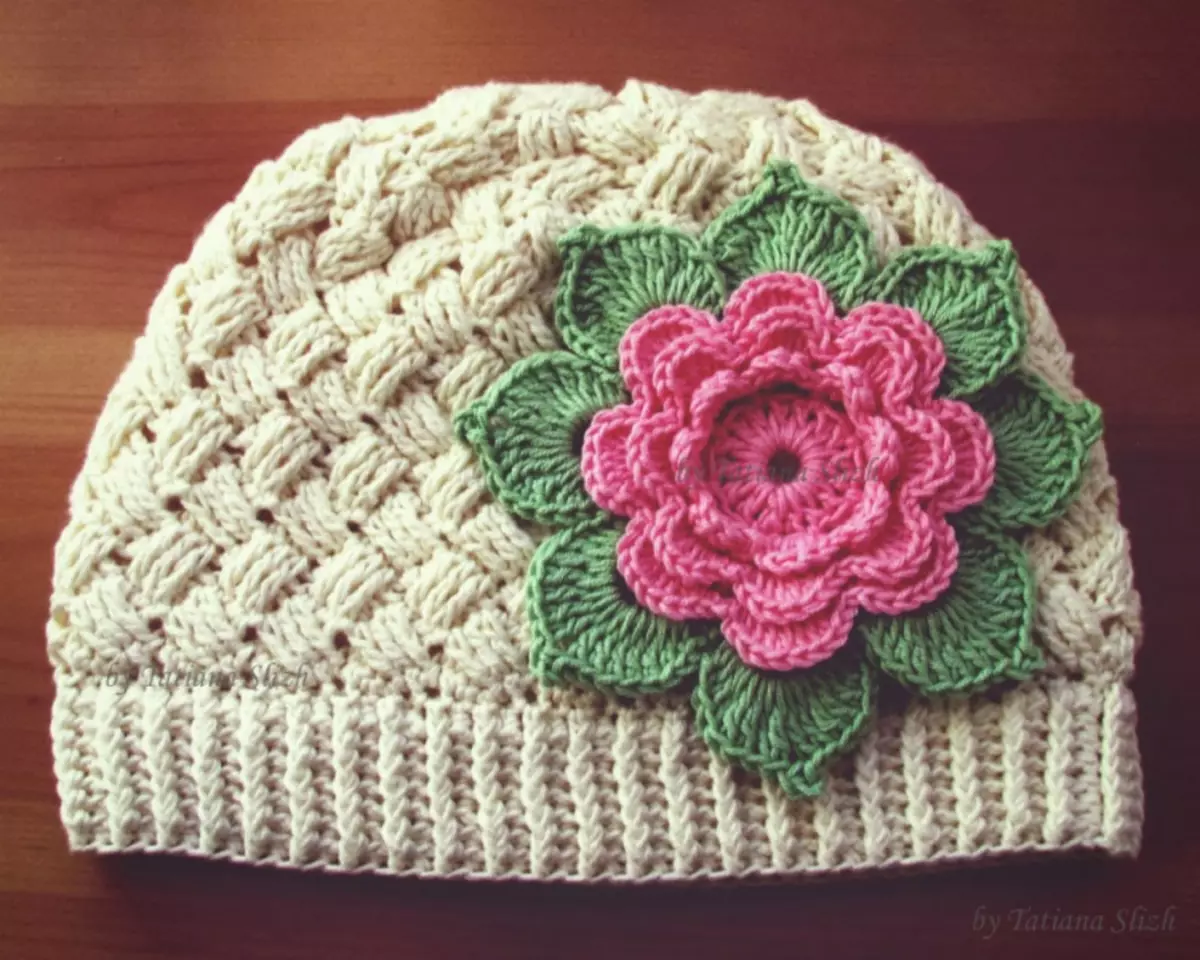
Any girl wants to look beautiful and unusual at any time of the year. The main clothing for a woman in the winter year is the hat. But so I want the hat to have interesting patterns. In clothing stores, you can find various beautiful patterns on the headers, but those who prefer uniqueness, you can connect the cap on your own. It is important that the hat is not only warm, but also beautiful. One of these patterns is a cap-braid. Video lessons in these master classes will help cope with this task even newcomer.
Patterns Many craftswomen knit not only with knitting needles, but also with the help of a hook. Therefore, initially, who for the first time tries themselves as masters of knitting, it is necessary to start with that tool that will be more convenient. In such a job, to get a gentle female accessory, it is necessary to choose the right shades of threads, the corresponding needles or hook, gain patience and distinguish the time when you can immerse yourself during the period of creativity and create a new thing.
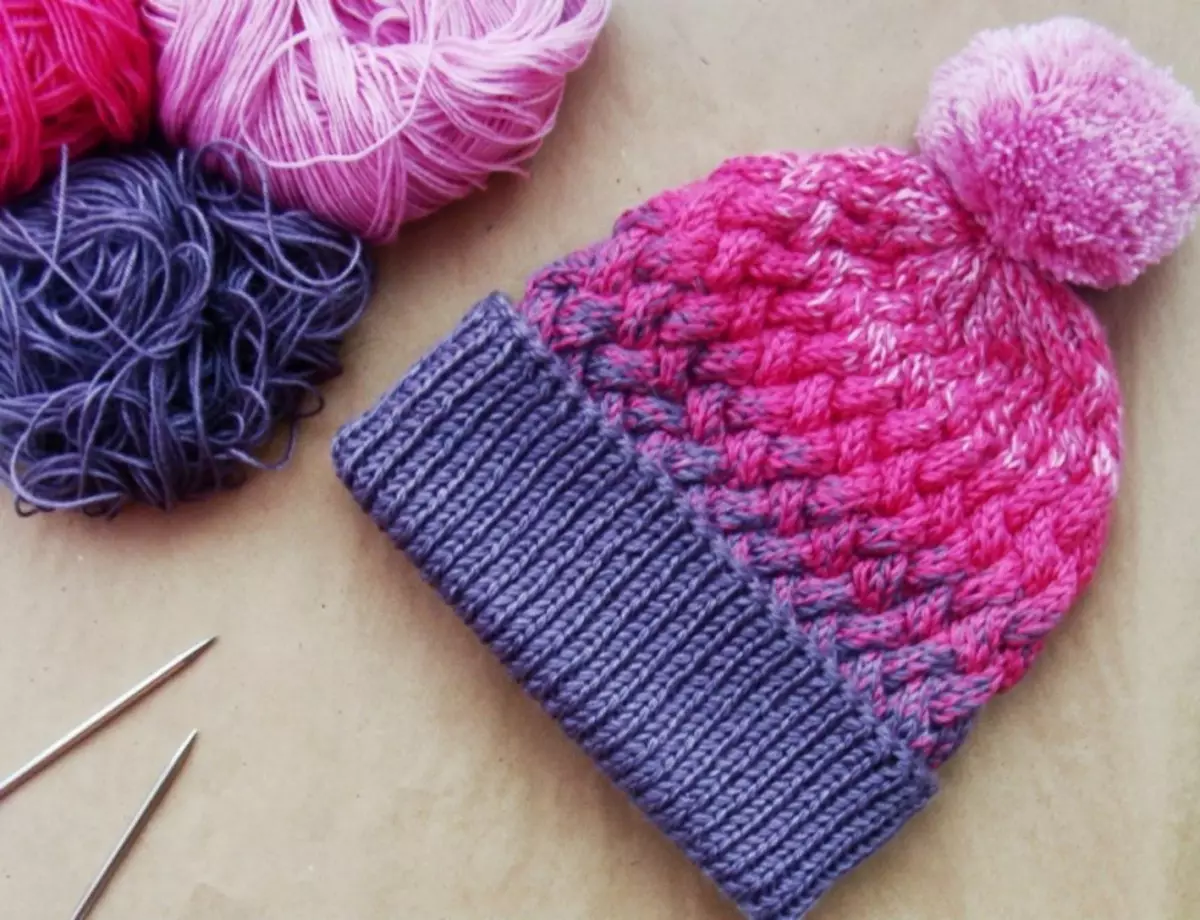
Start with Spit
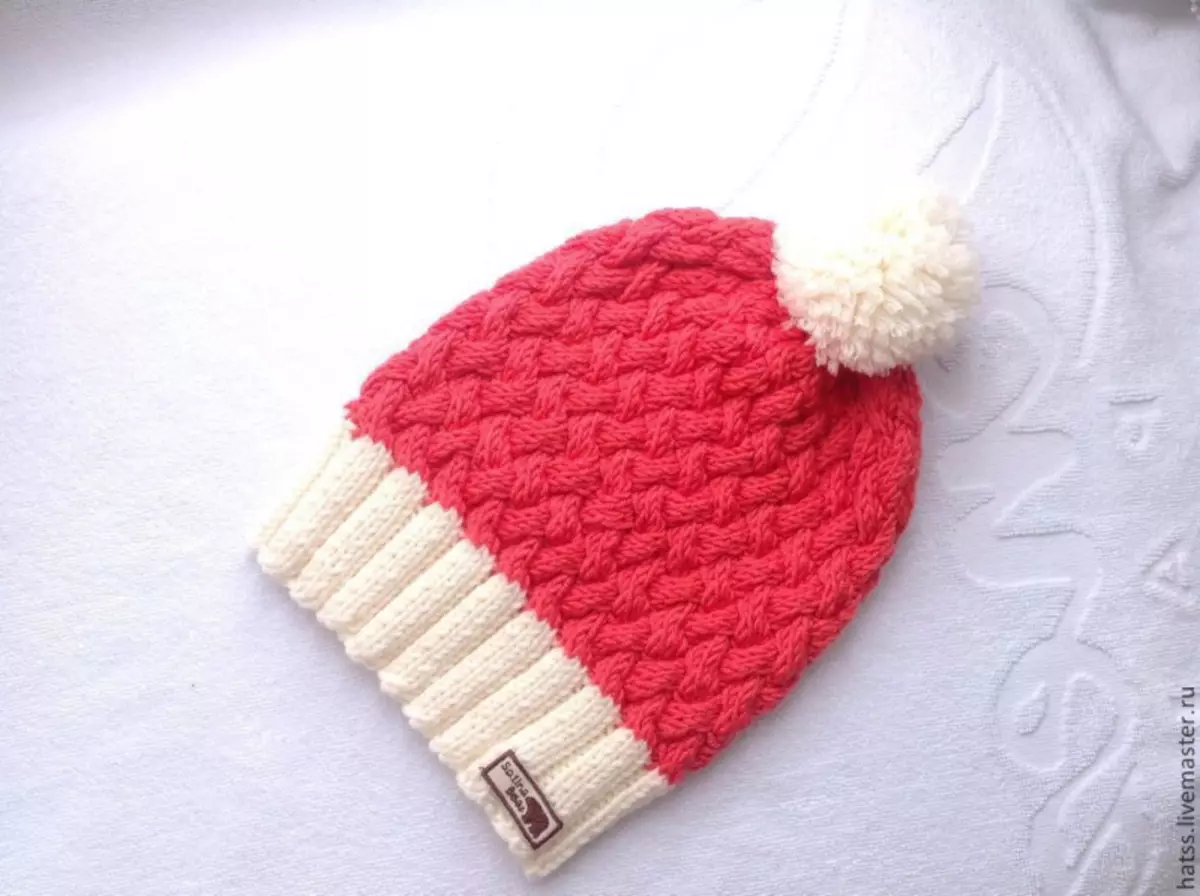
Many women prefer to knit caps with knitting needles, and even more so this pattern will remain popular in this pattern. Therefore, so as not to spend large amounts of money on the purchase of branded hats, you can associate it yourself. It will turn out a unique thing that will only have masters, which is very important for every modern girl. Such an accessory is very beautiful at the expense of its pattern, and is also very warm. You can associate it quickly, for a couple of evenings. And the newcomer can cope, the scheme will always be able to help it.
What you need to knit the caps:
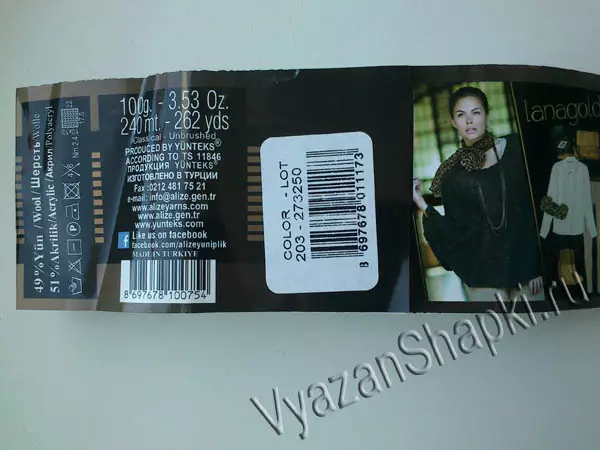
- Threads Aliza Selected shade;
- circular spokes number 4 and extra for weave;
- scissors;
- needle.
Article on the topic: Knitting schemes of beautiful patterns with knitting needles
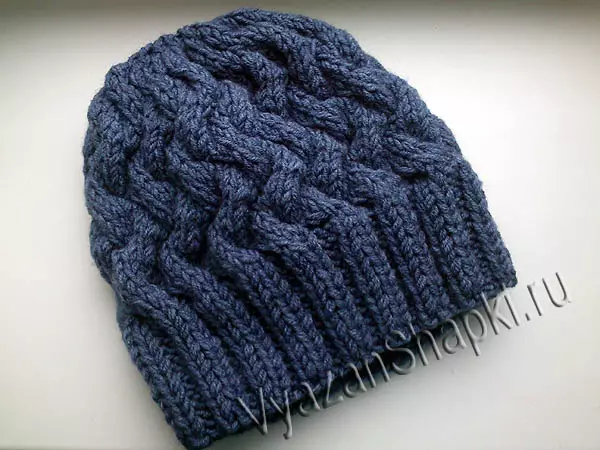
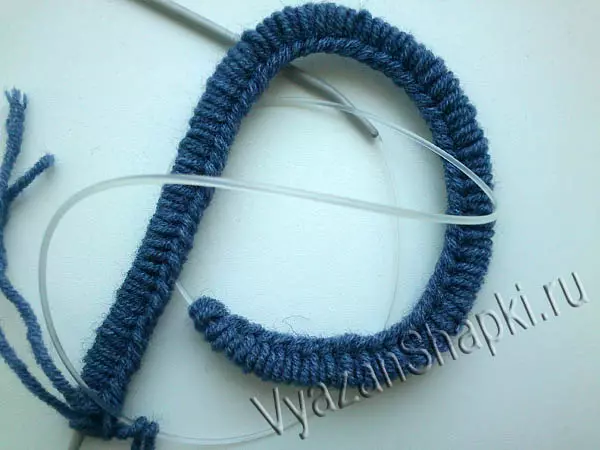
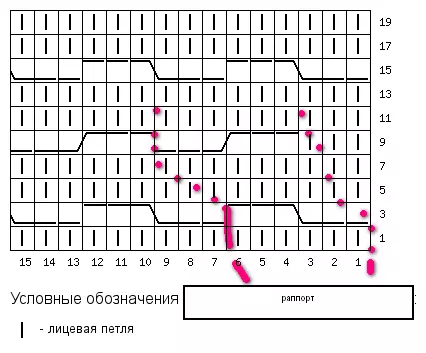
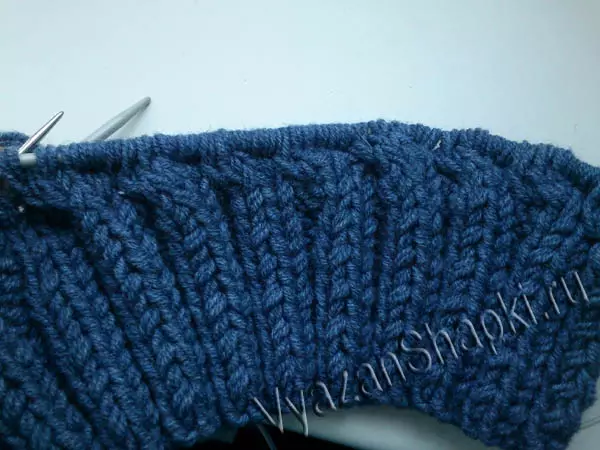
We type 70 loops in two loops, in our master class, it turns out on the circle of the head 56-58 cm. When all the loops are scored, it is necessary to check the usual elastic rubber from 14 rigs, two through one irons. When the gum will be accurate, tie two rod facial stroke, while adding 24 loops evenly. Next, start knitting the pattern, which will be shown below in the diagram.
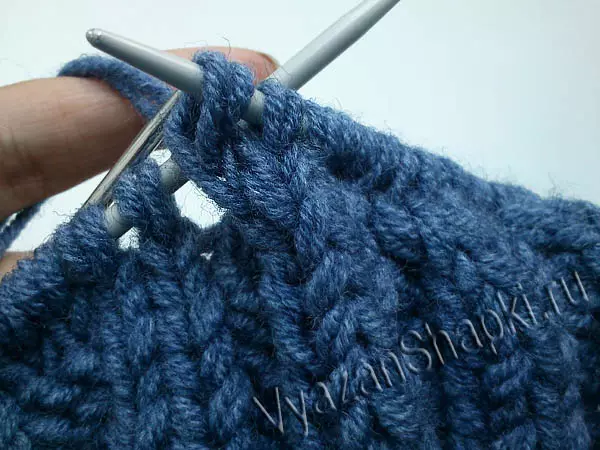
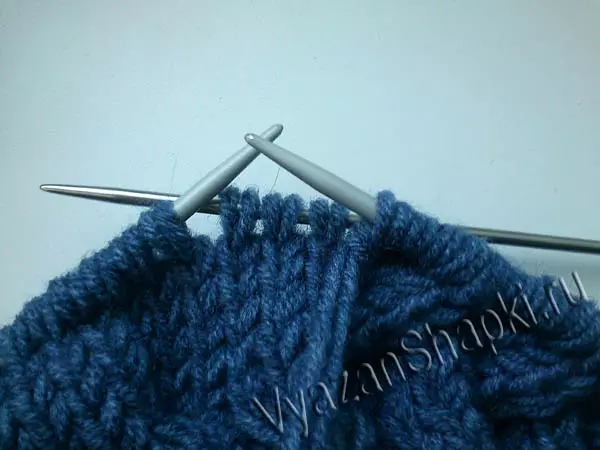
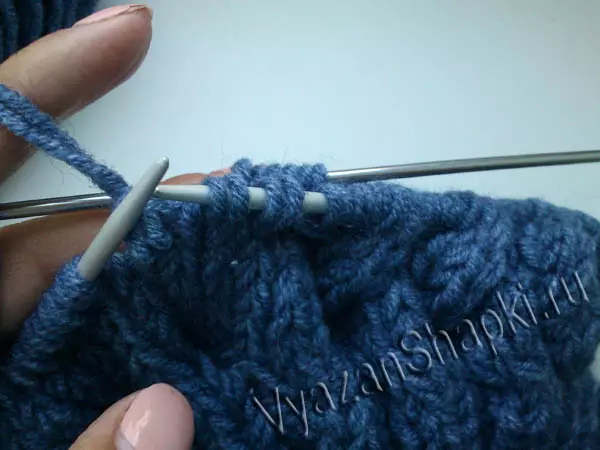
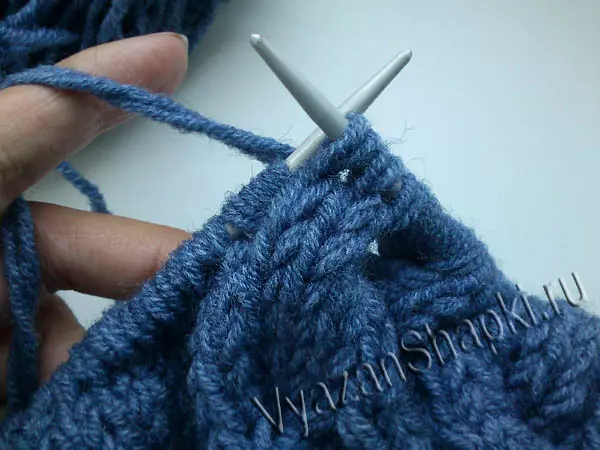
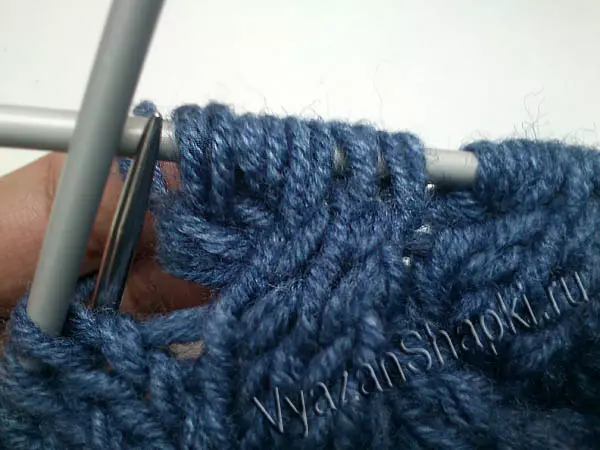
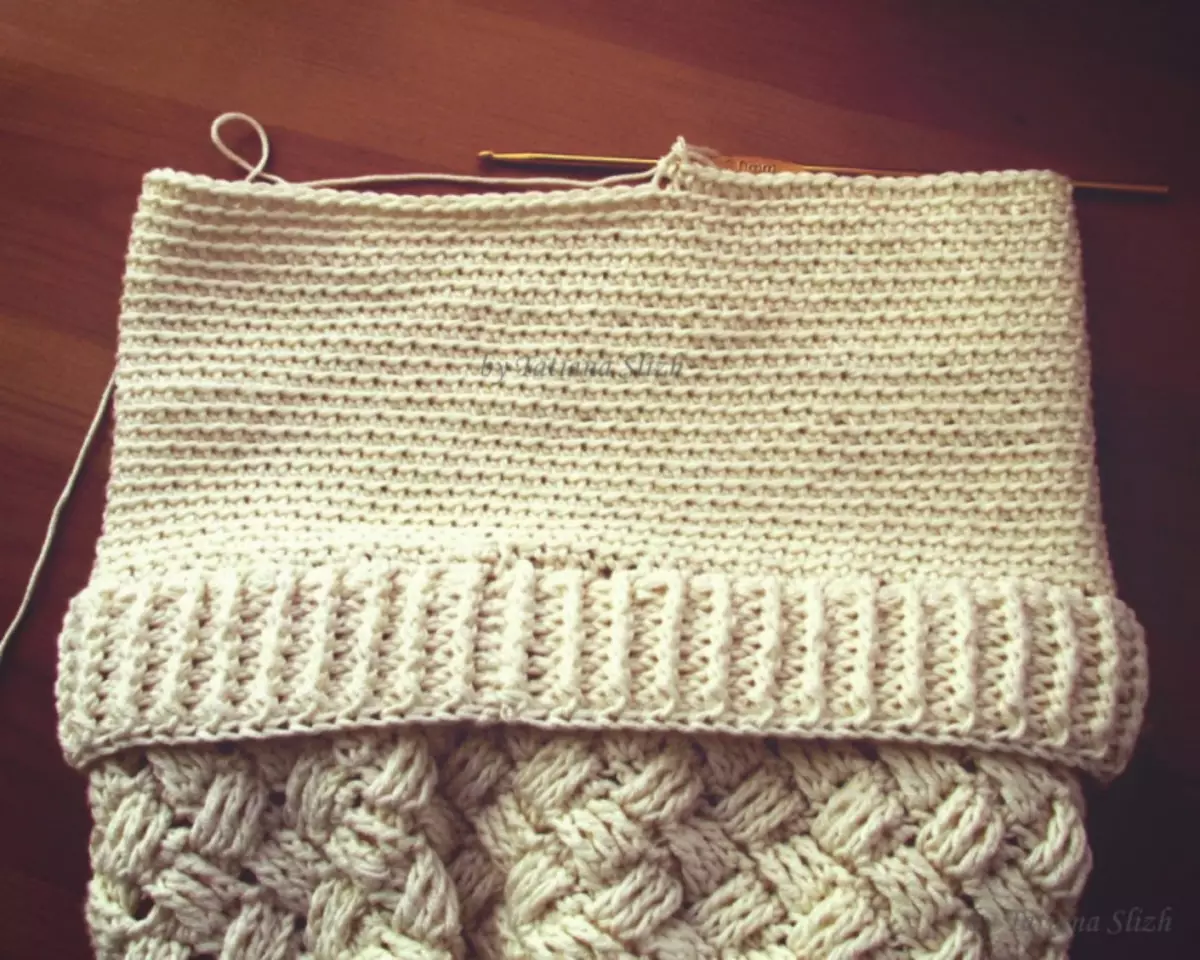
It is necessary to remove three buttons on an extra needle before knitting, it is shown in detail in the photo below. After that, there are three loops, and then the buttercups knit from the extra needles. In this way, we are in charge of the whole row. Now I have a facial stroke of 5 row.
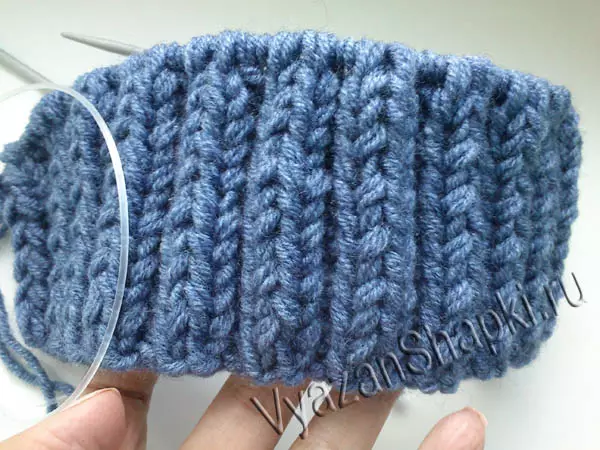

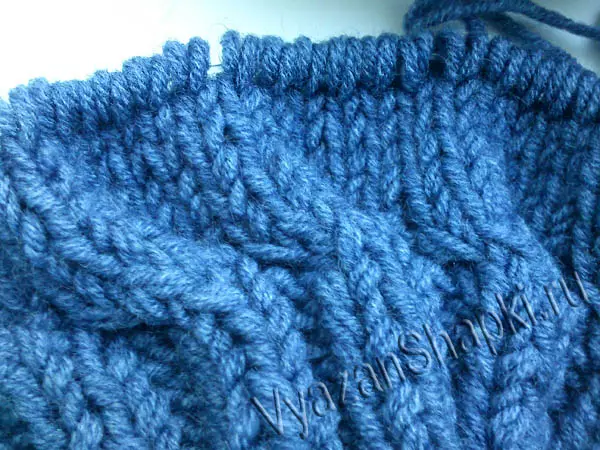
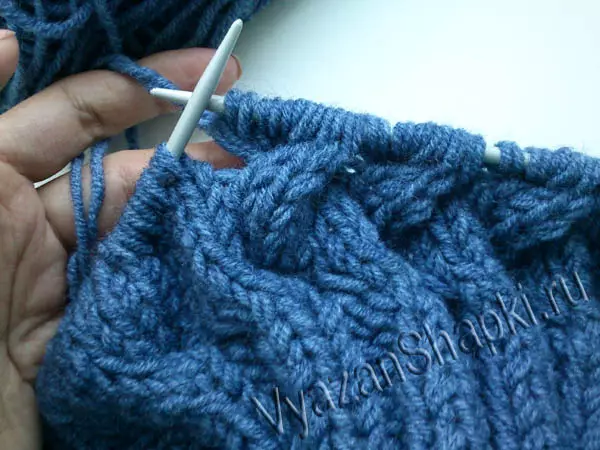
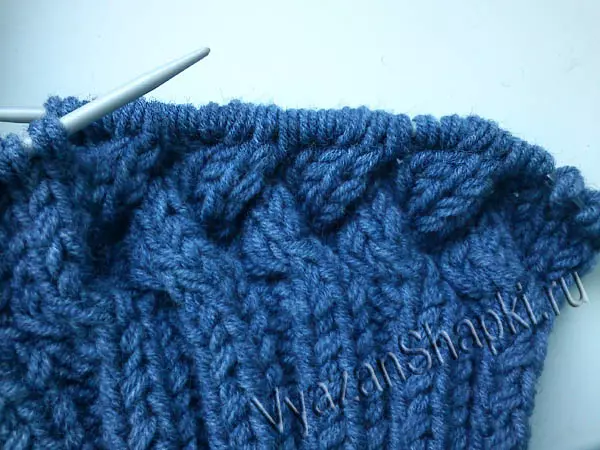
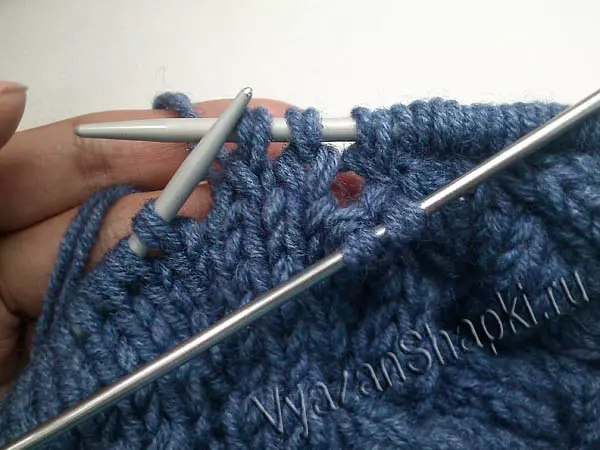
Next we make transitions on the other hand, everything is described in detail in the photo below. Already after this transition, we will be able to see the drawing, which is evoked. Now they are tied, as in the first time, to the necessary height. Thus, we check the same binding before you need the height of the header. When the length is completed, we must begin to reduce the loovers.
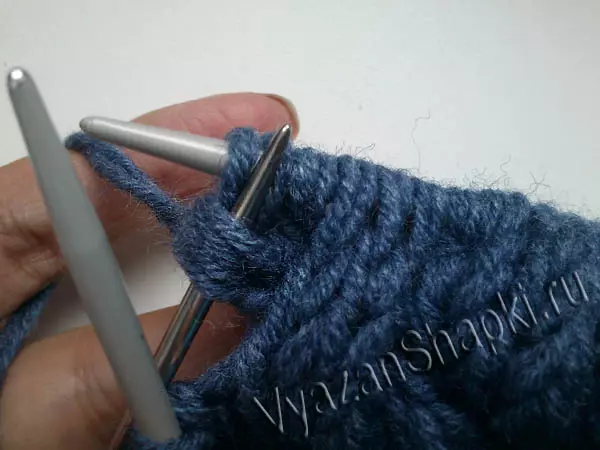
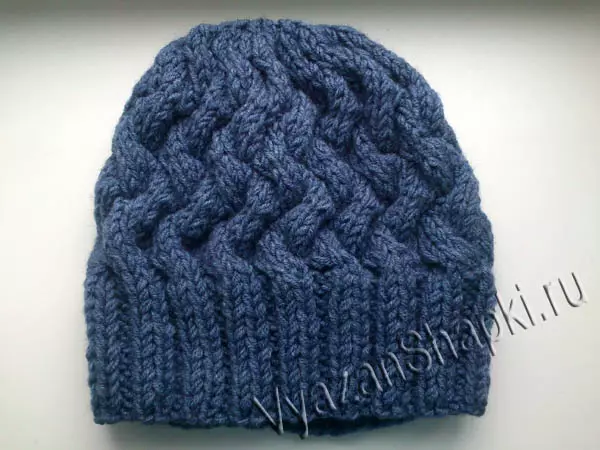
This can be done like this - when the recess is done, cut the loop with the help of additional needles, but already behind knitting. After, after five rowings, we reduce from the main knitting and so they see a couple of rows. Now 4-5 rows every two buttercups in conjunction together. When only 8 or 12 loops remain on the spokes, we collect on the thread and delay. After left to sew a product with a thread. But if you want to tie a seamless cap, you can link the cap in a circle using such spokes. And here is our hat ready.

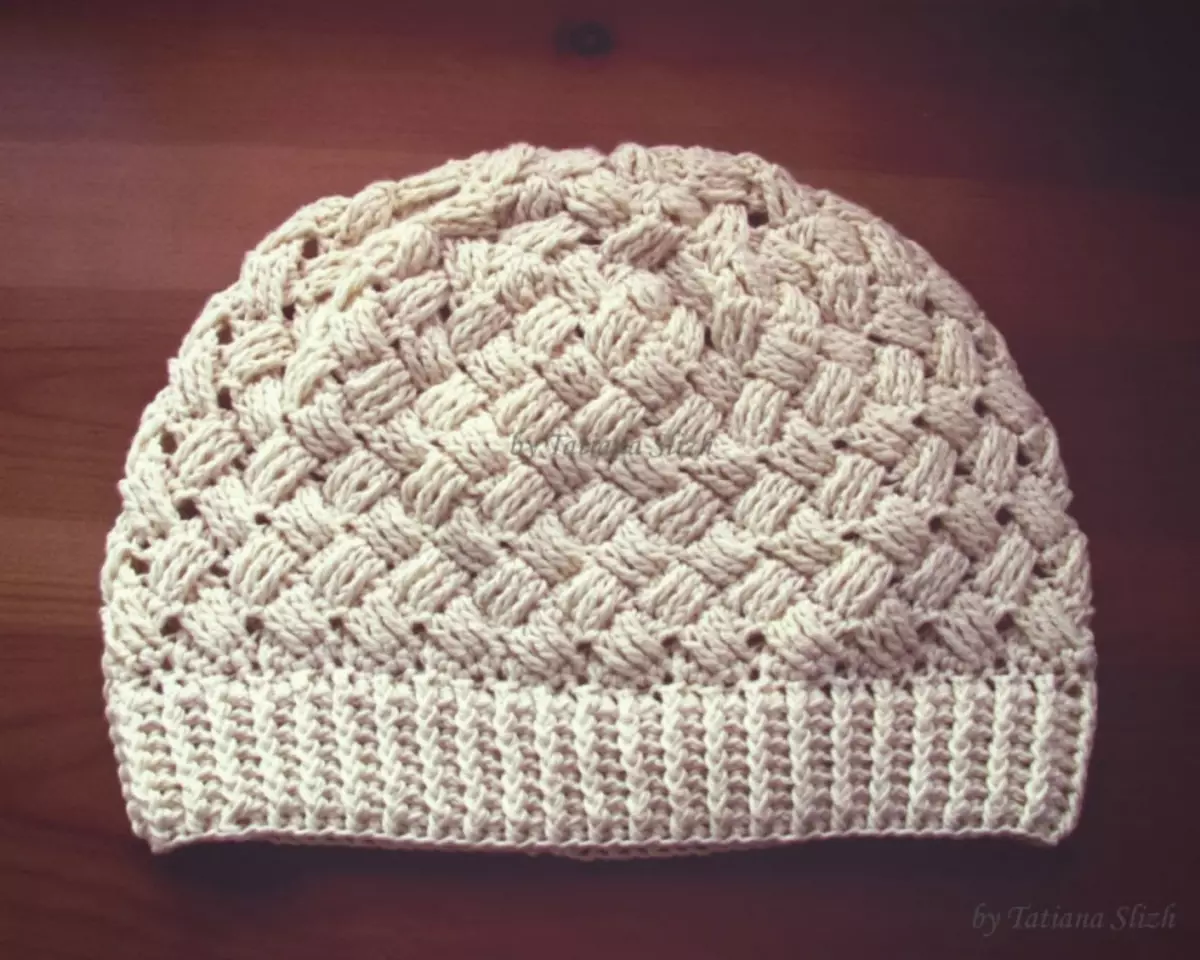
Knit crochet
Interesting and beautiful patterns can be associated not only with knitting needles, but also a crochet. It turns out a very original hat, which can be associated and for a warmer period of the year.
Article on the topic: How to sew a knitted dress without launches with your own hands: Pattern and work stroke
What we need to prepare:
- Lira Yarn (Vita);
- 3 mm size hook;
- scissors.
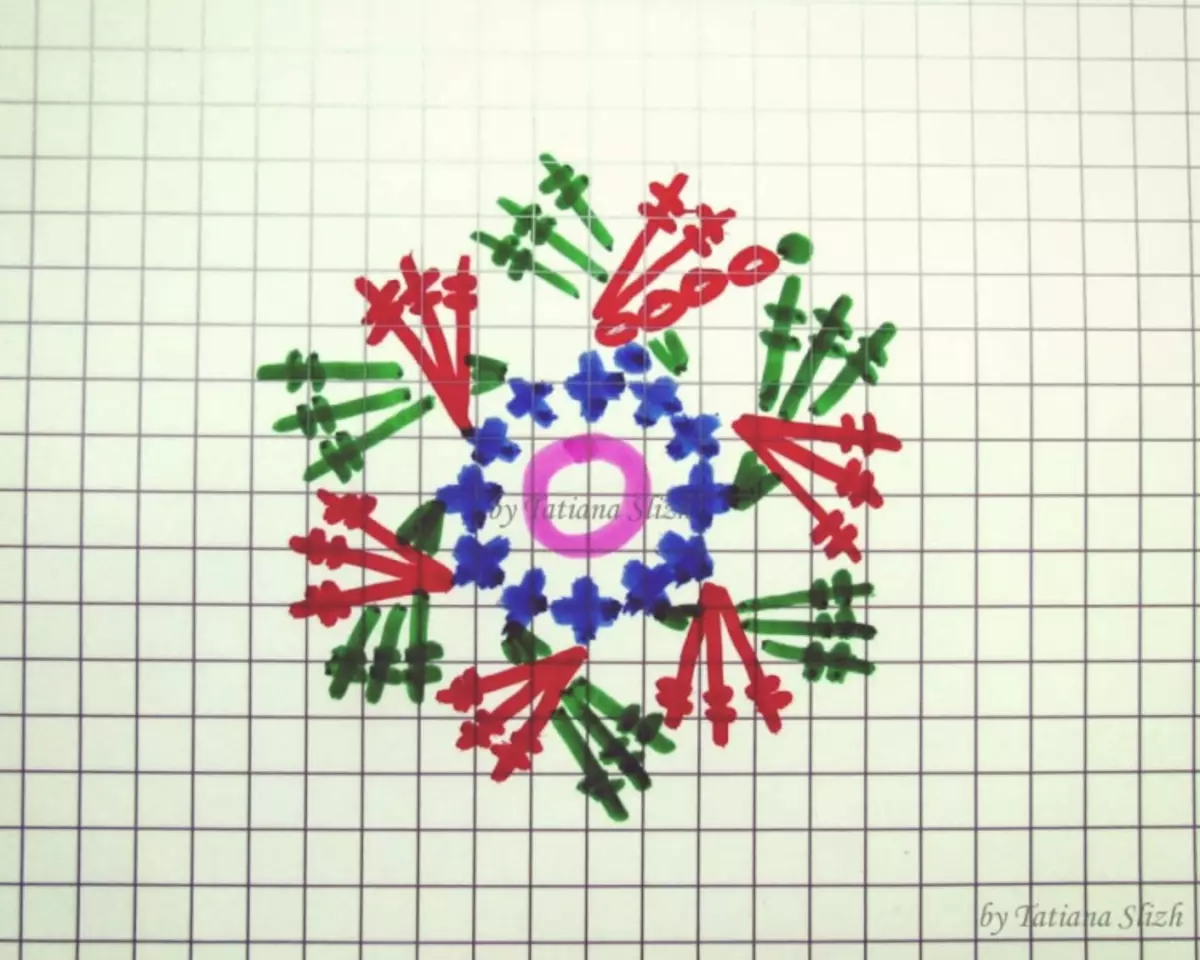
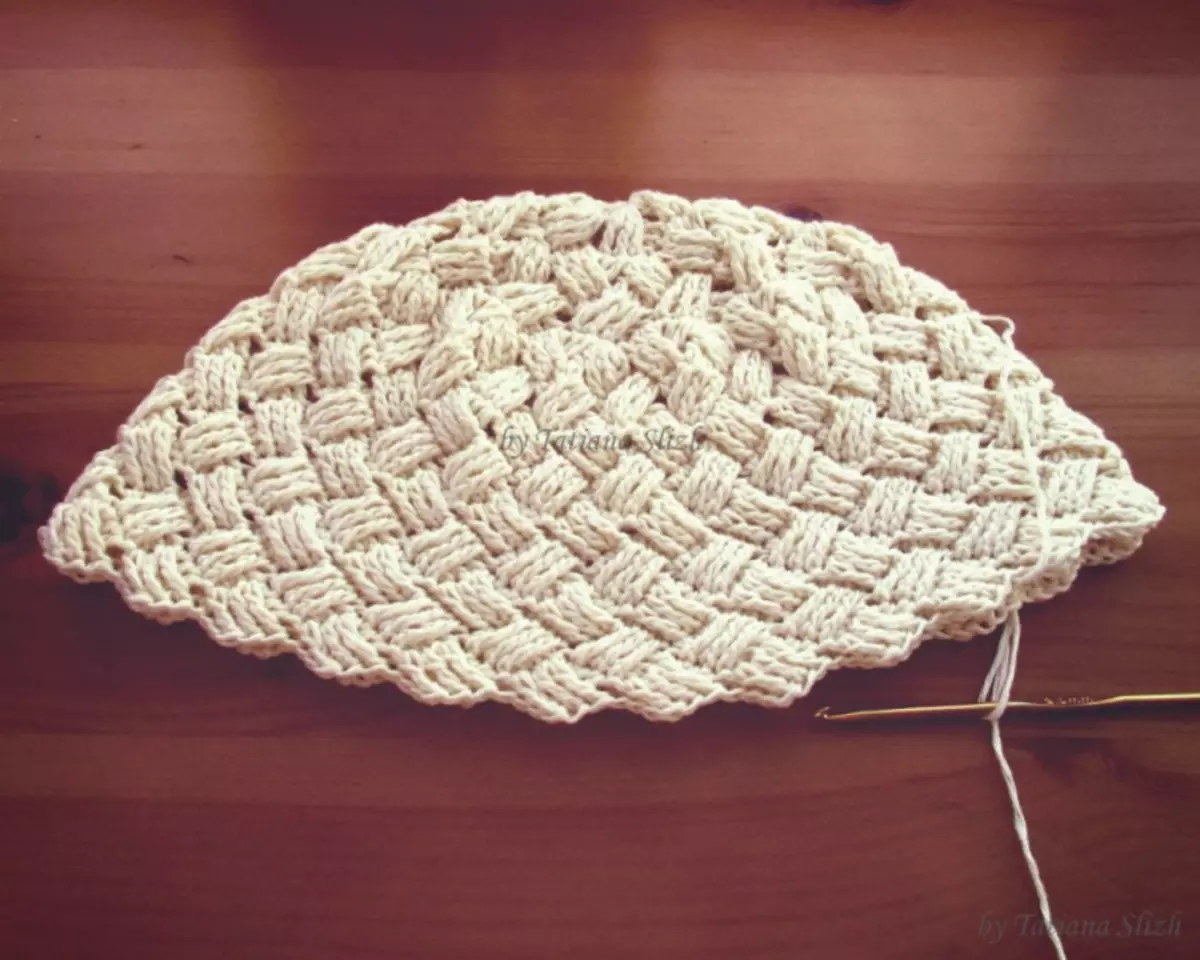
The girth of the head of our product is 48-50 cm. We make the carriage of amigurums, closure and insert 12 loops without a nakid - 6 rapports of the main drawing. Connect the connecting column.
2nd row: * Make 4 airlocks of lifting, 2 connecting columns, 2 in the first column without a preceding row, 3 connecting columns and 2 nakida in the last. A column without a preceding row, in a hook of a column without attacking and getting up for the already obtained lifting aircases and 2 columns by connecting, 2 nakida), you need to skip the column without a preceding row to the preceding row * at the same time replacing the aircraft aircraft to the column connecting with two nakda.
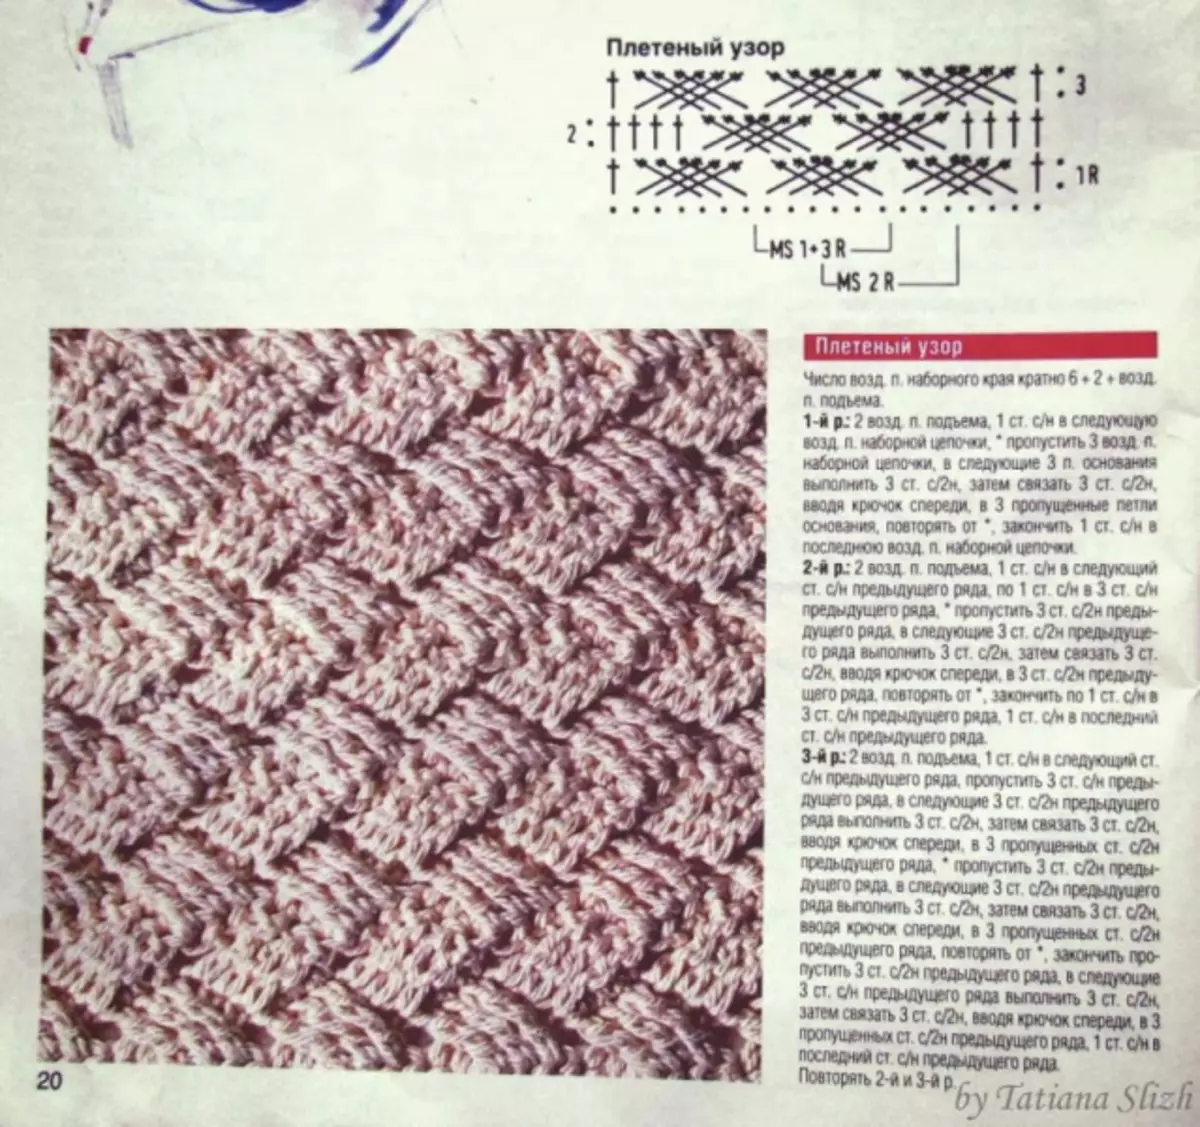
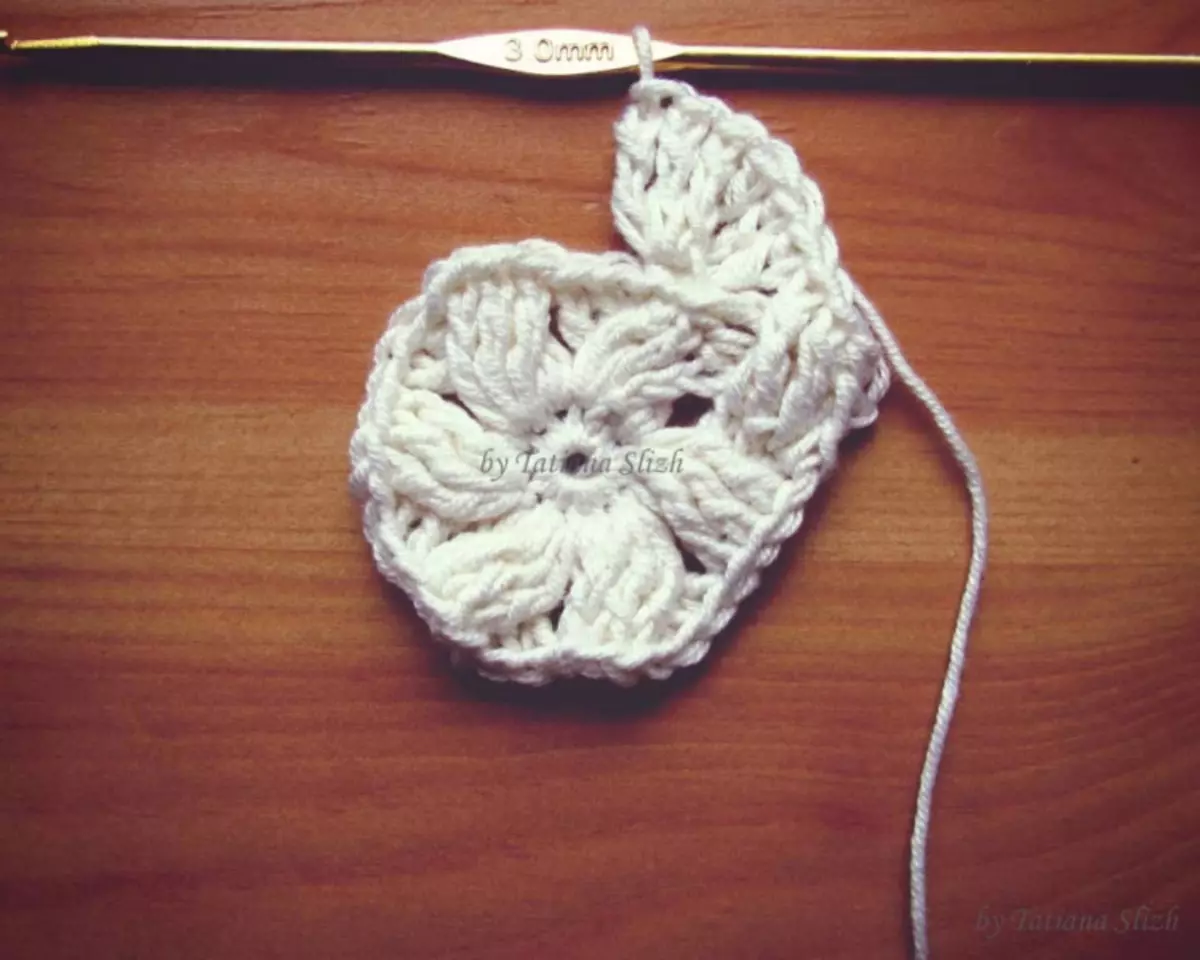
3-1 row: * 4 Aircases for lifting, 2 columns connecting and 2 Caida, in 2 and 3 columns of the prior previous row. 3 columns connecting with 2 nakida in the next 2 columns connecting with two preceding row.
Pay attention! The tool must be introduced in front of air loops of an already existing lift and two columns connecting with two navigations.
Now it is necessary to make an absorption: 3 columns of the fourth connecting column in the rear semi-fourth connecting column with two preceding row, 3 columns connecting 2 in the back of the third connecting column with 2 preceding row, enter the tool in front of the three columns already connected, so we We make additions in the kit of knitting, now it is necessary to skip three connecting columns with two preceding row by the preceding row * at the same time replace 4 aircases on the connecting column with two embers and so 12 rapports. In addition scheme, pink and blue colors are indicated.
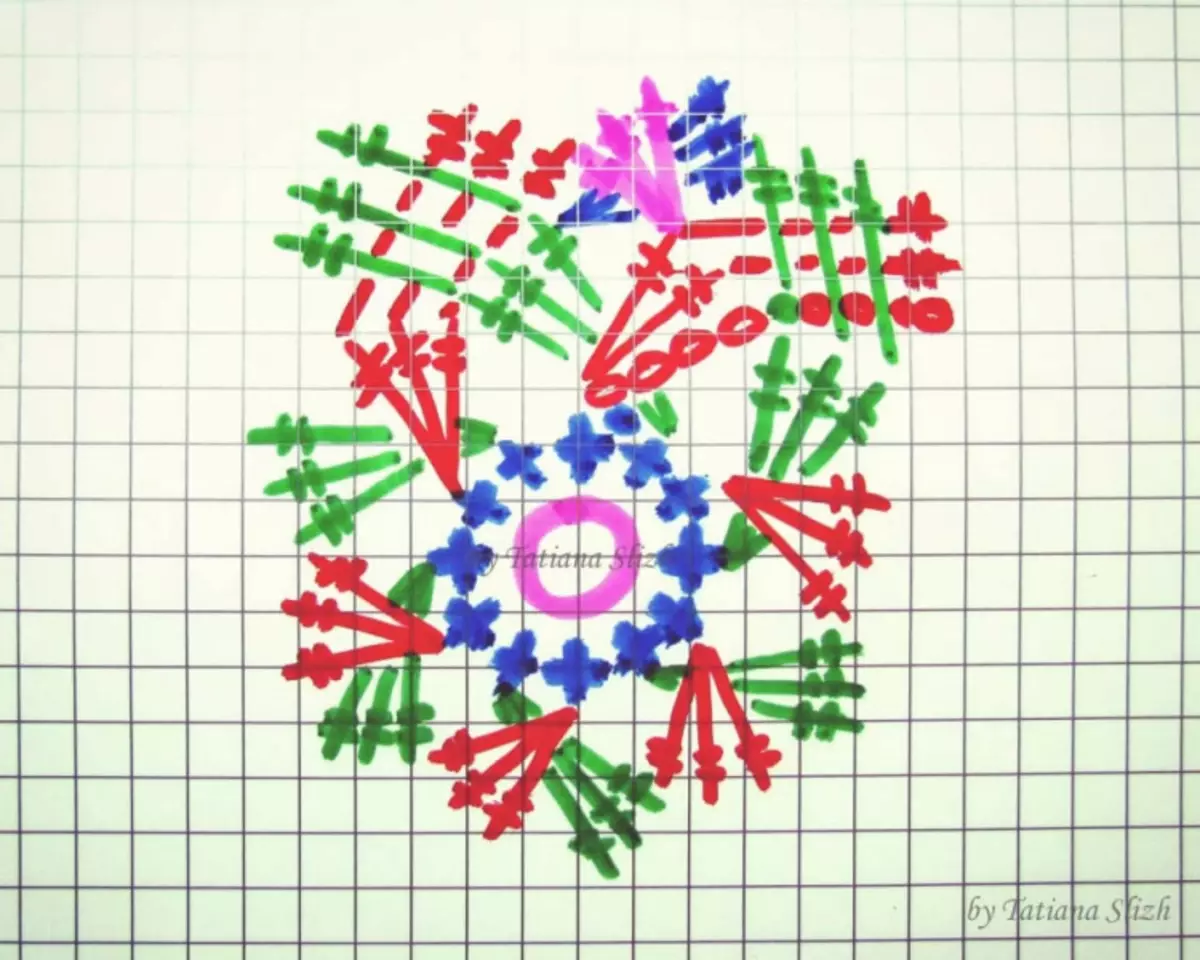
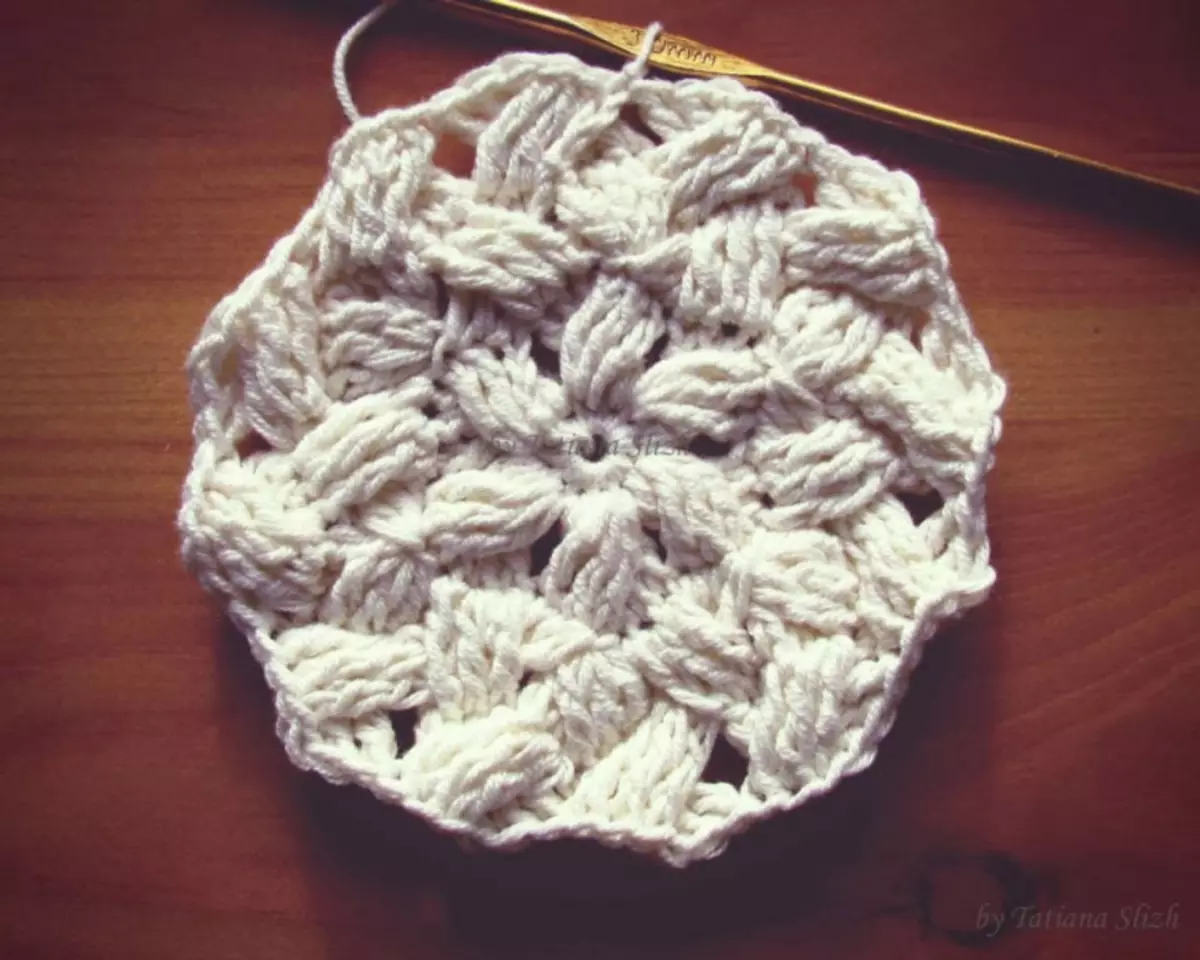
The 4th row is taking into account the scheme, twelve reports should be. The 5th row is in line as the 3rd, there should be 24 reports. 6-13rd row in the row without loop. At the same time, 16 row should be obtained in a diameter of 15 cm. It should turn out at the end of 144 loops. When finished, cut off the thread and level the edge, taking into account the scheme. When you finish align, we get 96 loovers around the edge.
Article on the topic: Beautiful crochet wipes 60 ideas from Doni
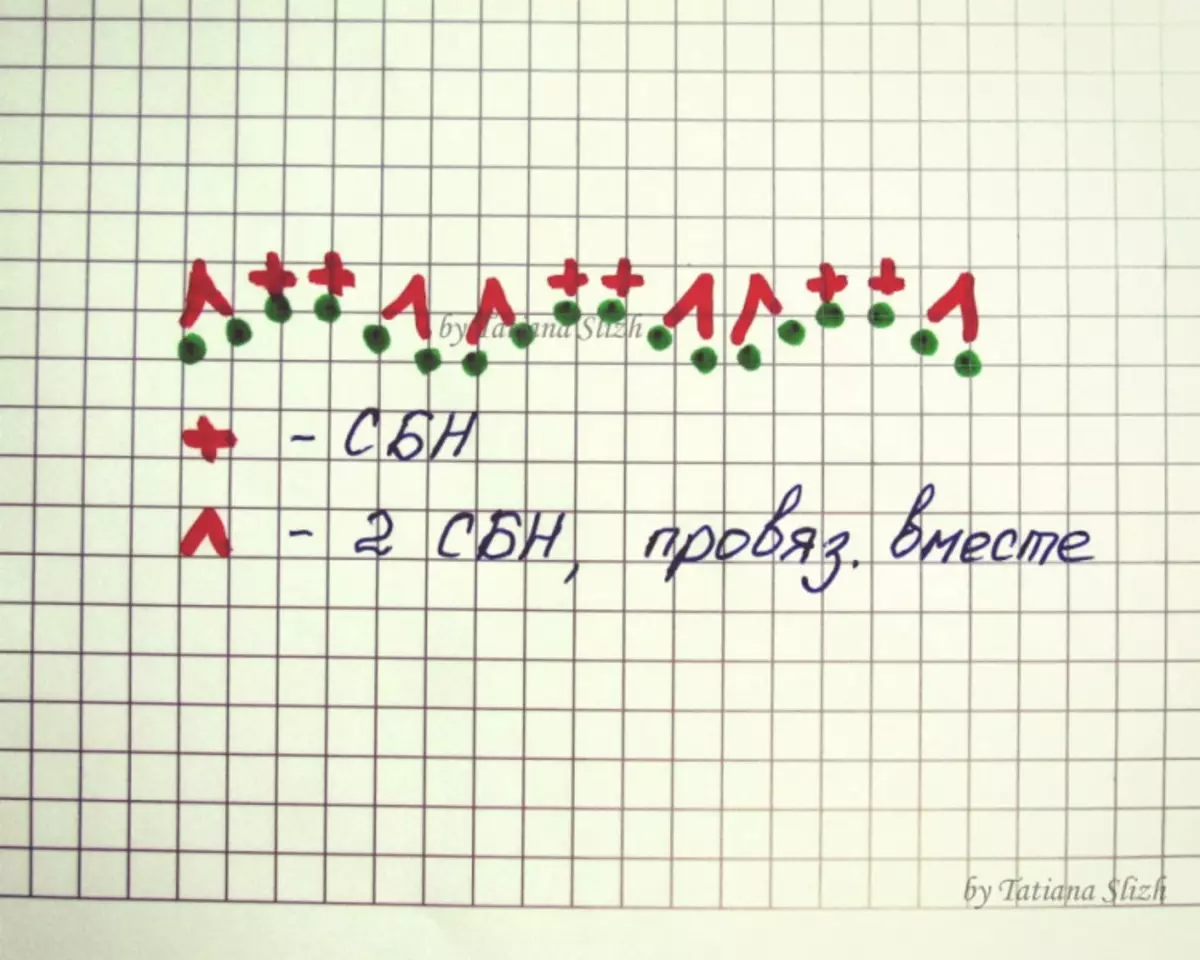
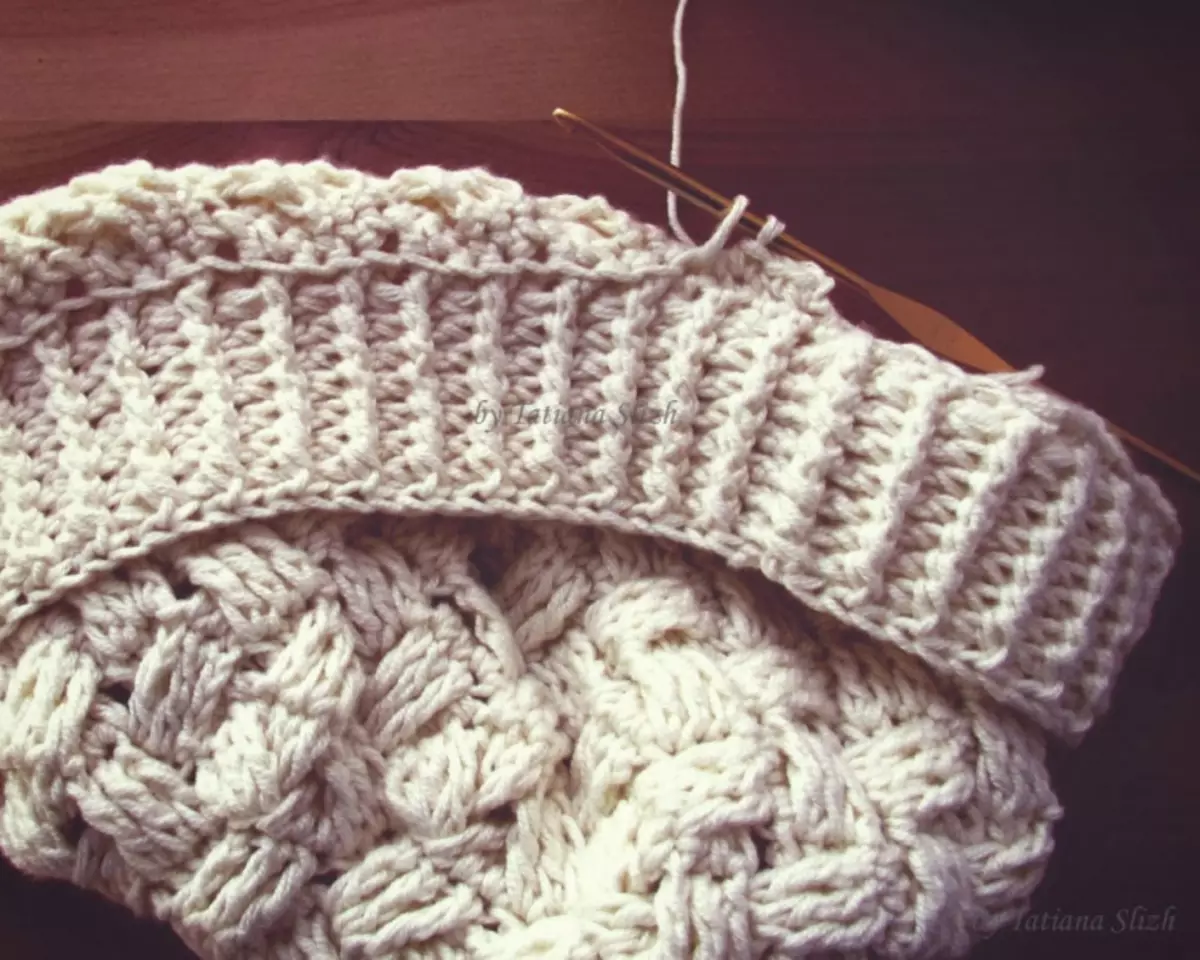
Now you need to bind the gum. 1st row: 2 air lifts, 95 semi-solids, for the front semi-fold row, row finish with a column with a connecting. With 2-8 rows we do 2 buttons for lifting and after they are tied one facial, other hovering half-brace with naked and again finish row. It turns out almost the finished hat.
Now it is necessary to make a lining. Our product must be turned inside out so that the semi-empty can be seen. At one of them, the filament is both 96 columns without a Nakid. And so we continue to lie for the rear semi-fold column without a nakid, due to this lining it turns out thin, but dense. When we connect 9 cm, then we proceed to the reduction.
5 times I register the 14 column without an ingredient, 2 loops together and in each row on one column, until we reach 2 columns without Caida and we get 6 columns without Nakid. Cut the thread and tighten. Next, we have left to make a decoration, it is possible without it, but you can perform any other decor. Here is our hat ready.
Video on the topic
This article presents videos with which you can learn to knit the headlet-braid with your own hands.