
When cold come, everyone strive to warm up faster, but at the same time look beautiful and fashionable. Not the first year of the headers with various patterns remain in fashion. The beautiful drawings are modified every year, improved and therefore it is sometimes difficult to keep track of the trends. But mostly patterns occur from ordinary braids, where you need to be able to do the binding. It is not difficult, but you need to have patience and be attentive. The head pattern "Went" is very simple in knitting, but it looks beautiful, rich and is warm enough.
With this pattern, even one who just starts knitting can cope. At first glance, it may seem that such drawings are complex because of their binding, but if the scheme is described in detail and the beginning will adhere to it, then the result will be excellent.
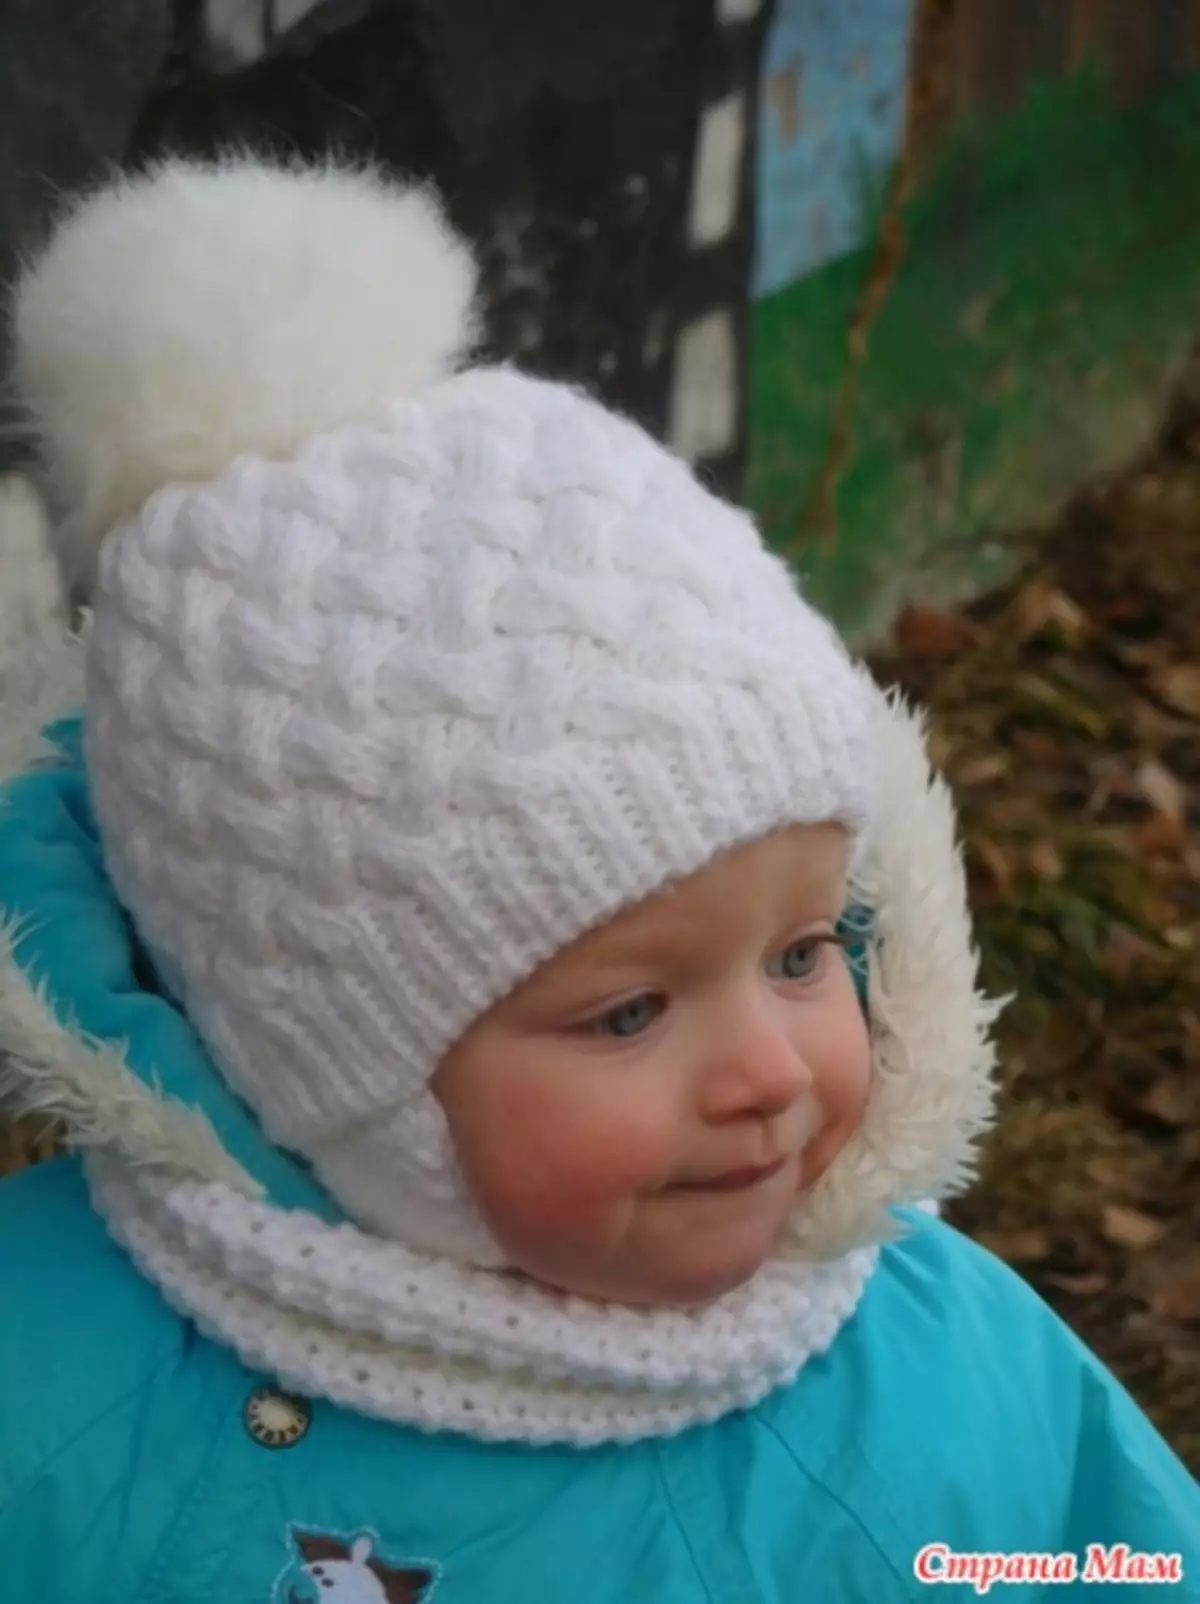
Decorating fur pomponon
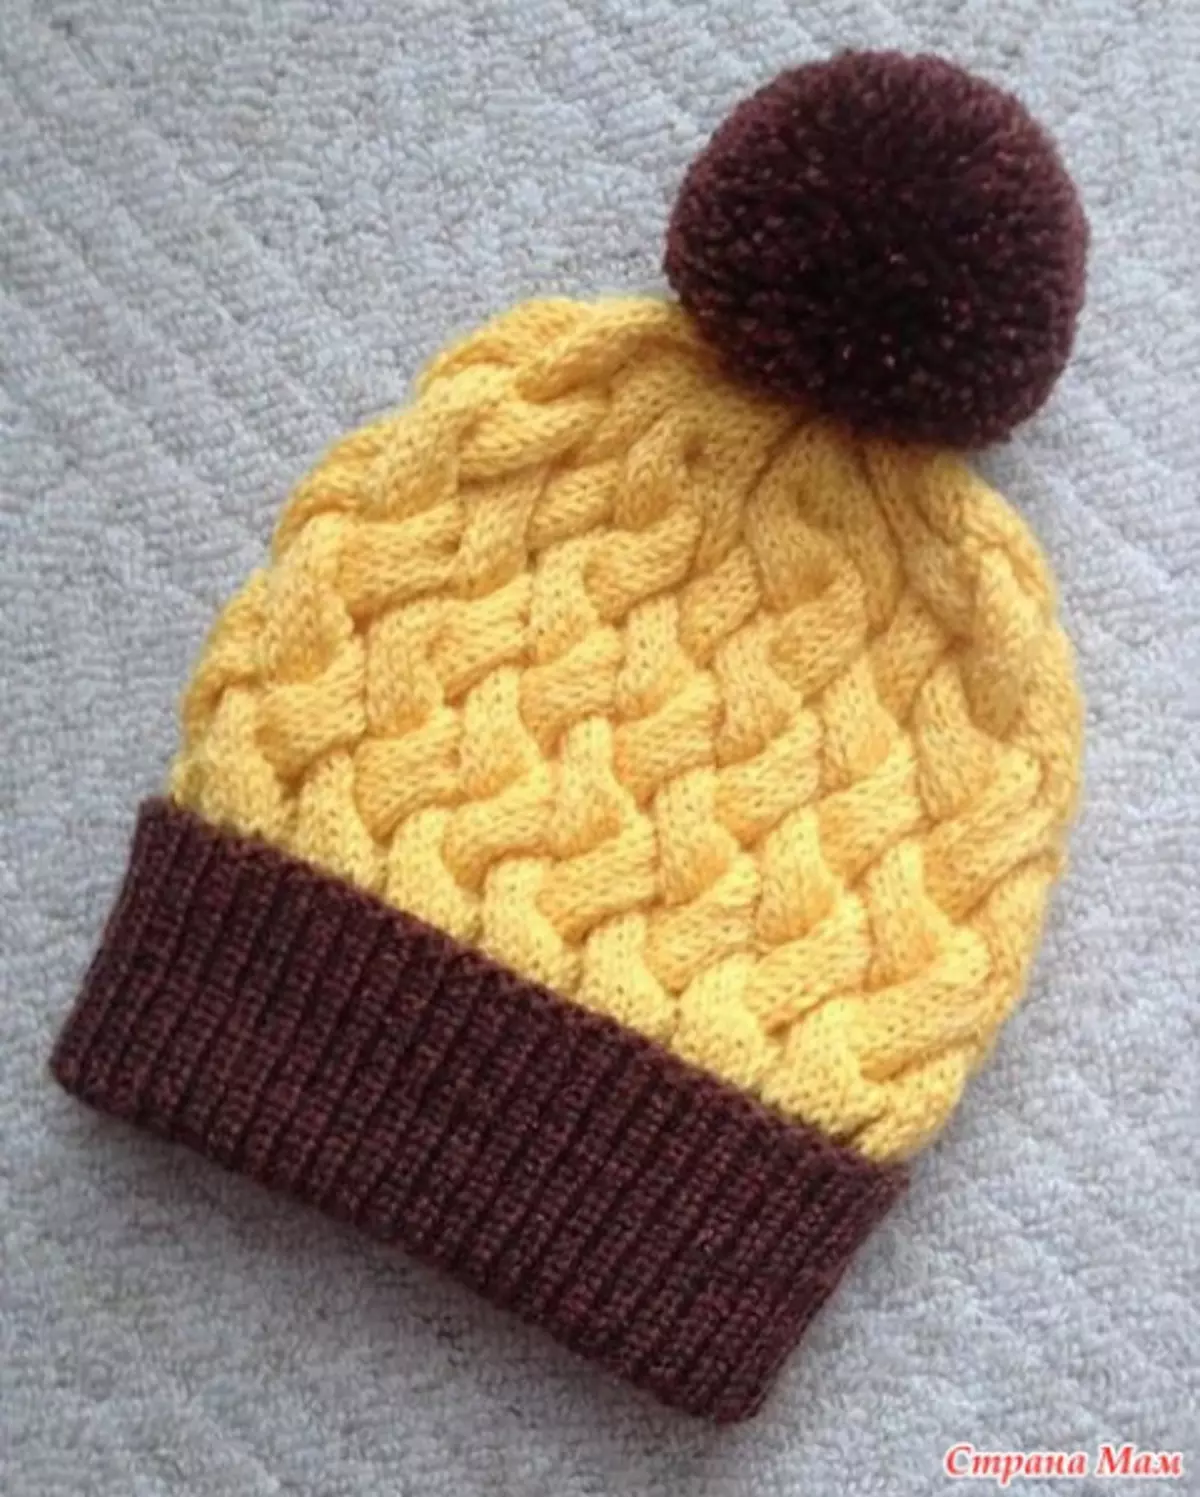
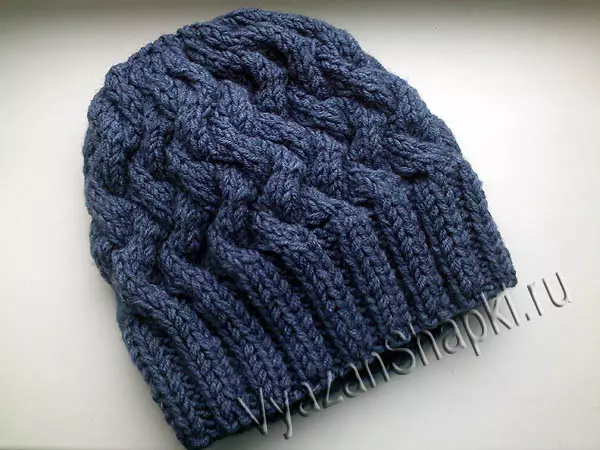
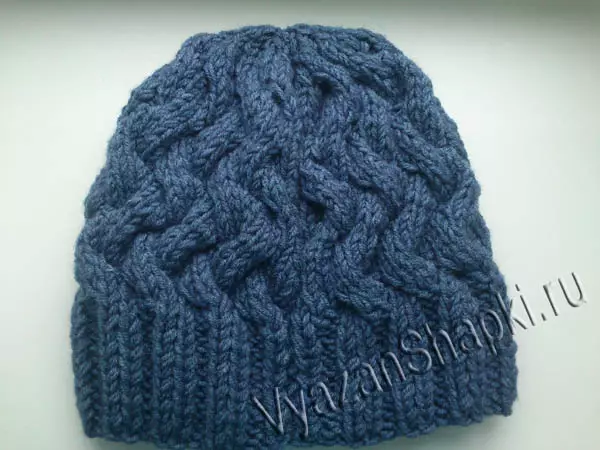
The braid cap is very beautiful and easy, but at the same time keeps warm. Due to this pattern, the product keeps the form for a long time and it seems volumetric. In this master class, we consider in detail how to tie a hat with a weaving pattern, and with the description, the task will seem easy and even a newcomer will cope with it.
What do we need to prepare:
- Threads "Pehord" 50 g;
- Spokes at number 4 and 6;
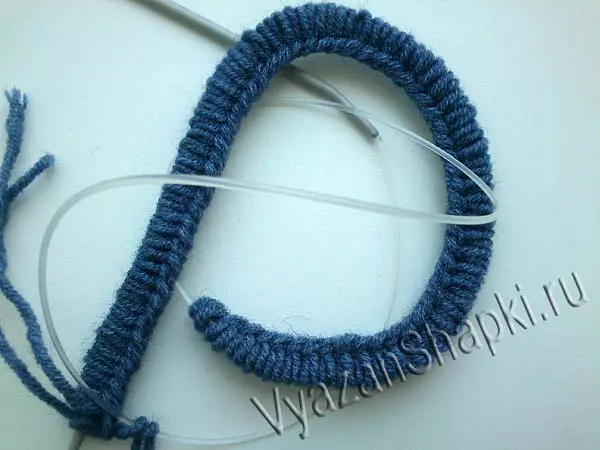
Now we start knitting. To do this, you recruit 120 loops and 2 more keys edge, should turn out to be 56 cm if a double elastic rushes fit. 1st row: It is necessary to remove the edge loop, * the facial, we remove one loop, while not tiering it, the wrong one, one more removed * but the edge should be drawn by the invalid.
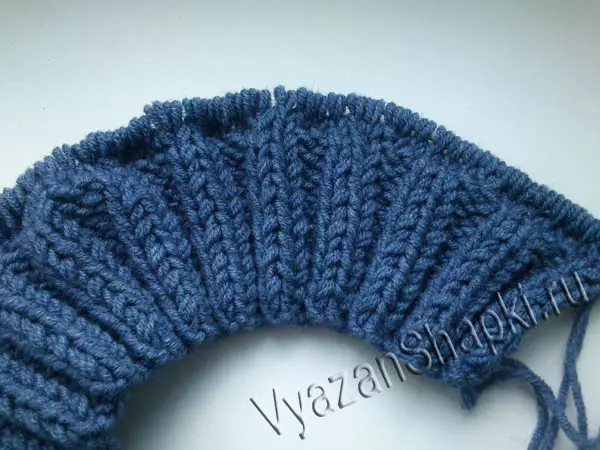
2nd row: Remove the edge loop, * facial, one you need to remove, without sticking, the wrong, the following is removed and do not interpret * - repeat so until the very end of the row. Again the edge to check the wrong one.
It is important that in this row it is necessary to check those butterms that in the first we have not been tied. The height of the gum must be 6 cm.
Now go to the spokes number 6, which we will knit pattern. When the rubber band is connected, we add another 12 loovers, in the amount there should be 134 butterms. We proceed to knit pattern.
Article on the topic: Knitting needles - Practical summer top
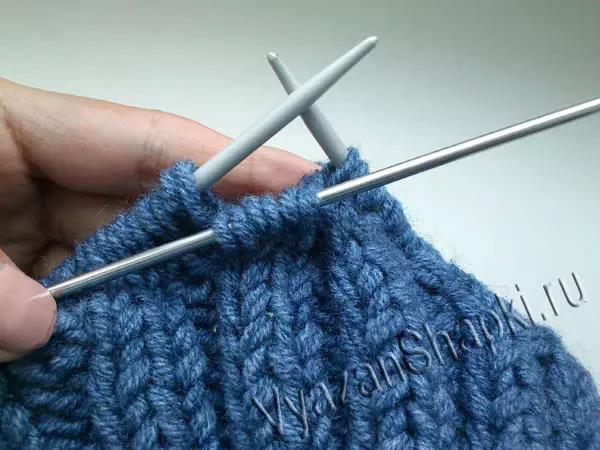
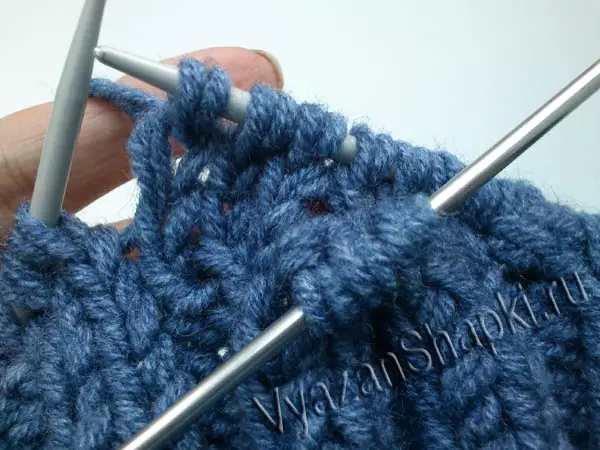
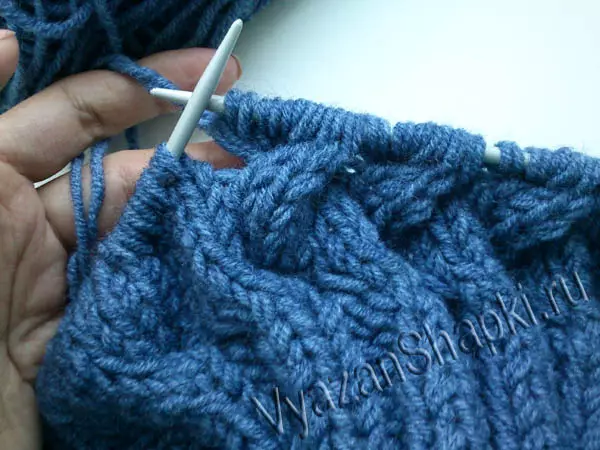
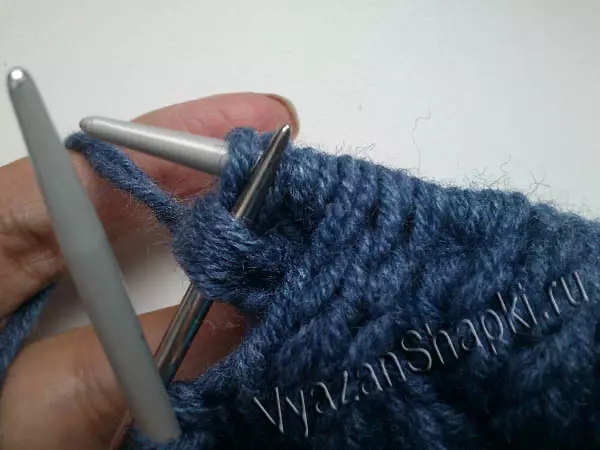
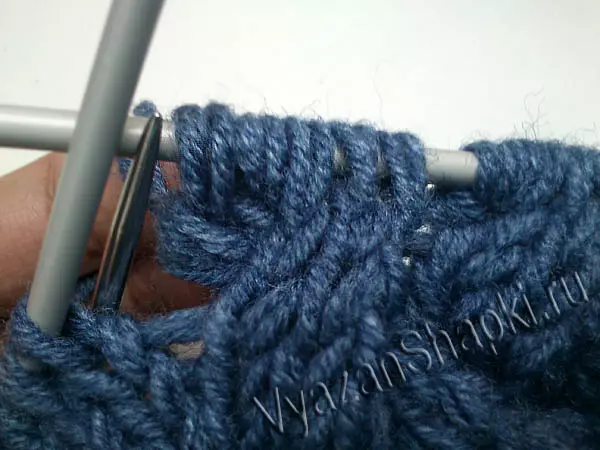
1st row: we knit one front loovers. 2nd row: Now knit offended. Next, the 3-5th rows are in line with the facial, and 4 and 6th rows knit off. 7th row: insert the edge, * on an additional needle we carry 4 buttons and leave in front of the product, then 4 facial, after 4 buttons, which were transferred, need to peck with facial butterms. 8th row: knit offended loops. 9th row: Surrive facial buttons.
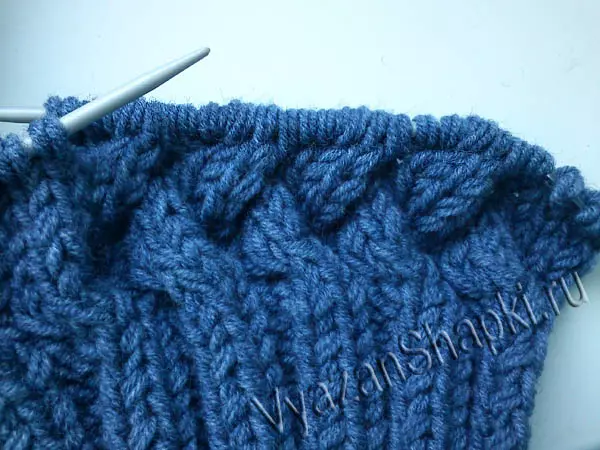
Now we alternate row to 12. From the 13th row, we need to start everything from the first row. We make a row of gum 2 on 2. So it will turn out to be 13 cm. Next, we need to make a release after the picture: knit 2 facial, the wrong, now we combine two buttons, just knit the invalid. Again, an elastic band, height 1 cm and we reduce the loop: all the invalid buttercups, two, together, but over the rows we combine two facial, and already on the subsequent row knit on the front side, they are tied together through one butter. The outbreak lasts 5 cm. The remaining buttermits pass through the thread and drag on, and the remaining thread stretch on the wrong one. Then take the fur pompon and sew to the header, and here our product is ready, you can wear.
On fashion trends
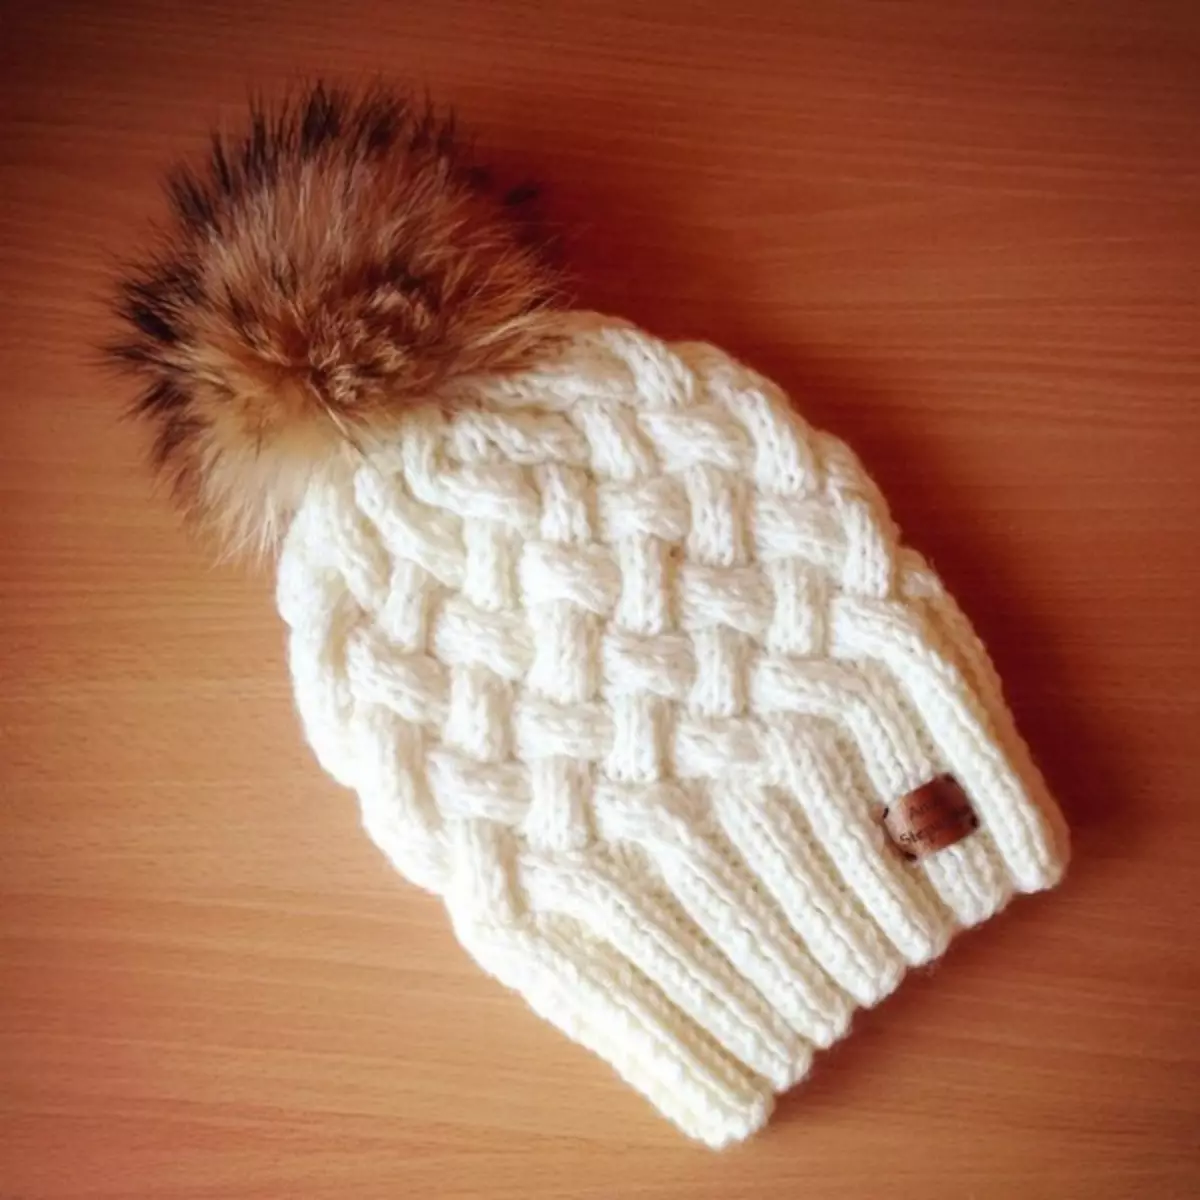
Such a hat is very fashionable, moreover, designers assure that in the winter of this year this model will also be in trend. Typically, brand things are big money, so many needlewomen, saving their means, knit such things on their own. Things made on their own, appreciate more, especially one can add something to your own, then such a headdress will become quite unique.
What needs to be prepared:
- half-walled threads;
- Spokes at number 4 and additional needles;
- scissors;
- needle.
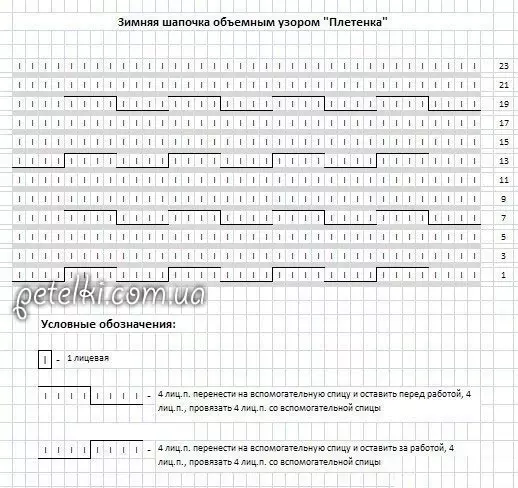
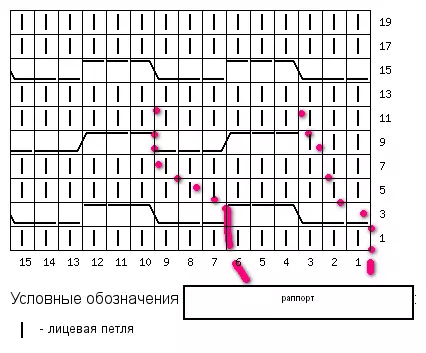
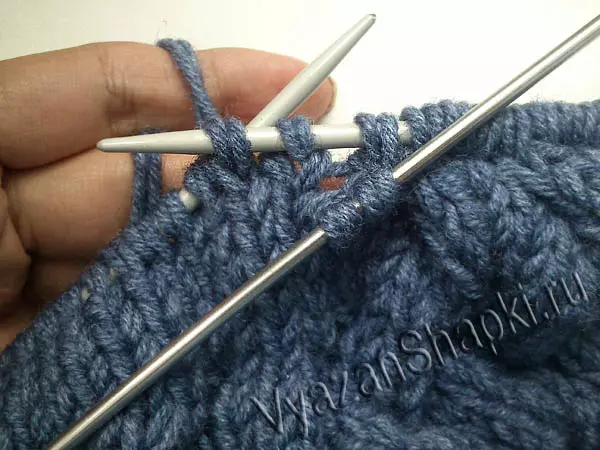
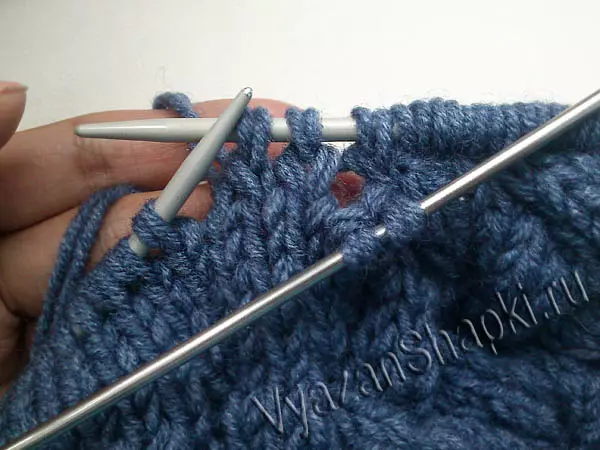
For the circle of head 56-58 on circular spokes, we recruit 70 loops. Now we have an elastic band for the usual 2 to 2 14 rows. When the gum will be associated, we must peel 3 row by facial buttons, while adding 24 loops. The diagram below indicates the pattern of knitting pattern. At the same time, three buttermits are removed on an extra needle in front of the product. I knit three loops, and after they are tied three buttons from the extra needles. And so they see the whole row. Next, the front loovers are proving 5 rows. And then make the binding on the other side.
Article on the topic: Gifts from candies with their own hands on a wedding: Master class with photo
Already after the second crossing is, the pattern will become clearer. And so we are pronounced to the necessary height, approximately 15 cm. And only then begin to make the relevance. In the binding period with additional needles, we make a reduction in the product. And after 5 row, you need to drop from the main web. After that, there are still a few rows, and then 5 rows are tied 2 loops together. At that moment, when there will be only 12-18 loops, with the help of the thread, we pull everything and the remaining threads pull inside the caps. It remains to sew the board with the same thread, and here everything is ready.
Video on the topic
This article presents video with which you can learn to knit a beautiful hat with a wicker pattern.