
The word cylinder has two values. From the point of view of mathematics is a geometric body, and from the point of view of fashion is a hat. Step-by-step instructions, how to make a paper cylinder with your own hands, will help you make such a hat.
Mathematical value
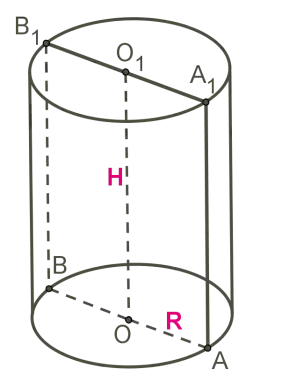
The cylinder is a geometric body, in which the cylindrical surface is limited to two crossing planes. It has a side surface and two bases.
Let's try to make such a geometric shape of the paper. First, practice make a cylinder without precise measurements. For its manufacture you will need:
- Paper;
- Glue stick;
- Scissors;
- Circle or any round item (plate, bowl);
- Line.
Take a sheet of paper A4 and seal with long sides by 2-2.5 cm.
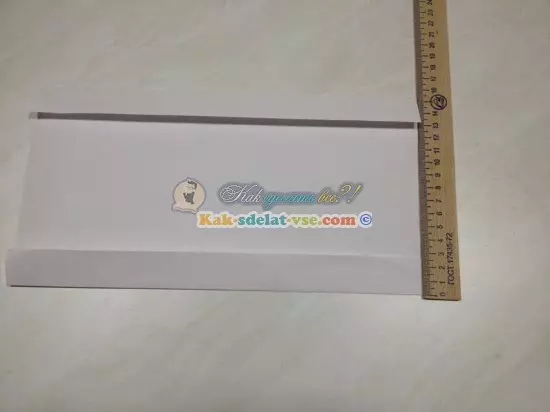
From one side, measure the bottom and on top of 22 mm and cut out. It will be a break for gluing side seam.
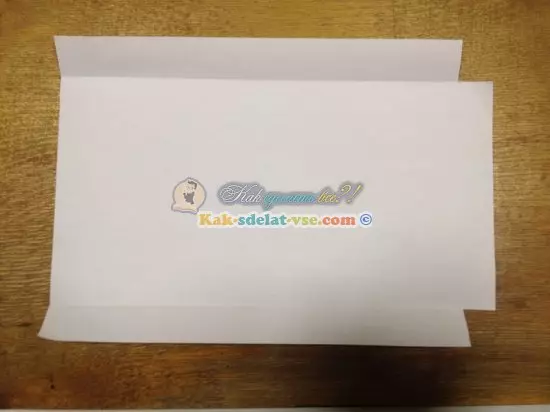
Now the long edges need to be cut into strips for 5-7 mm.
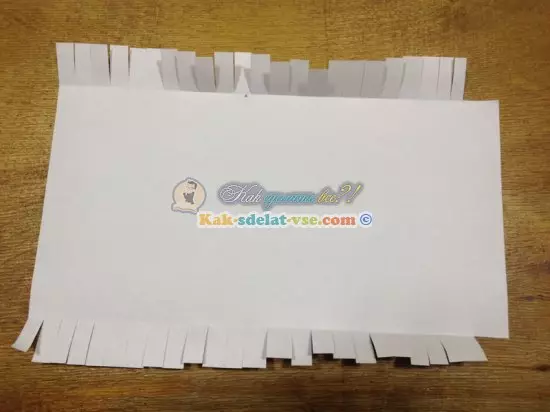
Spread the side seam.
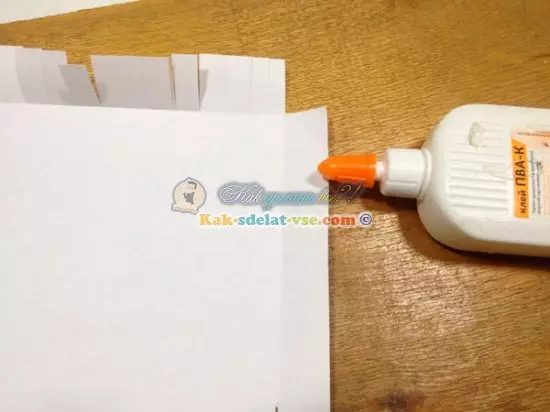
Draw a circle 2 circle with a diameter of 90 mm and glue them to the sliced side sides, pre-lubricating them with glue.
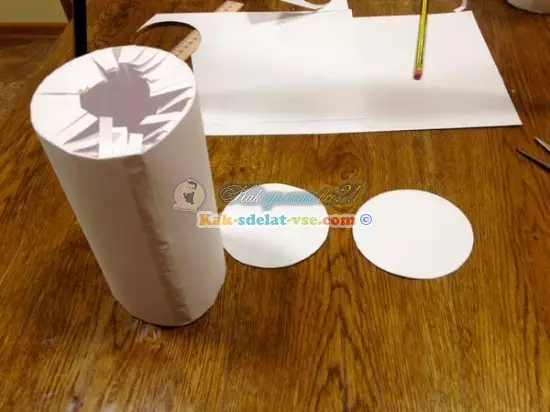
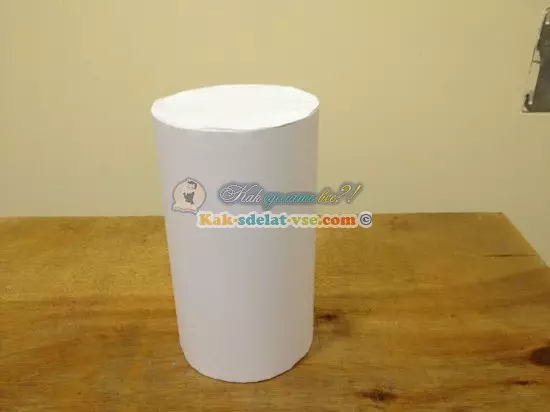
Paper cylinder is ready.
Such schemes are called sweeps. In essence, they depict a disassembled geometric shape with accurate calculations of its parameters. The height of the cylinder is indicated by the letter H. To calculate the long side of the cylinder L, use the formula L = π * D, where D is the diameter of the base of the cylinder.
When working you need to make an allowance for gluing 5-7 mm.
The story of one hat
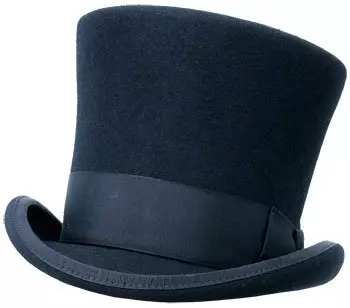
Well, with a geometric figure figured out, now let's talk about fashion. In the late XVIII early XIX centuries, an unusual hat was invented by European hat masters - a cylinder.
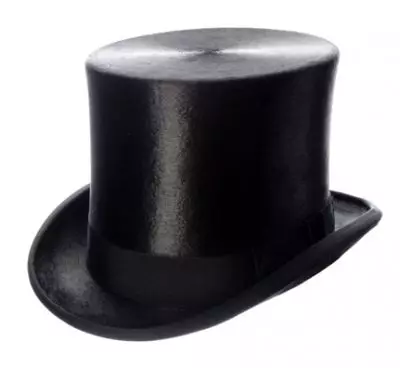
It was high (up to 30 cm) a flat top and field hat. Due to the high cost of the material from which these hats did, wearing the cylinder was considered the privilege of the highest layers of society. Initially, for the manufacture of hats was taken by a beaver felt than and put the poor animals on the edge of extinction. A little later, chic silk cylinders entered the fashion.
Article on the topic: Sunflower Hook: Scheme and Description for beginners with video
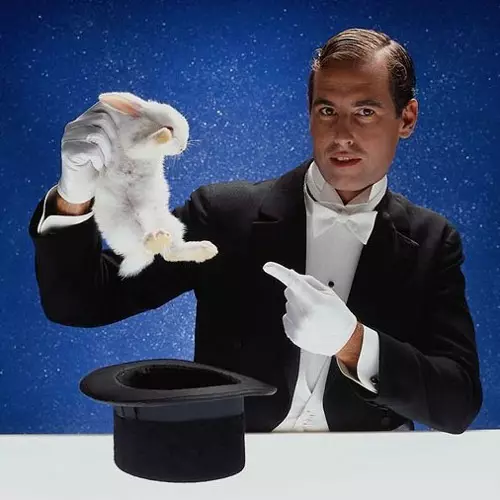
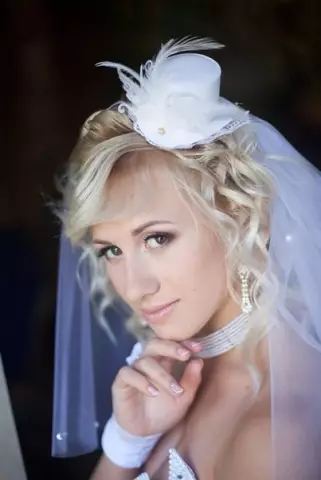
Simparishes also wore hats, similar to the cylinder, just made them from felt and felt. When processing these materials, mercury salts were used, very harmful to health. Lewis History Carolla about the insane hatchnik takes his roots precisely from here - the mercury pairs caused dementia from the masters of a hat. Perhaps the most famous person who dressed such a hat on his head was Abraham Lincoln. And he used the cylinder not only as the subject of his wardrobe. He was also repository for secret correspondence. Supported this headdress and magicians. The big size of the Tulley allowed to make a double bottom and calmly get a rabbit from such a hat. Now the cylinder performs a decorative function, it can often be found on stylistic parties and weddings, on magical show.
Mastery hat focker
Have you conceived to make a carnival costume of the magician? Then this step-by-step instruction will help you make it the main attribute - cylinder.
Having learned to make a cylinder from paper, you can easily create a carnival hat. For its manufacture you will need:
- Black cardboard;
- Scissors;
- Pencil;
- Scotch;
- Glue;
- Black fleece strip;
- Varnish and brush;
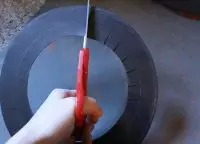
First of all, you need to remove the measurements. Measure the head circumference with a centimeter tape. Think what kind of height will be your hat and what size will be its fields. Making a paper cylinder, make a bottom and hat with hat, glue the details. For the manufacture of hats fields, it is necessary to apply the resulting cylinder to the cardboard and circle. The next circle should be drawn from the same middle, its size relative to the first circle and will be the size of the fields of your hat. To be clearer, look at the picture:
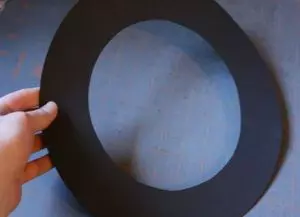
Next, you need to make the second part of the fields, which will be attached to the hat with the hat. Its size is the same as the first part, but do not rush to cut. Inside this detail, it is necessary to draw a circle, the diameter of which will be 1 cm less than the diameter of the cylinder base. Cut the detail and cut the fringe inner circle.
Article on the topic: Magazine Mod No. 610 - 2019. New issue
Slit two details of the fields among themselves.
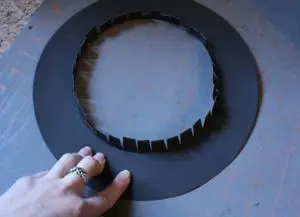
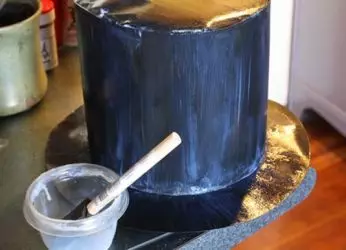
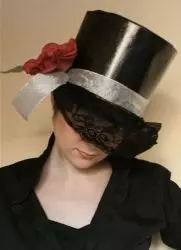
It remains only to lubricate the teeth with glue and attach the fields to the hat. Inside the Tuli, glue a strip from the fleece, equal to the circle of the head. She needs her hat tightly on his head. Cover the finished lacquer hat and decorate the ribbon. You can go to the carnival!
Video on the topic
A small selection of video will help you master all the nuances in the manufacture of a paper hat.