
Many of us in childhood tried to make yourself a fan of paper with their own hands. Especially in cases when outside the hot summer window. We suggest you remember how it was, and learn other ways to create this accessory. Attract children to the creative process.
Easy way
Being children, we put just a square of the paper by the accordion, then reveal it, keeping for the base. Fan is ready. Improve this option. Take three squares of the paper of the same size and lay down from them. Shave them among themselves.
We glue the sides of the ice cream to the side sides of the extreme segments, pre-at the ends we will do the holes. In this hole, we skip the thread or ribbon, it will help to keep the fan opened.
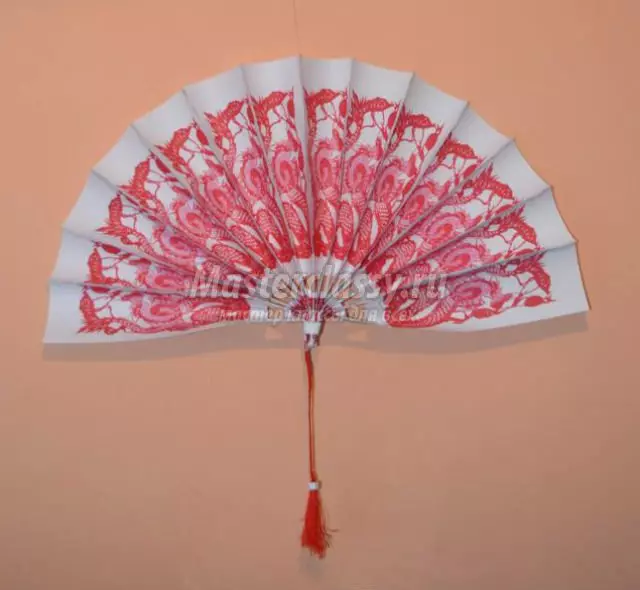
Japanese fan
We will make a fan in the Origami technique. To do this, prepare:
- White paper sheet, size A4;
- line;
- scissors;
- stapler;
- woolen thread, better than a red shade;
- pencil;
- PVA glue.
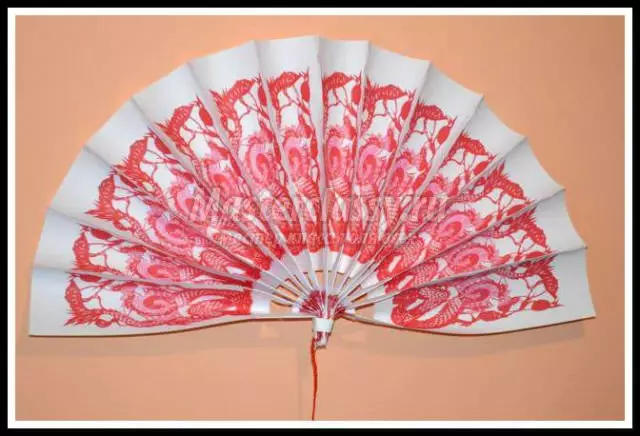
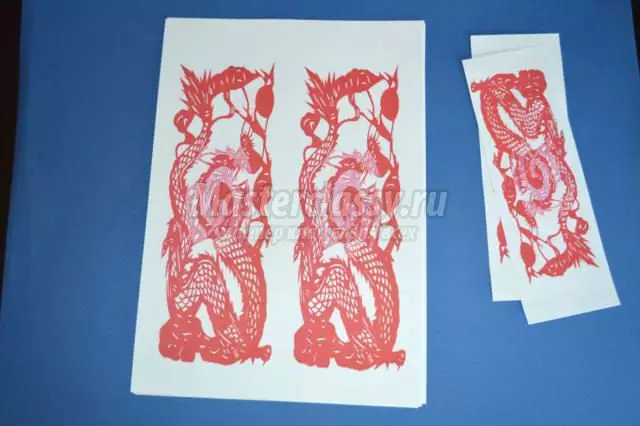
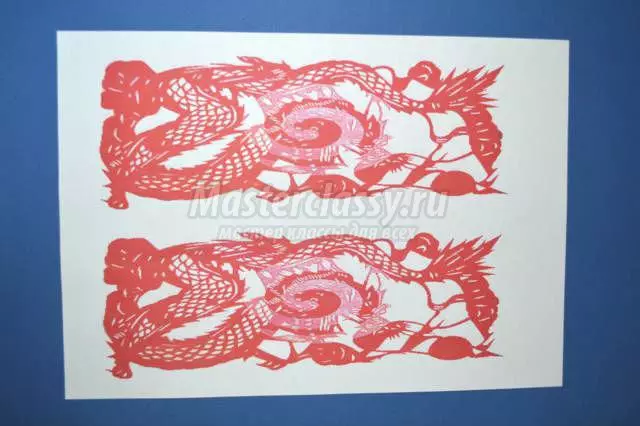
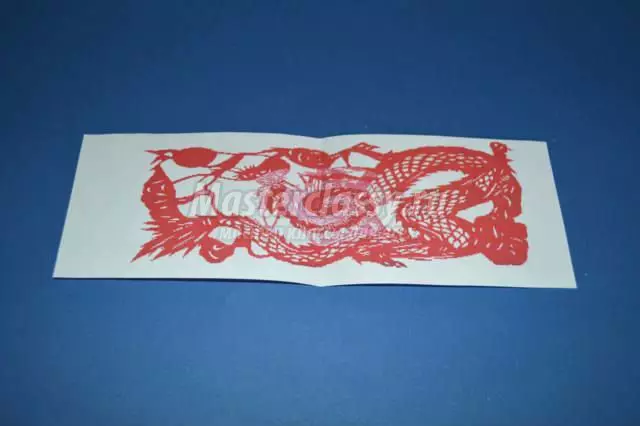
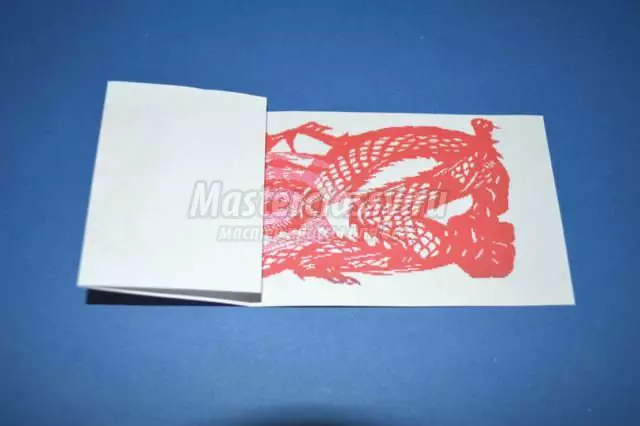
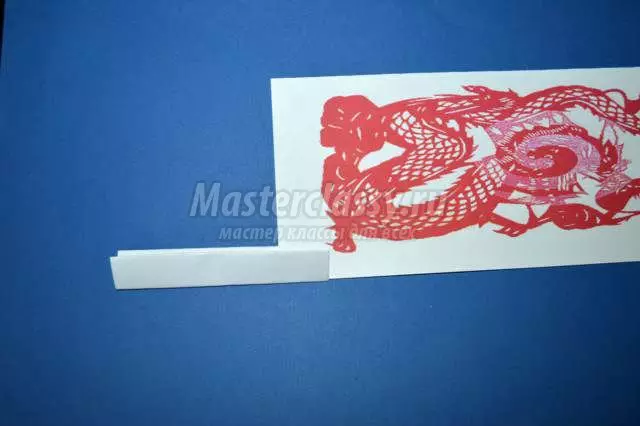
It is necessary to prepare paper rectangles with some Japanese pattern, six pieces with parties 10 and 29 centimeters and 4 pieces - 7 by 20 centimeters.
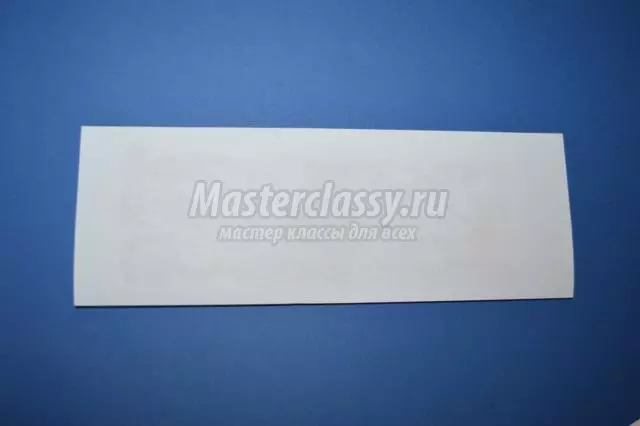
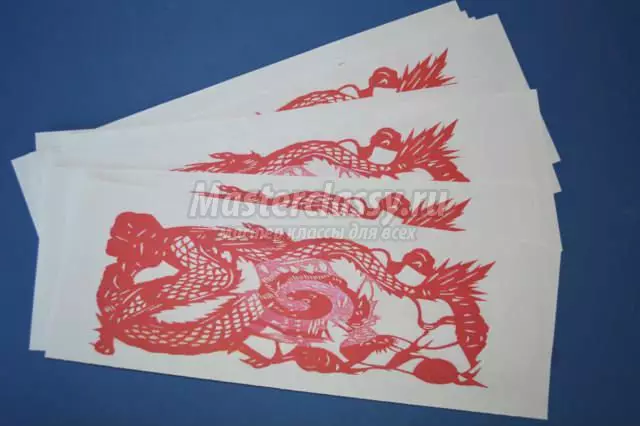
We take 6 rectangles, fold them in half and cut the fold on the fold line. At the output we get 12 segments.
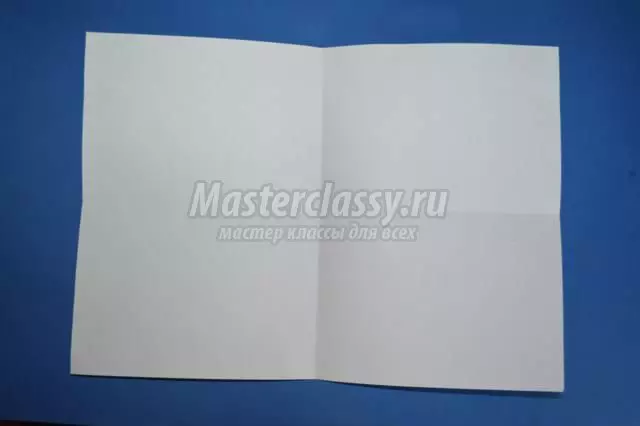
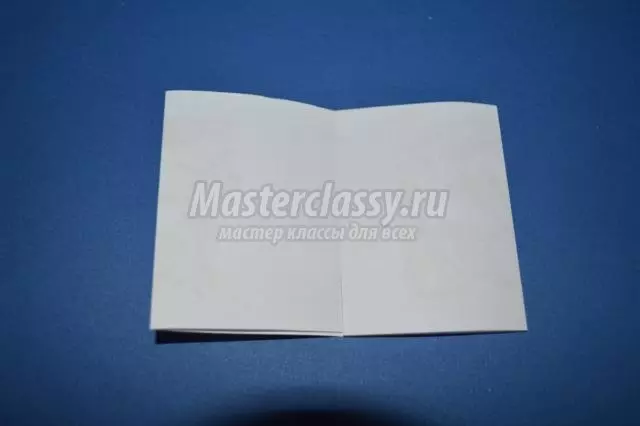
We take five sheets of white paper and make each of them in half along and across. After receiving the folding lines, cut on them, we get 20 rectangles with parties 10 and 15 centimeters.
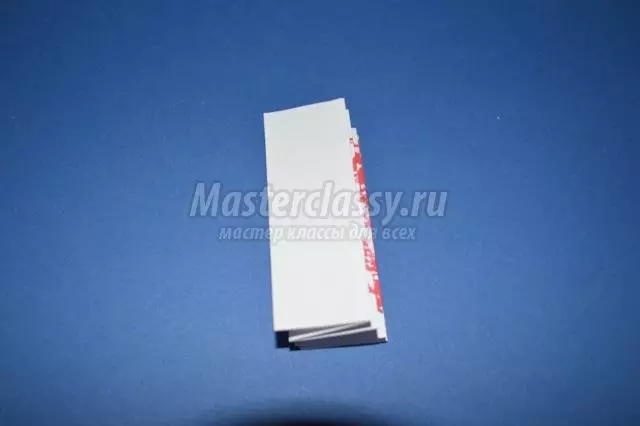
Each small rectangle fold along the long side twice in half.
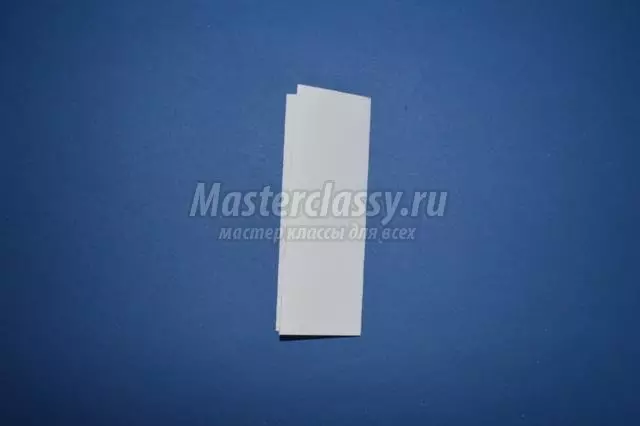
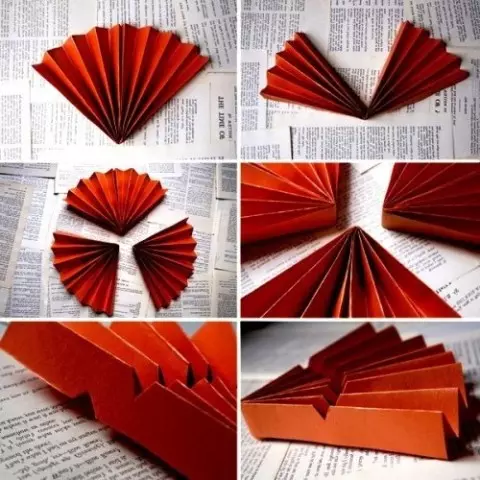
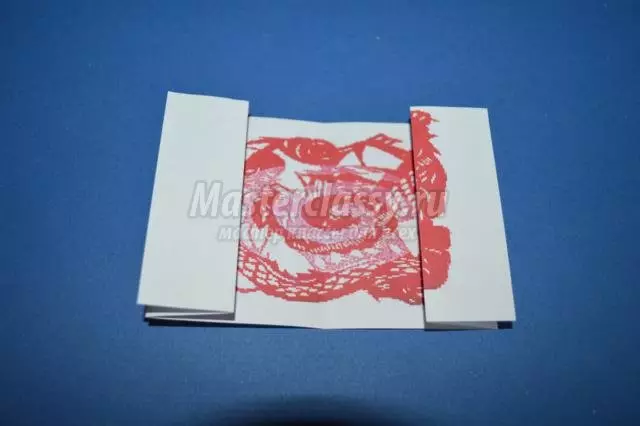
We postpone the blanks of racks aside and work with rectangles of 7 by 10 cm. We fold in half across. Reveal, then add each side to the center.
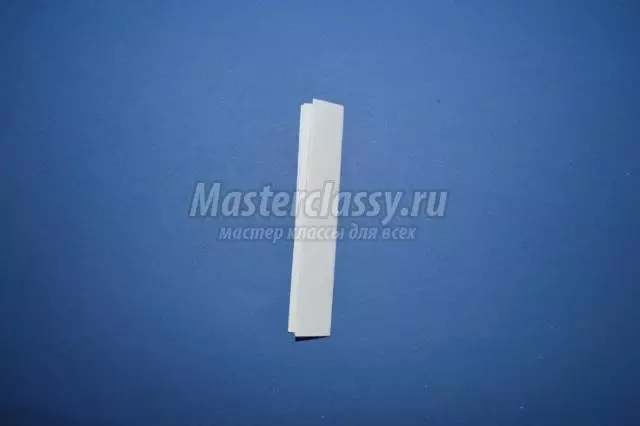
Now each side is reducing in the opposite direction.
Article on the topic: Weaving newspapers for beginners with schemes, photos and videos
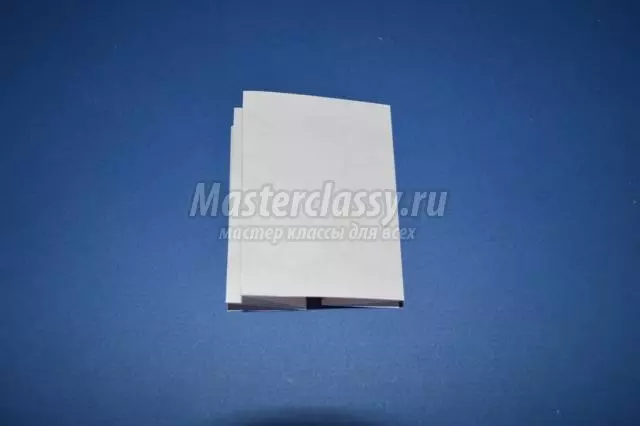
Deploy the workpiece to yourself the opposite side. Each edge to lay down in the harmonica. We make four such harmonica.
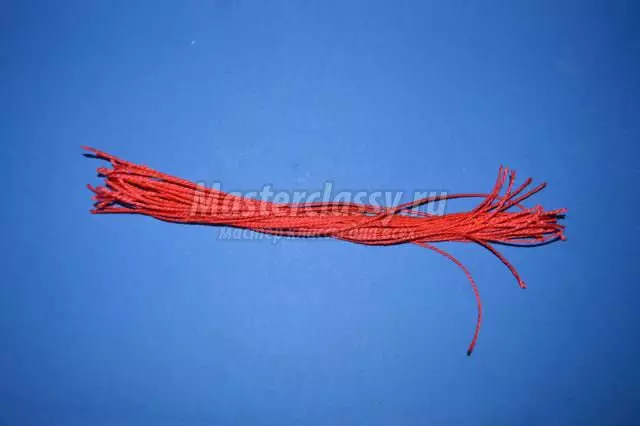
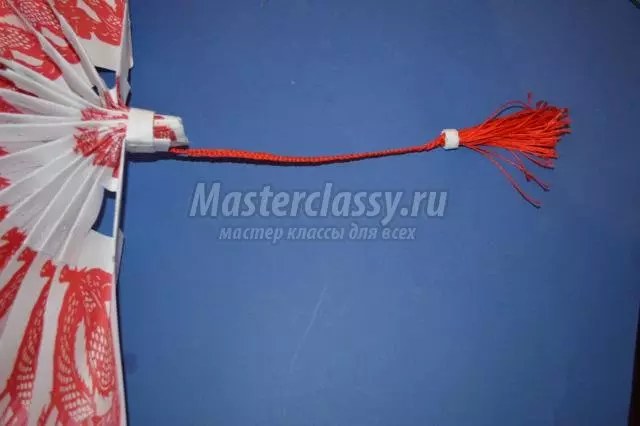
From a woolen thread, cut the segments of ten centimeters and 6 pieces of 30 cm. We will negate them to the middle of them.
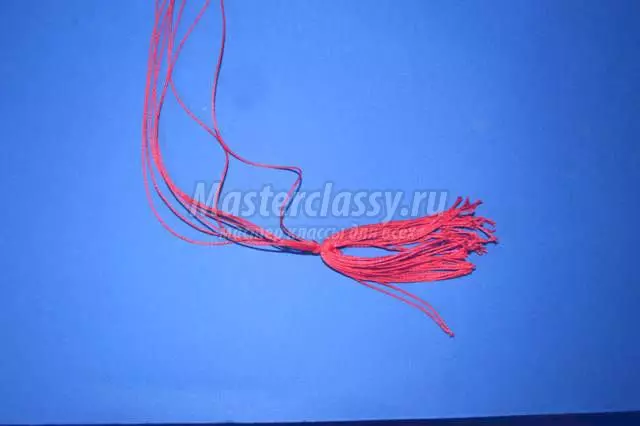
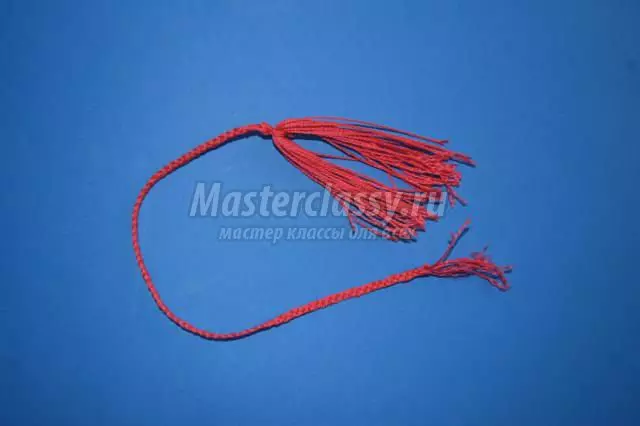
From the long ends we will braid a pigtail.
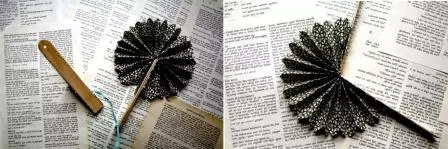
With the help of a stapler, we attach the rack to the main twelve sheets.
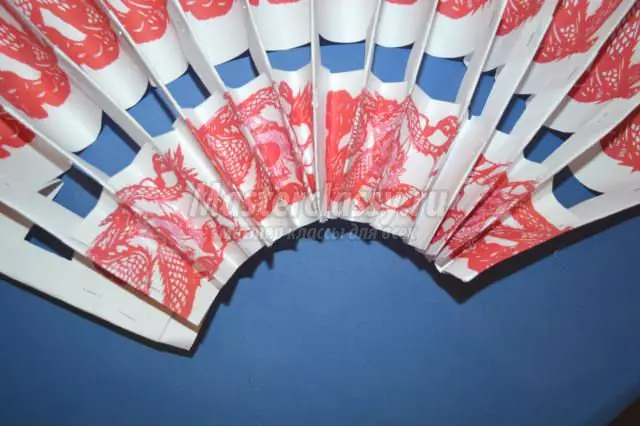
Now all sheets with racks must be connected to each other.
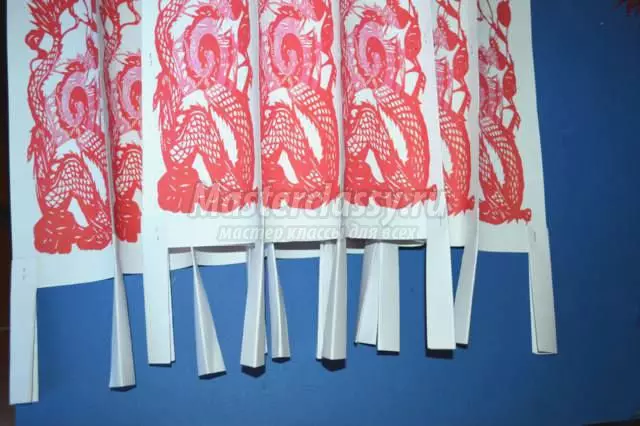
At the free edge of the rack, we attach on the same principle of harmonica blanks with a pattern.
With the help of a piece of paper, we fasten the base of the veser and tie our brush to it.
Our fan is ready.
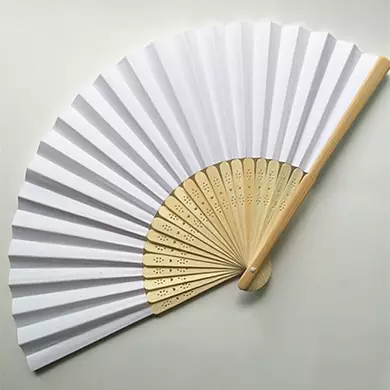
On chopsticks
We will need:
- A sheet of paper or an interesting cut of wallpapers (even a cloth) with sides of 4 and 36 cm;
- Wooden sticks from ice cream or for coffee - 12 pieces;
- glue;
- Ordinary or decorative screw and nut.
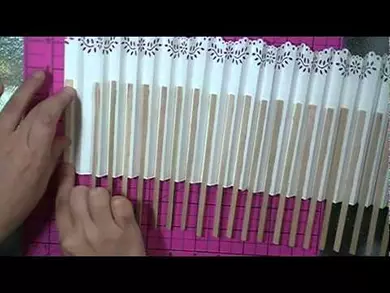
In each wand at the same distance in one or two centimeters from the end, we make a hole. Then we fold the cut of the paper into the harmonic of the width of one and a half centimeter (on the fabric simply draw the consistent lines). We glue sticks near the folds line.
After creating the resulting workpiece, screw in all the screws of the screw, fix the nut. This is such a simple master class allows you to make such beauty.
Corrugated paper
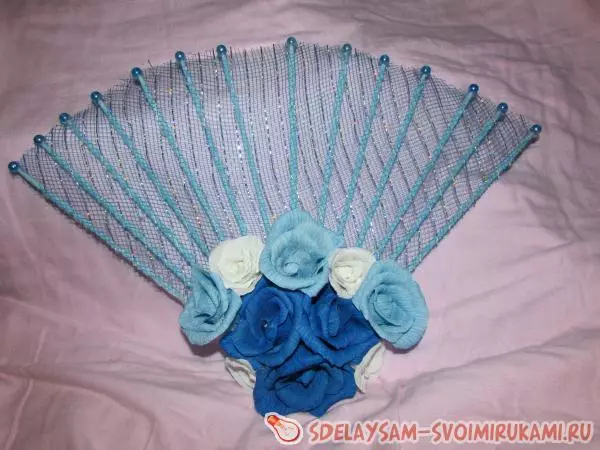
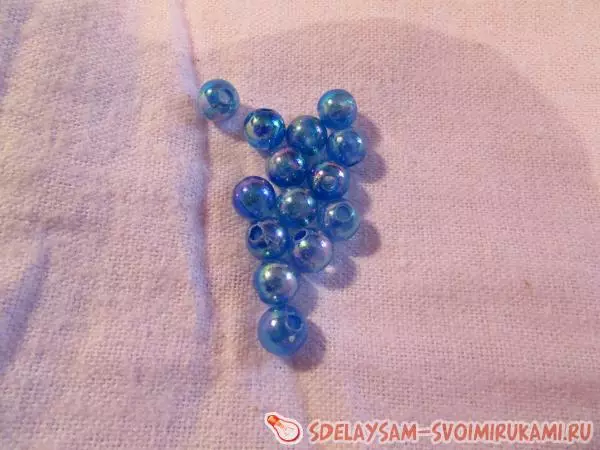
We will need: corrugated paper blue, blue and white shades, floral mesh in tone, 14 speakers, beads, foil, thermoclay, scissors, threads, chain, beads.
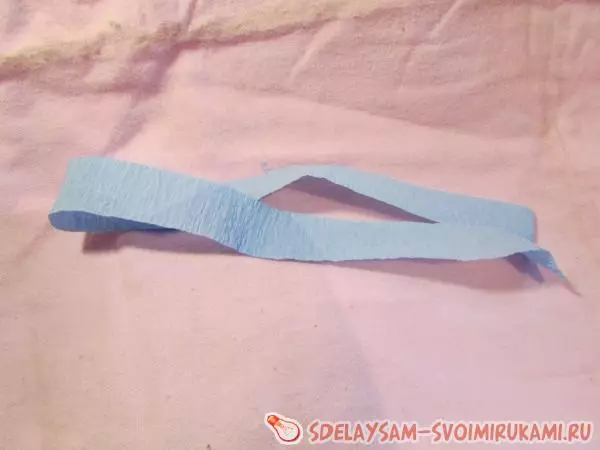
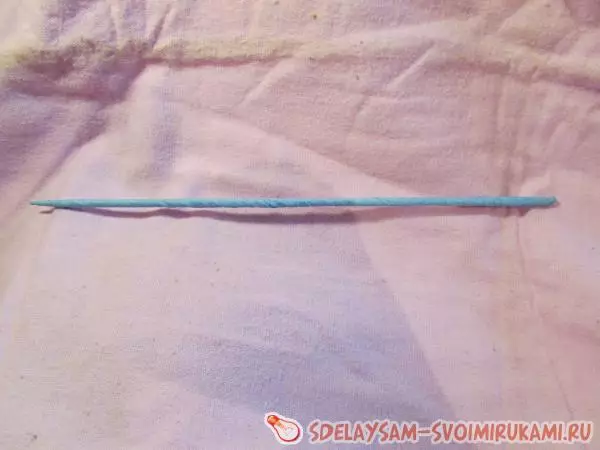
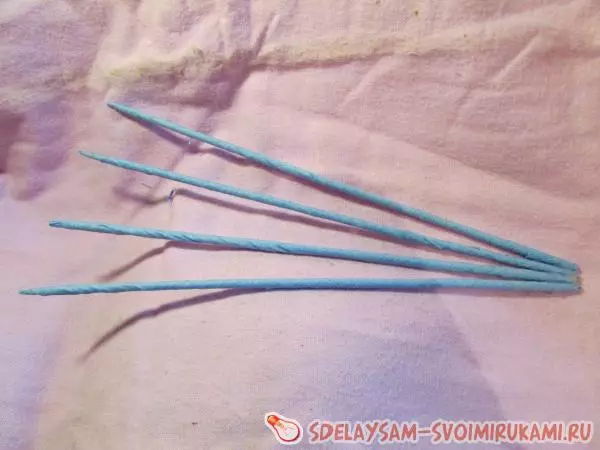
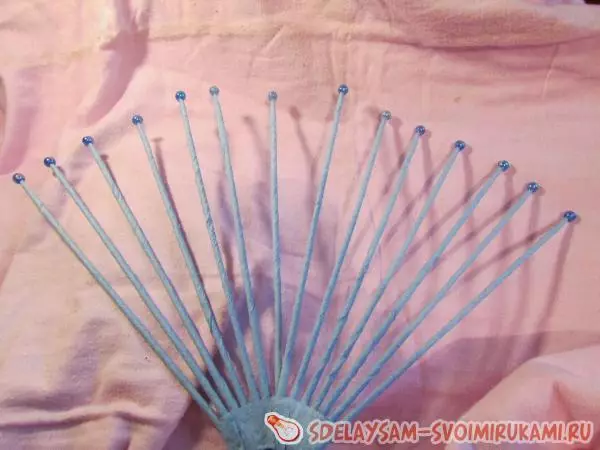
From blue corrugated paper, cut 14 bands, necessarily across the fibers, with the sides of 15 and 1 centimeter. We stretch them and turn around each skewer, on the end we fix glue.
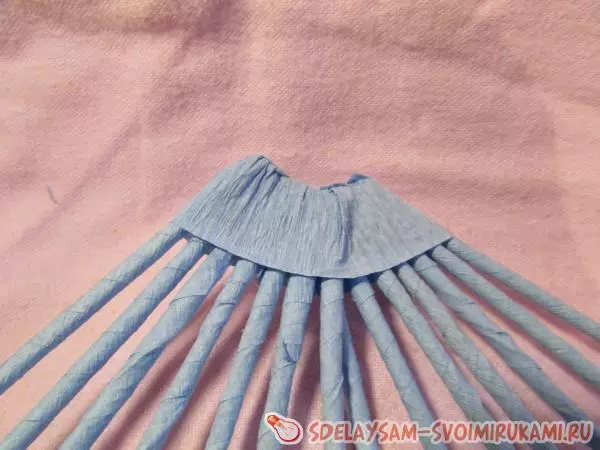
Now the skewers must be glued to each other at the base at an angle of 45 degrees.
When all the skewers are fastened, cut out from the same paper cut 2 per 5 centimeters, we grow up and close the foundation of the veser.
Article on the topic: Leather Earrings - Master Class
Then every sharp vertex of the swipes must be decorated with beads fixed on glue.
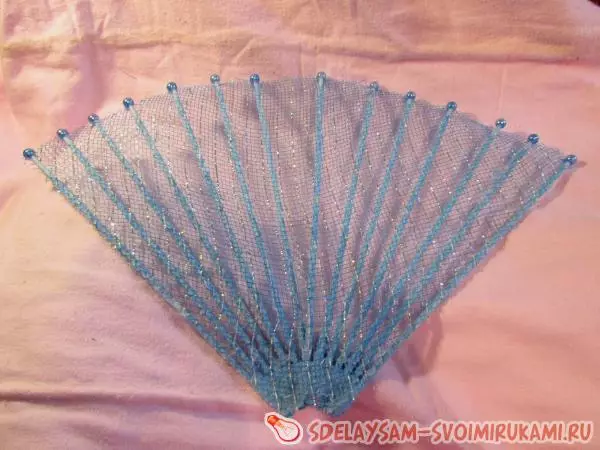
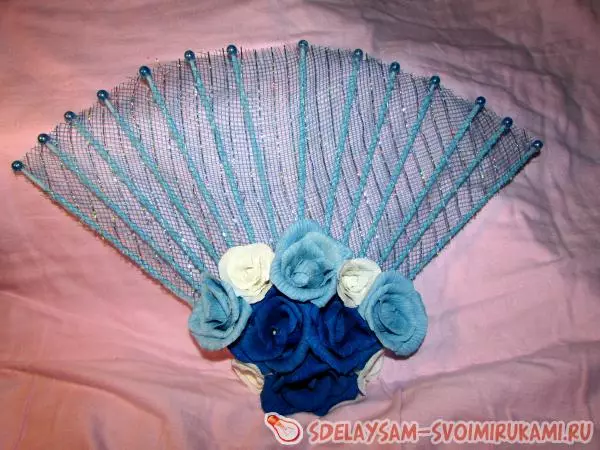
From the floral mesh, we cut a square with the sides of 30 cm and turn our foundation in them. To reliably sell a vertex with beads through the mesh holes. Fix all with glue and wait for complete drying.
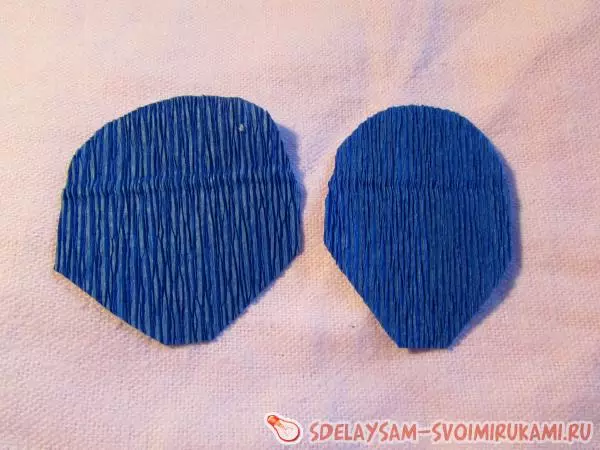
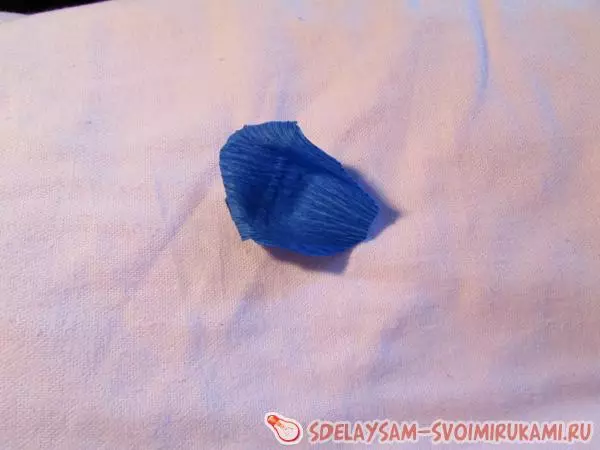
Let us back for our workpiece and proceed to creating a decor of flowers. To do this, cut the petals from the blue paper (initially rectangles, then spin the edge): 4 pieces - with sides 3 and 5 cm, 3 pieces - 5 cm; Blue paper - 4 pcs. - 3 4 cm, 3 pcs. - 4 for 4 cm; White paper - 4 pcs. - 2 for 3 cm, 3 pcs. - 3 by 3 cm.
I stretch the petals from the middle and tighten with a spat or pencil rounded edges outward.
We take the foil square and form a ball or a droplet, turn it around it the first of four petals. The base is fixing the thread.
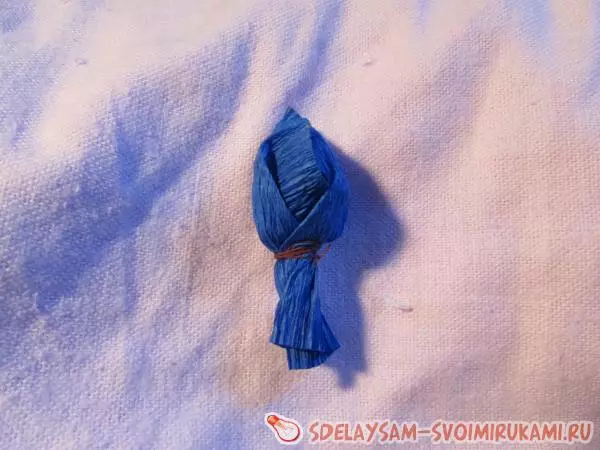
Now starting with smaller petals begin to form a bud. By gluing the petals of the mustache, and in the rows in a checker order.
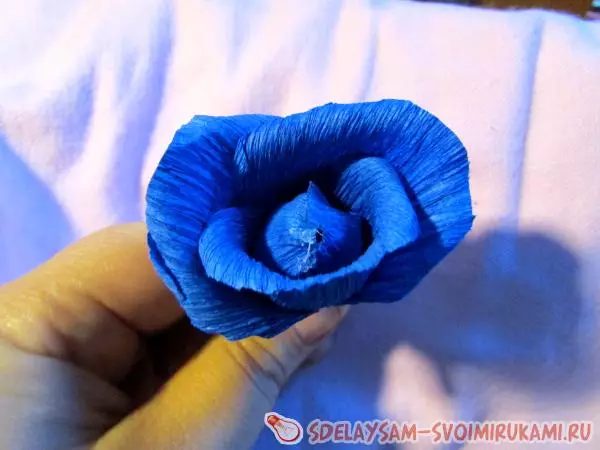
Thus, we prepare 3 blue and blue roses and 4 white.
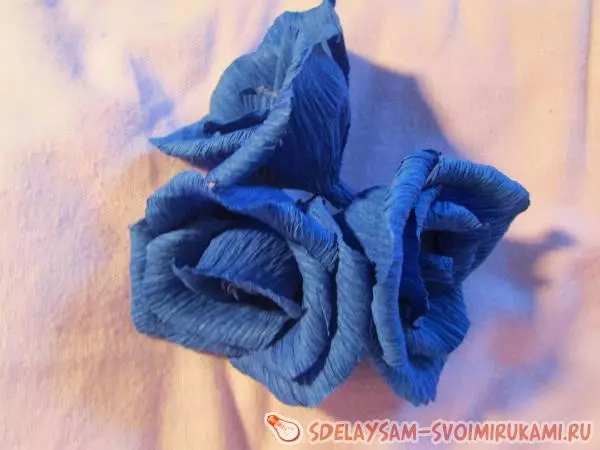

We glue the big roses with each other and attach to the base of the place.
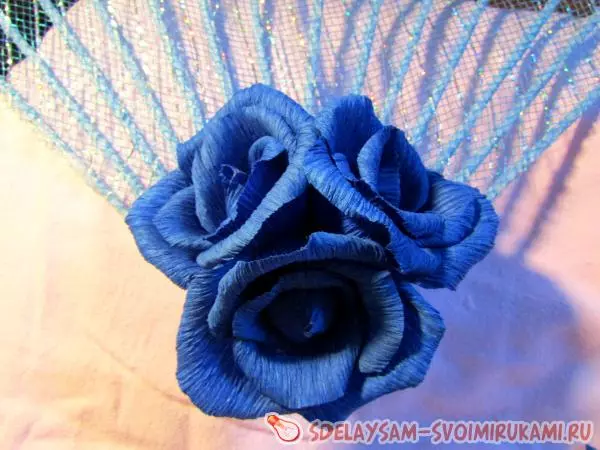
We put the rest of the roses.
On the root side we glue the chain with small pieces of paper and glue.
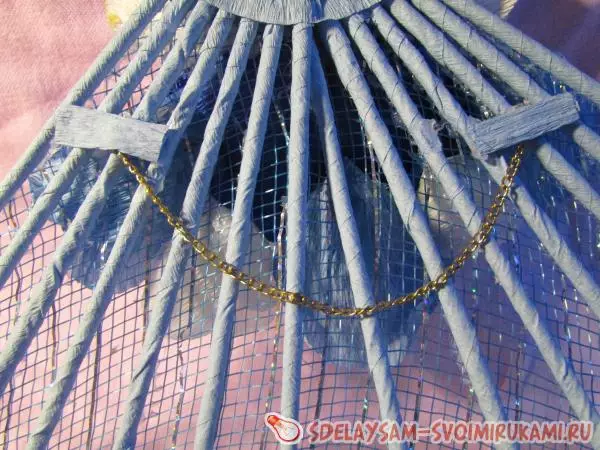
Such a fan can serve not only on the direct purpose (then it is better to glue the chain to the bottom in the form of a loop), but also the interior decor.
We also offer to familiarize yourself with the selection of videos to create fan of paper.