
Not so long ago, Origami technique gained popularity in many countries and truly turned into world art, although the roots of this art go deep into the ancient China, and these knowledge were available to a little, only representatives of the highest estates. In the middle of the twentieth century, the technique began to spread the world. Various varieties began to appear: simple origami, modular origami, folding on the pattern, wet origami. Origami gradually even began to introduce into kindergartens and schools, as scientists have proven that this type of art contributes to the development of small motorbers, concentrations and prettiness of children. And if you want to instill with your child these qualities, then offer him to make a modular origami chicken in the shell.
But before proceeding to work, let's determine what is modular origami and what it differs from the classical method. Classic origami consists of using one sheet of paper, which consists in the original figures without the help of scissors and glue. Modular origami consists of several separately folded parts, which are subsequently embedded in each other without the help of glue.
Triangular modules
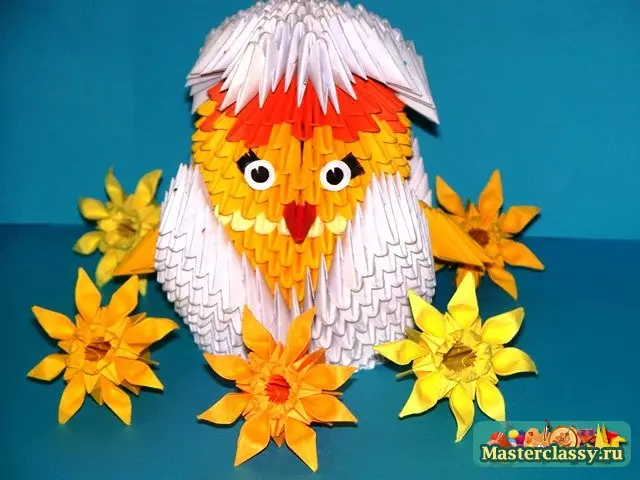
So, what do we need to create a cute chicken in the shell? Let's look at the master class and a detailed assembly scheme.
From the necessary materials we need only three colors: white, yellow and red. Our chicken of triangular modules consists.
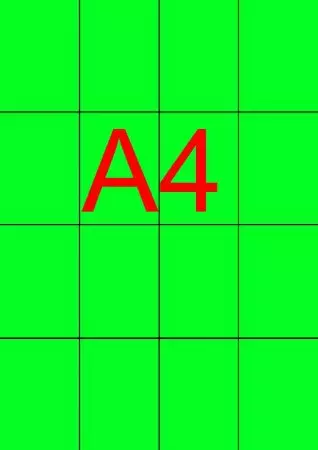
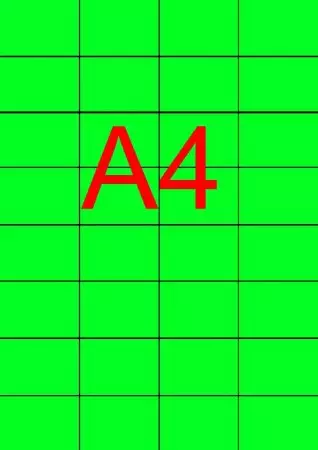
To fold triangular modules can be different sizes, it all depends on the volume and height of your craft. All modules in one craft must be of the same size. How to split the A4 format sheet, shown in the photo.
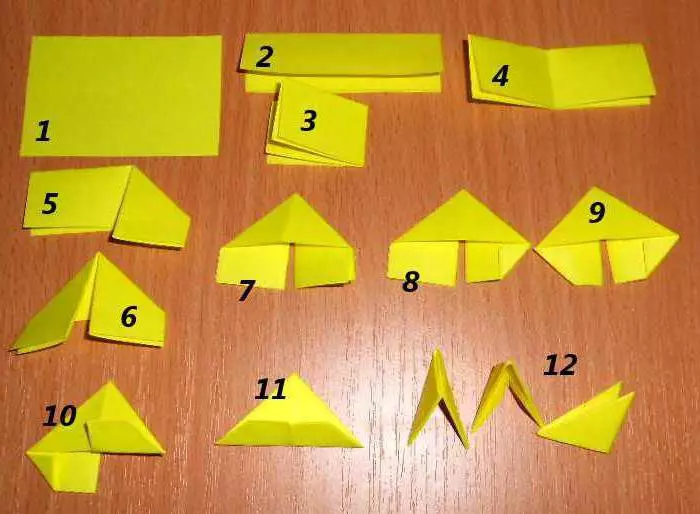
Deciding with the size and cutting the necessary rectangles, proceed to the assembly of triangular modules. Detailed instructions indicated in the photo.
Article on the topic: how to decorate jeans with your own hands
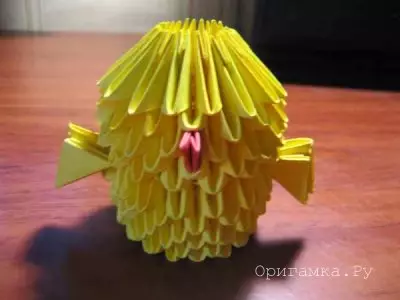
It is necessary to make 221 yellow modules, 304 white and 1 red module, which will perform the role of the beak of our chicken.
Assembling birds
The first row is assembled from triangular modules located in a short side, all subsequent rows of modules are located long side.

We start collecting chicken, for this we gain three rows of 16 yellow modules, not forgetting that the first row is located short side.
So we turn our craft in such a way that the modules are to us a long side, and add 4 rows of 16 modules to them.
In the eighth row, you have another 16 modules with a short side. In the ninth row, add 16 modules, but already have a long side.
And in the same way they collect another four rows. At this stage, we already have the caller of our chicken, now we proceed to the assembly of the wings.
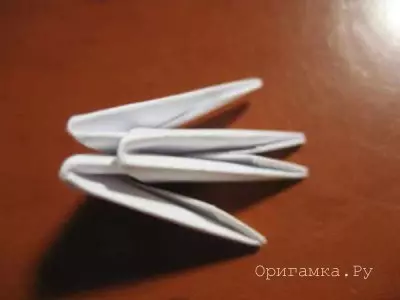
To build one wing, we will need 6 yellow modules. We have these modules according to Scheme 3-2-1. The last module must settle down a short side.
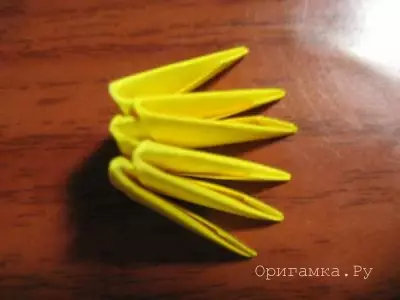
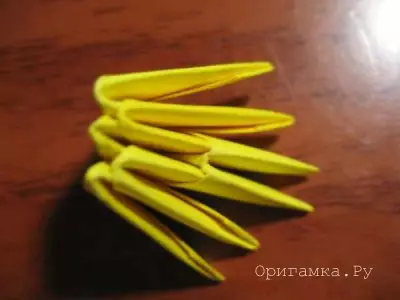
Just do the second wing. We attach our wings to the chicken bike on the sides.
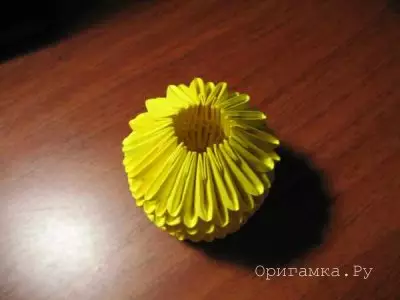
The red module is inserted into the center.
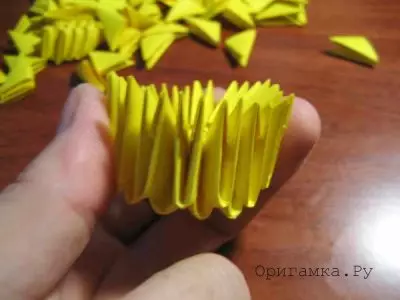
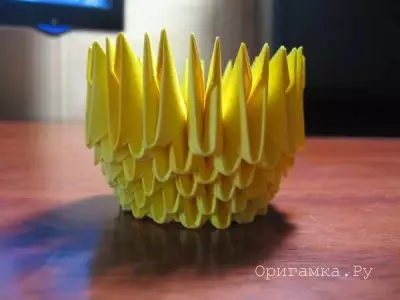
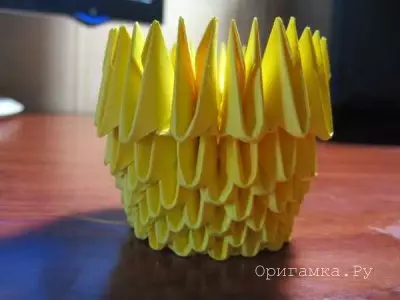
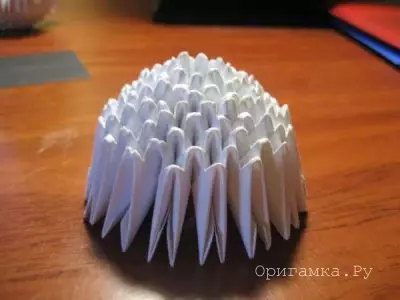
Now proceed to assembling our "house" for chicken - to the shell. Start from the bottom. Collect the first four rows of 14 white modules.
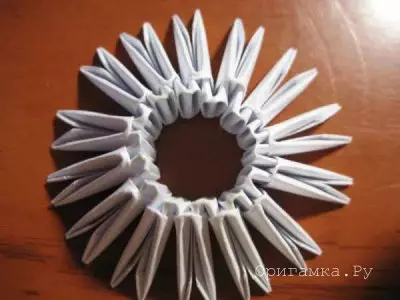
In the fifth row, we increase the number of modules to 21. For this, it is necessary to alternate the modules according to the scheme: 1 module connect, as before, and the 2nd and 3rd we attach one pockets and so until the end of the row.
Add two more rows of 21 module.
To complete our lower part of the shell, it is necessary to add modules in the eight and ninth row, thereby imitating the type of broken shell.
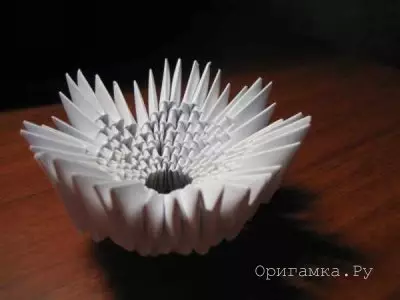
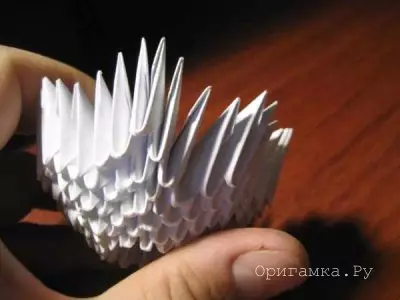
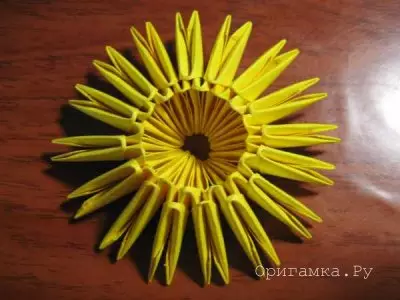
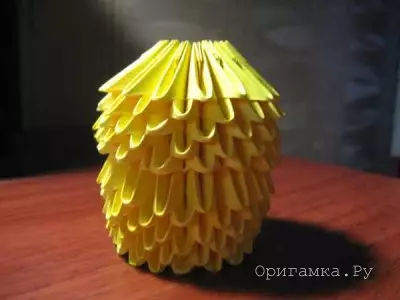
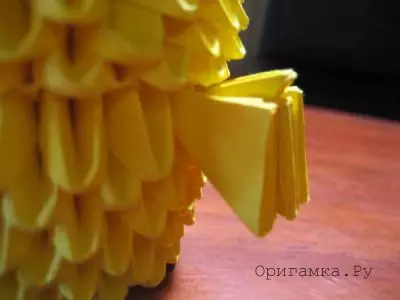
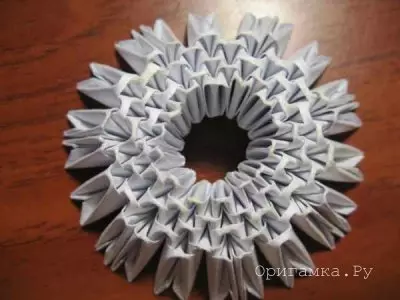
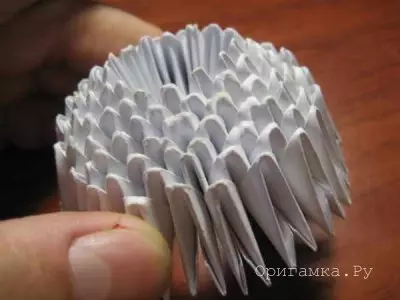
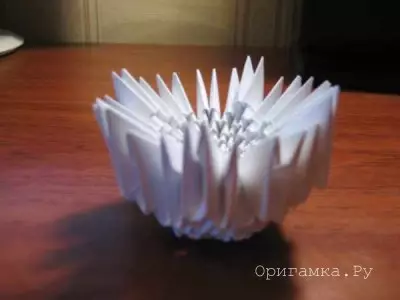
Well, the last detail of our craft is the upper part of the shell.
Article on the topic: Pumpkin basket with their own hands: Master class crafts with vegetables
We collect three rows of 8 modules.
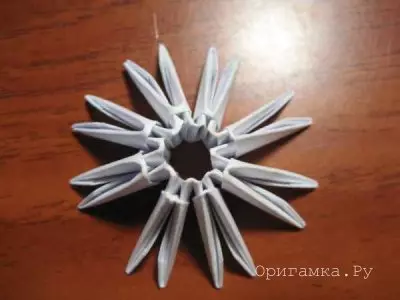
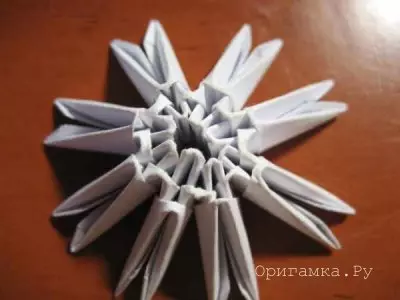
In the fourth row, we need to extend the item slightly, for this you need to add 8 more modules, putting on each module to separate pockets.
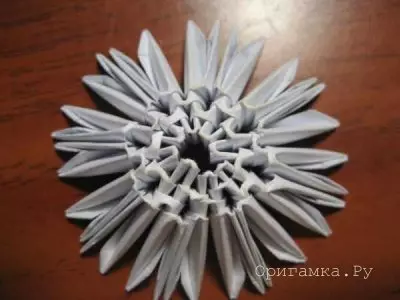
We continue to collect another four rows of 16 modules.
As at the bottom, you need to create the effect of a broken shell, for this it is necessary to add 5 modules chaotically.
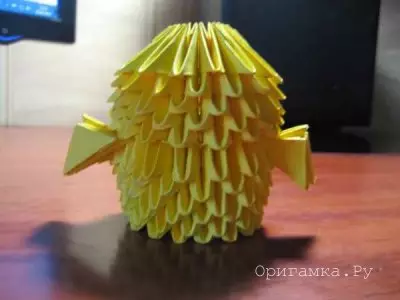
All, our all the details are ready, now you need to connect them only. Also, do not forget to make our chicken eyes, you can simply cut out of paper and glue.
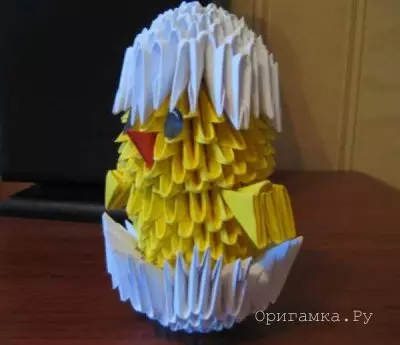
Agree, a very exciting occupation, which you can take a child, and an adult will be interested in creating this miracle.