
Kitics and cats like everyone, they can be made by different ways: sew, eat, tie, weaving and even loose. The easiest and affordable is considered to make a cat from a salt dough. After all, it will take the creation of such a cat in a minimum of ingredients that can be found in every home, and it is no worse than made from other materials.
Preparation of dough
Salted dough is a rather plastic material that can be given any form. Working with a salt test, you can give the will of your fantasy, because the end result of your creativity depends entirely on the flow of ideas. This cat is not ashamed and to give, pre-giving him sophistication with the help of watercolor paints and various jewelry. This cat souvenir is stored for a long time and does not deteriorate.
To make a cat from a salt dough, first of all we will need salted dough itself. Such dough is easy to make from affordable products that will surely have in every home.

Required ingredients for the preparation of salt dough:
- flour;
- salt;
- water;
- paints;
- Tassels.
Prepare all the necessary ingredients, proceed to its direct manufacture. Due to its salted basis, such a dough will be perfectly stored for a long time. And if you have the dough after making a craft, it is not necessary to throw it out, since such a dough can be perfectly saved in the refrigerator and to make some other craft in the future.


Check with water, salt and flour dough. In order for the dough to be perfect, the following proportions should be observed:
- flour - 3 glasses;
- water -0.75 glasses;
- Salt - 1 cup.
Salt is desirable to take fine grinding (for example, extra).
In the absence, you can use a table salt, only you have to wait until it is completely dissolved in water.
It does not matter what variety flour will prepare salty dough. Flour can leave more or less, it all depends on its stickiness. Ready, well-missed, the dough can be stored in the refrigerator. It is best to start sculpt the next day after the kneading, so the dough will only be more elastic.
Article on the topic: Delightful clothing with crochet frofif
Economic cat
On the example of this master class you will learn how to sculpt the cat from the salt dough. Photos with instructions will not let you make a mistake.
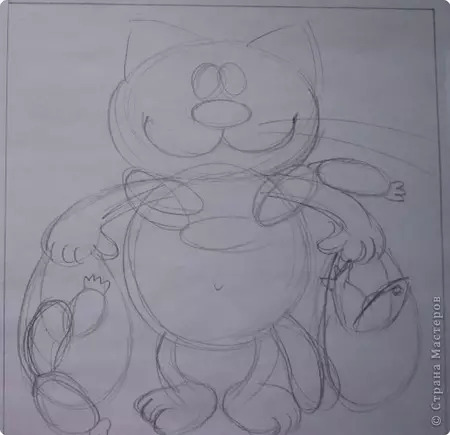
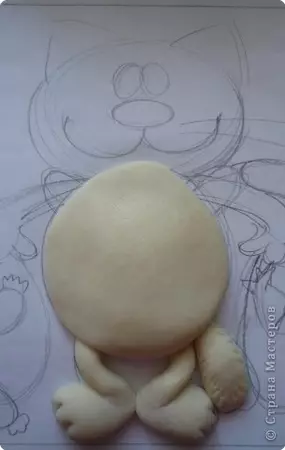
Step 1. Create a sketch step by step. On ordinary paper, draw a cat shape. It can be drawing both to himself and transfer the picture you like using a tracing. Do not be afraid if the drawing is not even, because all irregularities and roughness will hide under test.
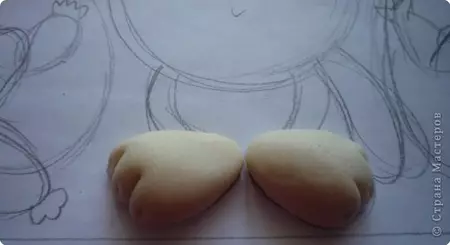
Step 2. Start sculpt the cat follows from its paws. Taking a piece of dough, form 2 small sausages from it. Form from the sausage oval, give it the shape of the paw and impose on the drawing to the place where the paws are drawn. Using the stack, draw fingers and claws on the paws.
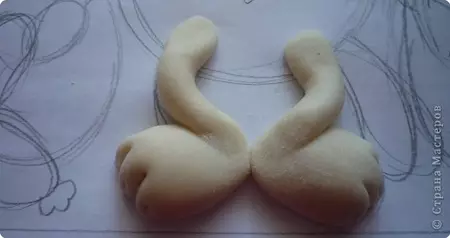
Step 3. We again sculpt two sausages and, giving them the shape of the legs, we stick to the laps in the drawing. For better grasp, all the details must be pre-wateted with water.
Be sure to smooth irregularities with the help of your fingers, so that the work is accurate.
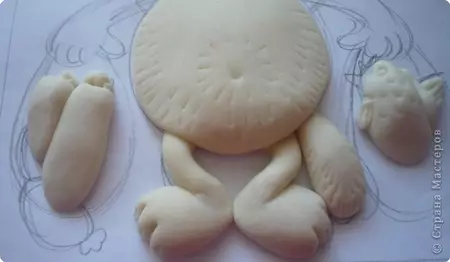
Step 4. Having formed the tail of the cat, lay it on the drawing. To make a cat torso, take a piece of dough and separate it in the shape of a ball. The ball subsequently should be chopped up, giving him the shape of a cat abdomen. Before the imposition of the resulting belly on the other parts of their contacts should be mixed with water.
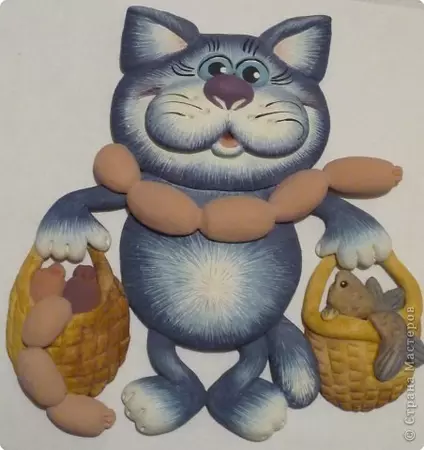
Step 5. With the help of stacks, we make small marks on the cat's tummy, making them in the form of wool. We take small pieces of dough and form fish and wish other fillers of bags.
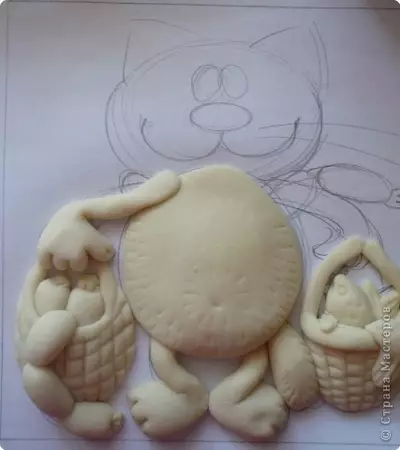
Step 6. We form the harness from the dough and sculpt them in the form of a basket. Baskets need two. Their mustache impose on products.
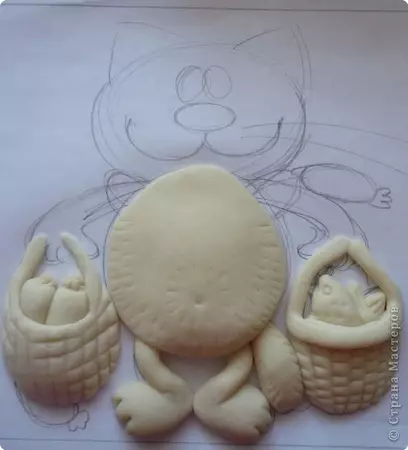
Step 7. We form a sausage from the dough, slightly reducing the end, form your fingers. Such details need to do two pieces. We put ready-made hands on the torso and a basket, in a mixture of water.
Article on the topic: Universal Cover for the book with your own hands
Step 8. Form the ball from the dough, with the help of the palms, give him the shape of the head and impose it to the drawing to the place where the head is drawn. The place where the eyes will be, should be slightly alleged, the face of the face should be highlighted. Next, take two small balls from the dough and form the ears from them. Enclose ears to the head and with the help of stacks.
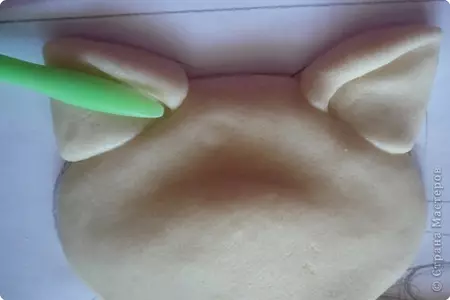
Step 9. With the help of stacks, create a wool on your head and ears.

Step 10. Form two small cakes and glue them to the head, these are the cheeks of the cat. On cheeks with toothpicks, do the holes for future mustache. With the help of stacks, form a muzzle. From the dough, tack two eyes and the nose of the cat. Tell them, mixing water.
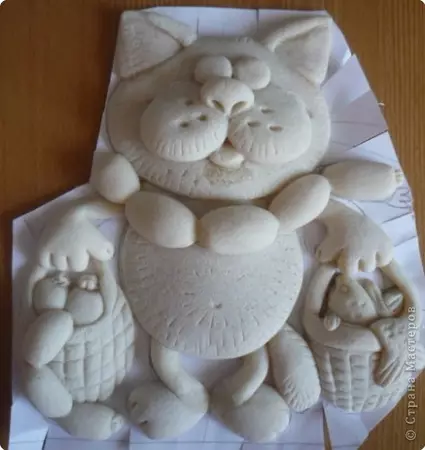
Step 11. Make sausages to decorate the neck and a cat basket. From the finished product, cut extra paper and put in a warm oven for drying for several hours. The readiness of the crafts determine the degree of its hardness. The finished product should be cooled at room temperature.
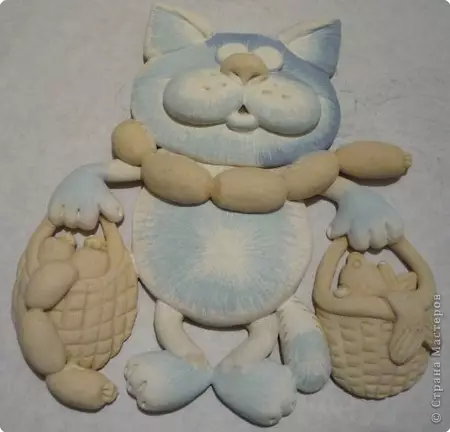
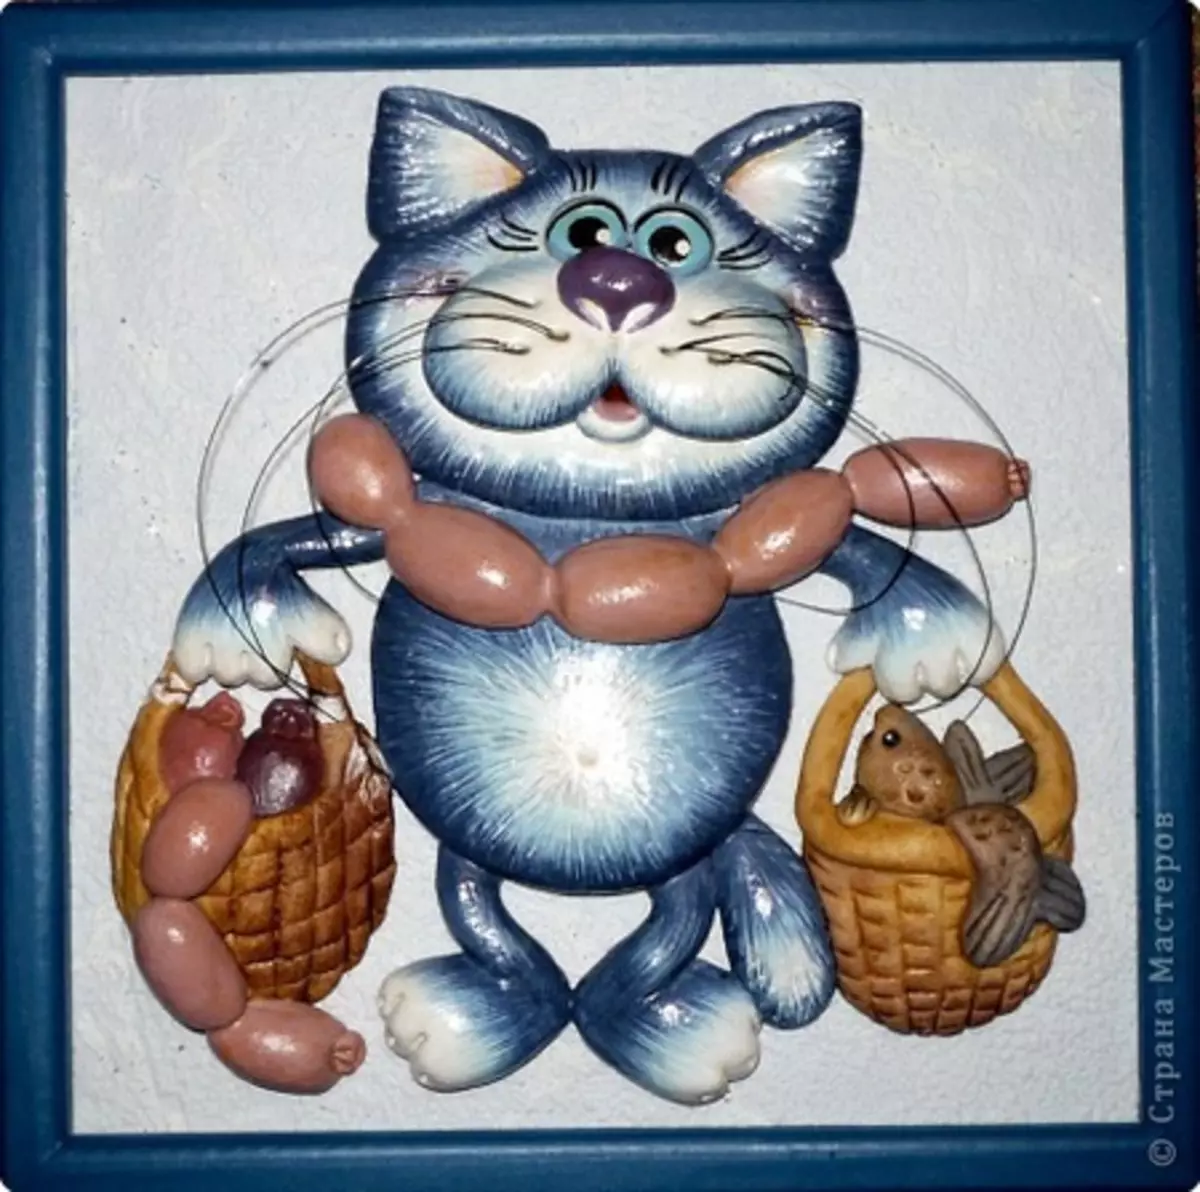
Step 12. Now proceed to the painting. First our product should be primed up with white paint. After the paint is dry, with a thin brush and a soft blue paint draw wool wool. Next again you need to give a product to dry. And only after that with the help of dark blue paint draw the second layer of wool.
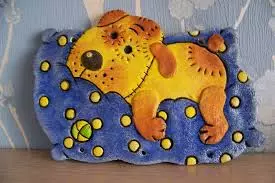
Step 13. Cat wool after painting looks like this.
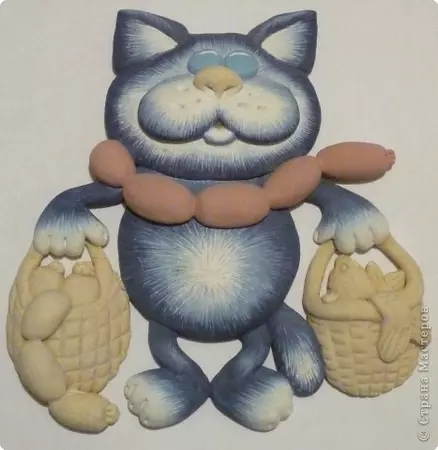
Step 14. Paint your nose, sausages and other products in baskets. Finished product cover lacquer.
Step 15. The final barcode - Place the craft in the finished frame. That's all, our exercise is ready.
Video on the topic
You can learn ideas for the manufacture of a salt dough.
Article on the topic: Templates for paper applications for children class 1: butterflies and vase