
To protect the square box of newspaper tubes, you will only need the diligence and fulfillment of all our recommendations given in the master class. Separately, pay attention to the bottom of the bottom from the newspapers, which can be used for weaving other products. Techniques Weaving from the square bottom newspapers and weaving from the rectangular bottom newspapers are very similar, and differ only in the long side of the product.
For this process, it will be necessary to make a kind of "machine" for which only paper and sewage will need to do the holes.
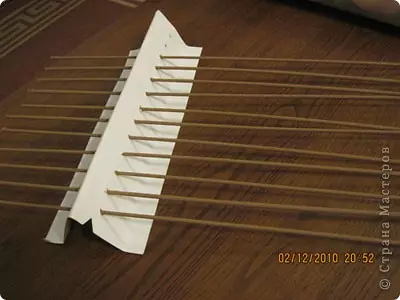
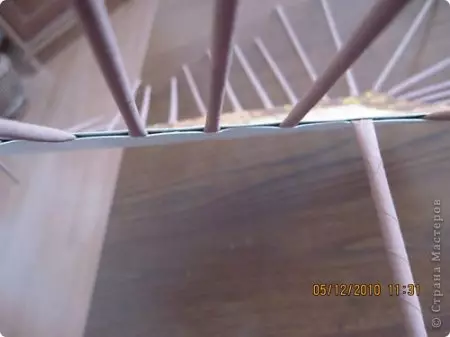
Holes in the "Machine" should be done at a distance of 2.5 cm. So, we felt in the holes of the base tube, leaving a little (left) for the bending and the side.

Weaving begins from two tubes. Again, leave one side of the sidewall.

We relate one row.

We make a turn with the working tubes and come back.

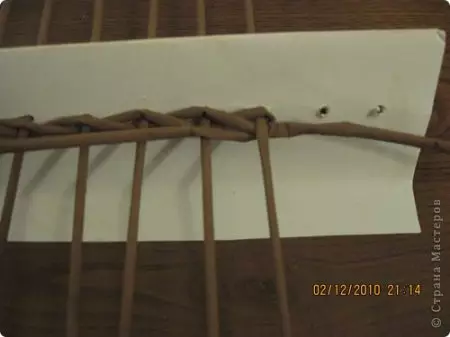

We already have two rows woven in this way.

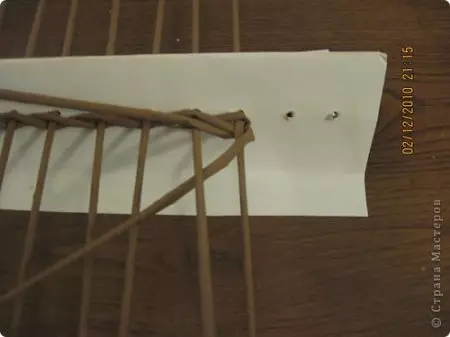
Again, make a turn and continue to determine the third row. In the work there are all the time two tubes.


Weaving continue until it turns out the bottom of the desired size. At the end, you should also leave the sidewall tube.

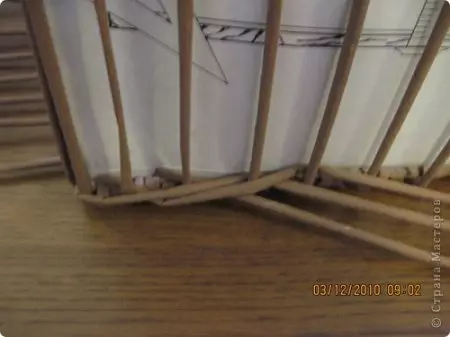
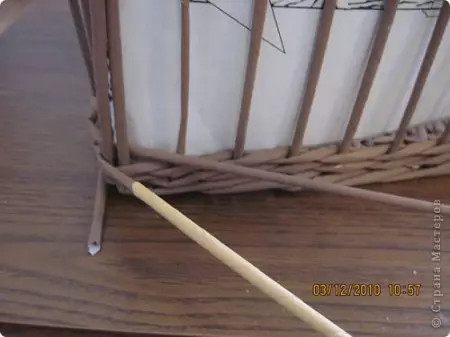
We now turn to the sidewalls, for this it is necessary to make a base rack. We take one tube and bend it on the likeness of the letter "P", which should be made in our bottom.

Thus, we go throughout the perimeter of our bottom.

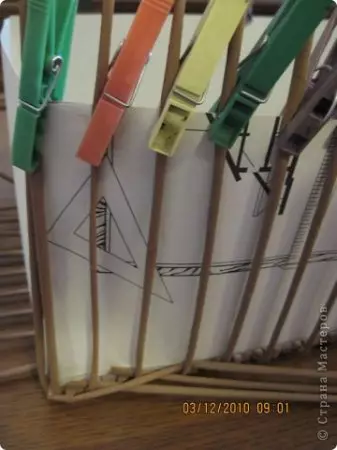
The following will need a frame, it can be either a box or (as here) a regular cardboard.

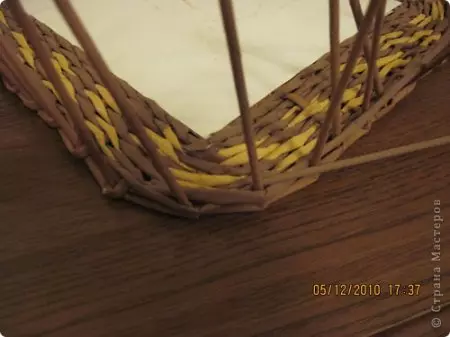
All base tubes should be raised and secured on the frame. Please note that in the corners there are two main tubes.
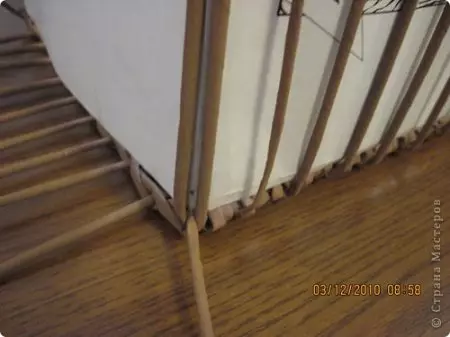
During the weaving the bottom, we had two tubes, one of which should be raised, and the other to make a worker.

The first row of the sidewalls rope from three tubes.
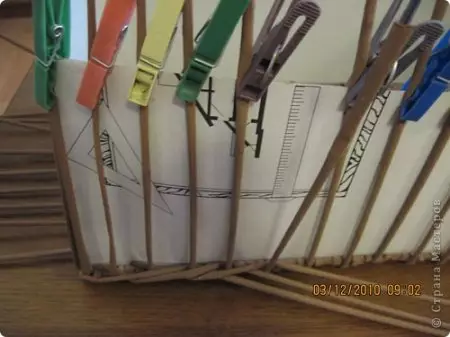
Thus, all the corners of the box are torn.
Article on the topic: Craftsman "Winter Bouquet": photo-MK for kindergarten

After the first row, we continue weaving, but not three, but two tubes.

In this example, after two rows, one-photon tubes, the next weaving with one light, leave another in the same color.
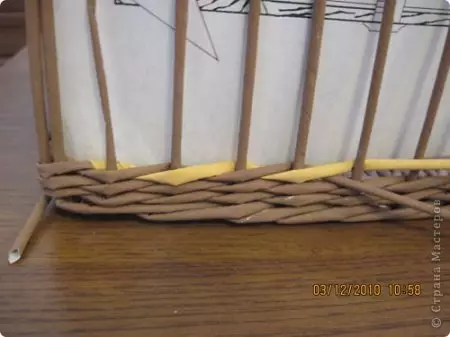
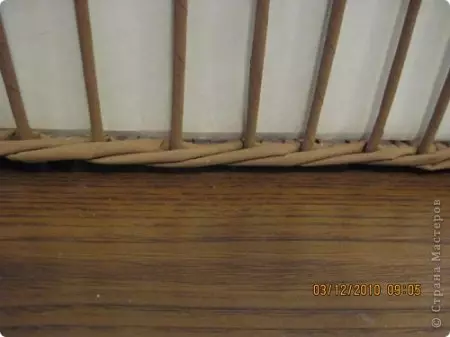
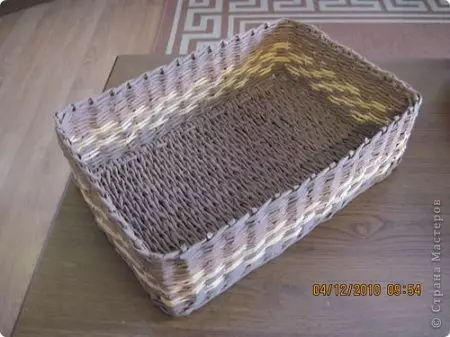
That's what should happen in the end.
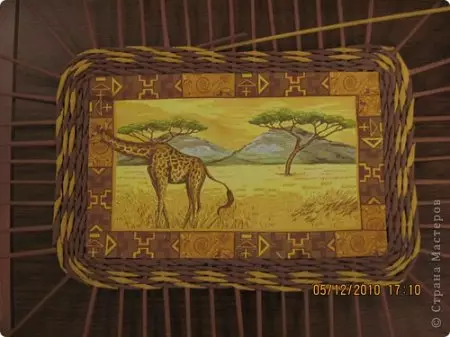
We now turn to the manufacture of the cover for our box. A napkin was chosen for the decor, which was pasted on the cardboard basis in the decoupage technique. The base tubes are also glued to a cardboard basis every 2.5 cm.
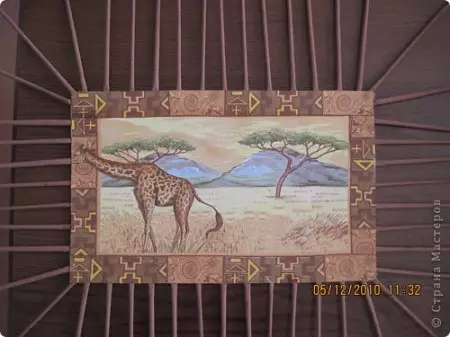
After that, we glue one more cardboard so that the tubes are between the two bases.
We start weaving in a circle using the rope technique in two tubes.


Again, you can change the colors of the tubes, while flying different drawings.
We occur periodically trying to the resulting cap, wasting until the lid performs the box itself for one centimeter.

When the desired size is achieved, the base tube is bending each other, as shown in the photo.
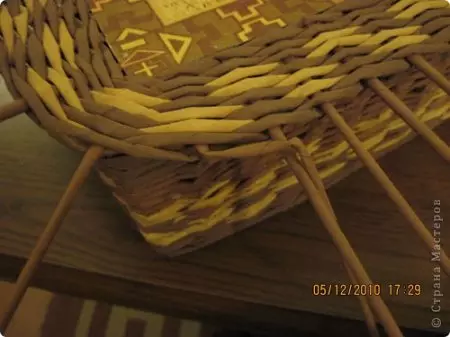
At the same time, their direction changes to the direction we need.
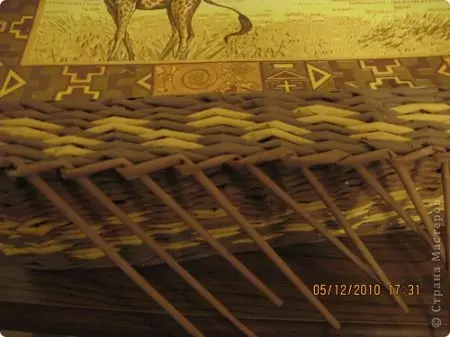
When all the sticks are turned, you can continue weaving on, but already in another plane.

For the lid, the side woves only a few centimeters, after which the base tubes are cut off, and the remaining tips are bought in the main weaving. The edge of the product for strength is labeled PVA.
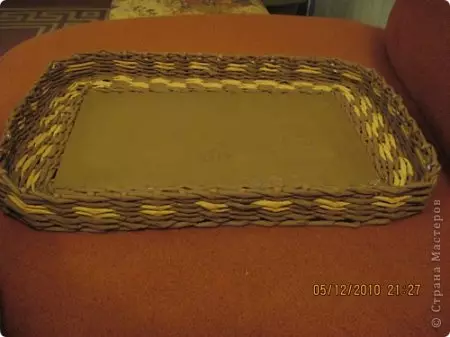
So we have mastered the bottom of the bottom of the basket of newspapers!