
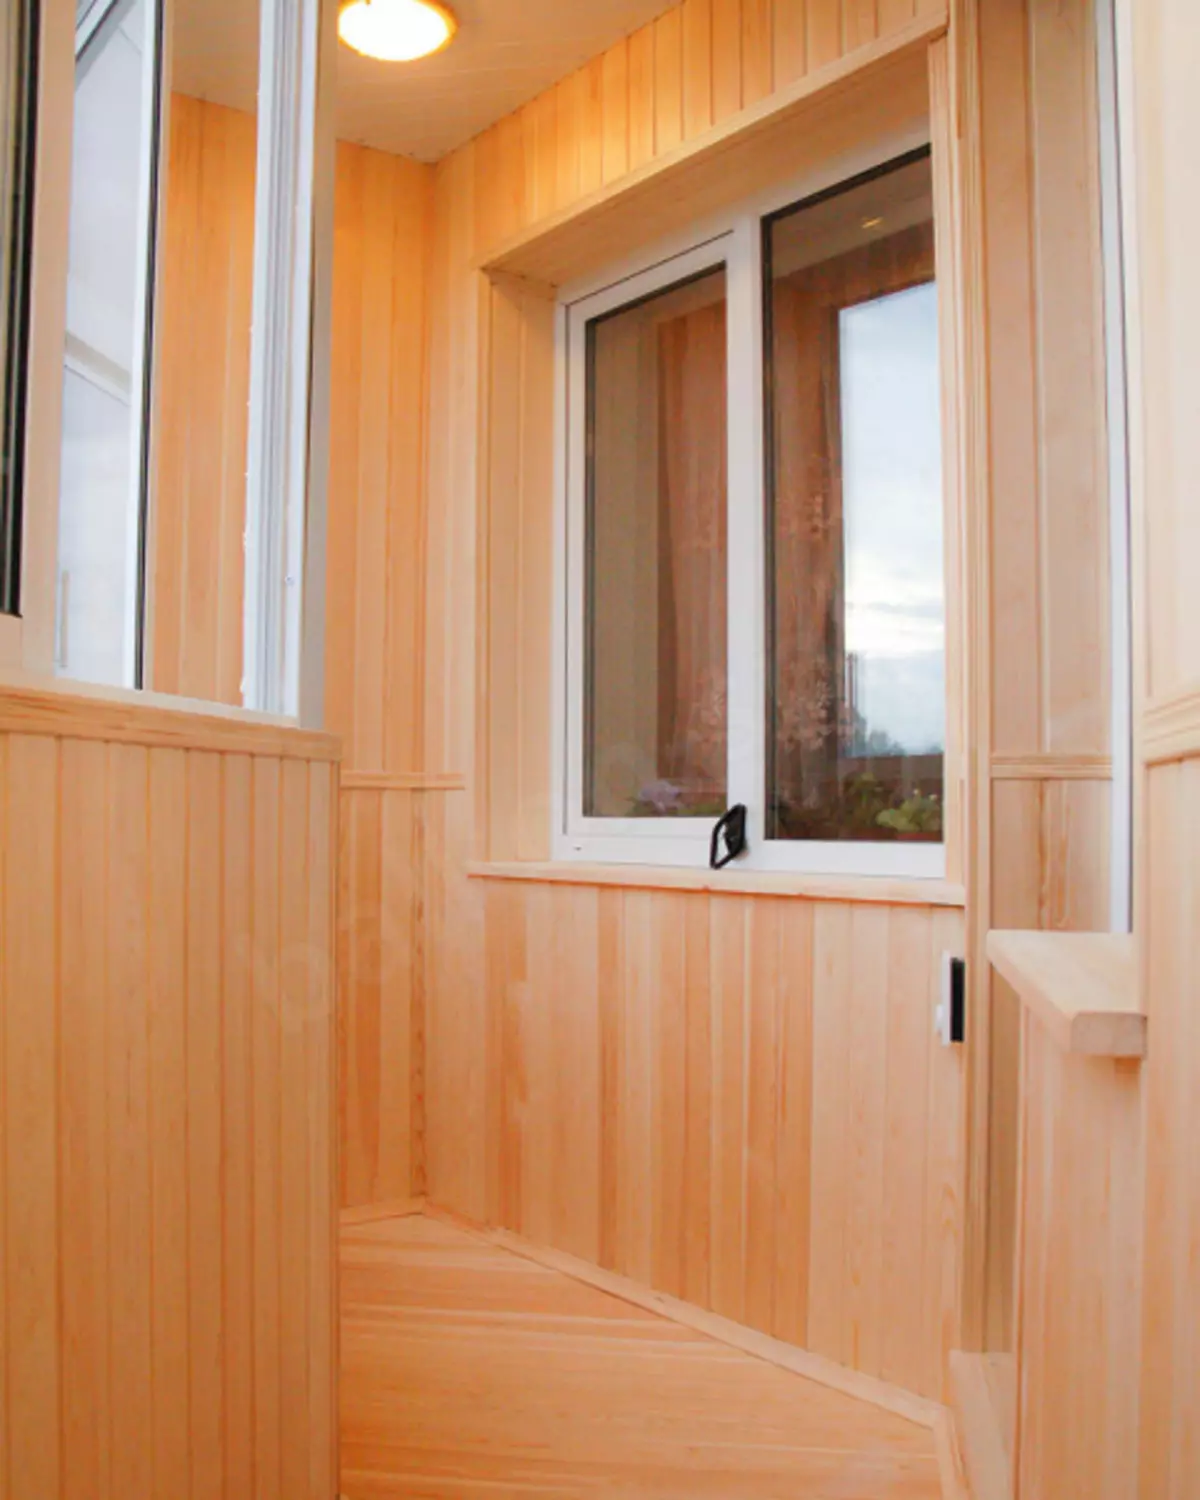
The aesthetic type of balcony can be achieved if you have a carbonate and warm balcony, where you can create a recreation area - the dream of any apartment owner. Aesthetic species can be lost, if we have a balcony of the clapboard. Of course, you can hire specialists for this. But it is better to save money and make it yourself, especially since there are no special wisdoms. So, what will be needed for this and how to enjoy the balcony of the clapboard.
Advantages of clapboard
We can arrange the walls of the balcony with different materials:
- wood,
- siding,
- Plastic panels.
Wooden lining is used as a tree, which is wood panels.
She has many advantages over the rest of the materials:
- Environmentally friendly and complete health care;
- The ability to breathe, skip steam, due to which the moisture condensation does not occur on the walls of the balcony, does not deteriorate and does not rot the insulation and the mold is not formed;
- aesthetic appearance;
- Additional insulation of walls.
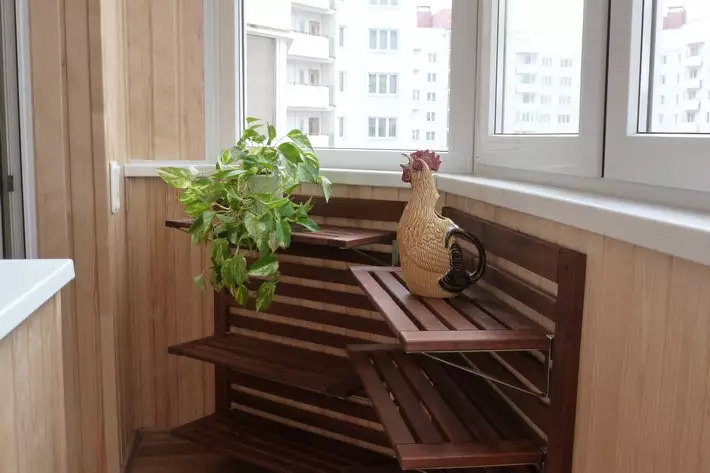
The cost of lining is low, therefore the total cost of work will be quite democratic. But the finish will look aesthetic and even expensive, if the lining after it is covered with varnish or other wood coatings.
The decoration of the balcony will look aesthetic and even expensive if the lining after the sheat is covered with varnish or other wood coatings
What do you need
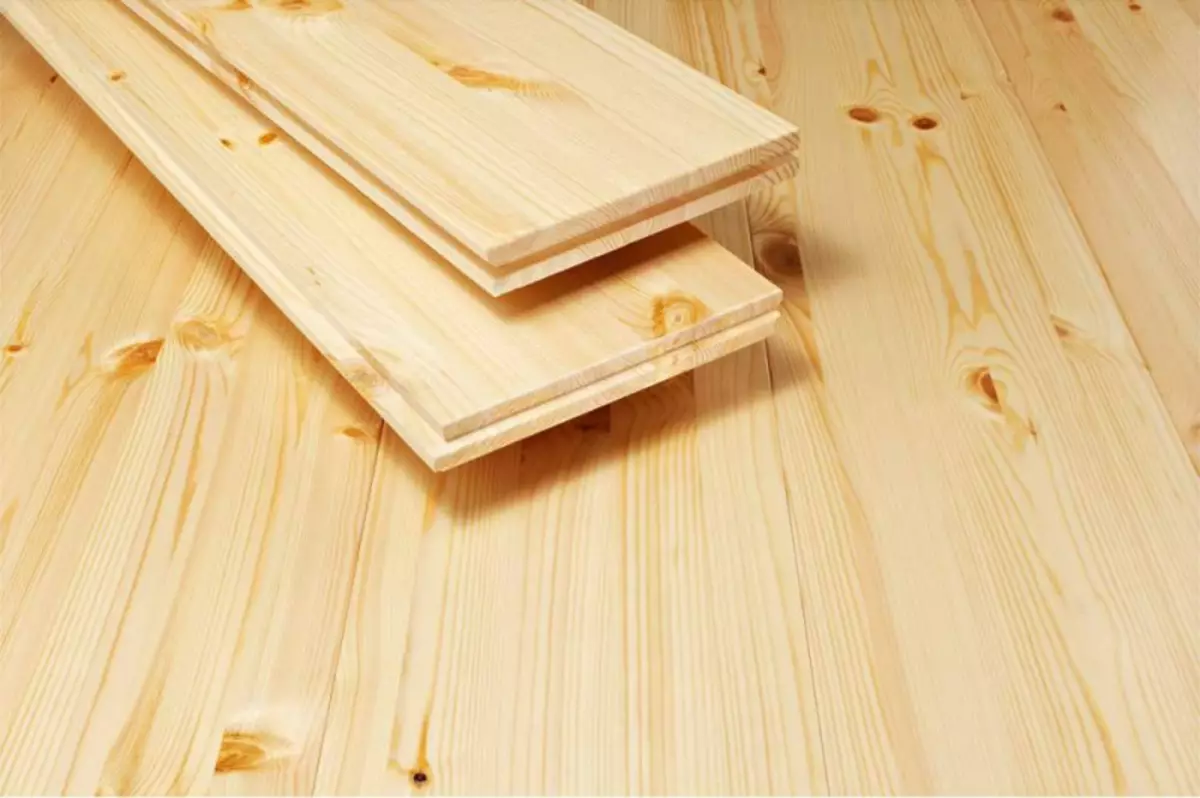
In order for the finish to get high quality, you need to choose the right material. It is best to pay attention to the cladding of hardening wood. Pine wooden lining can be released resin for a long time. Also important is the variety of wooden lining.
The finish of good quality will result in a variety A, as it will not require grinding. Grade in will have to grind. But its cost is much lower.
It will take not only the wooden lining for the balcony, but also a 50 mm bars 50mm.
Article on the topic: The interior of a small balcony. Photo
From the instrument you will need a drill, screwdriver, level and electrolybiz.
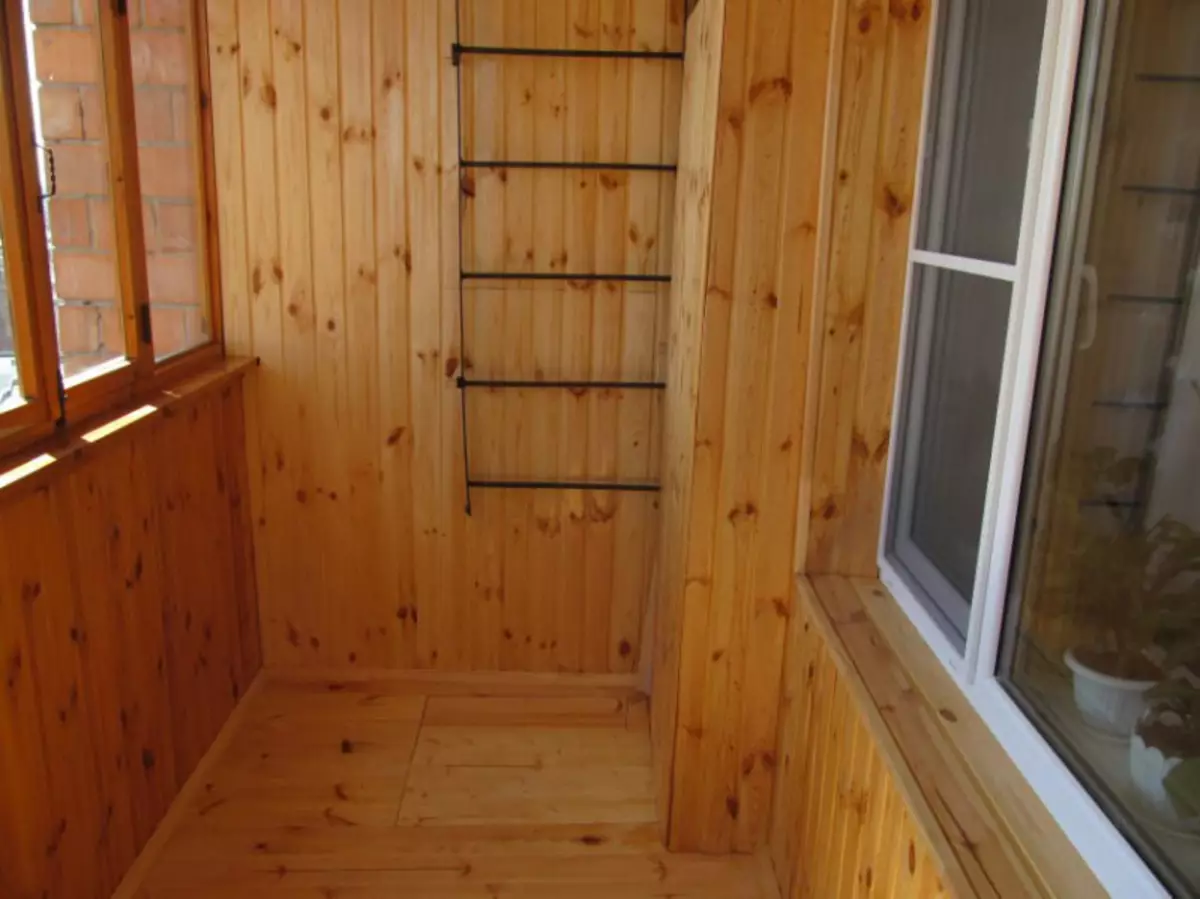
Wooden lining is considered the most environmentally friendly material for trimming balconies and loggias.
Preparatory work
Before weching your balcony, it is necessary to prepare a bridgehead for work. It is also easy to make himself.
Before finishing, the quality of the balcony walls is carefully checked. All irregularities, chips, damage is better to close. If the walls are very uneven, then they can be aligned with their own hands. Then the lining will lie smoothly, and the wall look neat and aesthetic.
Important: Walls are processed with their own hands with antifungal impregnation. This will protect the tree from rotting and will break off for a long time from the need for repair work. It is especially important to do this if a wet climate or loggia goes to the north side.
If the balcony is made only from sheet iron, it will have to make walls from foam blocks before lining. After that, you can put the insulation or immediately to make the trim. It is also desirable to pre-insulate the walls before. This can be done with your own hands.
Before weching your balcony, it is necessary to prepare a bridgehead for work.
Wall insulation
For the insulation of the loggia, you can use various materials. As a rule, those who crush the loggia or balcony with lining on their own, focus on materials such as foam foam polystyrene, basalt or mineral wool. Work with them just. The insulating material sheets can simply be glued to the walls of the loggia with special glue or fasten the fastener if it comes not to the cotton.IMPORTANT: Warving the walls with their own hands should not be forgotten about the waterproofing material. It is best to take advantage of a special waterproofing film. Then the area of the loggia will reduce the slightly and lining of the balcony with the lining will not make it very small.
Overall - order of work
The casing of the balcony begins with the fact that the direction of the location of the lining is selected.
Article on the topic: Device and principle of operation of a machine machine
It can be:
- vertical
- horizontal.
The direction depends not only how the finish will look like on the loggia, but also how to make a crate under the lining. Horizontal arrangement of wooden lining visually raises the ceiling. Vertical finish makes a balcony wider.
Under the horizontal location, the lamp should be vertical, vertical - horizontal.
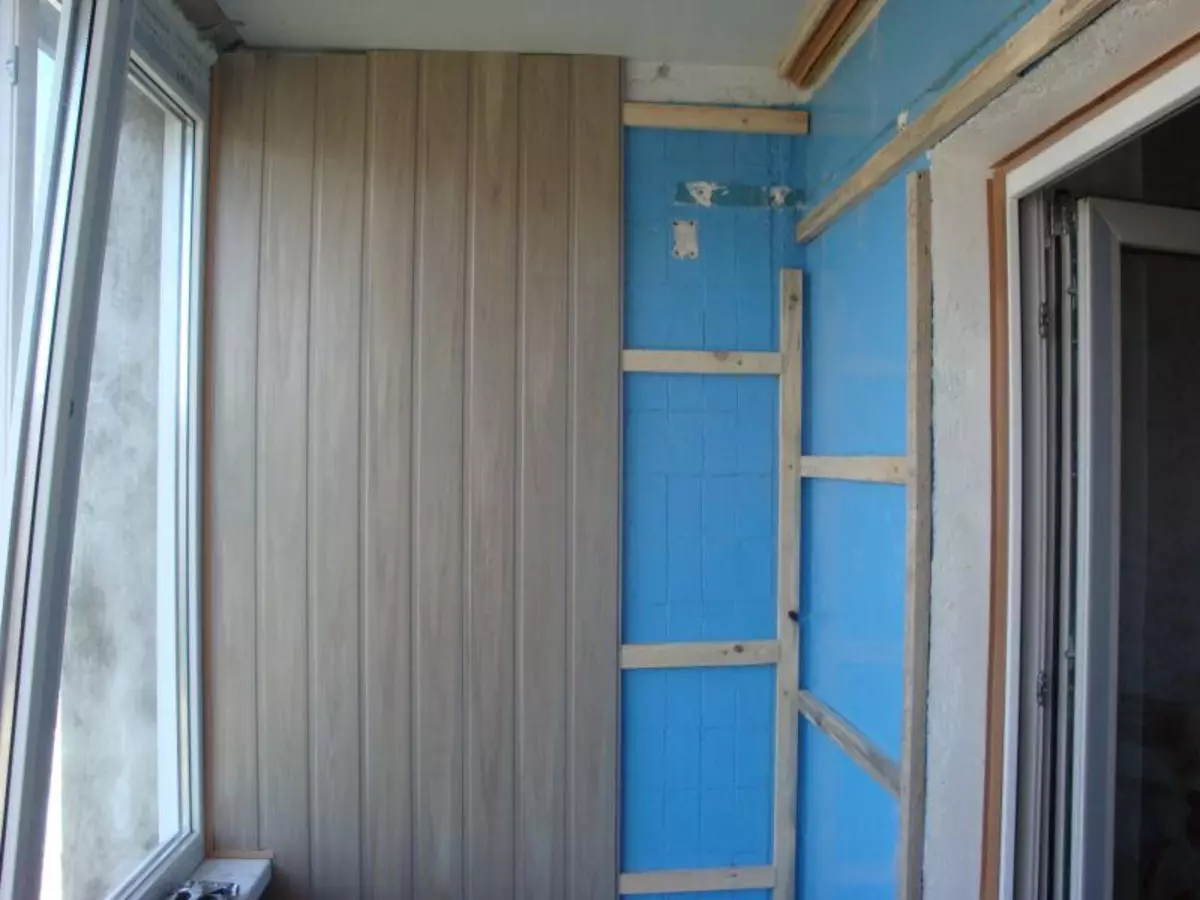
Do with your own hands done simply. First of all, the location of frame planks is planned. Between them, it is necessary to make a distance of 50-70 cm. The first and last bar have 10 cm. From the edges. After that, the bars of the desired length are cut, corresponding to the size of the loggia. The holes are drilled in the bars and attached to the walls of the loggia on the self-tapping screw. Thus, the frame of the crates is made.
After that, the decoration begins with wooden clapboard.
Remember that the wooden lining for the balcony has the grooves and ridges for tight fastening to each other. Such a connection allows you to get a beautiful smooth surface of the wall of the loggia. And most importantly, with your own hands to connect the planks is absolutely not difficult. It is enough to keep track that the comb clearly and tightly entered the groove.
Wooden lining on the balcony begins to fit from the edge. After fixing the first wooden plank to the frame, the lining is naked. It is important to nourish it from both the groove and the ridge. This will prevent the design skew.
It is important: so that the finish does not split and the appearance did not deteriorate, nails can not be clogged close to the edge of the ridge. As for the groove, it does not matter - it will still block the crest of the subsequent wooden plank.
Also attached the lining on your balcony or loggia can be clemmers. In this case, the mount becomes completely imperceptible. In this case, the wooden lining on the balcony is fixed with a nail, but not fixed finally. After that, Kleimmer is put, and the nail is cleaned. Thus, put the bar behind the bar. After the whole wooden lining for the balcony is in place, the walls can be treated with a special impregnation or to cover with varnish or paint. This finishing of the loggia will look beautiful, and its cost is not very high.
Article on the topic: How to install a gas column? Montaja rules
Additional work
In addition to the walls, you can shelter the clapboard the ceiling and floors. This finish will also look quite beautiful. If the floor is trimmed, lags are pre-installed. The floor is also laid by the insulation.
After the trim, plinths and slopes are installed. After that, the finish is completed.
Loggy's luggage is a matter that can be done with your own hands. For this, you will need minimal joinery skills and accuracy.
Loggy's luggage clapper - a matter that can be done with your own hands