
Installation of interroom doors refers to one of the most complex repair work. This is due to the fact that the door design requires a very accurate centering - both vertically and horizontally. It's not easy to achieve the latter.
Dismantling boxes
Design door block
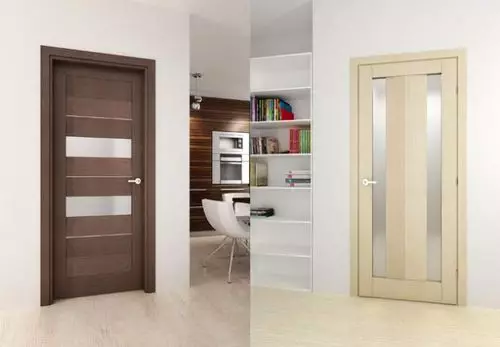
The interroom door can be performed in two versions: with the door frame and without it. The second case involves the installation of the canvas in the old or simply ready-made frame, the first is the installation of the entire block in the doorway.
The first option is preferable for many reasons.
- The deformation is an old box, even while maintaining the appearance, to some extent deformed. The "native" web has undergone changes with it, which means that somehow compensated. New suitable changes are not containing, and therefore the old door frame simply does not sit down.
- Dimensions - the parameters of the opening are rarely standard, especially after repair. When installing the door, even specially manufactured, difficulties arise. To fit the box under the opening, and then under the canvas means extend the installation work at least three times, and without a warranty of the result.
- Load - Door frame, canvas, loops and lock in the block are designed for certain loads. If the design has been manufactured a single module, then the load distribution is already calculated by the manufacturer and implemented. Otherwise, it will have to do the owner.
Such high requirements are presented mainly to swing systems. The sliding designs are somewhat easier to install with their own hands, since, firstly, it is most often installed on the opening, and secondly, it is much more standardized.
How to disassemble the interroom door block
Installing the door frame occurs taking into account the material of the wall. Accordingly, dismantling with his own hands will also require different tools and techniques.
- The door will be removed from the loops - for this, the end of the mount is placed under the sash, the end of the mount is placed and gradually fit, while the canvas does not come out of the loops. It is recommended to move the sash at the same time to the small distance to the right and left.
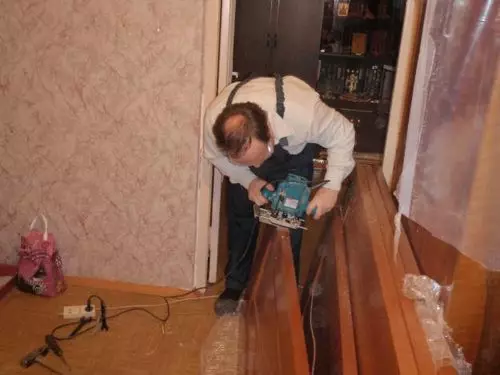
- In order to disassemble the platbands, the axis of the ax is driven between the platband and the vertical frame. An effort is applied in the direction from the box until the gap is formed. The photo shows the moment of separation of the platband.
- The same procedure is repeated in places of fastening, then the platband is removed. Usually disassemble the platband without damage, as thin strips are used for its manufacture.
- If you can find nails on the box - and under multi-layer painting it is not always possible, then you should remove them: the bar is cut around the cap to free the space, and then a nail is removed by ticks or a nail. If we are talking about a metal door frame, then it is necessary to cut pins.
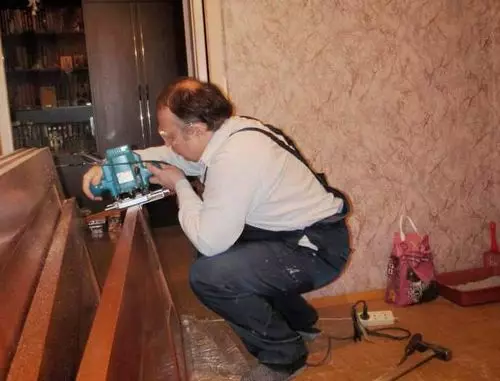
- At a distance of 60-80 cm from the floor, a vertical stand is repaired. If the attachment site is visually determined, then 20 cm should be retreating from it. Then the axis of the ax or the nail is placed between the slope and the resistant below the place of cutting, and the ram with an effort is pressed. Also removed and the top of the rack. In the photo - separation of the bottom of the rack.
- The horizontal crossbar is removed without sawing, by pressed down. Disassemble the second vertical rack just as the first.
Article on the topic: How to adjust the entrance door closer: Tools, recommendations
The metal box is removed in a similar way, but the applied effort is much greater, since the racks in it are welded with brackets. Damage to walls and slopes in this case is much more.
If we are talking about concrete walls, then with the help of the perforator, all the remnants of concrete are removed in the opening. In the brick opening, the entire insulating and sheet material is manifested.
How to assemble the interroom door
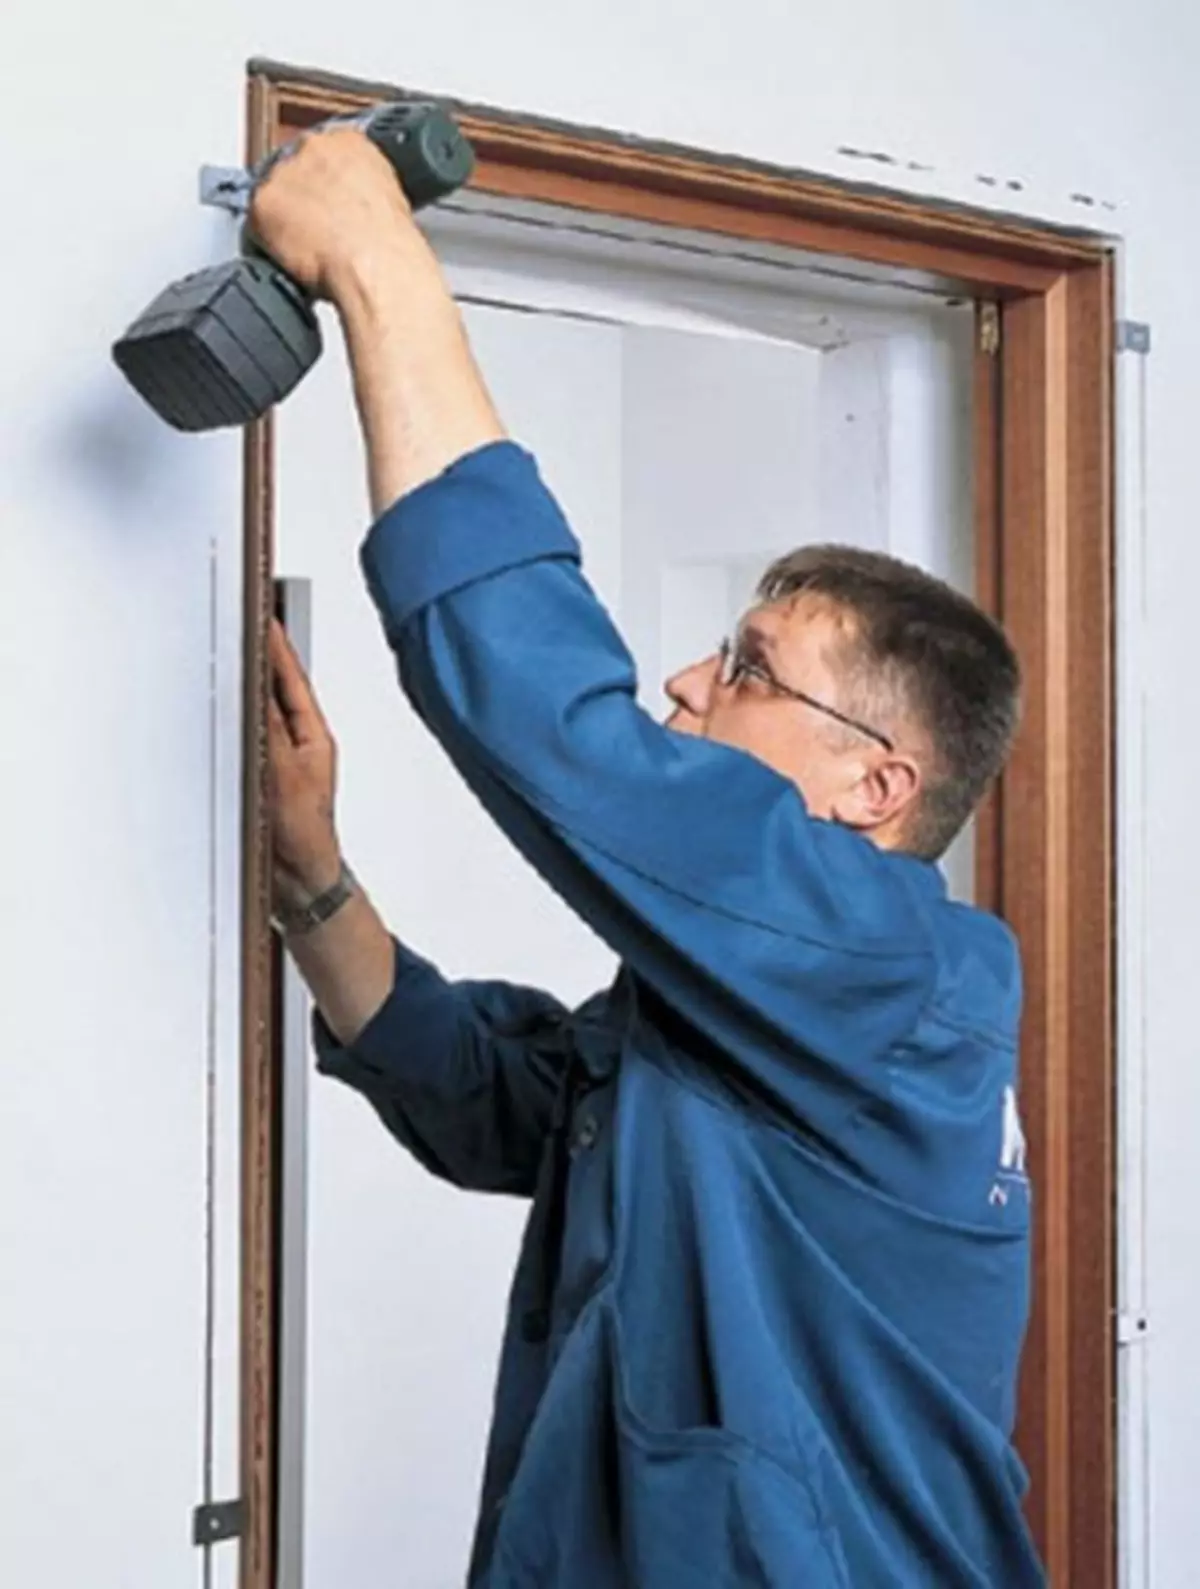
The most difficult part in the assembly process is to install the door frame with your own hands. If the door frame is included in the assembled form, then you can immediately after appropriate preparation of the opening, start assembling. If the box is available in the form of a set of racks, then first need to be collected.
Installation of the door block is recommended to be carried out after plastering and painting walls, but before it is wicked by wallpaper.
- After assembly and before installing, you need to try on the door and the box - the gap of 3-4 mm should be performed between the components of the frame and the sash. The length of the racks, respectively, should be equal to the length of the canvas less than 10 mm - the sash does not touch the floor.
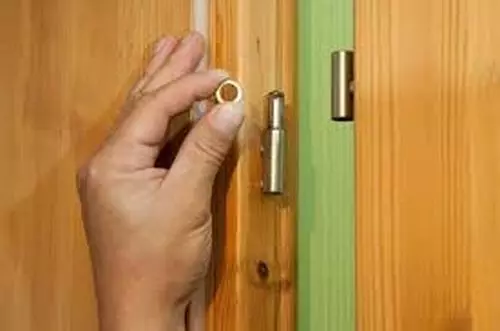
- Loops are cut into the rack. Furnitura is located on some recess in a wooden bar in such a way that the desired clearance is saved. In the photo - placement of the loop in the rack.
- Before assembled the door, loops and lock are also installed on the canvas.
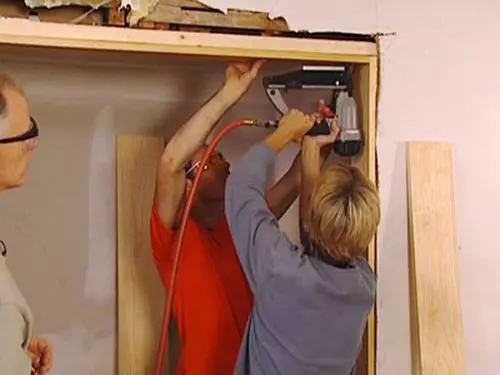
- The box is mounted in the opening, strictly centered and with the help of wedges that are clogged into the gap between racks and slope, the position is adjusted until the racks take exactly the vertical position, and the horizontal crossbar is strictly parallel to the floor.
- The cloth is hung on the loop and adjustable. If the gap between the sash and the racks was insufficient, it is recommended to remove the web and adjust the position of the loop.
- The slots between the slopes and the frame are bleed by mounting foam. After drying, the foam is trimmed, and platbands are mounted.
Article on the topic: Arch design in the apartment with your own hands: photo and option for decorative stone and wallpaper
The process of assembling and dismantling the interior door is considered in detail on the video.