
Surely at home at the hostess there is a pack of unnecessary newspapers, which is a pity to throw away. The basket of newspapers will give them the second life. The product, depending on the size, can be multifunctional: This is a box for trifles, and a box for papers, and a basket for things. With such a unique part, you can decorate your interior. Also, the homemade basket will have to do with her handicrafts, as they can experiment with its design, relying on their limitless fantasy.
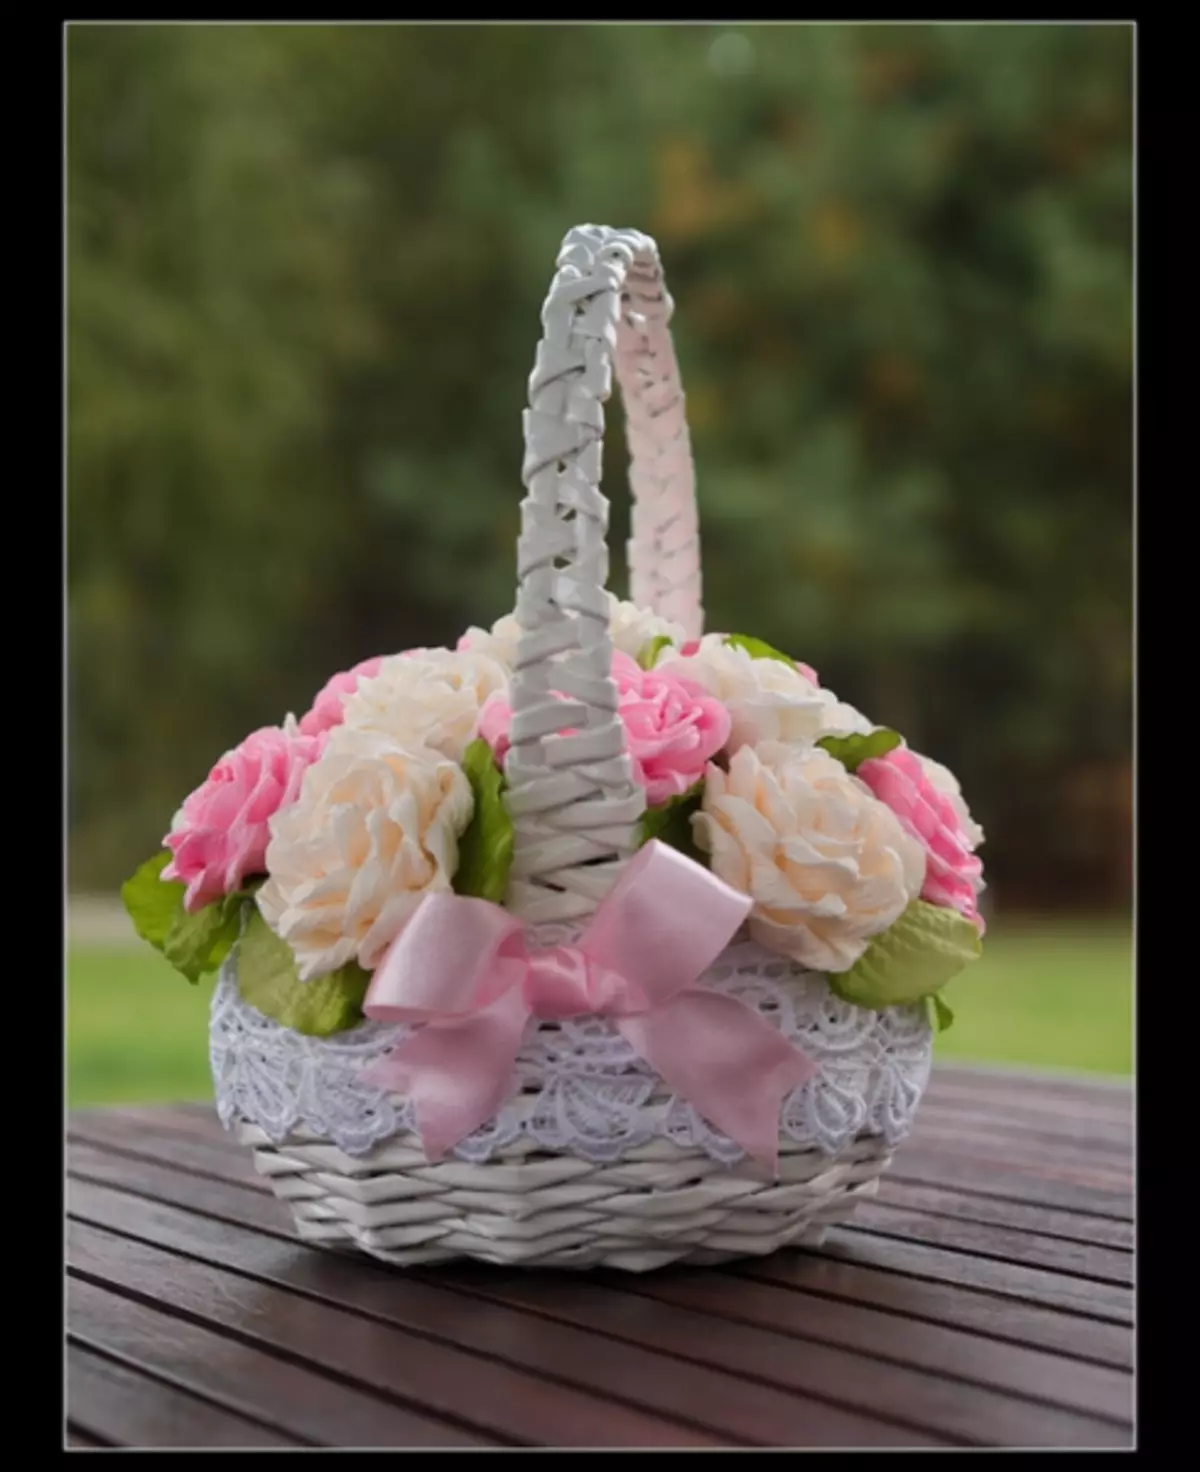
Flower basket
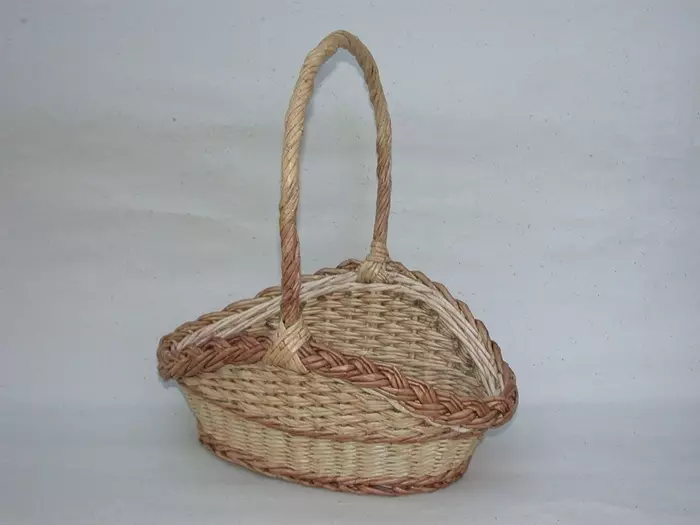
Wonderful will look a bouquet in a basket made of newspaper tubes. Of course, it can be stored not only flowers, but also other things. Production of this basket will not be difficult even for beginners.
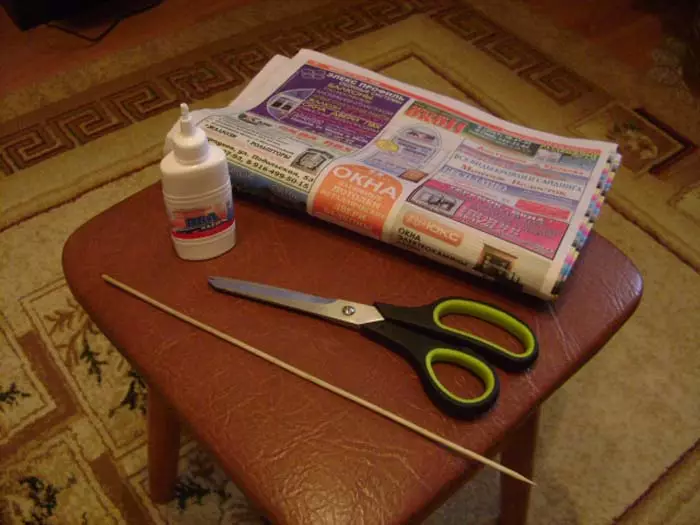
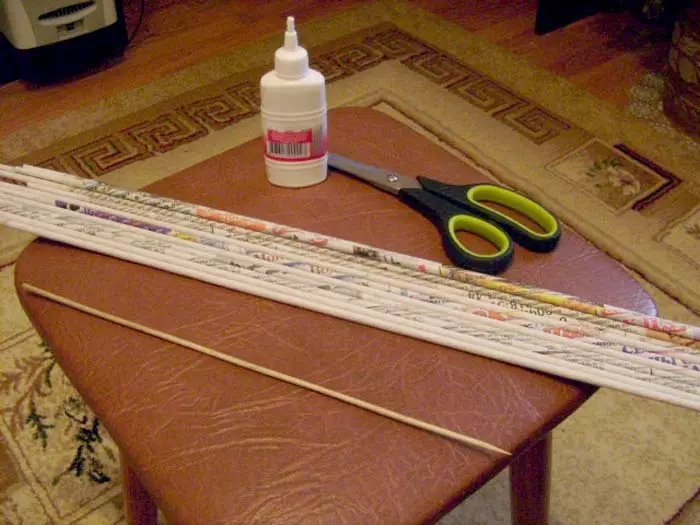
This master class will help to create an excellent thing without any problems that will decorate in any interior. So, you will need:
- Stack of newspapers;
- varnish;
- The subject that will be fattered;
- line;
- scissors;
- pencil;
- Thin knitting needles;
- PVA glue.
Cooking "Lose"
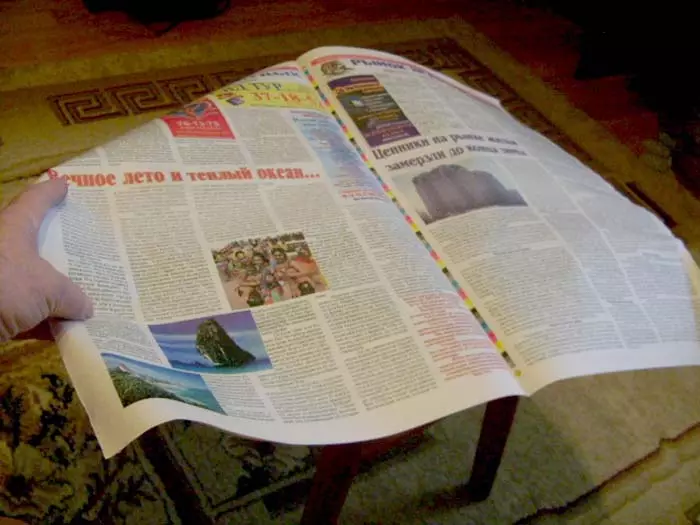
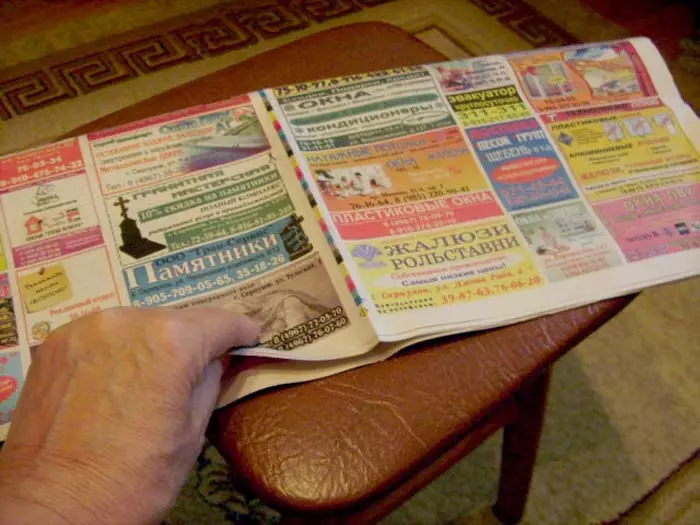
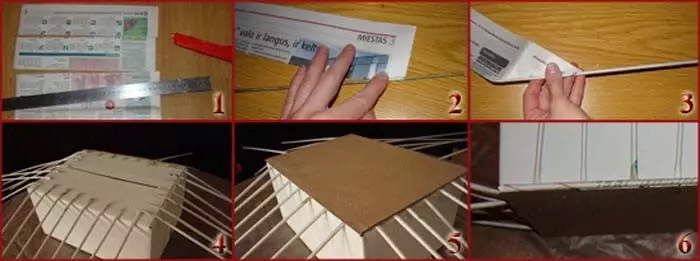
First, prepare the items for the future product - newspaper tubes.
To make them, you will need to divide newspapers on double sheets and lay them on strips, and then lay them on a strip of about 10 cm wide.

When the strips are cut, you should turn them out in turn on the needle, starting from the angle.

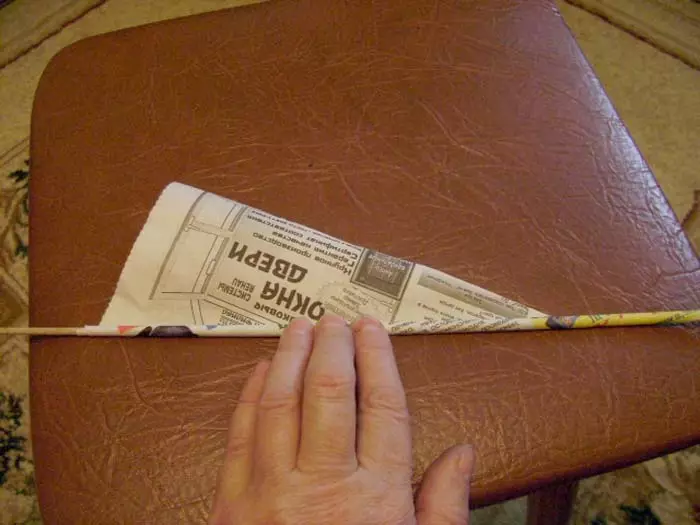
After winding the strip, you need to ensure that the newspaper is tightly pressed to the needle and spend the connection places from time to time.
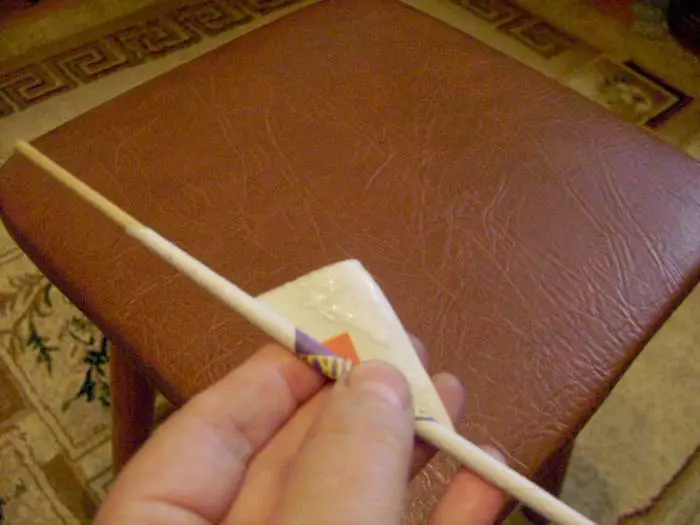
When the strip is screwed, you should sneak the edges and remove the needle. More detailed process is shown in the photo.
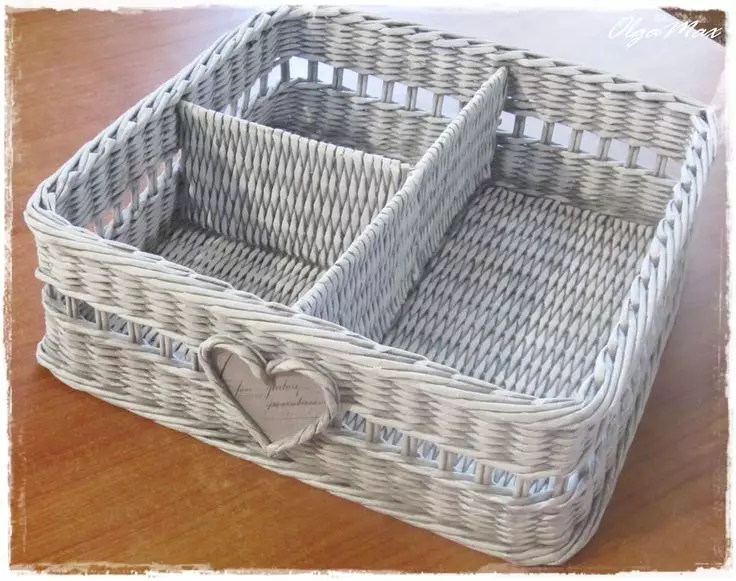
Creation of organizer
When newspaper tubes are ready, the time of the main process is the basket weaving. The master class will help to figure it out in difficult things. There are two ways to manufacture a braid.
Article on the topic: Knitama knitting scheme
Deciding with the size of the finished product, you need to cut down the bottom of the cardboard and glue the ends of the tubes to it so that on each side it is about the same amount. Then, when the adhesive will dry, cut down the same measurements. The second bottom and paste on the base, thus closing the connection point of the tubules. When the bottom of the basket is dry, you need to beat the tubes up and put it inside the future basket, the form of which will take the product. Next, take the tubes and perpendicular to the existing insert them in a checker order. Places where the tubes are connected to each other, smoke. When the product reaches the desired height, carefully fill vertical parts, lubricate the upper row with glue. After the glue dries, cover the basket with paint and varnish. The photo shows the manufacturing process.
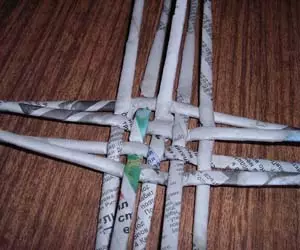
The second way is more time-consuming, he assumes a basket bottom weaving. In order to heat the base of 4 tubes, lay two at a distance of 1-2 cm. This is the first row.
The second row: 6 tubes place pairwise and perpendicular to the first row in the following order: the first 2 tubes are under the first pair and over the second pair of the first row. The other 2 tubes are near, but mirrored (above the first pair and under the second pair of the first row). The remaining 2 tubes are similar to the first two.
Next, you need to take a new tube, fold in the middle and put on some couple of launches of the braid. Working tube once to cross in and continue to swell the other pairs of the tubes. After each pair of work parts of the tube to cross.
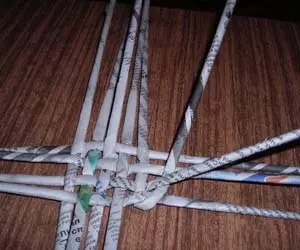
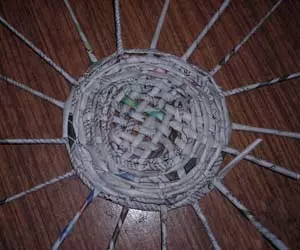
The third and fourth row of performing a single working tube. To make cant at the bottom of the basket, the ray, which ended the row, should be beatened for the next, the same repeat with the remaining rays to the end. Last tube introduce a loop to the first beam formed from the first beam.
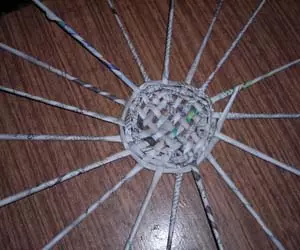
The following rows weave according to the sample of the third row of the bottom. You can decorate the basket by the beads, for this, when weaving some rows, you need to wear beads on the working tube.
When the basket reaches the desired height, the remains of the tubes cut and fix between the rows.
Article on the topic: Types of knitting needles for beginners with photos and videos
Weeping handle baskets
The handle should be strong enough, so after the basket has reached the desired size, you should leave 3 tubes on each side and copp them with clothespins. When the edge of the basket is punctured, you can proceed to the handle weaving.
Three tubes that remained on the sides must be connected. Then glue to their base the working tube and tear it three remaining. The end of the working tube is glued to the opposite side of the basket at the base of the handle. For more information, the handles are shown in the video.
The finished product is to cry glue, cover with paint and varnish.
Video on the topic
Even more ideas can be found in the video.