
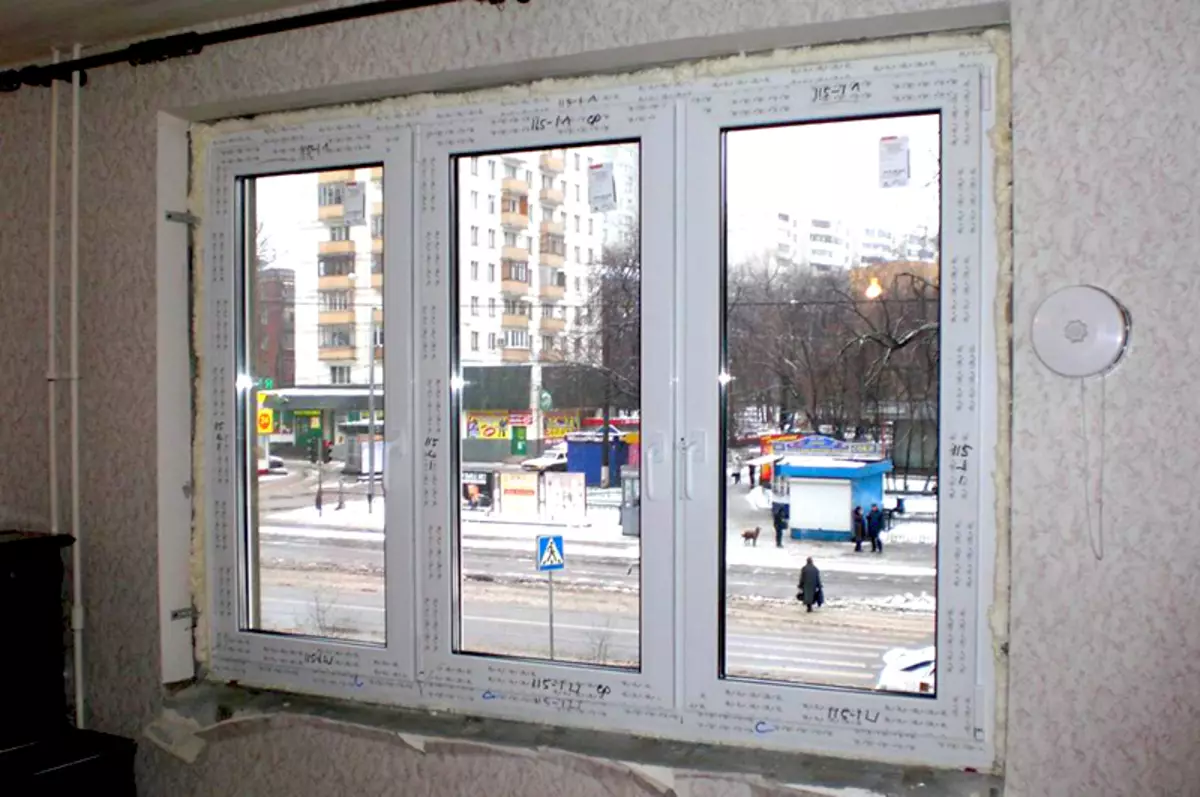
Gradually, old slopes are replaced with new plastic. Sunshine is a plot that surrounds the window. It serves to mask seams, in a place where the frame is connected to the window opening. Plastic windows have a very active pace gaining increasing popularity among the people. And there is nothing strange and amazing about this, because such windows are the perfect value for money. They look very carefully and neat, they are very easy to care for them, they are very easy to wash. This is guaranteed protection against outdoor noise and absolute tightness. When installing, all calculations and measurements make competent specialists.

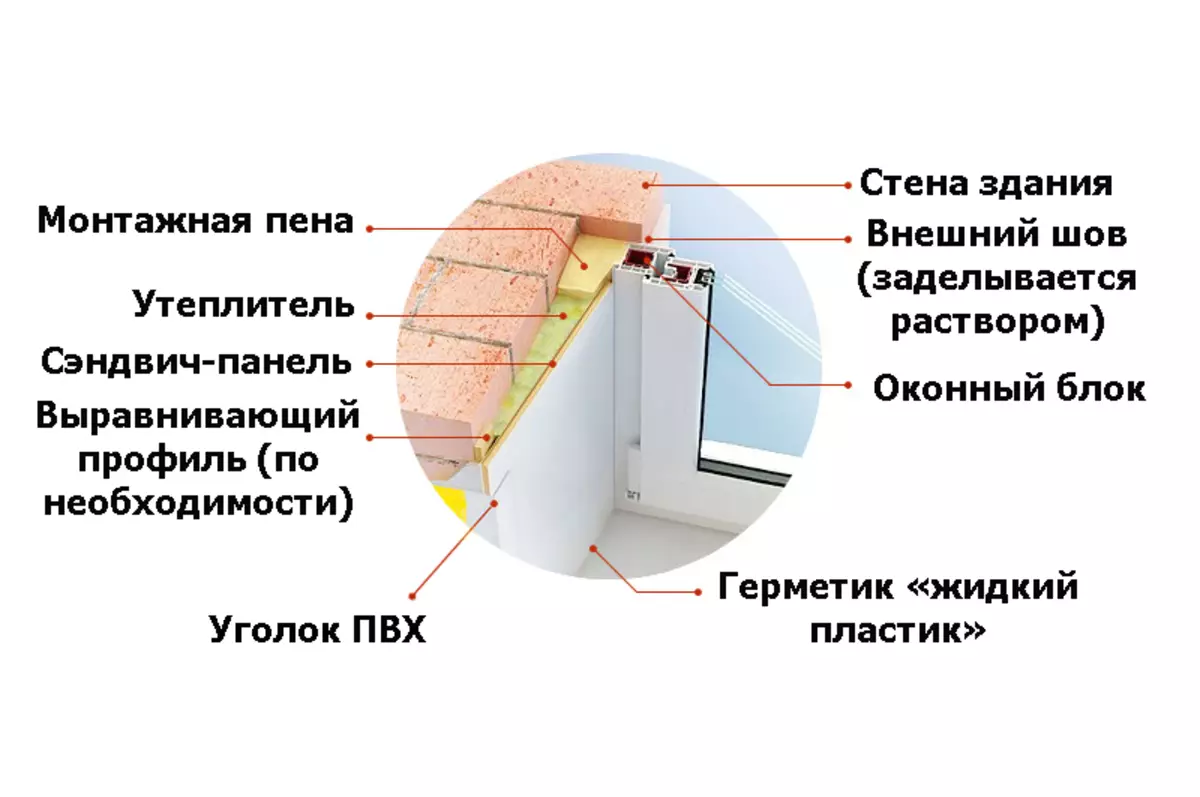
Plastic slopes and windowsill are an indispensable addition to modern plastic windows, which gives them a finished and familiar look for us.
But it is possible to make slopes from plastic and with your own hands. This is the last stage in the window installation. The last stage is on the list, but not in your value. With slopes from plastic, the window will take a harmonious and finished look. If you want to take for this case, you can save about three or four thousand rubles, and reasonable savings will only benefit. Do not underestimate your strength and opportunities, in all matters relying on specialists.
Why should the plastic slopes choose?
The main components of the proper installation of slopes.
Sun is a very important element of the window design. Therefore, to the selection of the material from which it will be manufactured, it is necessary to approach with all seriousness and responsibility. Plastic only at first glance fragile and continuing material. In fact, it is very strong and durable. Properly installed plastic slightly will save your dwelling from moisture, cold and drafts, will not fill in the sun. And last for many years. Modern man wants to make his home warm, comfortable and cozy. And the window in this question plays one of the main roles.
Plastic practically does not have drawbacks. The only minus is that this work requires absolutely accurate execution, there should be no errors. Then plastic slopes will serve you by faith and truth, protecting your home from blowing.

The main tools necessary for the installation of plastic slopes.
Required materials for self-editing plastic slopes:
- plastic panel (P-shaped plastic strip, F-shaped plastic strip, plastic strip 6 m long and 8 mm thick);
- Drill with nozzles;
- Perforator with a brown;
- Wooden rails (1.5 cm);
- building level;
- stapler and brackets;
- self-tapping screws; dowels;
- saw on a tree, saw on plastic;
- hammer, screwdriver, pencil, roulette, knife;
- mounting foam;
- Mineral wool (insulation);
- decorative corners;
- Sealant silicone white;
- Scissors for metal;
- Variazolation tape.
Article on the topic: Alarm imitator in the car with your own hands
So, having prepared all the necessary materials, you can learn how to make slopes, and start working.
Disassembly disassembly: recommendations
Dismantling of old slopes is the first and important stage in the installation of new slopes of plastic. The unscrupulous and low-quality dismantling of old slopes will reduce all the outstanding and wonderful properties of new plastic. Surplus of the mounting foam are removed and everything that remains from the previous slopes.Carefully and carefully cleared the window opening from plaster. If the anchors interfere with the installation, they are also removed. Mounting foam is covered with a vapor insulating ribbon.
How to make slopes from plastic with your own hands?
Professionals for the installation of window slopes goes on average two or two and a half hours, so if you try, you can independently handle the three-four hours. To fulfill this work yourself, you need to familiarize yourself with the rules for installing slopes from plastic. Without slopes, the window will have an unfinished and unattractive appearance. Fasteners and protruding pieces of mounting foam are noticeable with the naked eye. Remember that you can start work only in a day after installing the window. Everything should be good.
The window should be tightly tightened to avoid damage when installing slopes.
A day after the installation of the plastic window, you can start the installation of slopes, which will subsequently hide the mounting plates and the mounting foam and give the window a neat appearance.
The first step in the installation is a thorough alignment of the entire opening. It is necessary to align horizontally and vertically. To do this, you will need a mounting foam. It is best for the frost-resistant. The formed voids are filled with mineral wool. Such preparation will save plastic from destruction. Protects against dampness. This is a moisture insulation and noise insulation with your own hands. After 20 minutes, surplus foam
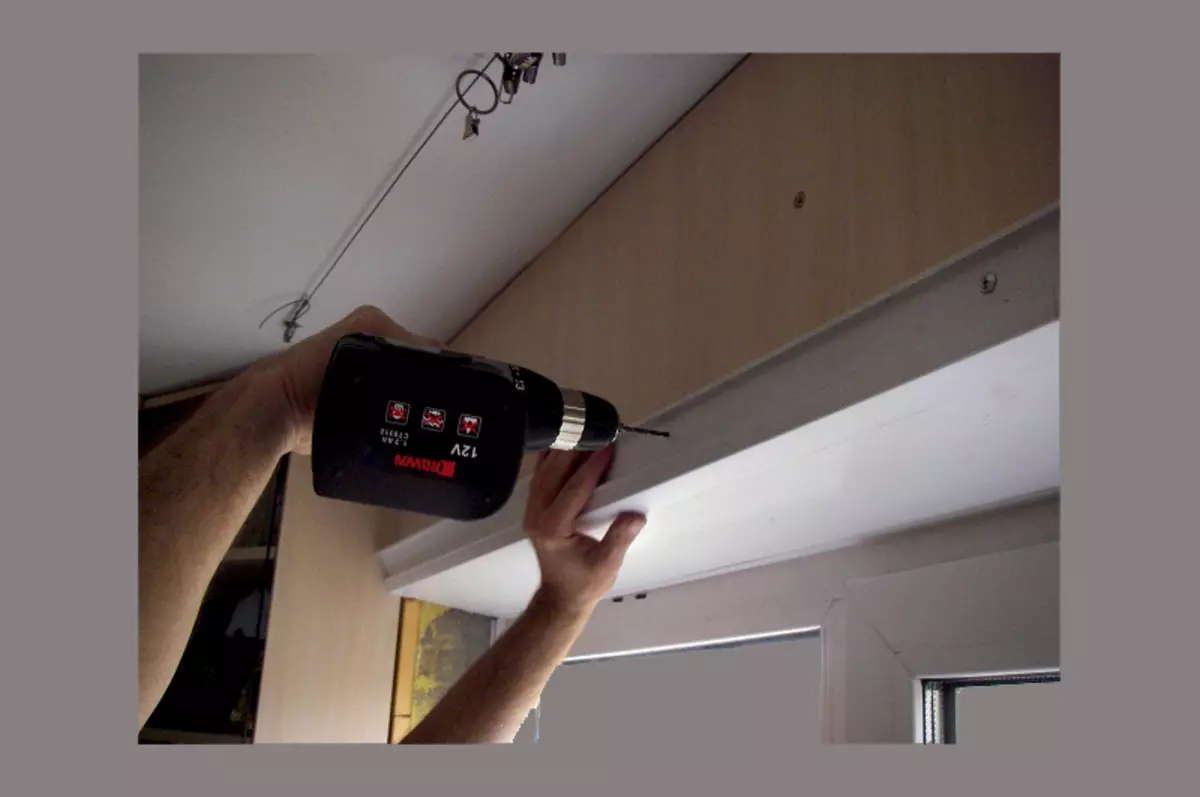
The second step is the fixing of wooden bars at a complete perimeter of the opening, the bars of the required length are measured and cut off. After that, it is necessary to drill holes for self-screws in them. For fasteners, self-tapping screws are 95 mm long. Reiki should be placed so that they do not protrude for the level of the walls. Use the level in order to achieve the perfect vertical. Directly to the wall of the rail attached a drill or a perforator.
Article on the topic: Outdoor slopes for plastic windows with their own hands (photo)
The third step is an attachment on the P-shaped element bar (solidized plastic profile). Starting profile rolls on the outside edge of the window. For its attachment, self-tapping screws are used. Self-tapping screws are better to take 15-20 mm and attach at a distance of 35-40 cm from each other. When installing the profile of the interior walls, it is required to do without a gap. Measure the width of the window from the right and to the left slope. Next, the P-shaped profile is cut down in size with a hack or grinder. The starting profile is screwed to the plastic frame with five self-draws. The starting strip must easily fit the window to the window.
P-shaped plastic profile, called start-up, is fastened with the help of self-tapping screws on the previously screwed wooden bars.
All dusty work performed. At this stage, you can release the window from the protective film and proceed to the next step.
The fourth step is the F-shaped strip (plastic strip used when installing slopes). The groove of this strip is placed opposite the already installed P-shaped profile. But before that, it must be properly cut. For this, markups are applied in the height of the plastic slope, and the extra part is removed. After the F band will be naked, it is formed everywhere to go. Taking into account this allen, you need to leave a small supply when cutting. Upon completion of all work, it is cut off. The strip is attached to a wooden rail with a construction stapler. The mount is made closest to the tree part of the F-shaped end. All is ready. The F-shaped plastic strip will close the defective zone, hobs the entire inner unsightly picture from the eyes.
The fifth step is insulation. Plastic in the grooves should be installed and simultaneously lay the wool layers. The plastic panel is placed in the starting strip, laid by cotton and fixed in the F-strip. If you still noticed that in some place, the joints made of plastic are not perfect, the usual silicone of white color will help you. Look for them formed gaps.
This is a detailed, step-by-step program of your actions. As you can see, there is nothing archent in this work. But still there are a number of difficulties with which you can encounter when performing this work.
What difficulties may occur when installing plastic slopes?
If you do not want to change plastic in a few years, then pay attention to gross errors that can be allowed when installing plastic slopes:
- Window opening should be well prepared. Otherwise, fungus may appear and purge.
- Wrong measurement will lead to the same negative consequences.
- Installation foam ineffective at a temperature of -12 ° C.
- Empties and irregularities are missed.
Article on the topic: Helpful tools for the kitchen
To make foam well performing its functions, remember that it is afraid of the sun, fire, moisture. Surplus foam need to trim, but it can be done only after 48 hours. It is so much time is necessary for complete drying. If you can not wait for so long, the foam can help you with a dispenser. He leaves no surplus.
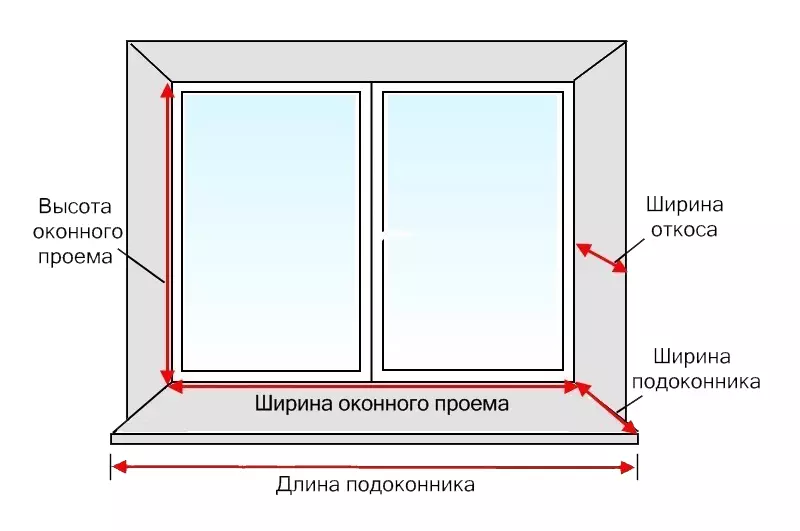
Sketchy image of measurements of window plastic slopes that need to be performed with an accuracy of millimeters.
The consequences of incorrectly installed slopes:
- All measurements must be completed with an accuracy of one millimeter. The error in this issue can lead to the destruction of the layer of the mounting foam, and in the future and the whole wall. The moisture will begin to penetrate the room, and all the work will have to redo it.
- If the slopes are set incorrectly, then the moisture will begin to accumulate in the corner of the window sill. This will lead to the fogging of the window, in the winter may appear to appear, there will be a characteristic way of wind.
- With incorrectly installed slopes, the window will have an inesttic and unattractive appearance.
If you have noticed at least one of these signs, you need to redo the whole design in order to avoid complete destruction of the window.
At what price will cost an independent installation of plastic slopes:
- Plastic strip 6 m - 700- 4200 p long.
- P-shaped strip - 50 rubles per meter.
- F-shaped strip - 60 rubles per meter.
- Wooden rails - 35 per meter.
- Self-tapping screws and dowels - about 200 rubles.
- Installation foam - 300 rubles (two cylinders - 600 rubles).
- Mineral wool - 500 rubles.
- Decorative corners - from 100 rubles.
- Silicone sealant white - 150 rubles.
- Parosolation tape - 400 rubles.
Thus, it is possible to calculate the approximate cost of plastic slopes to one standard window. Prices are the average, 2019. But the cost will come out quite acceptable if you do in this matter without specialists, on your own.
Make a slope with your own hands is completely simple. But this work requires a competent, responsible and solid approach. If you decide to save money to pay professionals, then you will consider all the small nuances of this work. It requires a filigree accuracy of execution, and with the slightest disorder from the established norms, everyone will have to redo.