
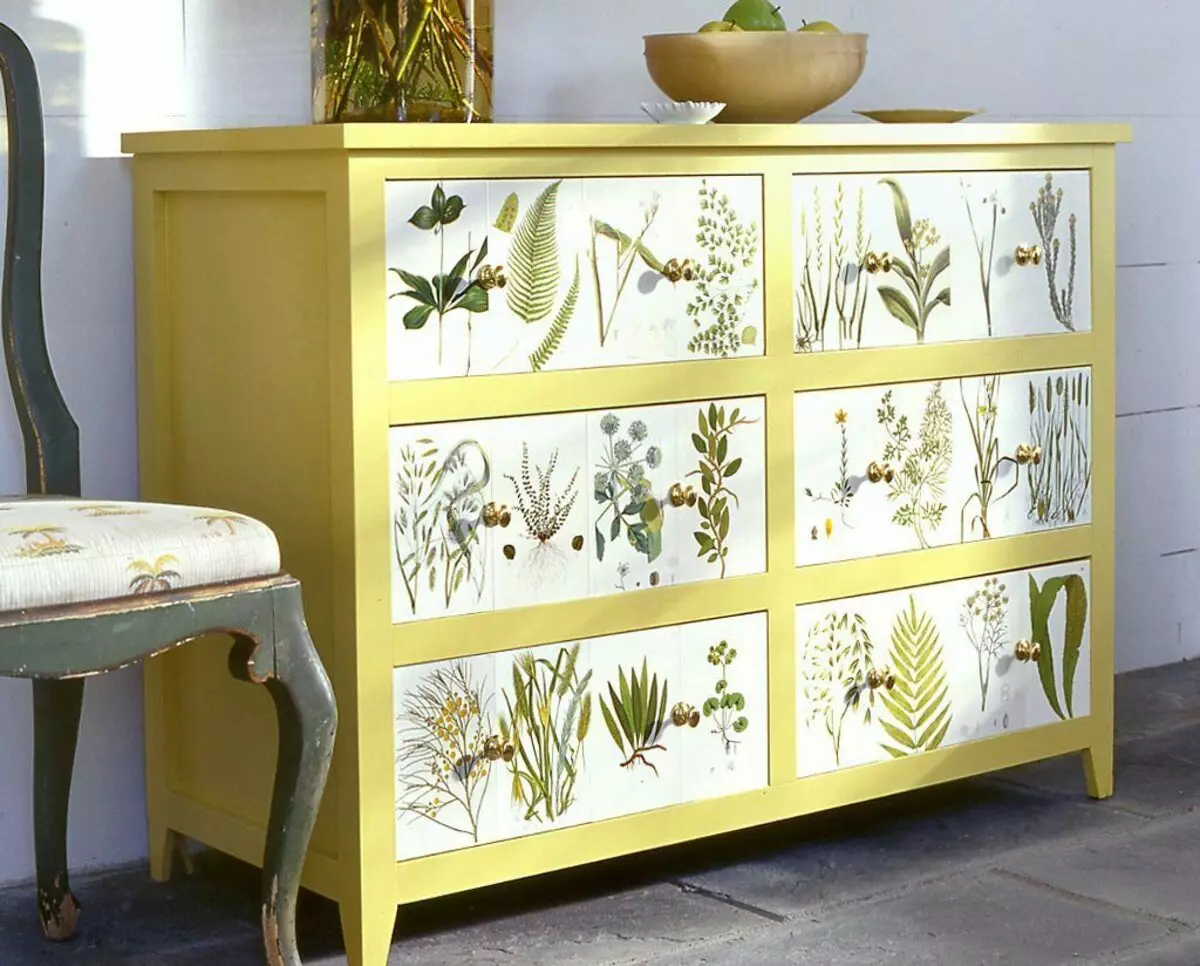
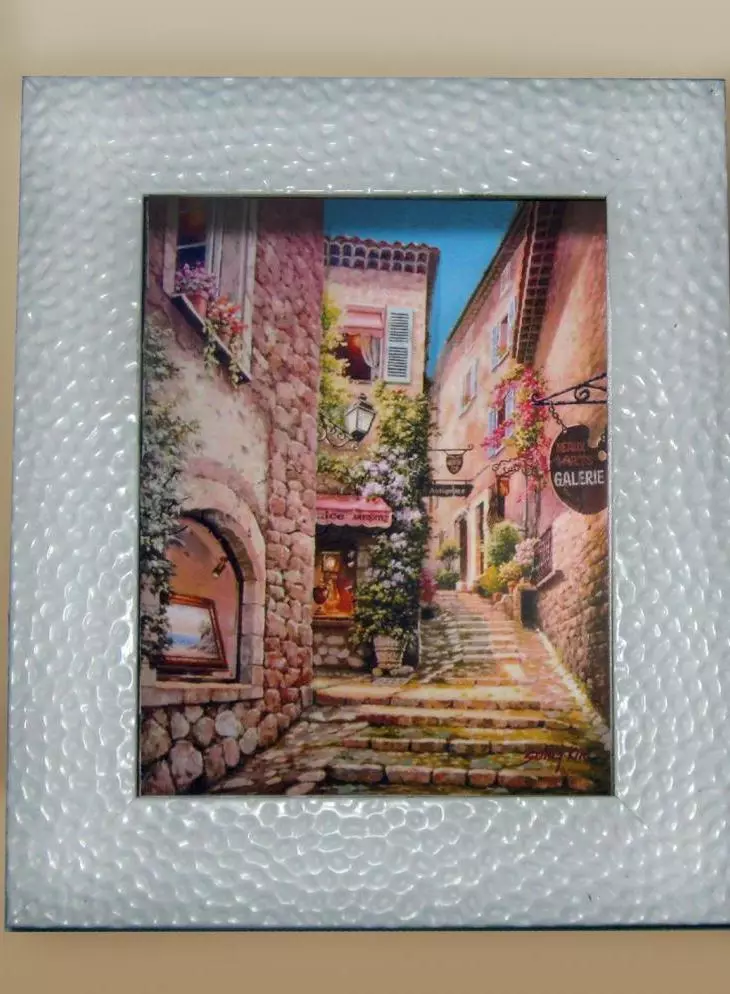
To give the interior of sophistication, spends money at all not necessarily, you can make a decoupage of the picture yourself. And since you will make a decoupage of the picture completely with your own hands, then as a result, get a homemade panel, which will be not only the subject of the interior, but also a pleasant gift from the relatives.
Origin
The origins of the decoupage lead to the Middle Ages. Even in the XV century, the furnaces were decorated with carved pictures in Germany, and then covered the surface with several layers of varnish. With the help of such an applique, furniture makers simulated expensive attributes and sold them at a high price, such products and today are expensive.
About materials
The basis for the decoupage may be wooden or ceramic, metal or glass, fabric or plastic object. For example, you can decorate the photo frames, paintings, tray, vase, etc. with your own hands. An important condition is the smooth surface of the source material.
Consumables are:
- Professional glue may be required only in working with a thermal power. In other cases, you can use the usual PVA.
- Paints are better to choose acrylic. They do not smell, dry quickly, do not give yellow and easily corrected in the "cheese" condition.
- In this technique, it is advisable to use decoupage varnishes (matte or peeler) that protect the image from mechanical effects.
- Colored paper, pebbles and rhinestones are decorated with a canvas.
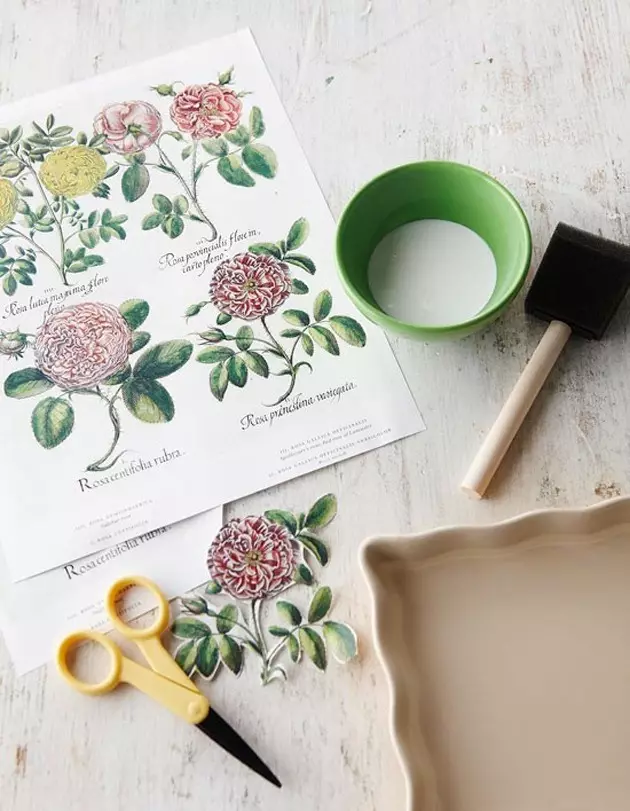
- You can borrow images directly from paper napkins, clippings from books, magazines, postcards.
Decoupage painting with napkins
According to this technique you can work in two ways. First - apply the top layer of napkins to the prepared canvas and coat it with a mixture of water glue. This method requires accuracy and is not suitable for beginners. Therefore, it is better to act on simplified technique.
Article on the topic: 7 options for decorating and decorating curtains with their own hands

Preparation
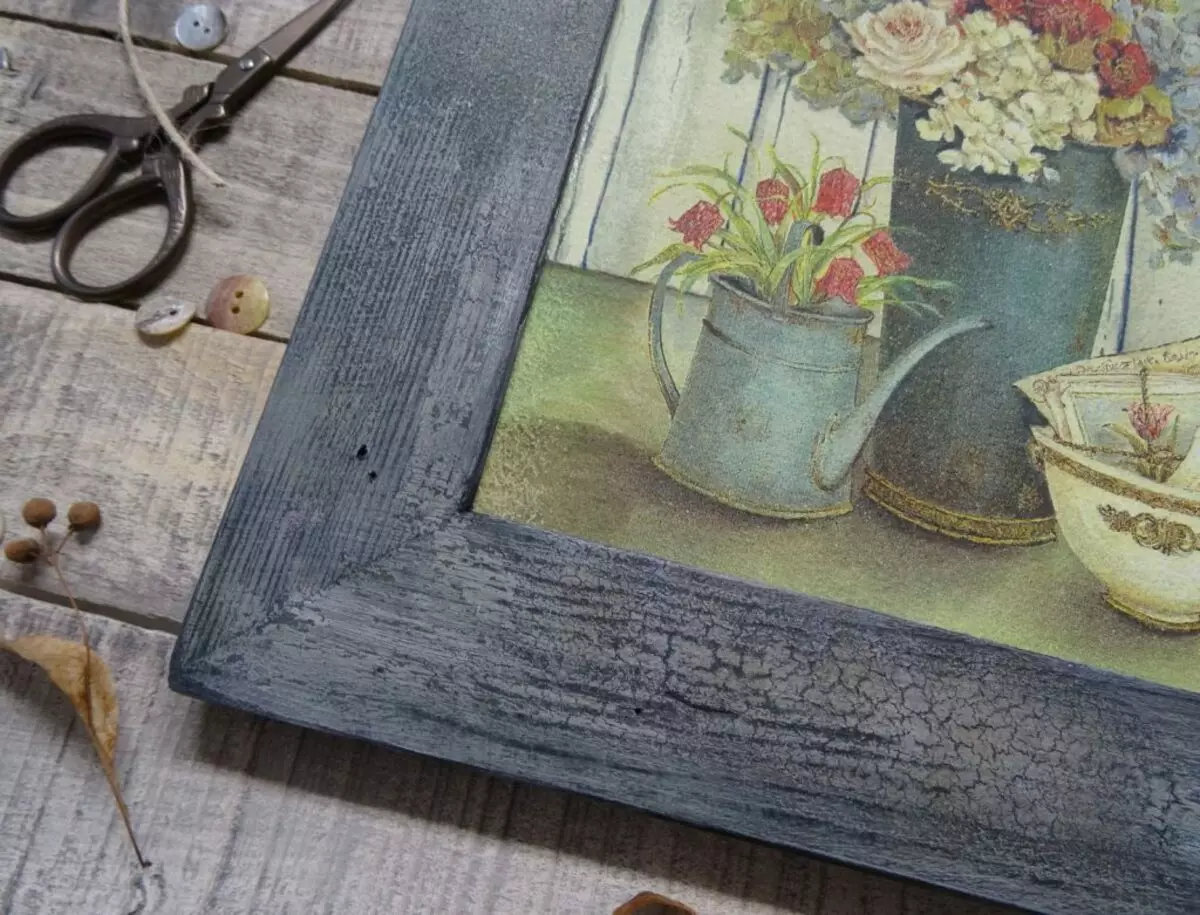
Before starting work, you need to prepare a frame, or rather artificially to form it. You can make a decoupage with your own hands from the frame for a photo or order the basis in any workshop. It is necessary to paint for acrylic to cover the surface of the frame, wait until it dry and apply varnish for cracker. After it is absorbed, you should apply the paint of the golden shade.
Creating a basis
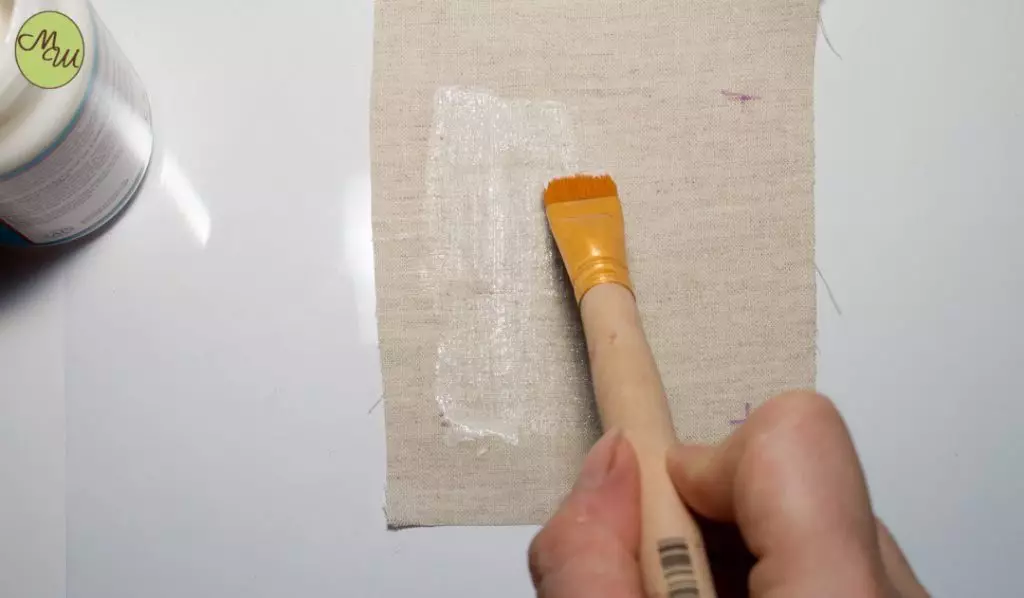
Next stage - Creating a canvas from light fabric. In the finished product, the napkin will be transparent, and on a dark background, the image may be muffled. The material should be cut in the form of the frame, that is, apply plastic glass and with a reserve one centimeter on each side cut the fabric. The resulting rectangle should be glued to the glass. In this case, the glue should be applied to the fabric and on the plastic. Canvas should be covered with several layers of acrylic primer and give it to dry.
Important! Any surface except for the tree before starting work, it is necessary to clean with your own hands, that is, wipe with acetone, alcohol or dishwashing agent.
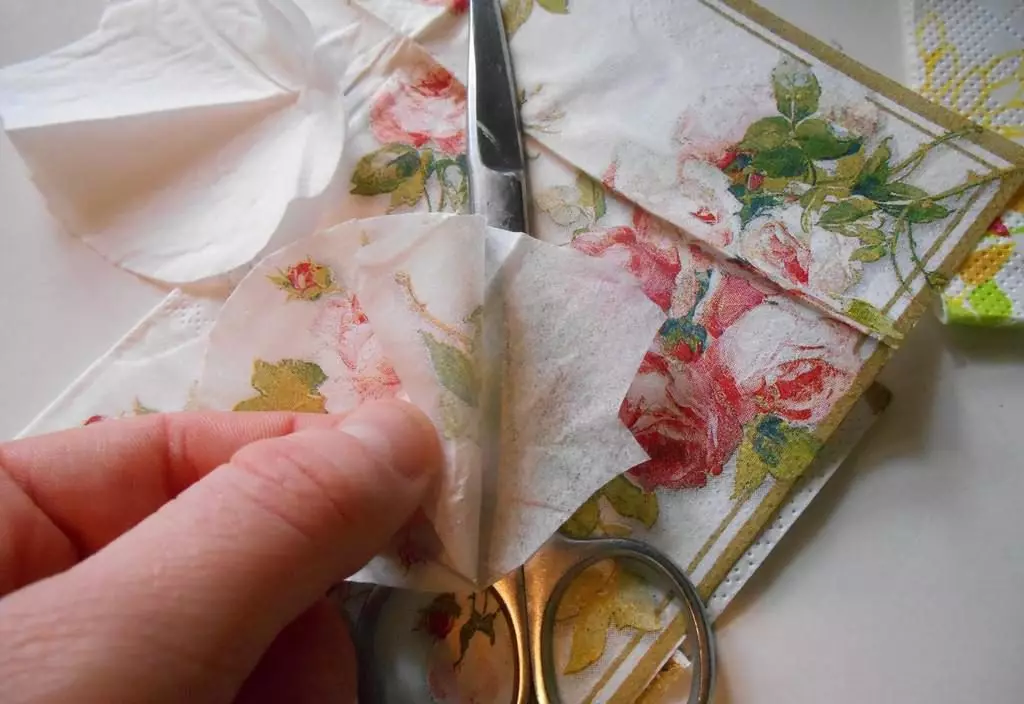
Transferring pictures
First you need to attach a napkin to the fabric and cut the picture along the frame circuits. Then the cut image should be put on the front side on the file and apply glue diluted with water with a flat brush. Ichping, the napkin will begin to stretch. Therefore, the movements of the brush should be from the center of the drawing to the edges. It is very important at this stage to straighten a picture from "wrinkles". Only then you can attach a file with the image to the canvas and carefully remove the transparent film.
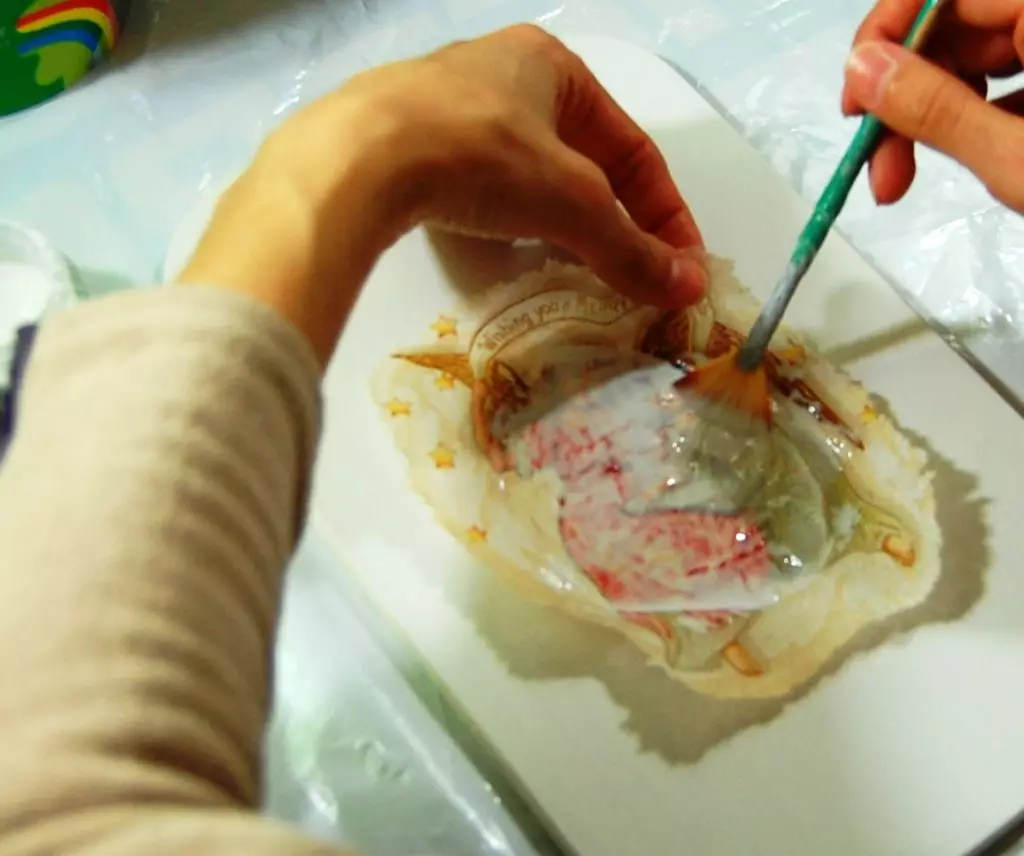
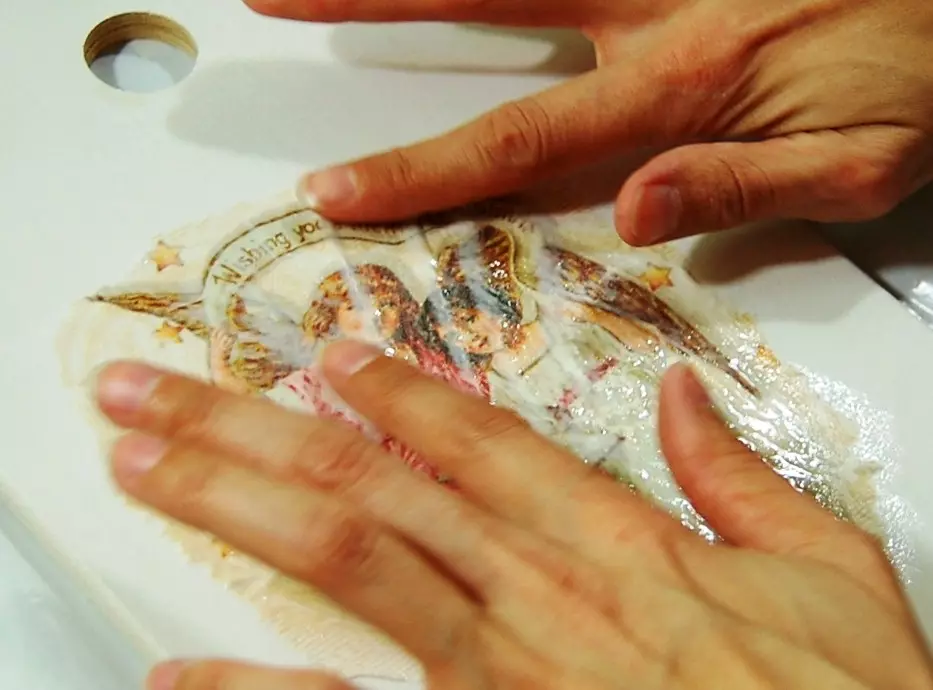
The edges of the napkins were needed well impregnated with glue. In this technique of decoupage, hanging ends of napkins from the edges of the canvas are inevitable. You can cut only wet, well-impregnated ends, otherwise you can damage the picture.
When the glue dries, it is necessary to cut the individual image elements or the entire picture with acrylic paints. Finishing stage - Cover the canvas varnish for decoupage and insert the canvas with the image into the frame.
Article on the topic: 10 secrets of proper placement of the picture on the wall
Decoupage paintings from postcard
According to this technique, you can create a bulk picture with your own hands in just a few minutes.
This will require:
- manicure and paper scissors;
- White bilateral scotch;
- Dense cardboard for base.
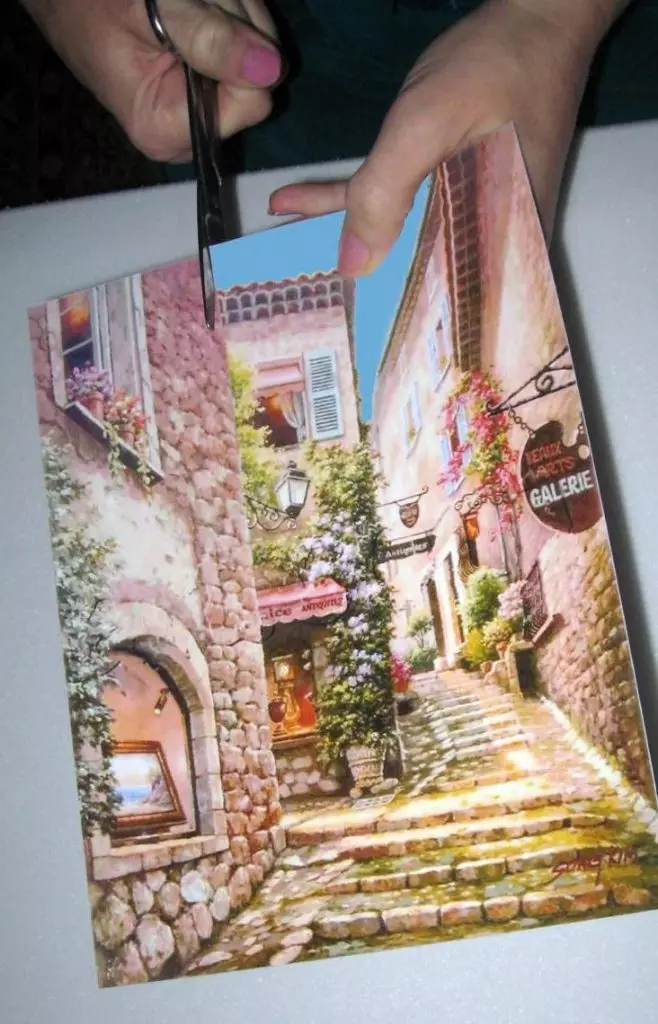
For example, take two identical postcards depicting urban architecture. On the first you need to cut down the contour of the sky, and on the second - at home. Each of the cut parts is a separate layer of the picture. What it is closer, the less should be the details. In this case, these are pots with flowers.
The ends of all carved parts should be made dark with a marker.
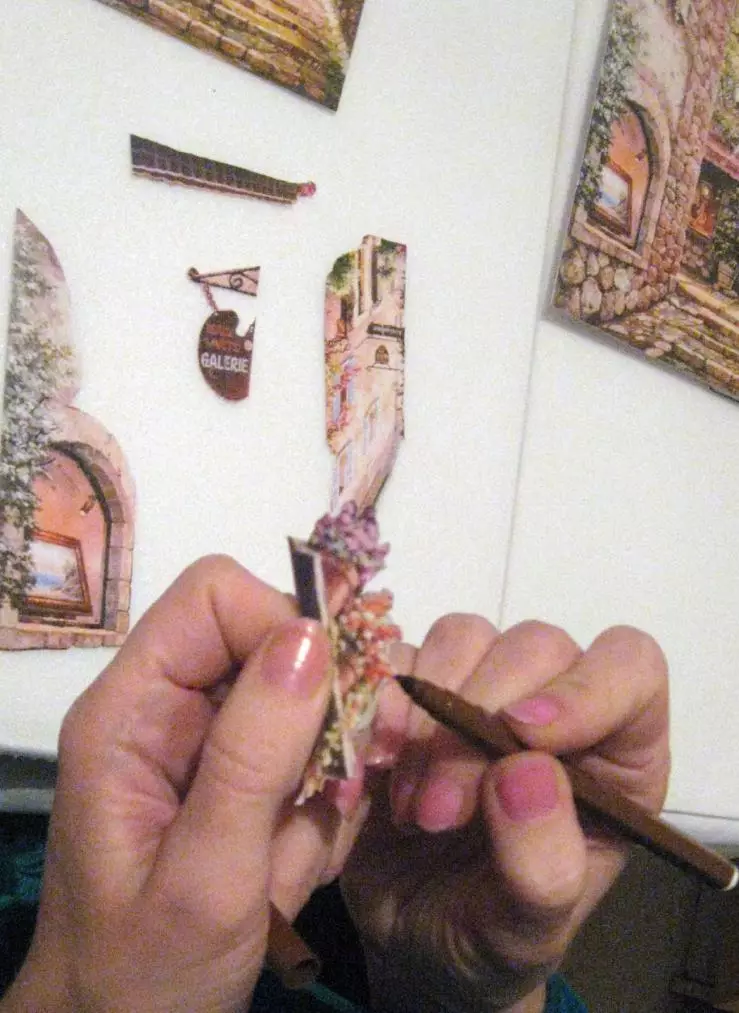
On the base of dense cardboard, the scotch strips should be attached. On the reverse side of each carved part should also stick the square of the scotch.
Next, one must stick to the cardboard, and on top of it - cut parts. The final stage is to put this multi-layered "pie" into the frame with glass.
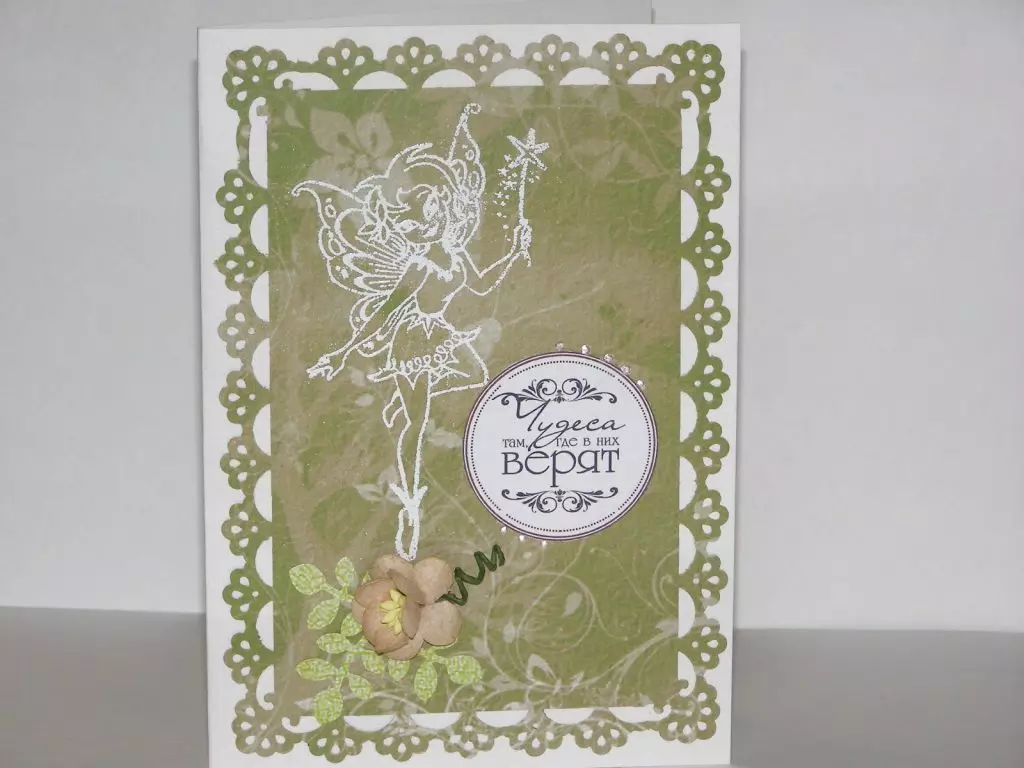
Decoupage postcards from napkins
A homemade postcard can be an excellent presentation for relatives and loved ones. It is manufactured in just a few minutes with their own hands on the technique of decoupage using glue, cardboard, napkins and scissors.

Cardboard is better to choose dense and color. On the finished product, the napkin will be transparent. To then do not have to be drawn with paints with paints, it is better to use a colored base.
In this example, we consider a more complex decoupage technique, that is, the applying of glue directly on the napkin. Since the canvas is not large in size, even newcomers can cope with this task.
At the first stage, you need to separate the top layer of the napkins and cut the pattern of the desired size. Next, glue must be carefully losing a piece of napkins from the front side so that it is tightly adhesive to the cardboard. After the drawing is driving, it is possible to draw contour contour contour contour of the acrylic paint.
Article on the topic: Selection of panoramic paintings: a variety of plots
Foamiran and decoupage panels (2 video)
Picture decoupage options (47 photos)
")
")
")
")
")
")
")
")
")
")
")
")
")
")
")
")
")
")
")
")
")
")
")
")
")
")
")
")
")
")
")
")
")
")
")
")
")
")
")
")
")
")
")