
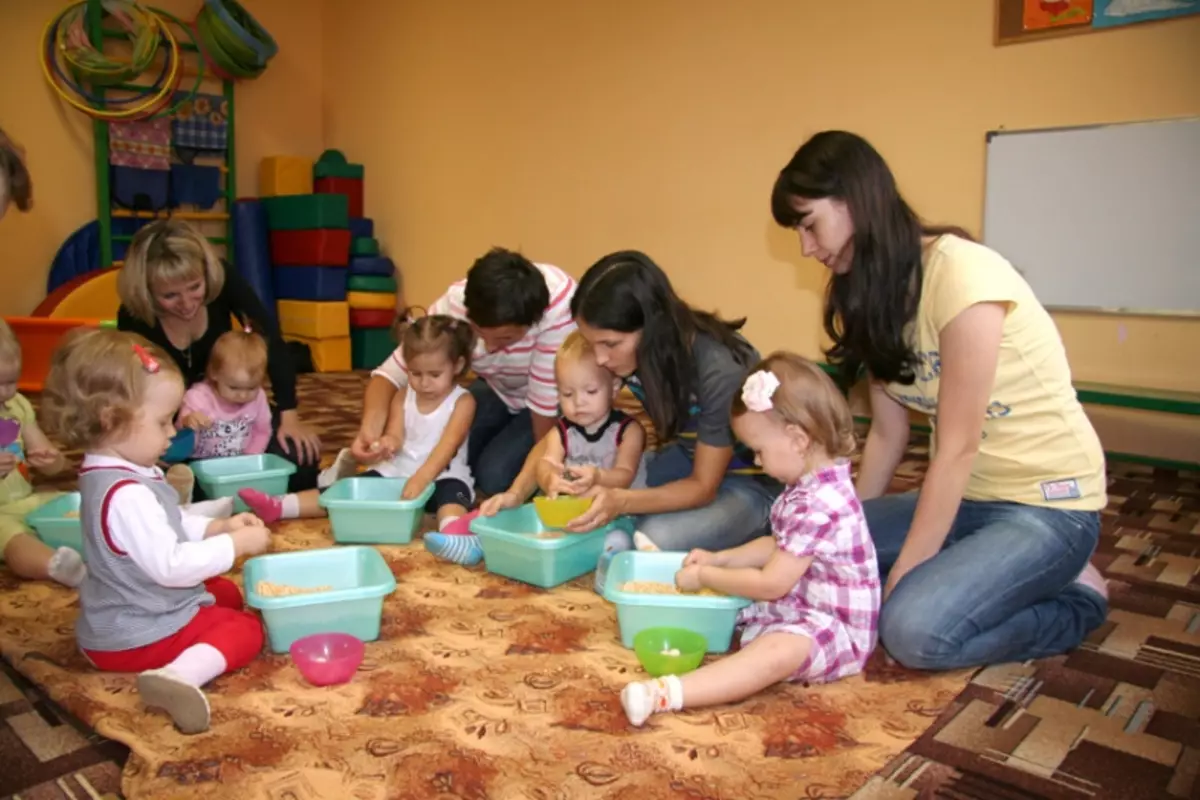
Each mother knows that with the child it is very important to engage in the development of shallow motility. Such classes have a positive effect on the development of mental abilities, a speech apparatus, as well as an action skills. The more such classes in the life of the baby, the earlier it begins to speak, understand the speech of mom and becomes a full member of society. Also, every mothers know how hard the baby is hard and persuade to deal with something defined, the more necessary mom, and even to pay for this lesson for a long time. This article describes the techniques for the manufacture of palm trees with their own hands. Such classes on petty motor skills will cause delight of the baby and the desire to bring the work started to the end.
Firstly, the baby will deal with a cradle in the company Mom, which is always nice for him, and secondly, Palma, it's such a plant that you will not meet on the street, so it will be very interesting to see the result and enjoys your unique plant, let them grow out from paper.
Execution options There are many. Here are only some master classes.
Volume Origami
To perform the surround craft you will need:
- 14 sheets of high density or cardboard paper paper sheets;
- 16 sheets of yellow or brown paper;
- glue;
- scissors.
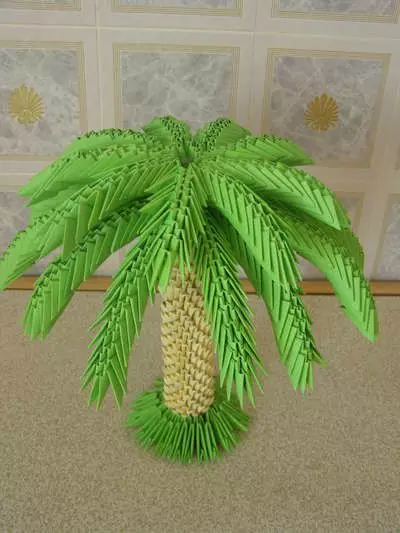
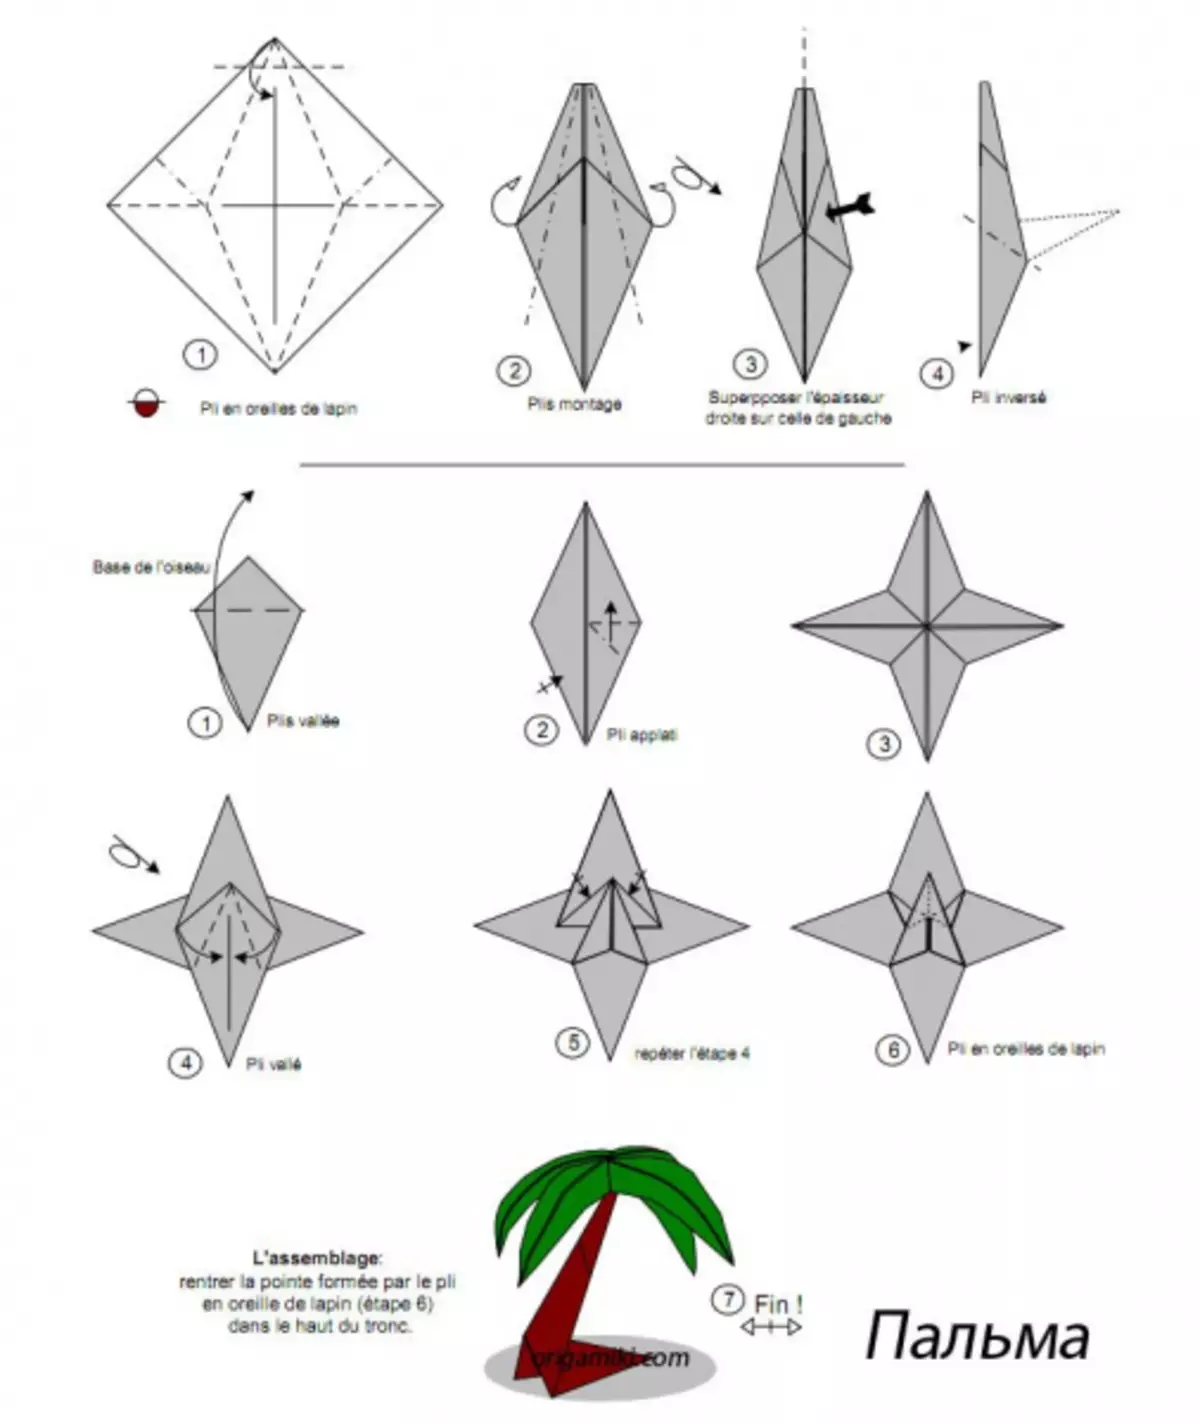
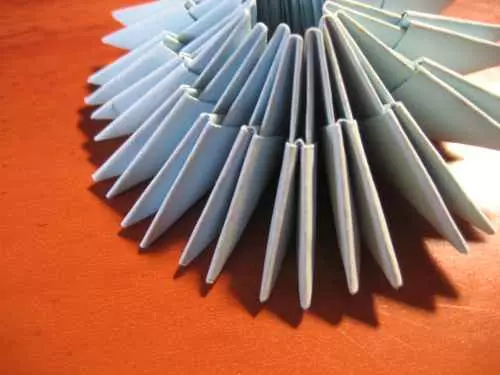
Palma consists of a certain number of compound elements. To obtain a finished product, you need to collect 210 elements from green paper and 243 elements from yellow (or brown). Composite elements are collected according to the scheme in the photo.
You should not be afraid, all the actions are performed quickly and simply and under the power of any mom and baby.
When all the composite elements are ready, you can smoothly follow the next step - the assembly of palm tree.
First of all, it is necessary to create an escape for the product so that the palm tree can stand independently and not fall. For this, two levels of nine green modules are built up, after which they all turn on the wrong side.
Article on the topic: Weaving bottom from newspapers: Master class of manufacturing square box from Nila
Next, on each angle of the element of the second level is put on one green element of the third. A total of 18 elements will be required. The fourth level is built similarly to the third. To create a fifth level, you will have to attach as many as 36 items!
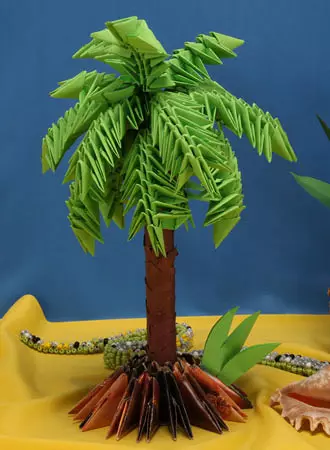
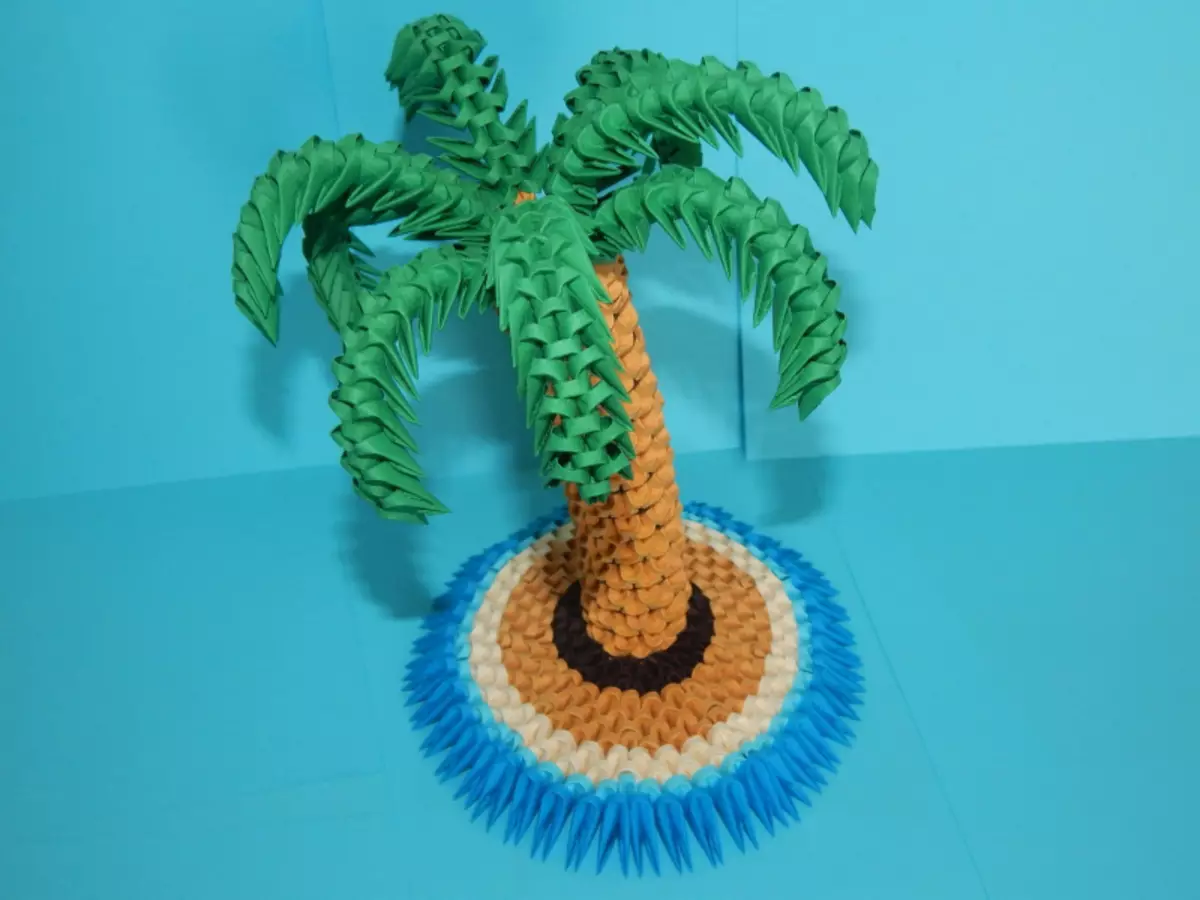
So that the palm tree looks more naturally, you need to add the soil around the founding of a tree for five levels of grass.
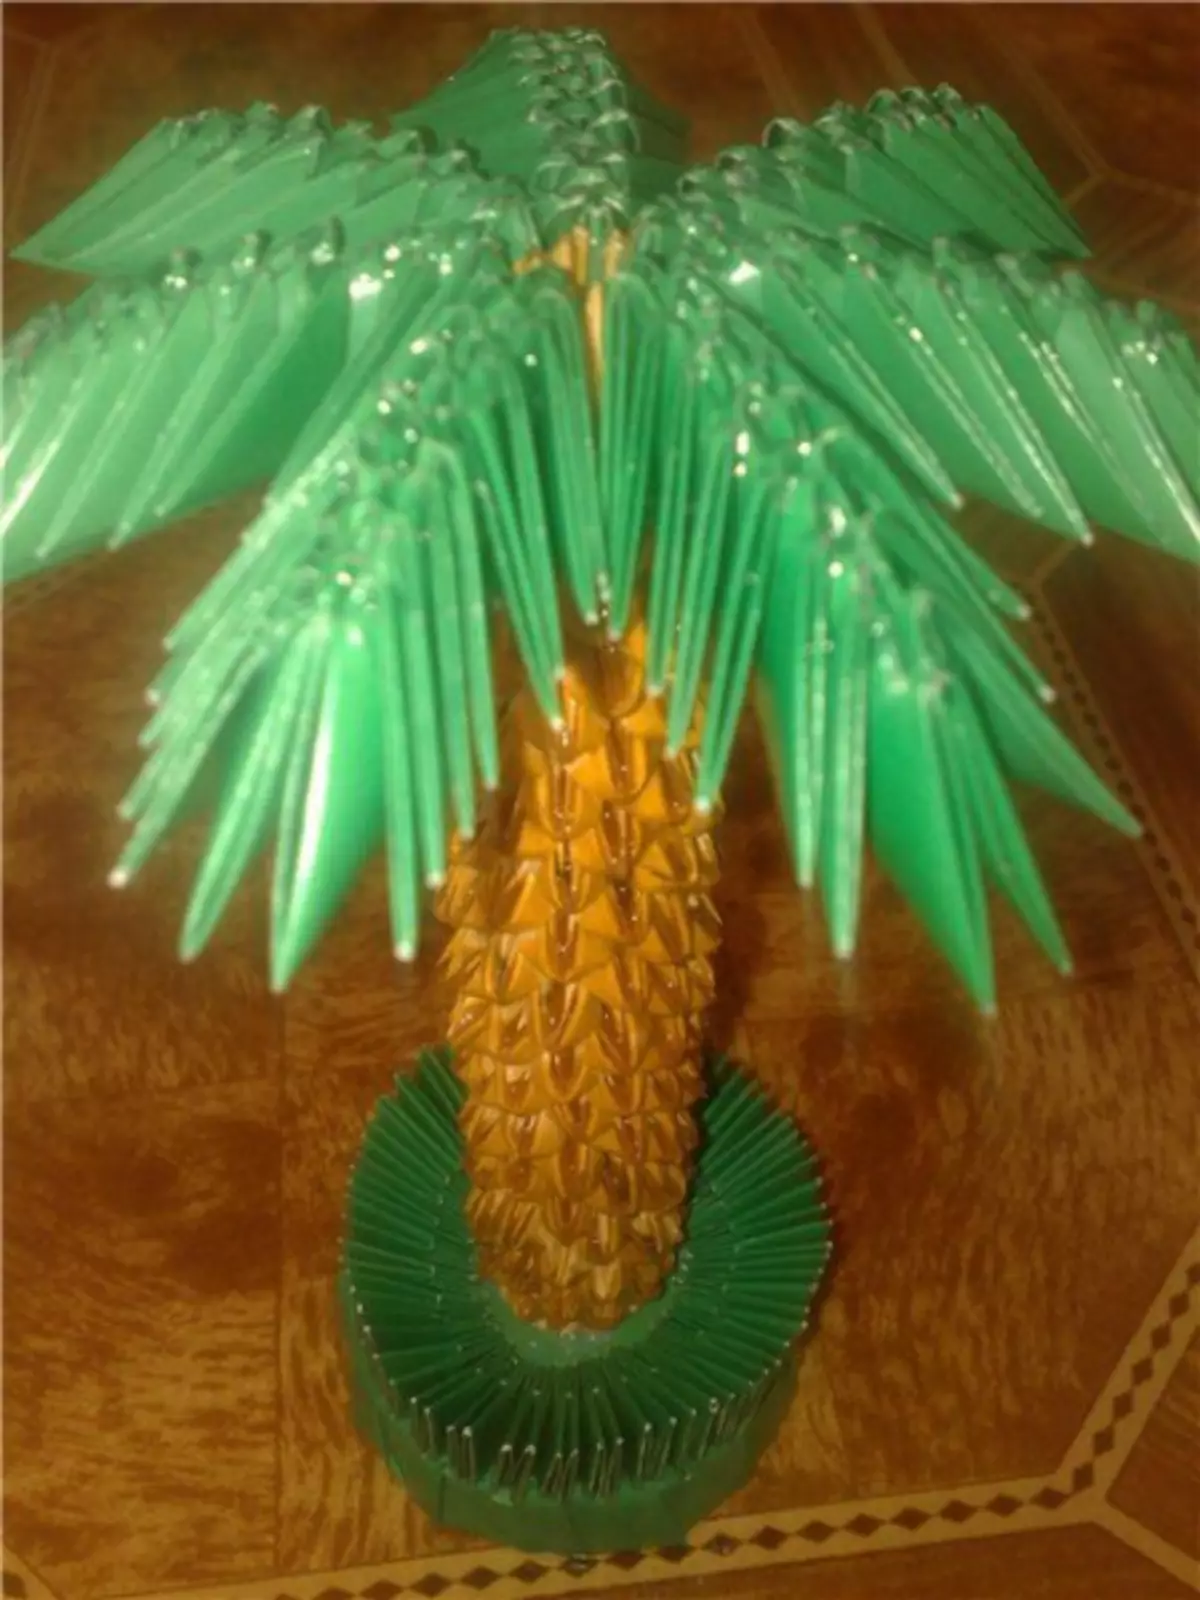
For this, yellow elements are joined from the sixth level. The sixth and seventh levels are entirely consisting of 36 yellow elements. Starting from the eighth level, we go to the creation of a palm tree trunk.
18 yellow elements are uniformly distributed through the cozo tree, in the part that performs the role of the soil from which palm tree grows. At the ninth level, it is necessary to distribute eight elements of yellow, and repeat this action for 19 subsequent levels.
Palm trunk is ready. You can move to the manufacture of leaves. In total, six leaves should be made on the finished product. Leaves are made of green elements.
The first two levels of the sheet consist of six elements. The elements of the second row are put on the wrong side (if you take the first level in comparison).
To fulfill the third row you need to wear two elements per each of the angles of the second level. According to such a scheme, 12 levels are collected.
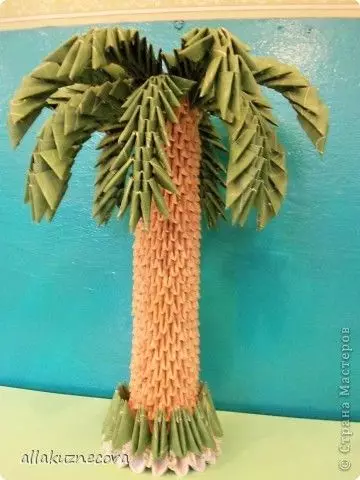
The remaining five leaves are made according to the same algorithm. To complete the work, you need to stick the leaves to the vertex of the barrel. Now Palma is absolutely ready!
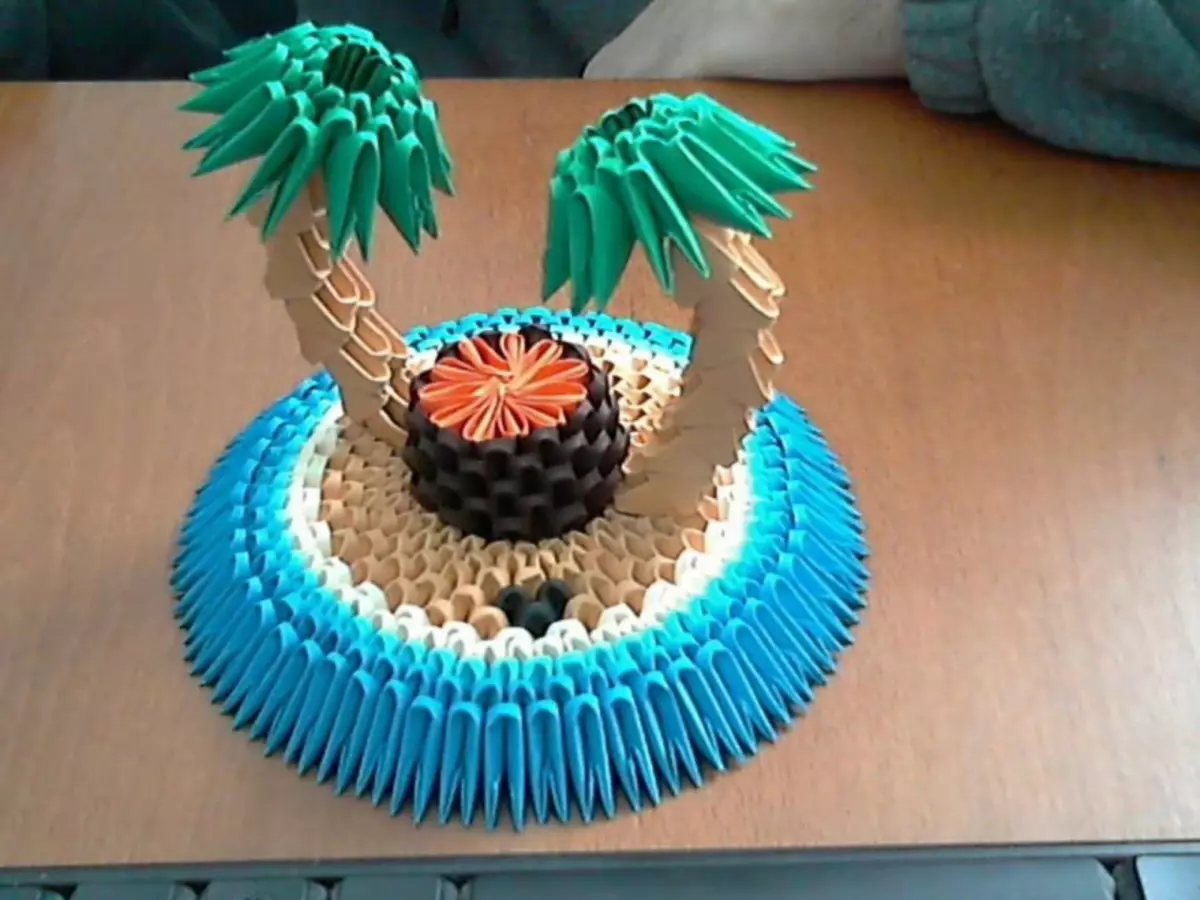
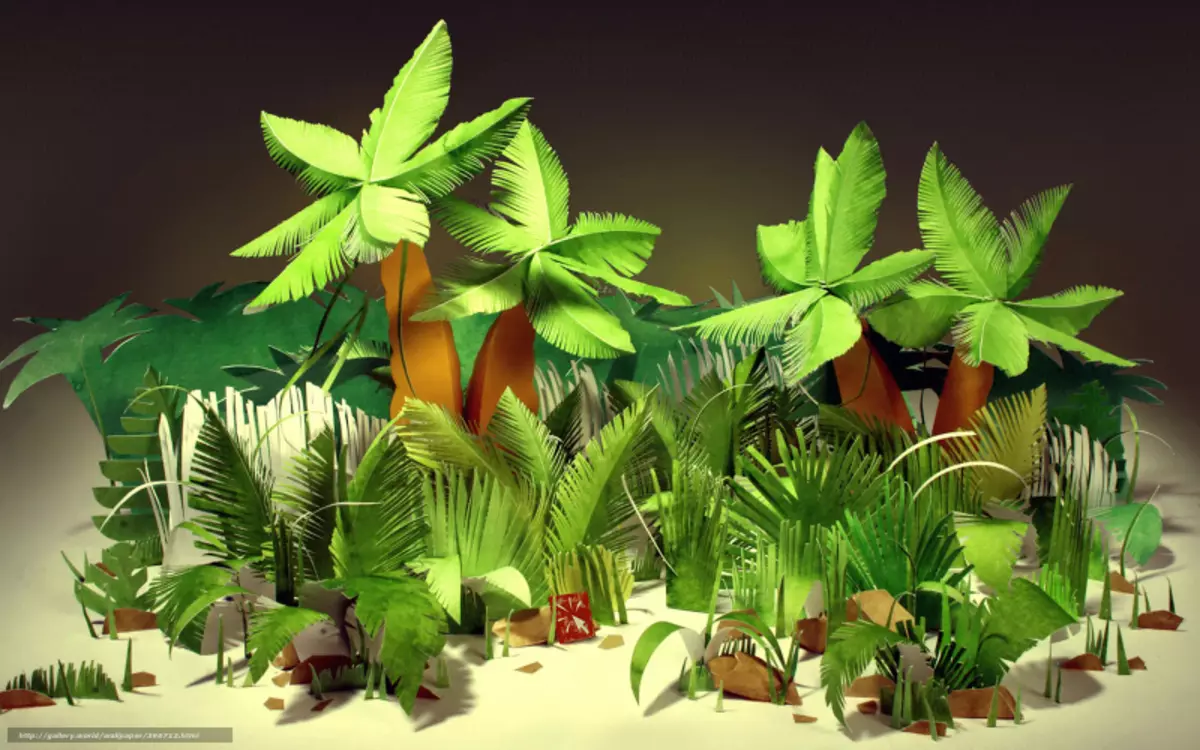
By adding fantasy, on the same principle you can create a whole rainforest of palm trees or even build your uninhabited island with thick palm trees.
Video frames on how to make palm trees in the Origami style, you can see here:
Simple option
If the baby is very few years old, the execution of palm technique origami may seem quite difficult to him, and maybe just do not have enough perfection due to small age.
Article on the topic: Painting of trays: Master class in stages and photos and video on technology
For such kids and their mothers there is a simpler version of the manufacture of palm trees.
To work will be required:
- newspaper;
- green paper;
- brown paper;
- scissors;
- glue;
- Scotch.
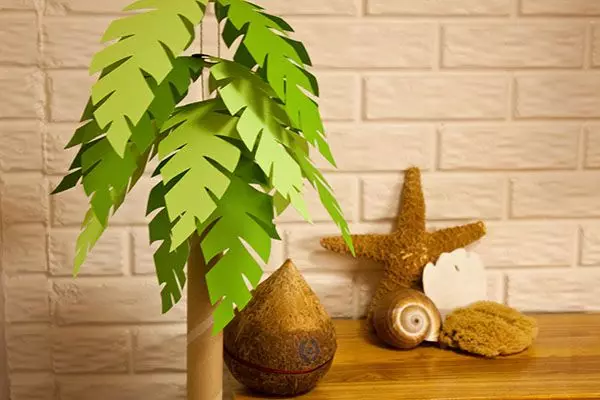
First of all, you need to start creating a palm tree trunk. The dimensions of the material used and blanks depend on the desired size of the finished product, so the article is not spelled out.
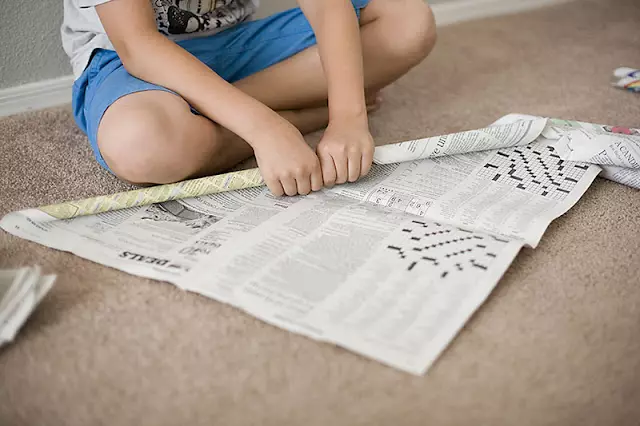
To do this, the newspaper paper is taken and the tight turns into the roll, then wrapped in scotch.
The diameter does not need to be done small, the more the diameter of the barrel is, the more stable the palm tree.
The next step is necessary to take brown paper and cut it into strips with a length of equal length of the circumference of the palm tree trunk. On each strip, cuts are made on the bottom to about the middle, it turns out something like a fringe. The more often the cuts are, the more beautiful it will look like a finished product.
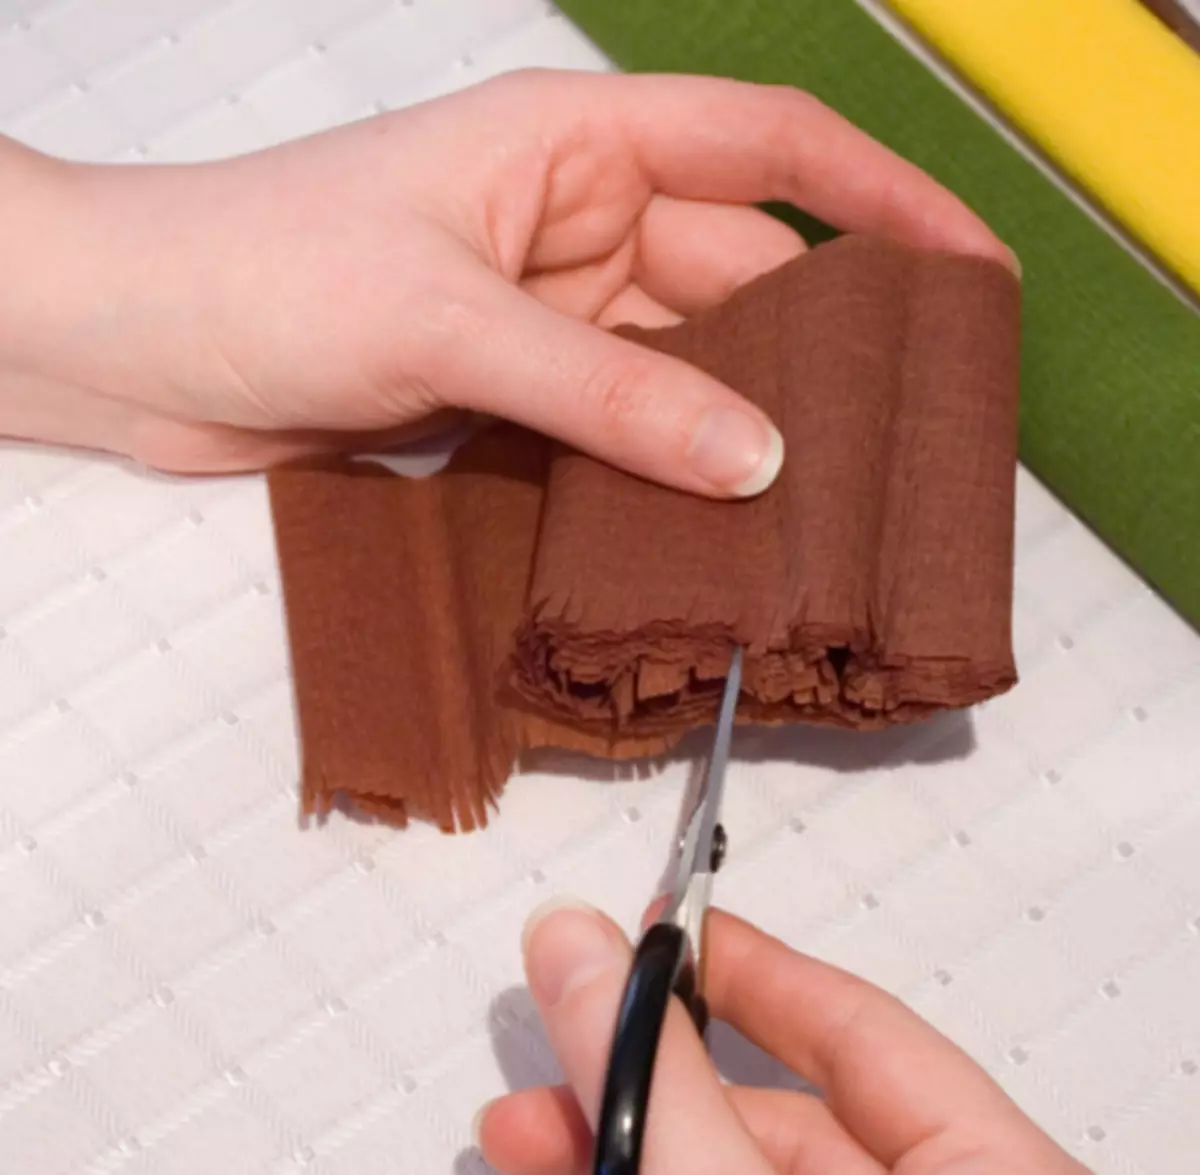
Next, these strips are pasted on the roll from the newspaper fringe down. The trunk is ready. You can go to the leaves.
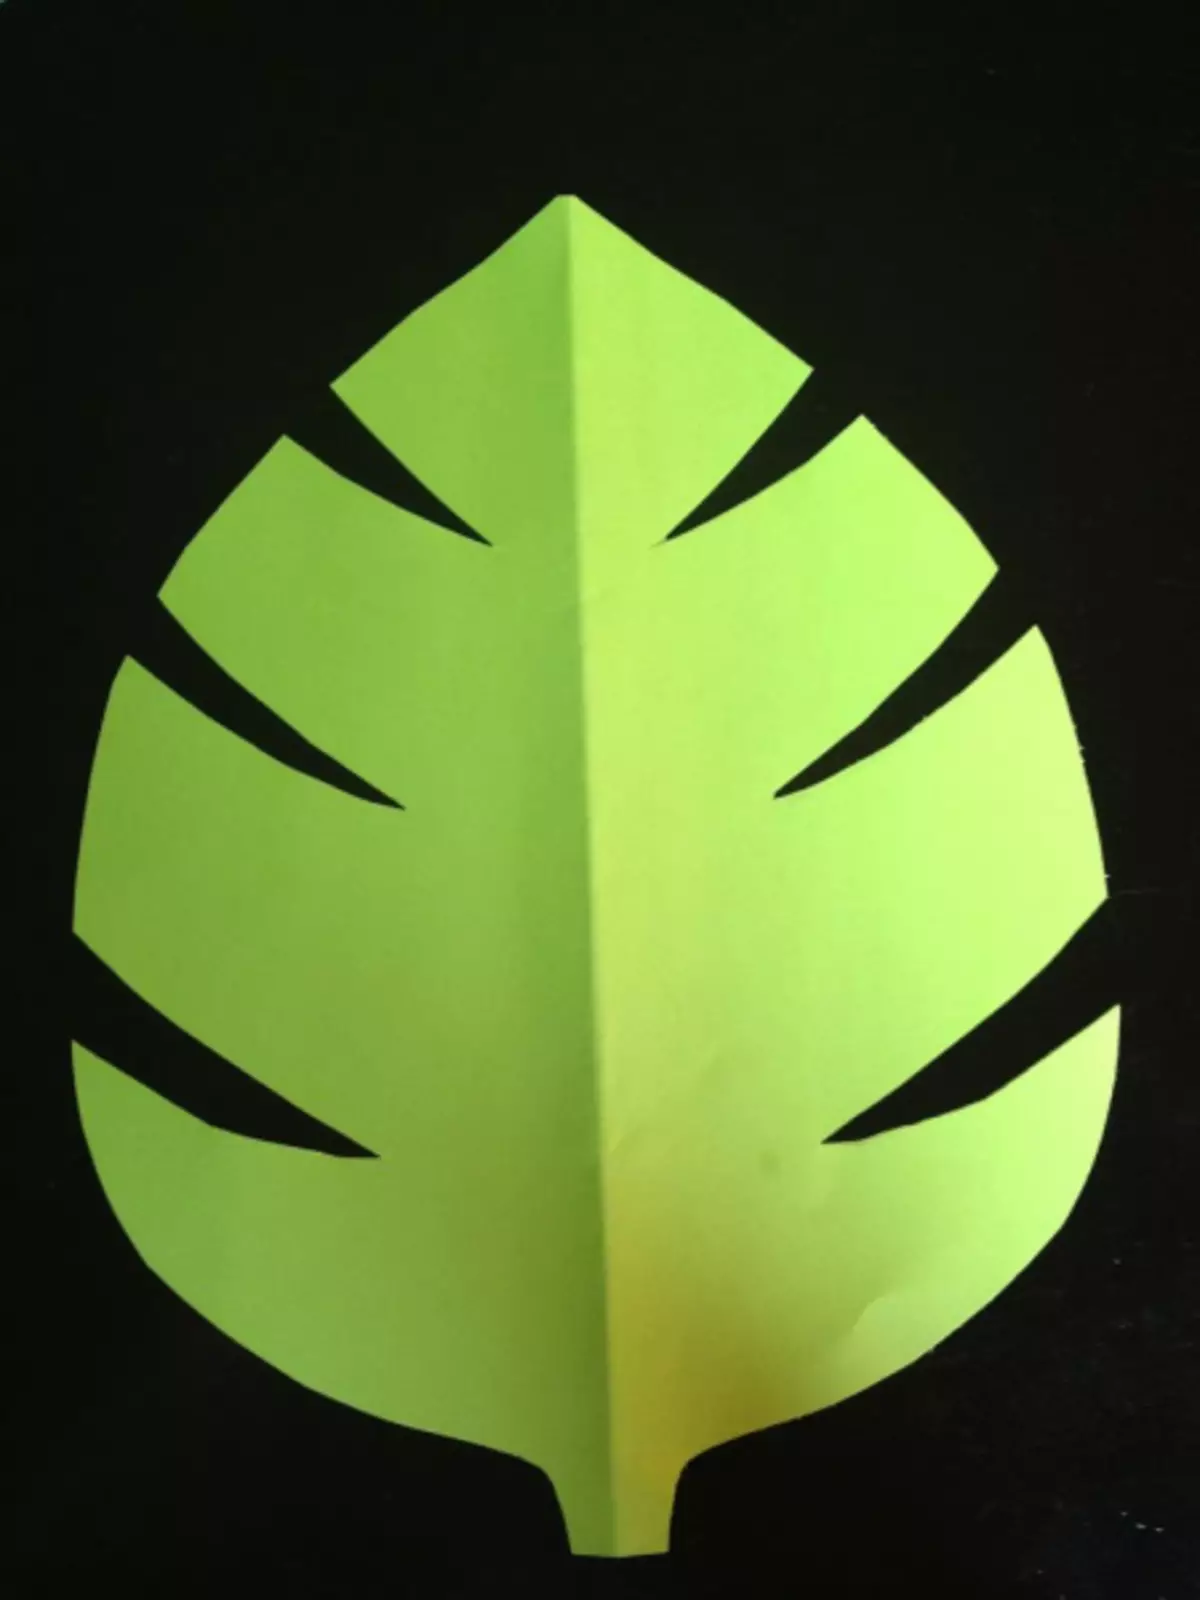
On green paper, a sheet loop is drawn. You can take a ready image from the Internet and translate it to paper, and you can independently decide exactly how the leaves of your palm should look like.
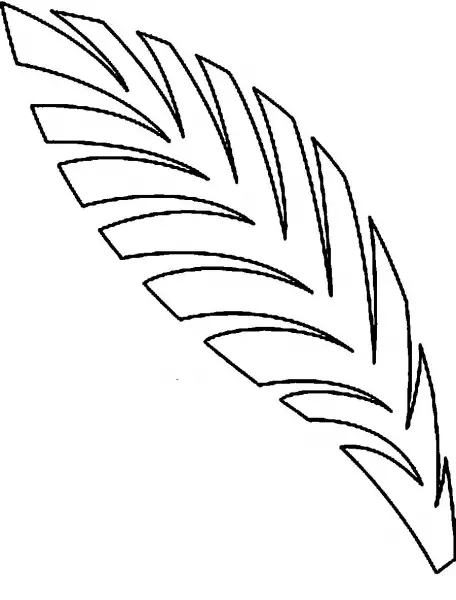
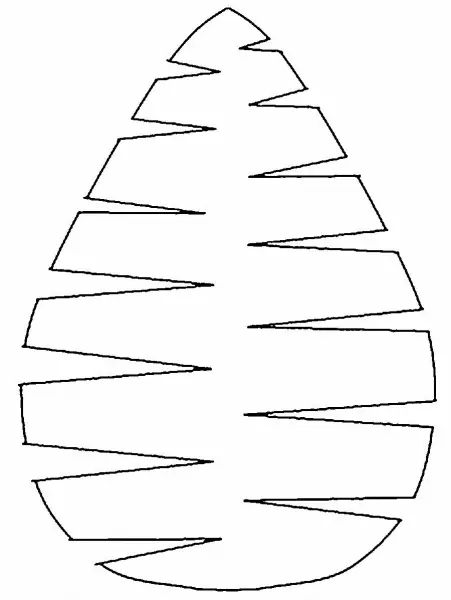
By the number of leaves, too, solve mom and baby. It is important not to regret the material so that the palm tree does not look too modest and sad, but also not to overdo it, otherwise the appearance of the finished product can become very careless.
Next, the leaves are cut, bend in the middle (this will give them dynamics and volume) and glued to the barrel.
The bonding place of the barrel and the leaves is winding up with a fringe with a fringe.
The product is ready. It is only necessary to let him dry and you can build your jungle!
Video on the topic
More lessons on the topic here: