Photo
In order to easily, quickly and efficiently carry out the installation of wooden lining, you need to know how, with what and in what sequence you need to make certain actions. Depending on which room you plan to sneak, there will be no different installation steps.
Lining - material, very convenient for mounting. Each plate has a groove on one side and the protrusion on the other. As a result, when bonding, a reliable lock is obtained.
After reading the information below, you are fairly easy to install your own hands.
Tools and materials that you need:
- Wooden rails with a cross section of 20x40 mm;
- self-tapping screw or dowel-nails (depending on the wall to which you will fix the cruise tree);
- Mounting level;
- screwdriver;
- thermal insulation material (for example, mineral wool);
- waterproofing material (substrate or vapor barrier);
- construction stapler;
- polypropylene twine;
- lining;
- Kleimers (special brackets) with conventional nails;
- a hammer;
- small piece of lining;
- Plinth;
- dumbbell;
- Finish nails;
- Fireball composition.
Preparatory stages

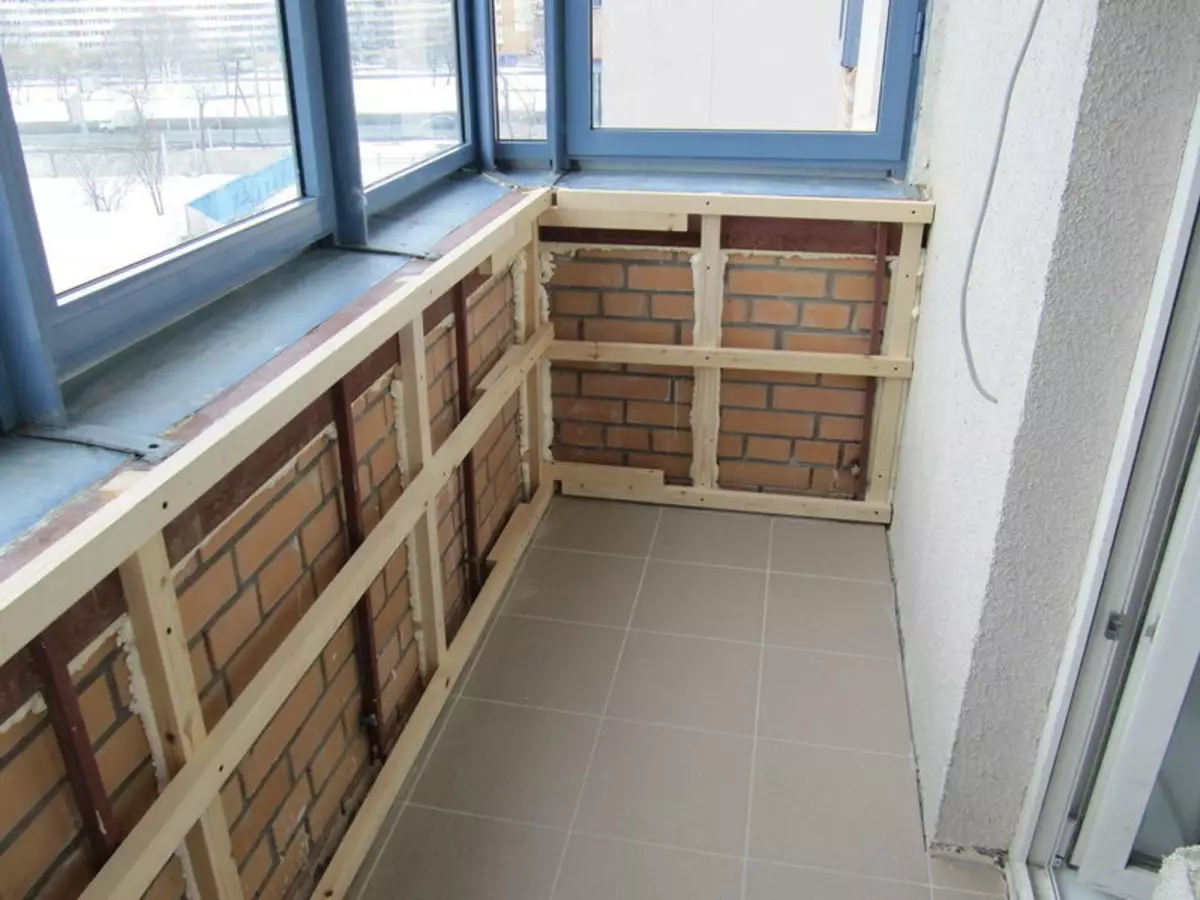
The most optimal and durable is the lining case, filled from a wooden bar, although quite often use other materials for these purposes, such as a metal profile.
First stage: Making the crate. For the crate, you will need wooden rails with a cross section of 20x40 mm, selflessness or dowel-nails (depending on the wall to which you will fix the crate), the assembly level, the screwdriver. Reiki Brepim to the wall, having them perpendicular to the future direction of the lining (the lining can be mounted both vertically and horizontally). Before fastening, check the smooth surface of the wall using a mounting level. If the wall is uneven, then under the rail put a piece of plywood. We once again check for evenness. The reg step should be no more than 40-50 cm. Bald Rack Brepim at a distance of 3-5 cm from the floor. Upper rail set at the fastening level of ceiling elements. We also produce fastening of rails in the corners and around the door and window openings. It is important to note that all the work on the electrical wiring should be made before mounting the crate, since after the installation of wooden lining is complete it will be impossible.
Article on the topic: Installing the entrance door in a wooden house
Requirements for mighties used for the installation of balcony waterproofing are very high.
The most reliable mighter used for the installation of balcony waterproofing is the matery of polyurethane mastic waterproofing.
The second stage: heat and waterproofing (this stage is necessary if you install wooden panels in a private house, in the sauna, on the balcony or loggia). To do this, you will need thermal insulation material (for example, mineral wool), waterproofing material (for example, a substrate or vapor barrier), a construction stapler and polypropylene twine. The substrate or vapor insulation can be mounted first before installing the crate, and then put the second layer already on the crate after filling it with mineral wool. It is important to remember that when installing the vaporizolation, it is necessary to fix it with a rough side to the insulation. Hydro- or vaporizolation follows to make a 10 cm braziness and joints along the entire length to fasten with scotch. The fastener of the waterproofing is carried out using a construction stapler in 10-15 cm increments. In order for the mineral wool to do not split and not deformed, it must be secured by polypropylene twine. Polypropylene twine fasteners are carried out with the help of a construction stapler.
Finishing
Mounting the lining is advisable using kleimers, because At the same time there is no nails hats.
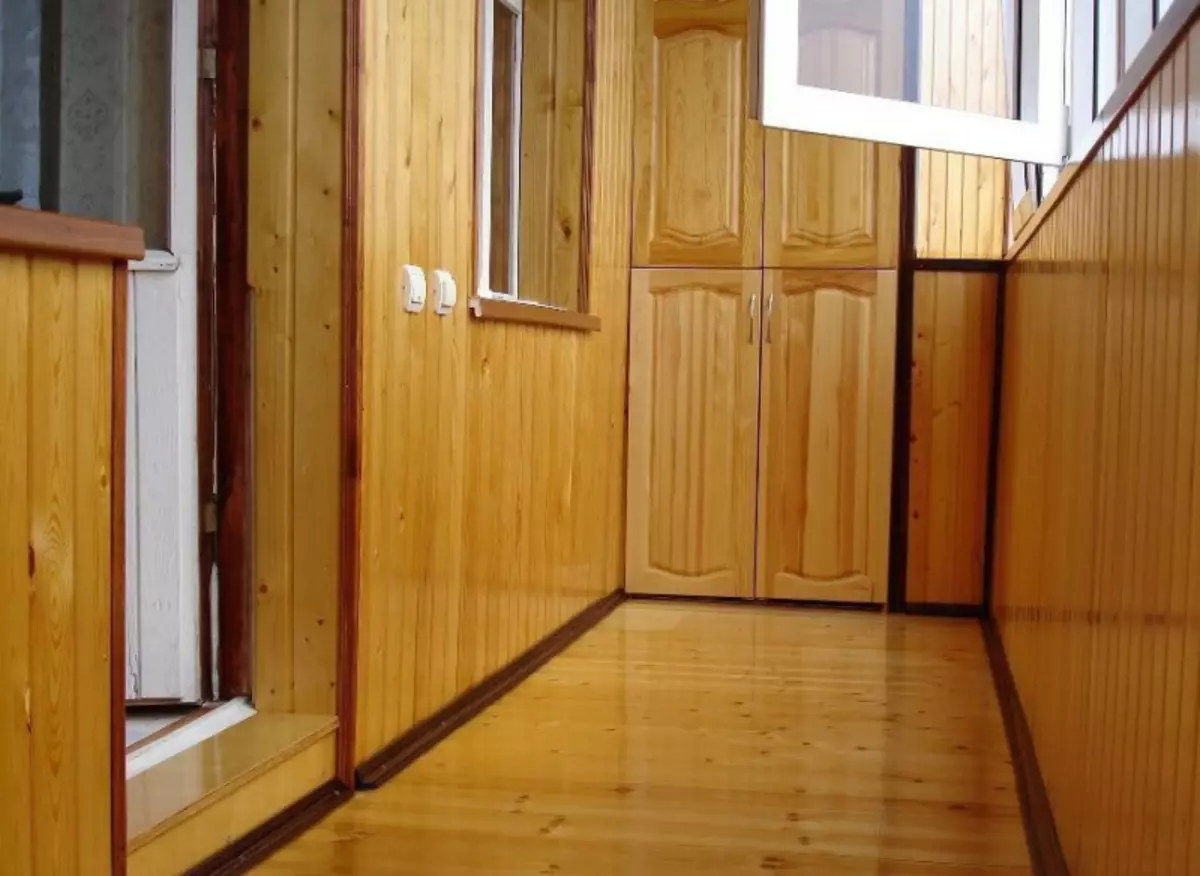
Third stage: Installation of lining. When installing, you need the panels themselves (for the sauna finish, it is better to use aulh), nails finish or klyamimers (special brackets) with conventional nails, mounting level, hammer, small piece of lining. Before starting to install, it is necessary that the unpacked lining faces indoors in which it will be mounted, not less than 48 hours. Installation of the first panel you need to start from the corner. Bold to the crate can be finished nails or by kleimers. If you use kleimers when installing, then the lining can be easily dismantled with your own hands. After that, the same material can be used when installing in any other place.
Article on the topic: how to install the sink
After you install the first lining and secure it, in its groove you need to insert the crest of the second panel and fasten. The second and subsequent lining will be difficult to insert with your hands, they will most likely be difficult to enter. To facilitate this process, there is no need to acquire a special tool. It can be done with your own hands. It is enough just to take a small piece of the scaled panel and, inserting it to the ridge in the groove of the next installed lining, gently tapping the hammer on it. It must be done along the entire length of the lining until it does not go tightly. From the bottom and on top of the board, you can additionally secure nails.
Each sixth board must be pulled by a mounting level so that the installation continues without deviations. The gap between the lining and carrier walls should be 1.5-2 cm. It is necessary so that in the future the wooden wall remained smooth and did not learn despite the fact that it was not professionals, and you are your own hands.

It is allowed to finish wooden lining with appropriate plinths.
Fourth stage: finishing fittings. In the penultimate stage, you will need plinth, dumbbell, finish nails and a hammer. We continue to create comfort with your own hands, you are practically on the finish line! In order for your lining to take a finished look, it is necessary to arrange angular joints and close the gaps between the floor and the ceiling. For angular joints, you can use a narrow plinth or dumbbell, for the lower and upper gaps, you need a plinth of such sizes to close these gaps. Mounting plinth and dumbbell need finish nails, then the appearance will be aesthetic.
Fifth (final) Stage: Wall processing. You have already done a lot with your own hands, the last important procedure remained: the processing of mounted walls with flame breeding composition. It is necessary to do this at least three times every day. After such processing, your walls will serve you for a long time. In winter, you will have warm, and in the summer - cool.
Article on the topic: Full things to decorate the interior with their own hands
Now the installation is over! You can be proud - all this is done by your hands!