
Bead products with their own hands for beginners are the easiest schemes and ideas of future crafts, which will help you to master the technique of beadwork from simple tramples to beautiful trees and necklaces. To work with beads you will need a wire or thread, as well as a fishing line and a special needle. With the help of beads, you can perform harnesses and lariats that can be the main accessories in any female wardrobe.
To gain experience in beadwork will help the manufacture of a simple village, which can brightly and with an original decorate room.

Simple tree
For wood you will need:
- Motor special wire green or silver color about 60 m;
- Beads of three colors (30 g of pink and blue, 40g green), you can also use transparent and golden;
- schemes.
This product "Tree of love" will be in the shape of a heart, so the work is useful to the thick aluminum wire for the frame, it is well bended.
To complete the crafts to prepare plaster, PVA glue, greasy tape, brown acrylic paint for trunk and varnish for decor.
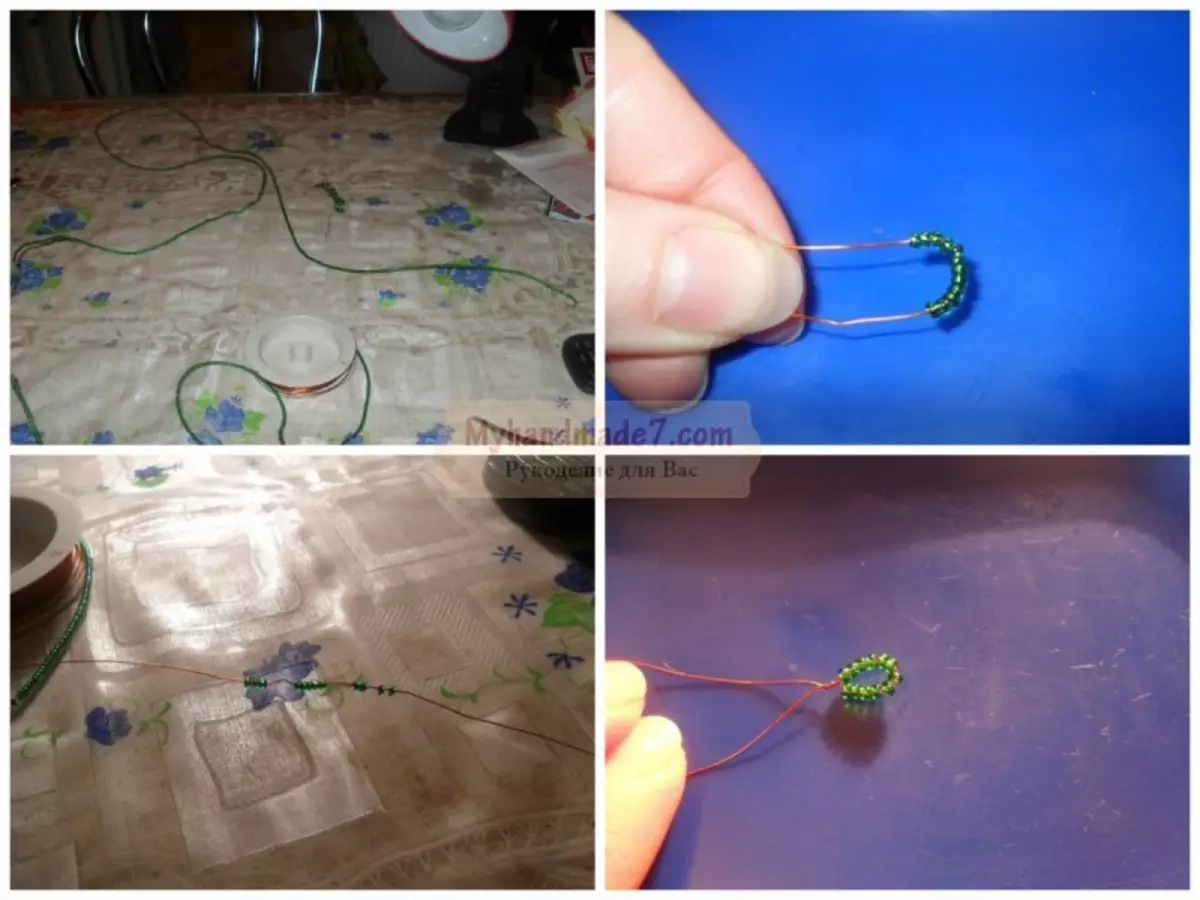
You need to start performing crafts from green leaves, for this you need to ride a wire, do not cut it off the coil, the desired amount of green beads - 40 g. It can leave for a couple of hours, so you can attract small assistants to work, which will help to drive beads to the base.
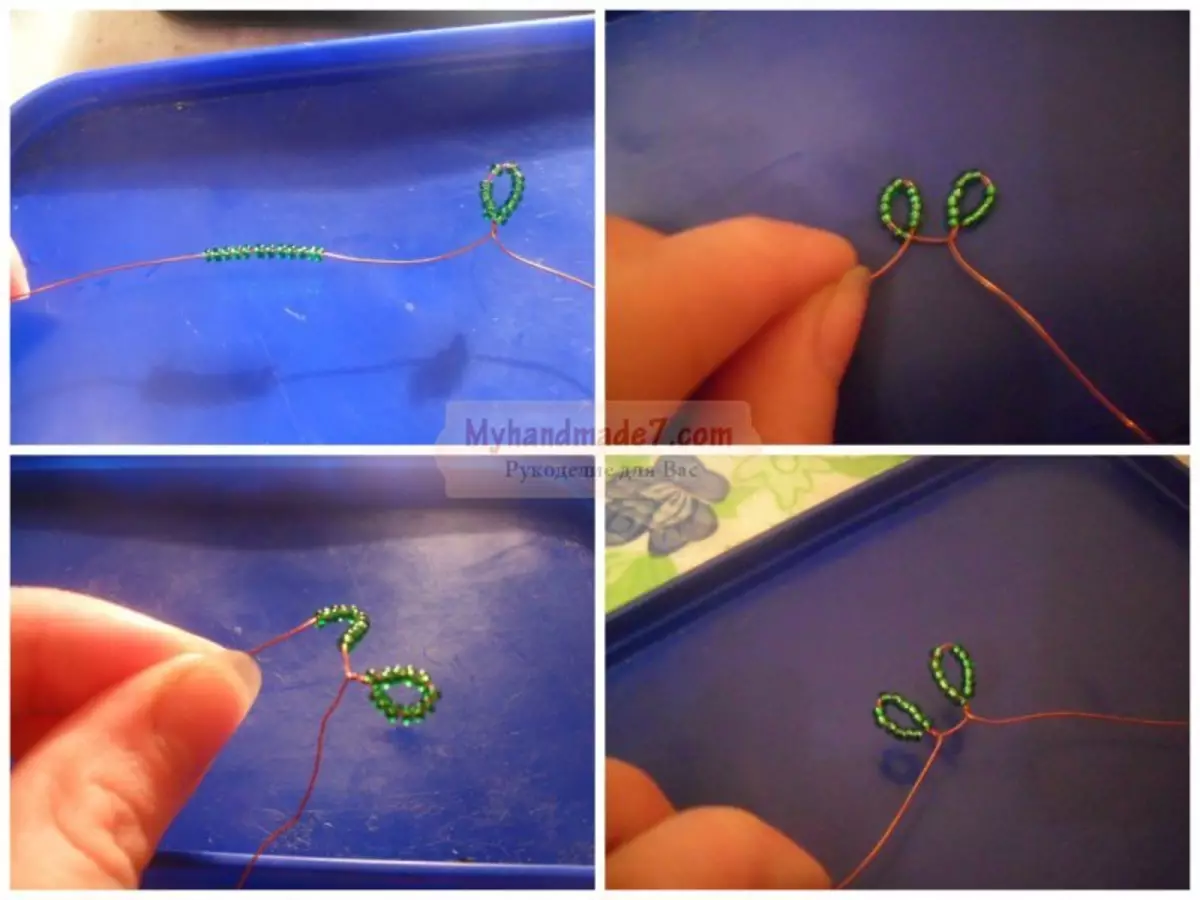
When the green chain on the coil is ready, you can proceed to leaves: move to the edge of 12 beads, make a loop, twist at the base of three turns. Next make a loop from the other 12 beads. On each branch to make 7 kettops. Then this wire cut off, leave a small empty cut. Also make the following twig with leaves.

There should be small gaps between the leaves, it is desirable for 0.5-1 cm. Total to make 50 such blanks, then proceed to the assembly. To take one branch for the middle central loop, it is usually the fourth in a row, holding it for it, fold the wire with the leaves in half. Now twist it in the intervals between the sheets. Also collect all the other blanks.
Article on the topic: Ornaments Schemes with knitting caps with description and video
Next you need to make flowers. First weave small pink and blue. Total need to do 22 pieces, 11 each color.
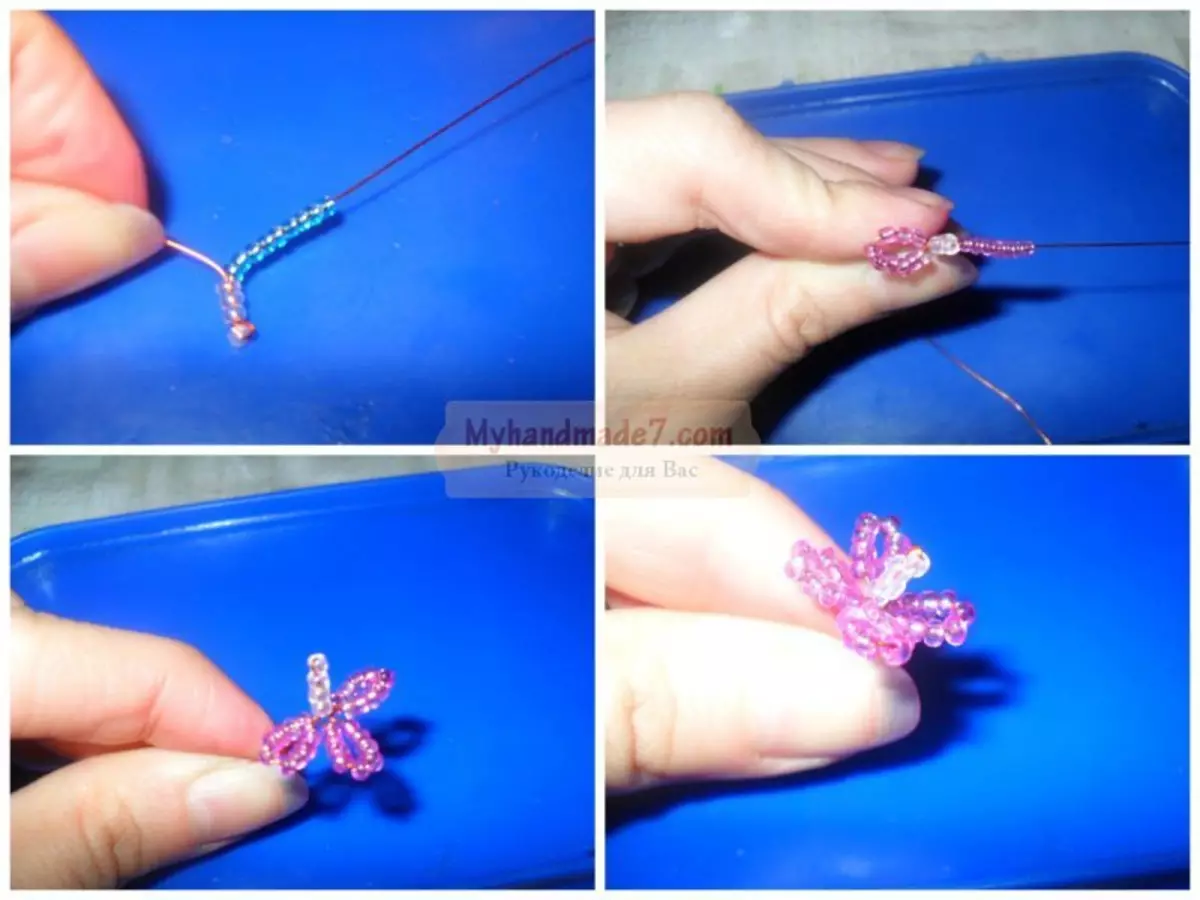
Now it is necessary to cut off the wire for each flower - 25 cm. On the segment to wear a transparent bead, move 3 more beads to one edge, and skip the second end of the wire in the opposite direction, stripping. Then it's time to proceed to the formation of petals: on one edge 9 beads and tighten the loop. Now the same loops with nine beers make the wires and at the second end. Make another single loop on each segment, twist the ends.
And to make big flowers, you need to use crafts from beads with schemes for beginners, because each petal woves separately in a circle and then connect to 1 bouton all 6 petals. More colors need to do 6 pieces of each color, each includes six petals.
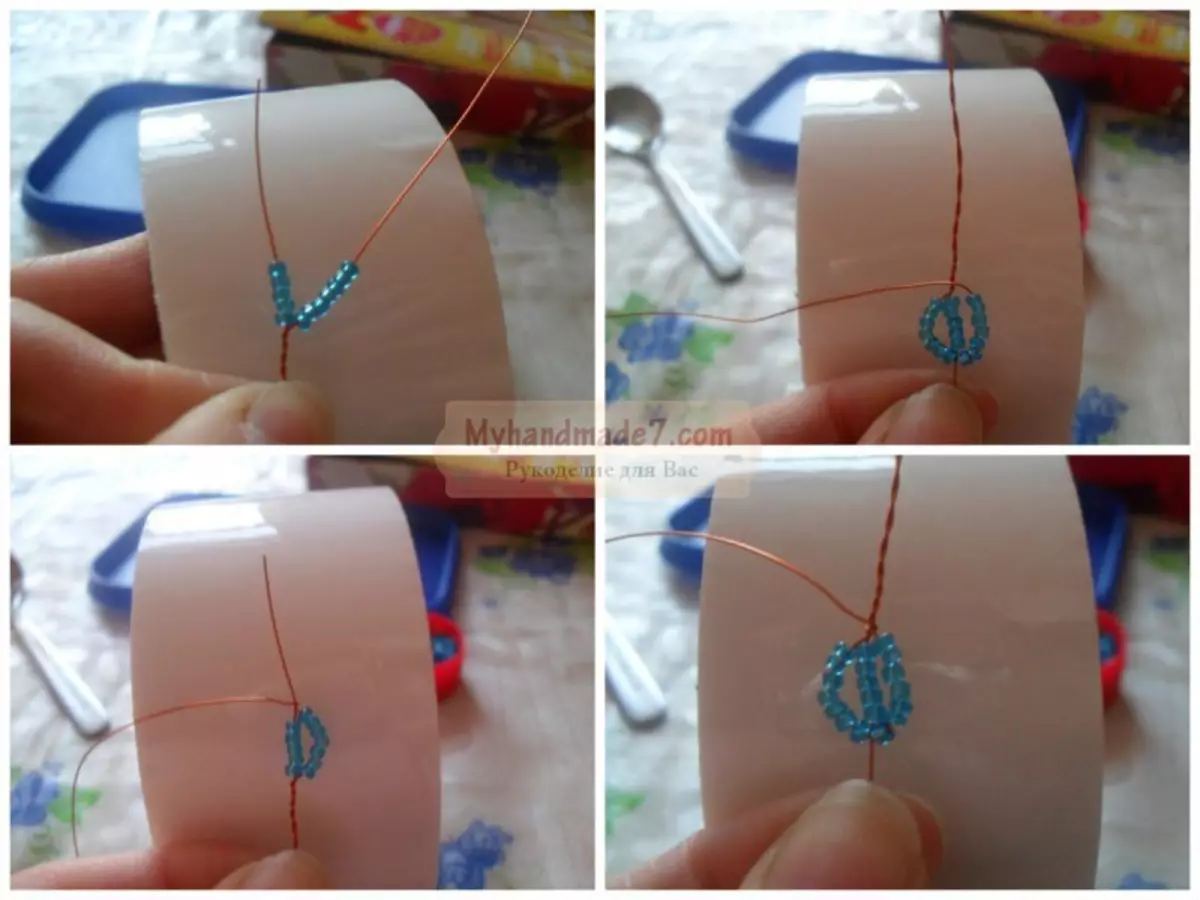
For one petal, cut off 30 centimeters of the wire, immediately make a loop, so that the tip remains 2 cm long. The loop twist so that the petal feet turned out. On a small end throw 5 beads, on a long - 7. Then a long end to bend around the small and wrap around the base once. Further, the long need to reap 7 beads and bend it. The petal began to form, which should weave the technique of French circular weaving. Then put on beads, make a turn, again 12 beads, to overtake the tip several times and cut off the remaining wire.
The flower will also need the core that can be made of the three stamens of the gold bead. The stamens twist together, then start applying petals: first 2 and wrap at the base with a wire, then 2 more, turn over, and the last 2.
All subsequent petals must fall in a checker order to look more realistic.
Now it remains only to pour the craft of plaster and paint. What a tree looks like ultimately, you can look at the photo:
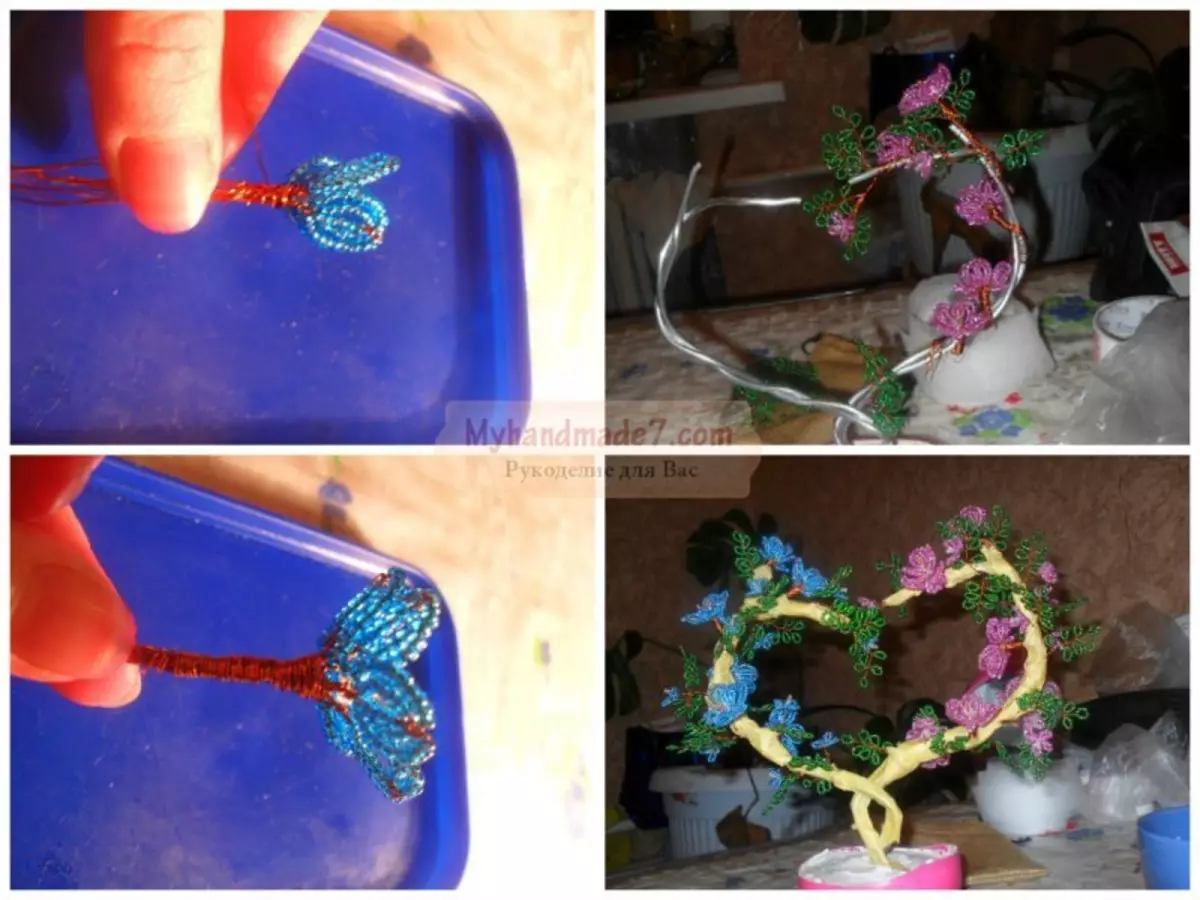
Simple, but very beautiful and neat tree is ready!
Article on the topic: Children's hook vest with braids and bumps