
When the room repair comes to an end, there are reasonable questions: how best to make the angle between the wall and the ceiling? How can I hide defects or technical seams between the wall and the ceiling? How to make color selection? Let's all in order.
Pairing walls and ceiling is important
First of all, the first thing ... partitions, and then, the ceiling!
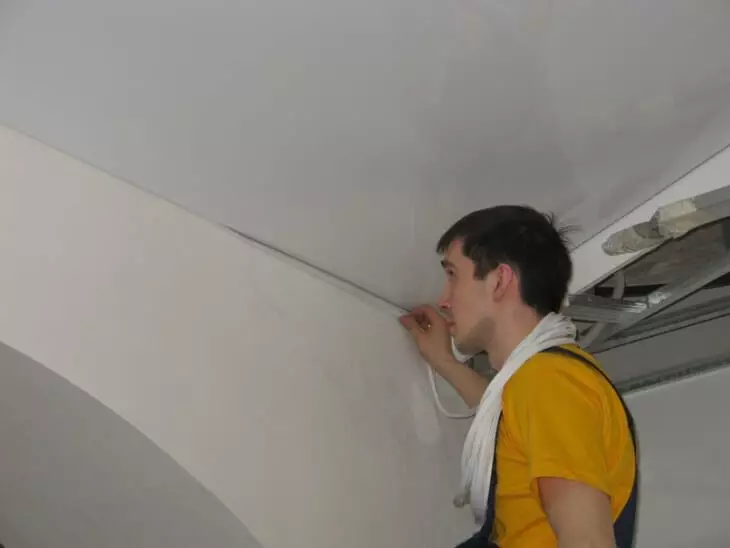
For the first time with the question of pairing the ceiling, the builder is still facing the construction of partitions. The upper node of the adjoining causes many stress.
In the case of a block wall, it is usually first to smear the upper edge of the block or brick glue, and then "pressed" between the wall and the ceiling. As a result, the glue or the solution partially remains on the block, partially squeezed out. The gap is formed, which must be managed to sharpen. And even if the putty has passed successfully, the slot may still appear. The best, in my opinion, is the use of mounting foam. It is possible to use it when the partition has gained the necessary strength.
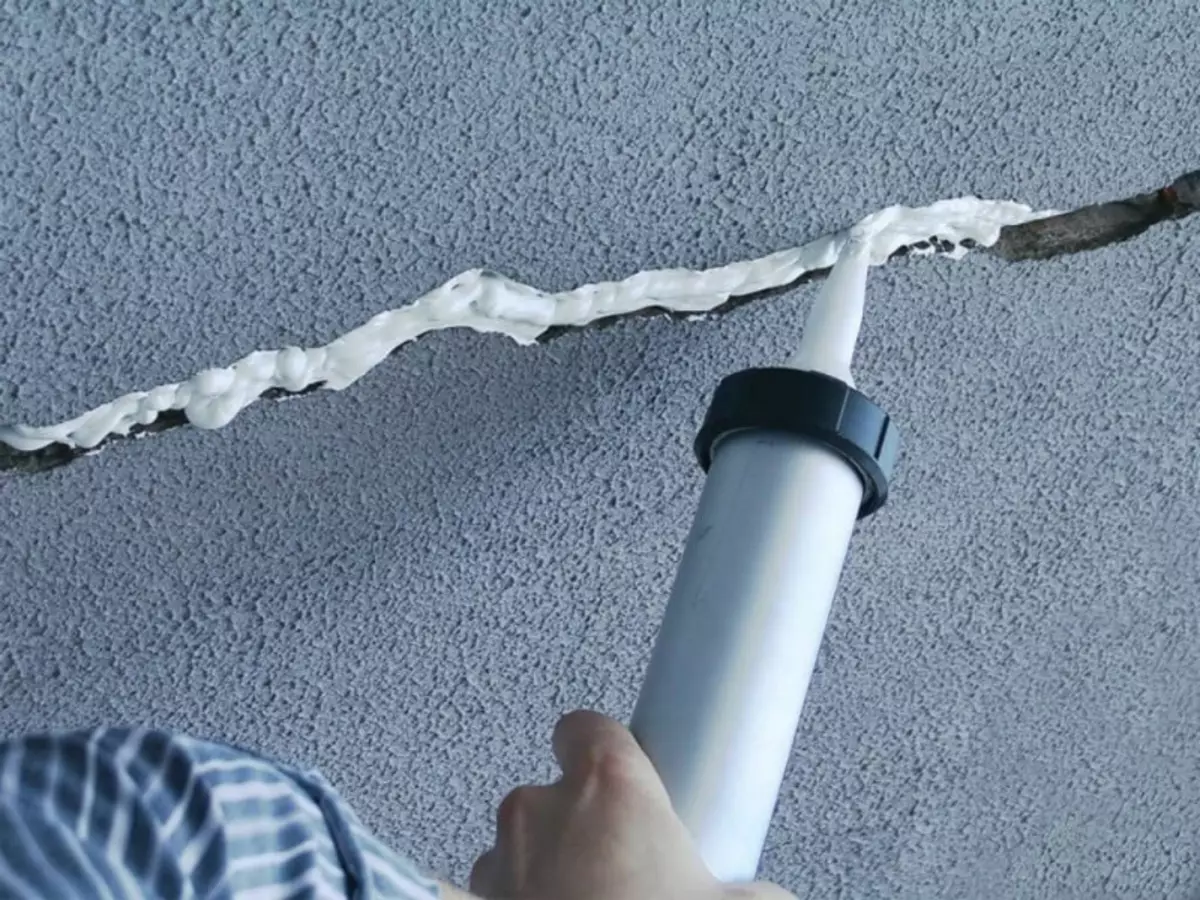
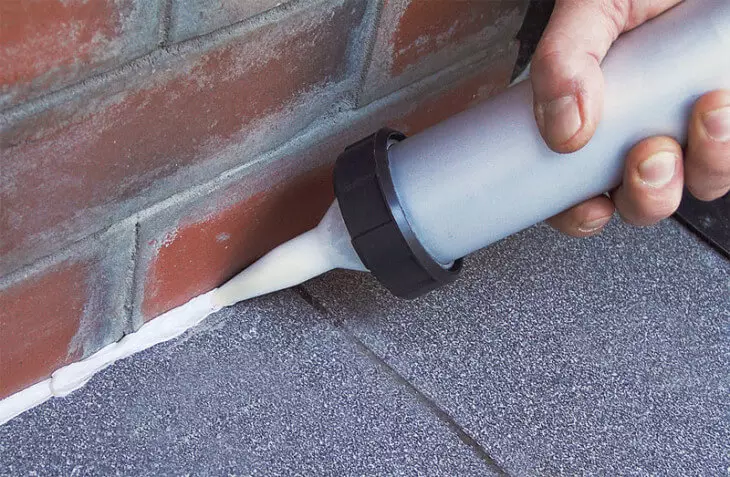
Use of mounting foam for sealing slots
First, in the upper seam insert the gun with a cylinder of foam and carefully pass from the outer and outer sides of the partition. After drying the foam of the surplus, we remove the usual building knife. Ready! The result is a high-tech durable adjoining knot. Such a pairing perfectly compensates for the movement of the ceiling and walls and provides excellent soundproofing.
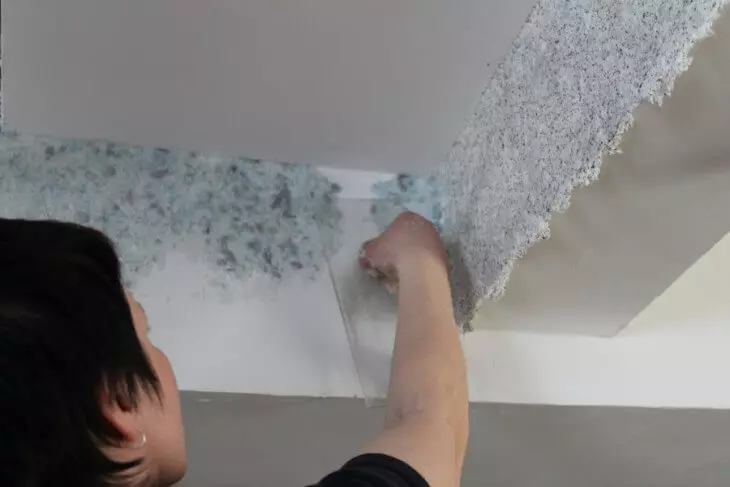
In the case of plasterboard partitions, the gap is trying to close with a putty. Try when installing the sheets of plasterboard layers first leave up the gap no more than 5 millimeters. And then close the seam acrylic sealant. The sealant as well as foam compensates for small deformations.
Perfect angle or bummer?
Do not be scared, everything is in order! The bug in the architecture is called a decorative element of various in its cross-section.
Article on the topic: Brick poles for the fence with your own hands
Many have heard such terms:
- Cornice;
- Ceiling plinth;
- Baguette;
- Border.
Ceiling plinth
However, professional builders are usually called this element - a galler (it is a plank, covering the junction between the wall and the ceiling).
There are many materials from which this decorative element is manufactured. It can be a classic plaster stucco (there are workshops that still make it manually), and wood, and modern plastic carter, and even a luxurious marble.
When choosing it is important to remember that the width of the cornice affects the perception of the room by people. A wide element will visually reduce the height of the ceiling, and the volume of the room. While narrow, on the contrary, increases the height of the ceiling and the volume of the room. And the selection of colors should be done carefully - too contrasting the color "wipe" eaves from the interior.
Depending on the material, mounting methods are different. If plastic parts are glued, the tree, plaster stucco and other heavier materials are attached to nails or screws.
Roger on the ceiling
Krepim modern "stucco"
Let's stop at the attachment of Polyurethane Quicks, as this is the most affordable and widespread material.
First calculate the materials, and prepare the tool.
We consider the length of all walls of the room and divide one plank for the length. The number obtained as a result of the calculation, round up to the whole to the most side. It is recommended to buy cartel with a small margin. Glue "Liquid nails" or acrylic sealant is perfect as a fastener. By the way, the acrylic sealant will also be needed to fill the seams between the plinth, the wall and the ceiling.
Acrylic sealant
Required tool:
- Disk saw for rooting the corners. Although, the ordinary hacksaw of metal is quite suitable.
- Pattern, it is a stubble for roaming an angle of 30.45 degrees.
- Construction knife.
Close up ceiling slits
Article on the topic: Olife Combined brands K 3 Specifications
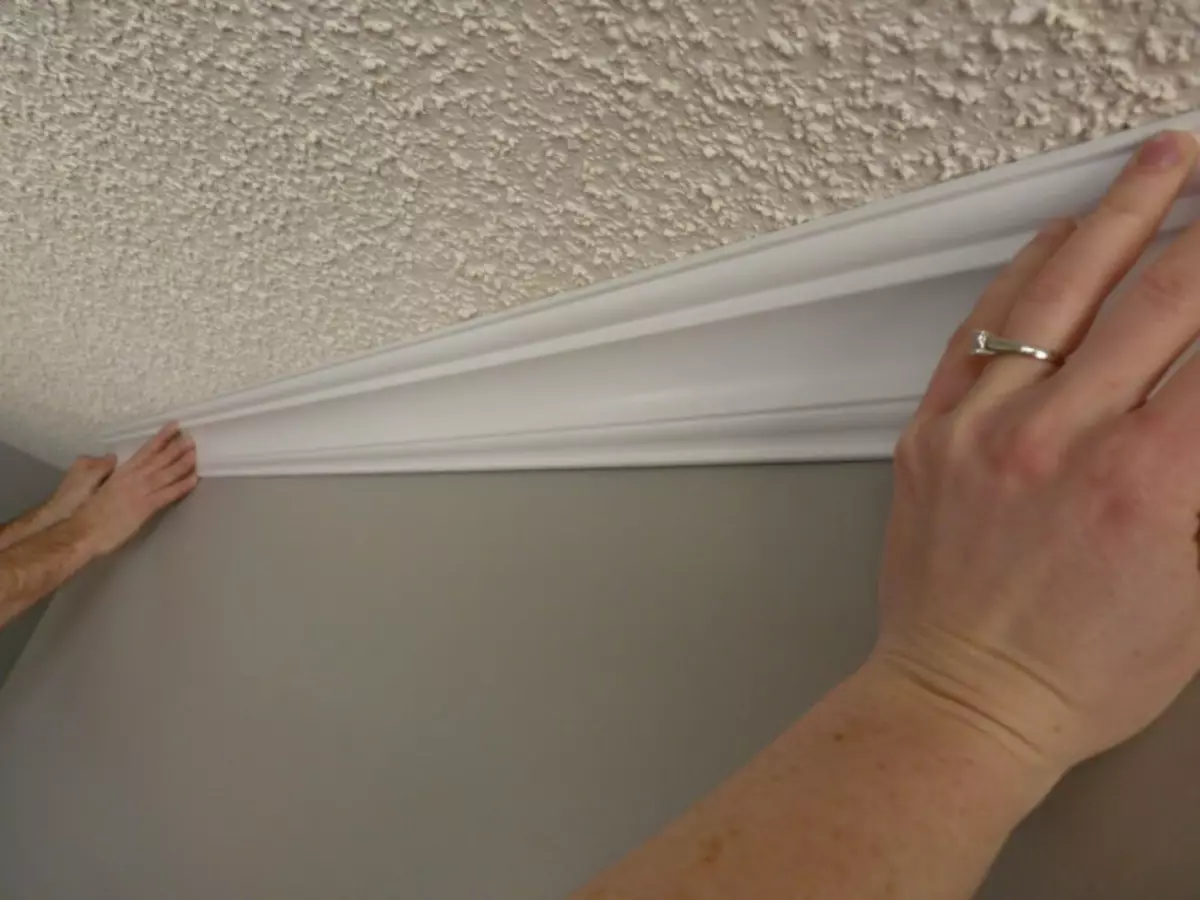
It is more convenient to start installing planks from inner corners, moving in direct areas. Next, set the plinth in the stub. The smooth surface is pressed to the side wall and drove at an angle of 45 degrees for direct angles. If the wall interface angle is different - the roofing angle is determined experimentally. Attention! For one corner or sloping, the slap must be washed mirrors. After the stucco is ready, we begin to glue. To do this, we apply glue to the side surfaces of the cartel and gently press from the corner along the entire length. We continue to glue the slippery.

We continue to glue an online strip
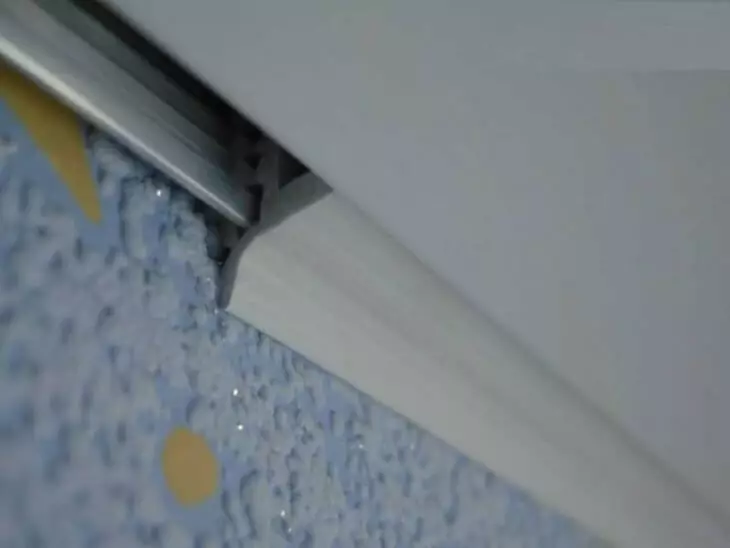
Important! If it is impossible to fit perfectly, you can use fine steel wire as connective trunks.
After all the planks are glued, close the seams between the ceiling, plinth and a thin layer of acrylic sealant. Surplus remove the napkin or "universal tool" i.e. Finger. The stucco transformed your ceiling!
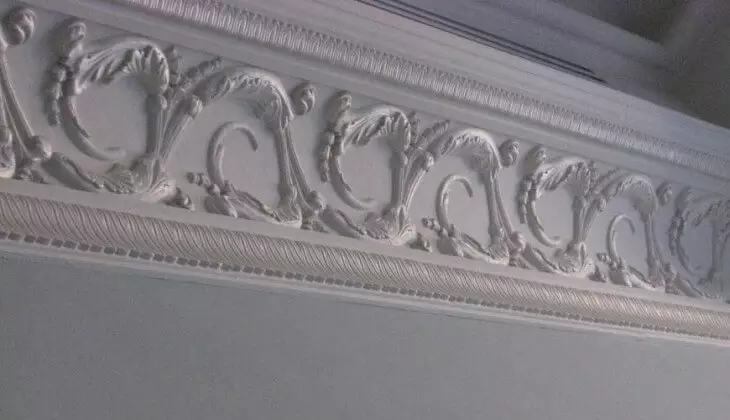
Stucco transformed your ceiling
If you are still difficult to decide on the choice of stucco, calculate its quantity or pick up the color of the ceiling and walls, do not be discouraged. Many sites manufacturers have free online services for selecting materials, calculating their quantity, as well as the selection of the color of the ceiling and walls. It works all this is very simple. You go to the online service. Specify the size of your room, make the color selection, if necessary, and determine the amount of decorative elements.
We create bolder, experiment with flowers and materials, and your home will be filled with beauty and comfort!