
Currently, people have an interest in needlework. Many forgot what a hook, weaving satin ribbons, embroidery. Anyone can try themselves in creative activity. In today's master class, we will try to do all the famous Winnie Poha Crochet. The character knows and love everything - from small to the Great. It is interesting not only to parents, but also to children who are remembered by a multiplication hero with funny expressions that have become covered.
If you are new to knitting, we bring to your attention the following training lessons:
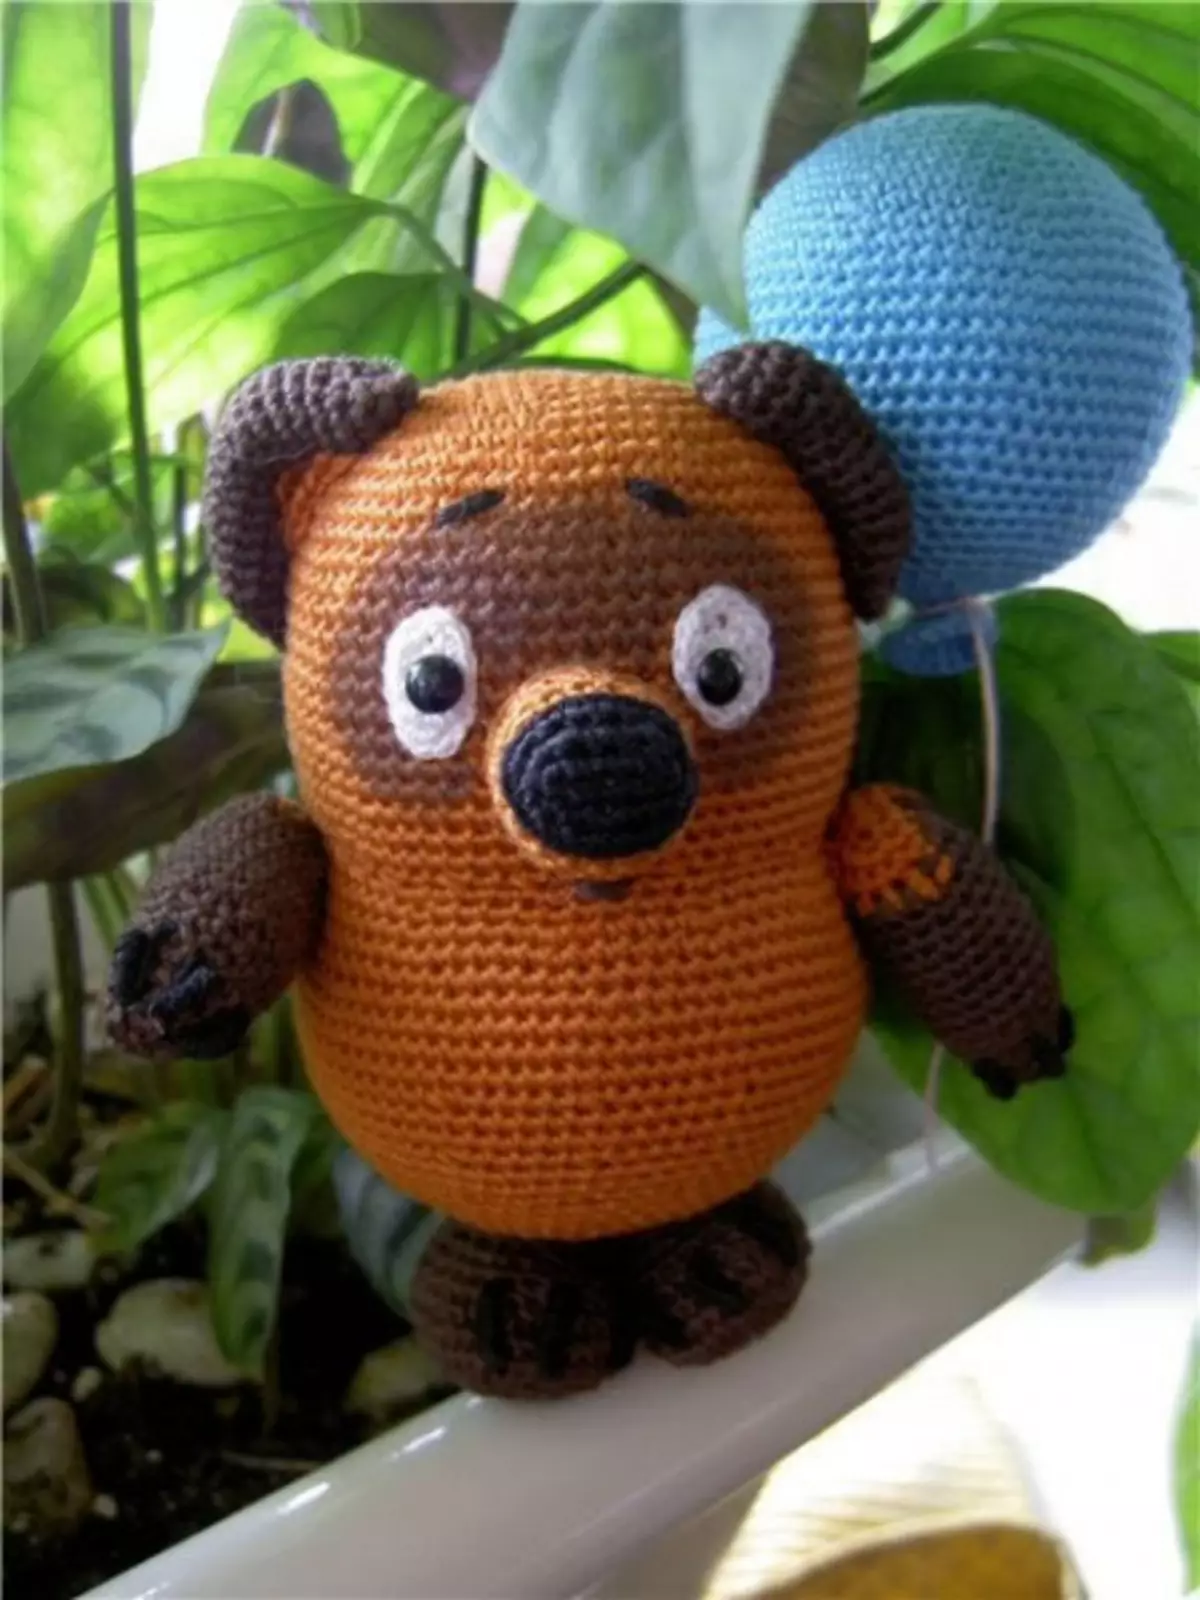
Family Mishka
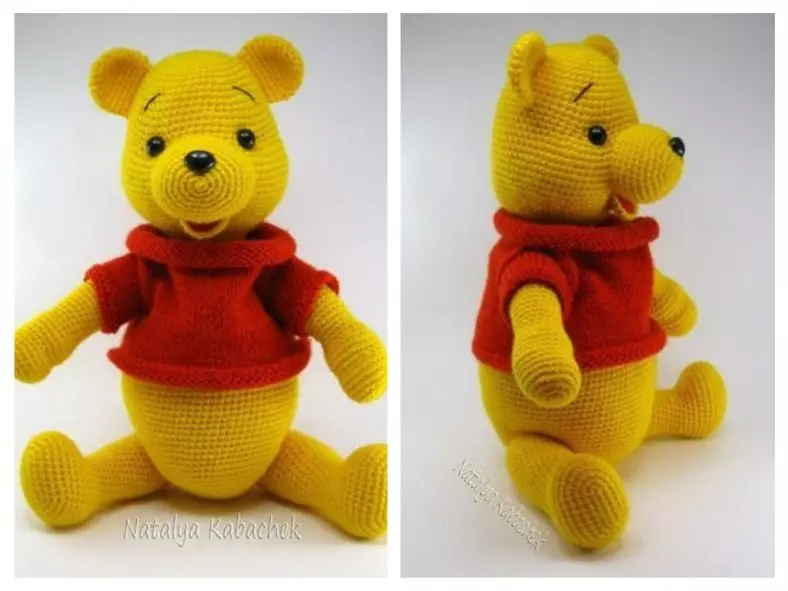
So, proceed. The result that will look like:
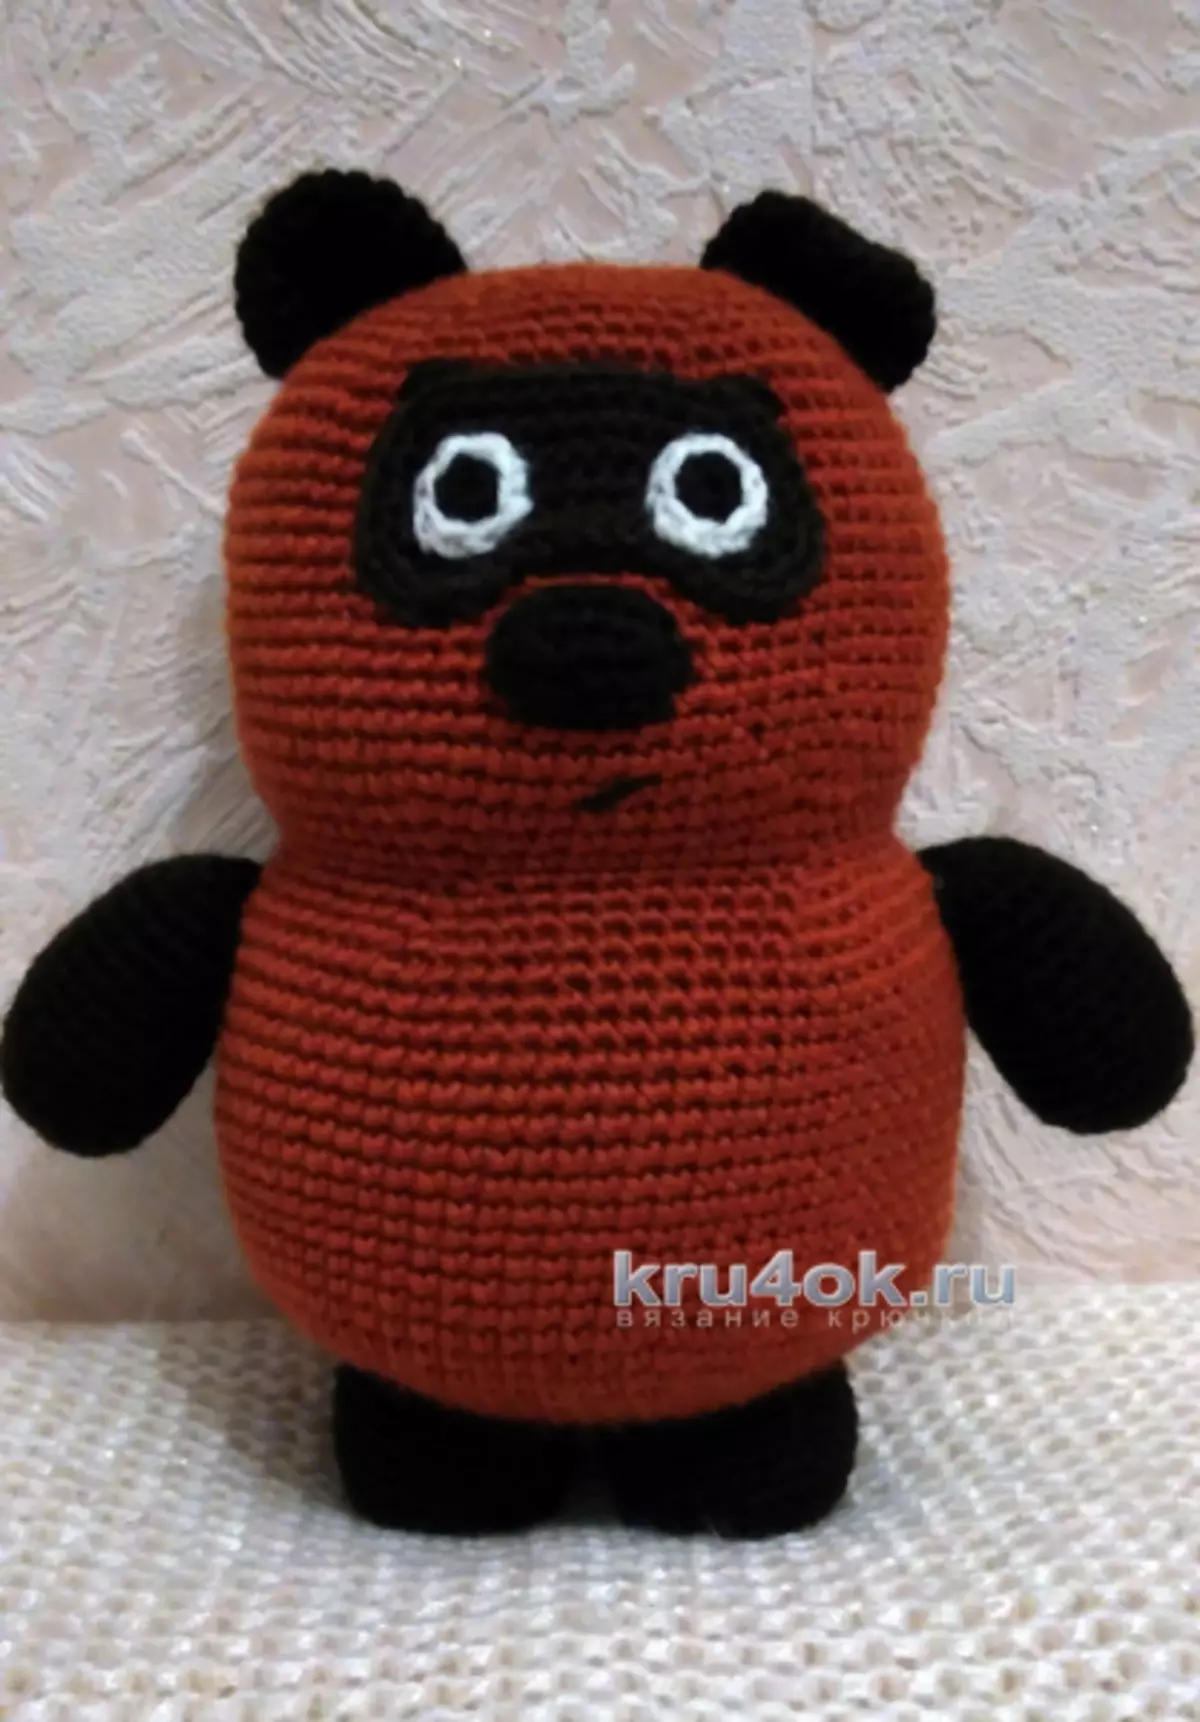
Winnie the Pooh in the form of its own is a mensing figure. He all smoothly moves from one part of the body to another, there is a disconnection in the neck area. So it does not matter, with which part to start knitting. The only thing to remember is the head of the Winnie Pooh a little less body. Paws will also be sewn to the body. In addition to the above, do not forget about small details: eyes, ears, nose and speck on the face.
To knit bear, choose yarn "Babmino" of different shades: terracotta (use for the body), dark and light chocolate.
Before starting, we use the symbols.
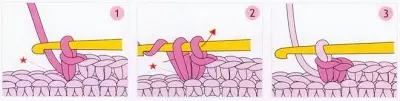
- UBF - a column without a nakida. It is considered a basic element in crochet. You can learn more about this in the video lesson:
- Pr: 2 fails in one loop;
- UB: 2 fails together;
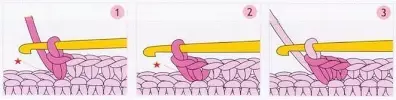

- CC - connecting columns.
Cartoon Winnie Pooh consists of 60 rows. First, we take to knit the bottom of the body, follow the next algorithm.
1 row represents 6 failures in the ring amigurum. If difficulties arise, refer to the following source. Here it shows in detail the description, how to do everything correctly:
2 row - 6 pr (12). 3 row - 1 UBF6 (18). 4 row - 2 failures 6 (24). 5 row - 3 fails of RF6 (30). 6 row - 4 failures 6 (36). 7 row - 5 failures (42). 8 row - 6 fails 6 (48). 9 row - 7 fail-rack (54). 10 row - 8 failures 6 (60). 11 row - 9 fails of RF6 (66). 12 row - 10 failures (72). 13 row - 11 failures (78). From 14 to 28 rows - 78 fails.
Article on the topic: Bouquet of soft toys: photo of the article Step by step in the master class with video
29 row - 11 UBS UBS6 (72). 30 row - 10 UBS UBS6 (66). 31 row - 9 UBBS 6 (60). 32 row - 8 UBB UBS6 (54). 33 row - 8 fails 6 (60). 34 row - 9 fails 66 (66). 35 row - 10 failures (72). From 36 to 49 rows - 72 fails. 50 row - 10 UBS UBS6 (66). 51 row - 9 UBS UBS6 (60). 52 row - 8 UBB UBS6 (54). 53 row - 7 UBS UBS6 (48). 54 row - 6 UBS UBS6 (42). 55 row - 5 UBBS 6 (36). 56 row - 4 BB UBS6 (30). 57 row - 3 UBS UBS6 (24). 58 row - 2 UBB UBS6 (18). 59 row - 1 UBB UBA6 (12).
60 row - 6 grains. Knitting must be closed.
If you want the face to be voluminous, then we make a few weights, where then your eyes will be. Because of this, the nose will be reliable. Go to the stain. Do not forget to take the yarn darker than the color of the body, but the lighter paw.
First, you score loops, namely 11 air. After that, follow the following:
- 1 row - 9 fails. We proceed with the loop, which is the second from the hook. 3 failures goes to an extreme loop, then 10 failures;
- 2 row - pr, then 8 fails, again PR, 1 fail, etc., 9 fails, etc., 1 fail.
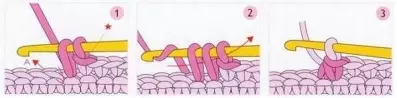
Next, there is no specific scheme. Here are plenty of experiment. It is important to know that it is necessary to add two protrusions to the associated oval, then the protrusions are tied up with the so-called "connecting columns", and the columns with Nakidov oval. Of course, you can not bother with a stain. It is enough to use paint or felt-tip pen and draw dark circles. Calculate where toys will be in front of the toy.
It's time to move to the eyes. Dark yarn will be used at the beginning. 1 row - 6 fails in the ring amigurum. After, we replace the yarn on white. 2 row - connecting column, boost, two connecting columns, gain, connecting column. With the help of the algorithm knit two eyes.
Article on the topic: Ideas for notepad do it yourself with photos and videos

It remains quite a bit: the nose, ears, legs and handles. Go to the nose. Let's do 5 air loops:
- 1 row - 3 fails. Calculate and take the second loop, which is located on the hook. For 3 fails in the last loop, 3 failures and in the completion of a series of pr.
- 2 row - pr, 2 fails, etc., 1 fail, etc., 3 fails, connecting columns.
For convenience, bring the nose with syntheps.
We continue to knit. Ears come next. We start 1 row with 6 fails. We form a ring amigurum:
- 2 row - 6 pr (12);
- 3 row - 1 UBF6 times (18);
- 4 row - 2 fails 6 times (24);
- From 5 to 7 rows - 24 fails in each.
We repeat the algorithm twice, as the bear has 2 ear. We fold in half and sew. Try to keep a semicircular view of the ears when you sew. The left ear can sew in a bent form, which will give the realism of the character. If you strain your memory, then remember its left ear. It has a flashed. The mouth and eyebrows of the beshom are embroidered with several stitches. For this, we use the dark.
The smallestness remained - legs, handles. Let's start with the hands of the bear:
- 1 row - 6 fails in the ring amigurum;
- 2 row - 6 pr (12);
- 3 row - 1 fail-rack (18);
- 4 row - 2 failures 6 (24);
- From 5 to 14 rows - 24 fails in each;
- 15 row - 2 failures of UBS6 (18);
- 16 row - 1 UBBB6 (12);
- 17 row - 6 UB. Close knitting.
We repeat the directions twice and sew your hands to the toy.
We are already on the finish line. We proceed to the legs:
- 1 row - 6 failures in the ring amigurum;
- 2 row - 6 pr (12);
- 3 row - 1 fail-rack (18);
- 4 row - 2 failures 6 (24);
- 5 row - 3 failures (30);
- From 6 to 11 rows - 30 failures in each.
We do the algorithm twice. Do not forget to add a syntheps inside. We can sew.
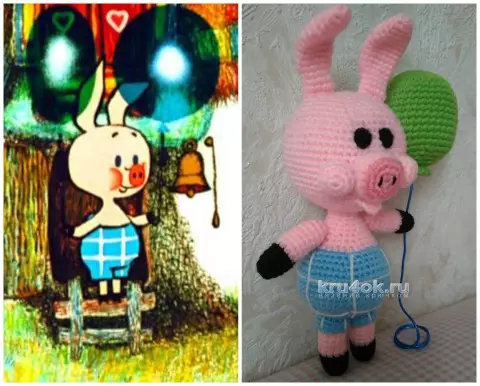
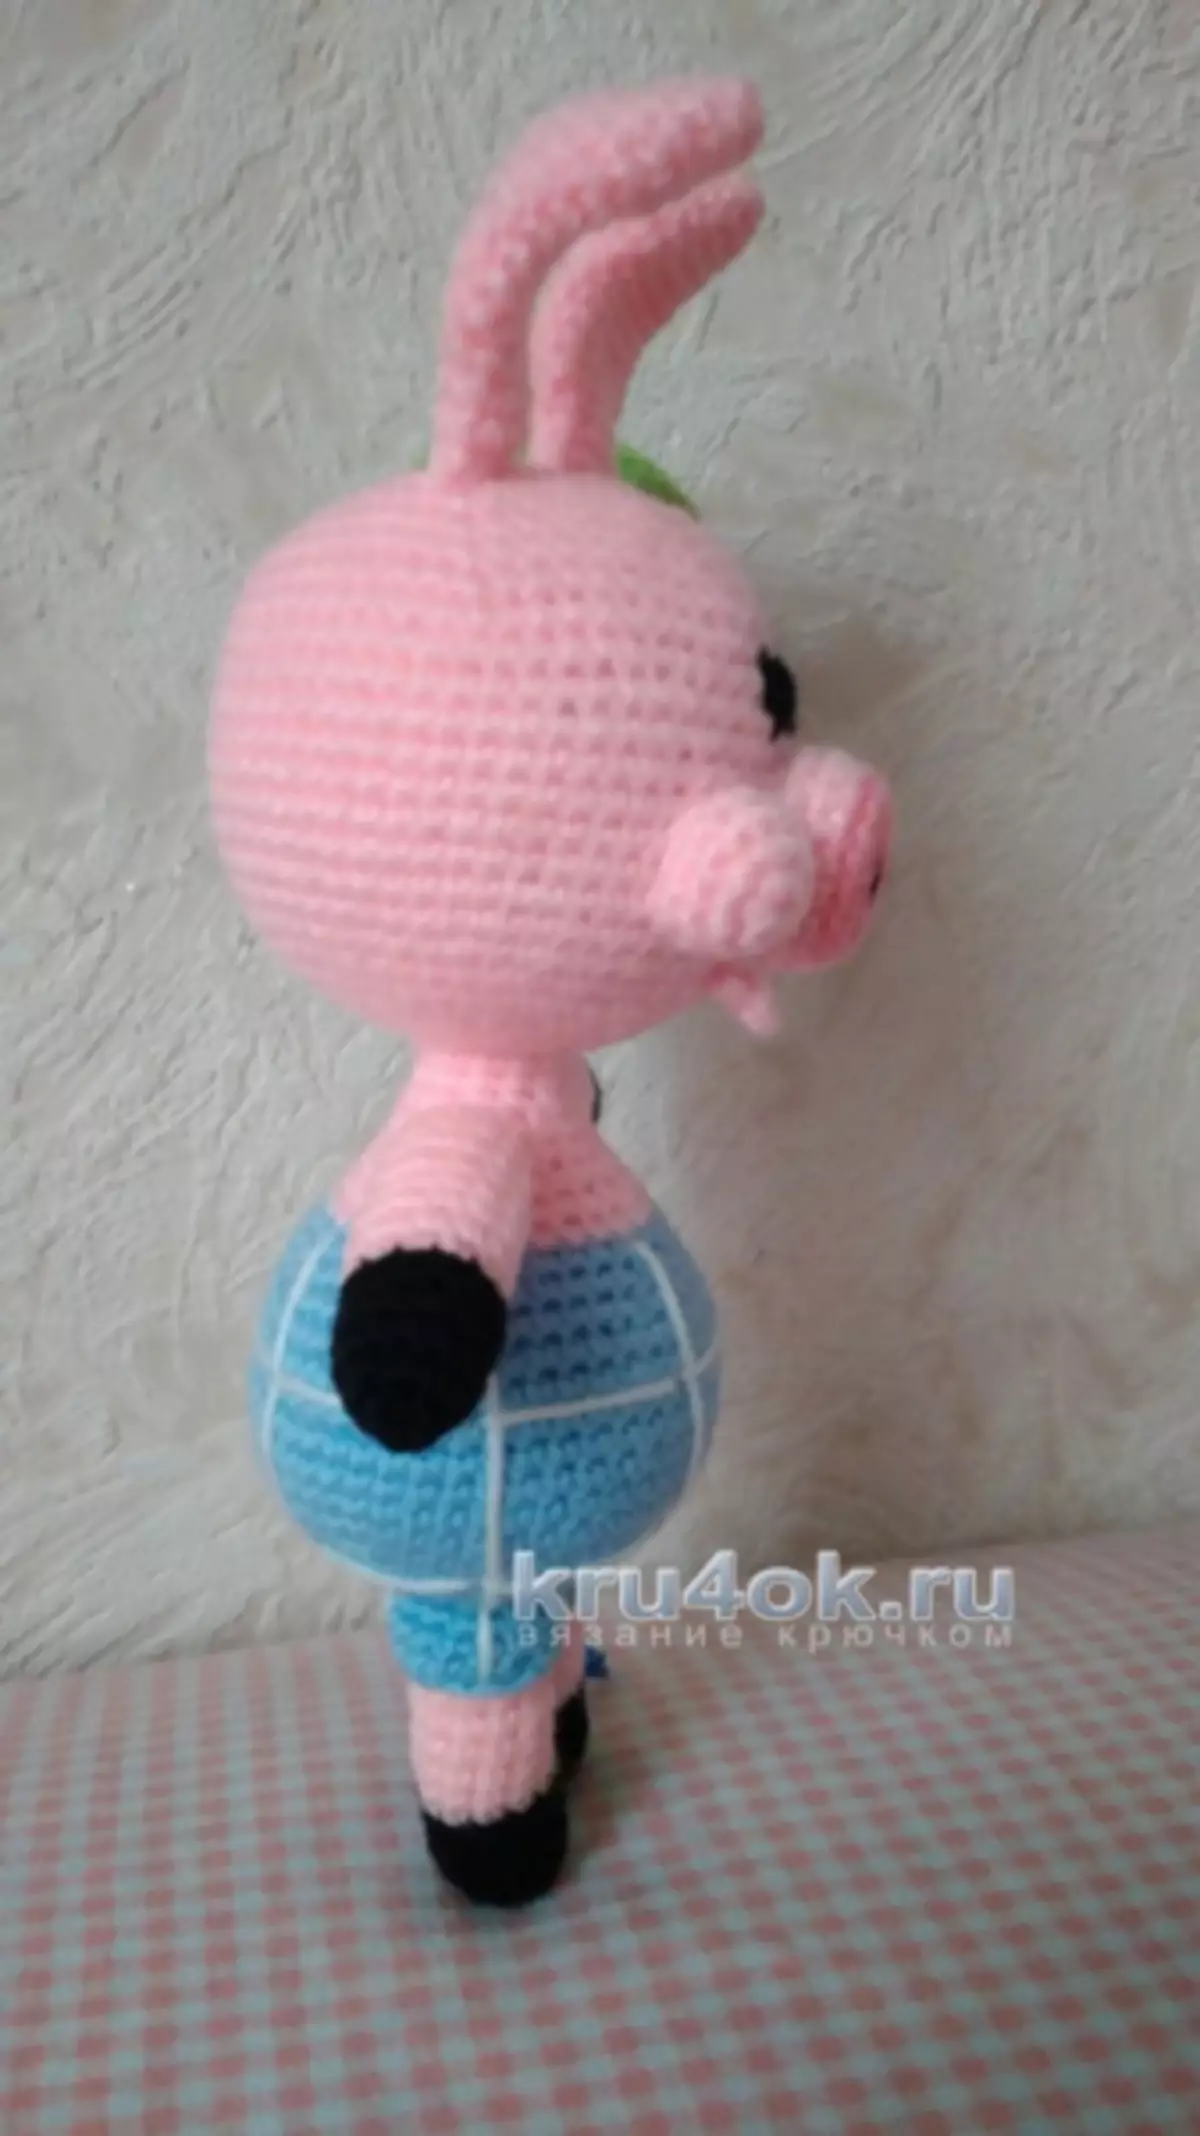
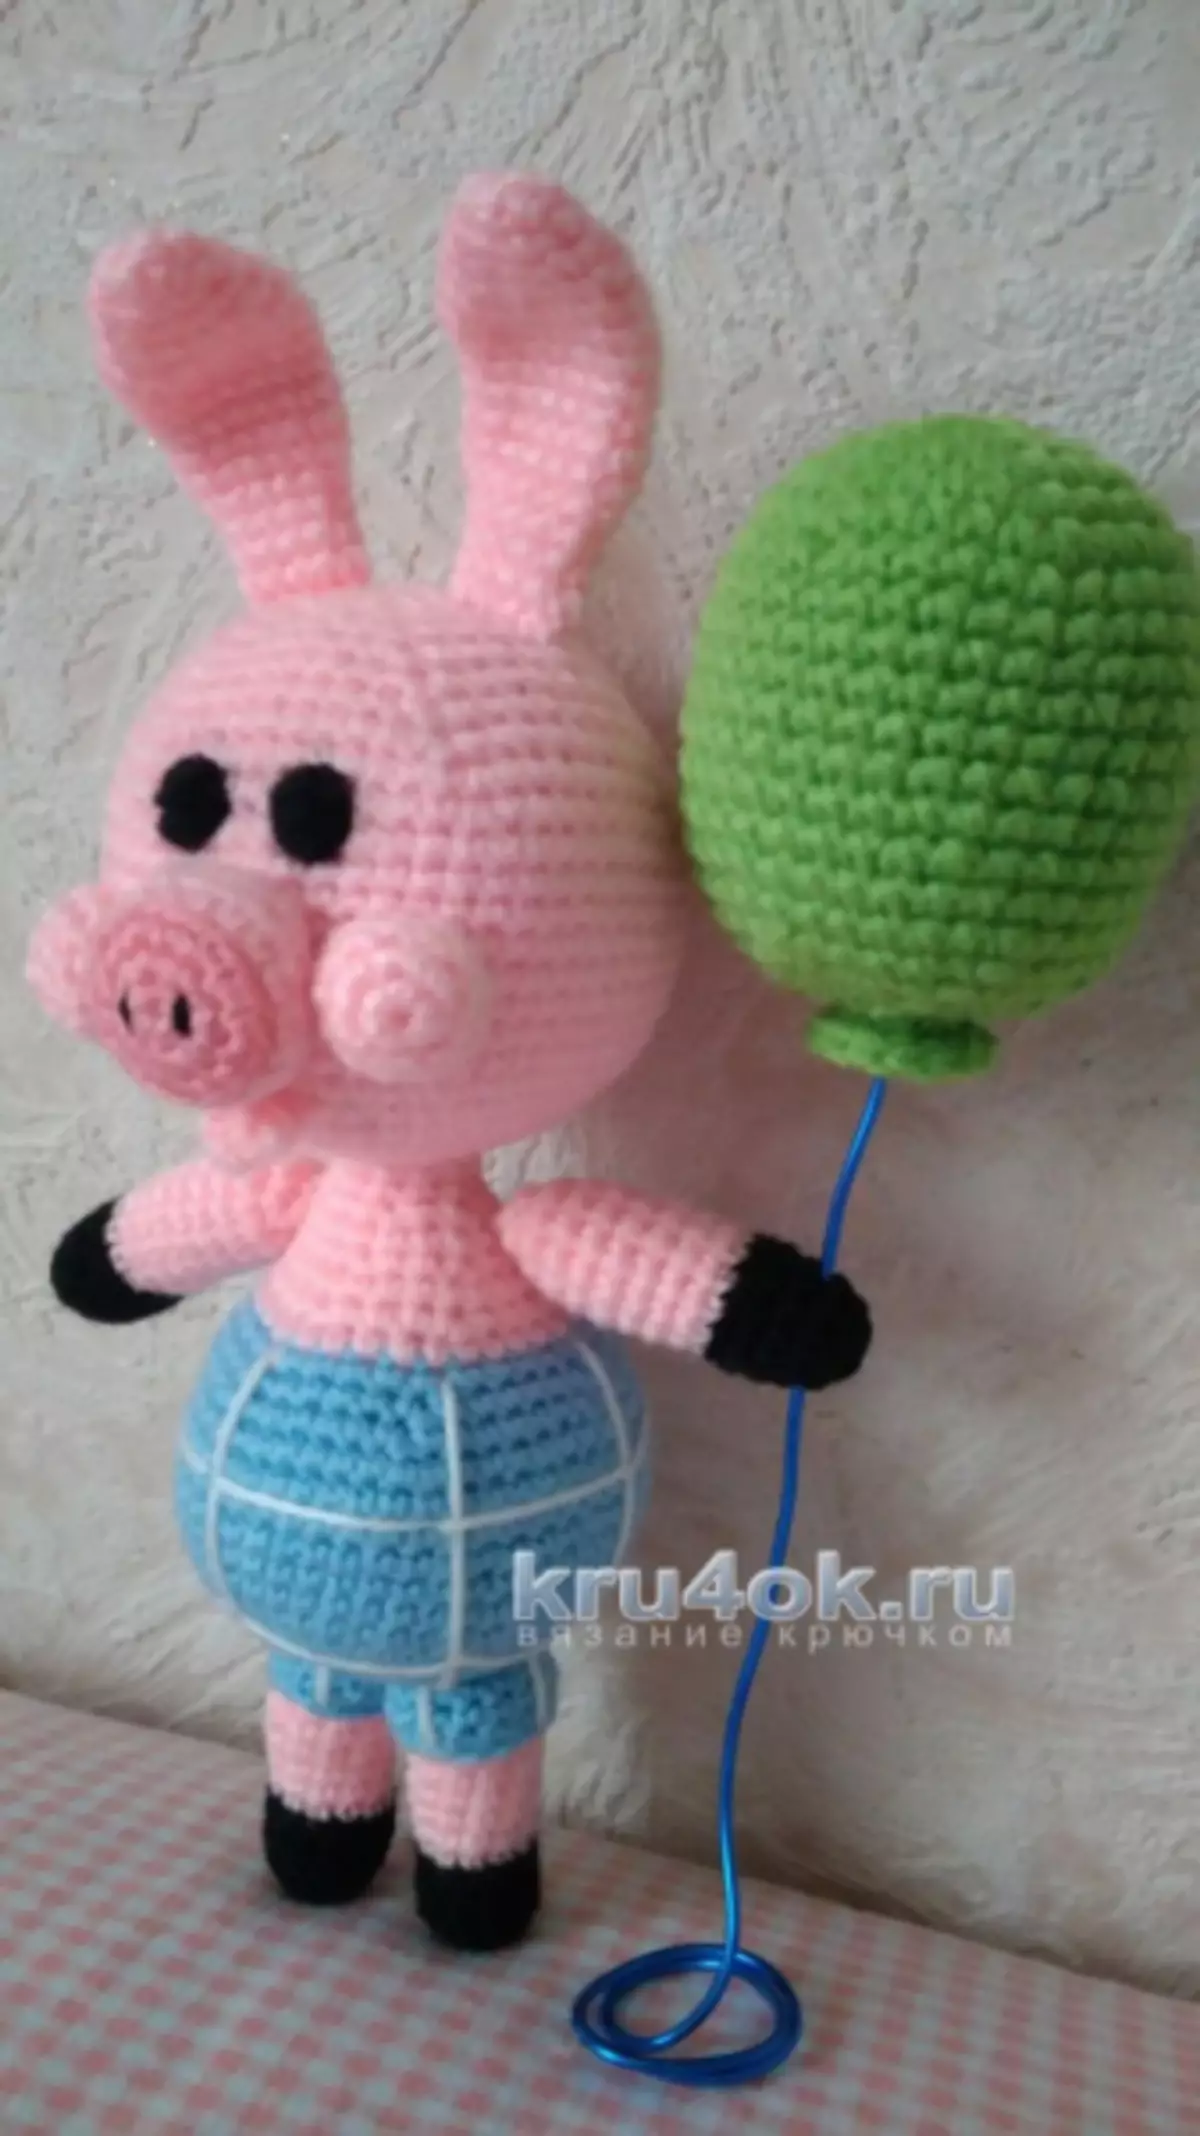
So, what did we get? The faithful and devoted friend is Pigychka. It can also be associated using this scheme.
Article on the topic: Weaving baskets made of packaging tape for beginners with photos and video

Winnie the Pooh is very simple for knitting. In principle, there are no small details. The main thing is that you get - this is a chance to experiment, enjoy the creation of a bear, which can become a fruit for inspiration. Well, of course, the toy will bring delight of kids.