
Under the quality preparation of walls to finishing work, it is implied to create a smooth, smooth surface. To this end, it is important to properly primed, and then perform the putty of the walls under the wallpaper.
The process of shtchevyania is simple. The main rule is compliance with the procedure for action and the ability to correctly apply construction tools.
What to put off?
To independently perform work, you must have a set of tools, without which it is not necessary.
- Drill equipped with a mixer (special nozzle). Putty, as a rule, is sold in the form of a dry mix. It add water in a certain proportion. Perfectly stir the mixture only a special mixer. As a result, a homogeneous composition without lumps should be.
- Set of spatulas. Spatulas should be of different sizes: work will be useful as large (about 40 cm.) And small.
- Brushes and rollers for primer walls. The primer stage is important, since the fine film is formed on the wall. From this surface strength not only rises, but also provides excellent wall clutch with any material.
- Rule. It will be useful in the case of uneven walls when the putty has to be applied with a thick layer. Therefore, it is convenient to use a long rule for the thickness of the thickness.
- Laser or alcohol level. The wall surface is often very uneven. Before starting the putty, set the check level.
- Sandpaper. If you want to create a beautiful, smooth surface, then use small skins for rubbing. It is important to know at what stage which sandpaper is applied. Put the wall with a large coarse skurt at the initial stage of putty. Apply the smallest skirt on the finish.
- Handmade skin is a very convenient tool. On his handle, special clamps fixing the skins are installed.
- Tank for putty.
Article on the topic: How do you make your own furniture from laminate?
Why put the walls under the wallpaper? This is necessary so that the wallpaper is better stuck and with time they have not lagged behind the wall, they did not bubble.
Work can be performed using plaster, cement and polymer (acrylic) mixtures.
Polymer putty possesses the best. Their advantages: excellent moisture resistance, no shrinkage. With the help of a polymer mixture, high-quality surface treatment is obtained. The only drawback is a high price.
Puttails in their purpose can be divided into: leveling (starting), decorative (finishing), universal.
Starting (leveling) mixtures are characterized by high strength, big graininess, excellent adhesion. They are recommended to be used to equalize the surface after applying plaster.
For the competent execution of the finishing (decorative) finish on the processed surface we advise you to apply finishing putty. With their help you can hide small flaws and create a perfectly smooth, smooth surface.
In the putty of universal combined properties of mixtures of leveling and decorative. At cost, they are more expensive and, despite this, a little inferior to the coatings starting and finishing. They are recommended to be used in the processing of walls that do not have large flaps.
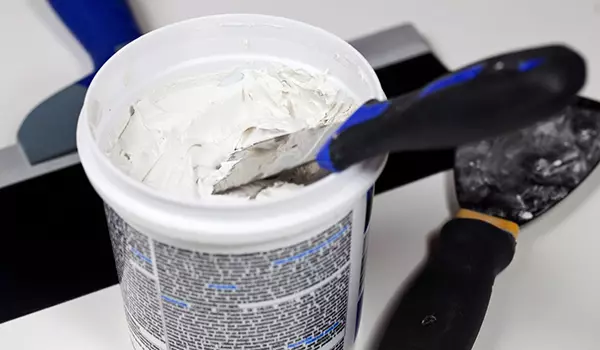
In the current market of building materials, putty are proposed in a dry and pasty form. The dry type of products attracts its small cost and the possibility of long storage.
The finished mixture is convenient for use and do not have to use a mixer for the preparation of homogeneous mass. At the same time, there is practically no dust and the time saves. However, the finished raw material is much more expensive dry. In addition, the finished mixture gives a greater shrinkage. Therefore, it cannot be used if you apply a layer of less than two millimeters. The service life of the finished material is also a short-natal, unlike dry building mixtures.
Preparation of walls to putty
Before applying raw materials, it is important to prepare the surface. The main thing is to ensure that the wall is absolutely clean. It is necessary to remove the stains of paint, fat and soot. Naturally there should not be remnants of wax, scale, dropping layers of plaster or part of the formwork.
Article on the topic: Options for beautiful decoration Arches from plasterboard
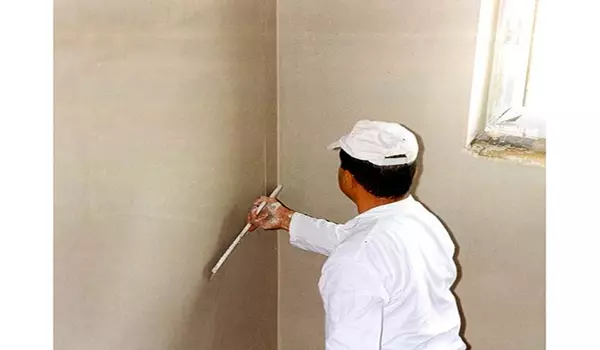
Cover the walls with primer before putting. This will ensure good adhesion of the solution with the wall. The surface is ground using a special roller. Solution Try to apply uniformly without skips. One layer is enough.
Rules for applying putty on the walls
You can immediately start the mixture. If you bought dry, then it is necessary to make a mixture properly.
Sequence of preparation of a spike solution:
- A small amount of water pour into the container;
- Add putty;
- Mix with a simple spatula;
- Apply a drill with a mixer to produce a homogeneous mixture, adding water gradually if necessary.
The readiness of the putty is determined by its consistency. The mixture should be elastic and a bit of sticky. It should not drain from the spatula. If there are lumps in the solution - this means that the mixture is too dry. To achieve perfect homogeneity, it should be gradually adding water and stirred carefully.
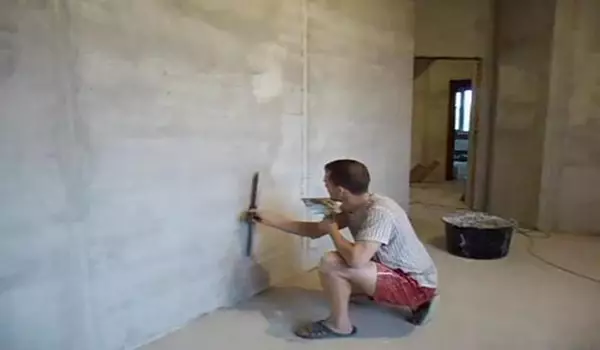
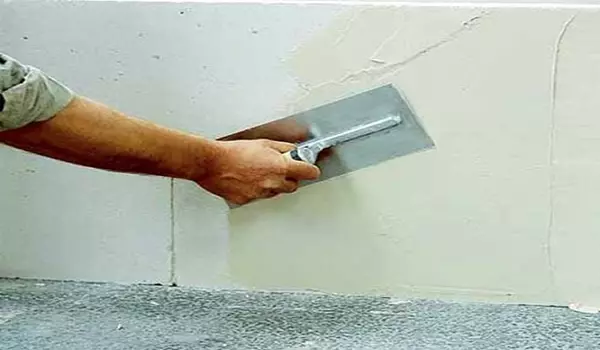
With the help of a large spatula, we apply a starting putty. Apply to average portions. Distribute evenly. Spatula Keep at an angle of 30 °. A mixture is applied with one movement diagonally. To avoid bugs and transitions, apply the brass every next layer.
Note: When applying the first layer, knead the putty with small portions. This will help to avoid the occurrence of dry particles. Do not worry when the strip from the spatula appears. They are subsequently masked by putty finish.
It is recommended to use an angular spatula for corner processing. Initially, a small spatula is applied a small layer of putty in the height of the slope or angle. Then neatly align the surface. It must be allowed to dry the layer of putty throughout the day.
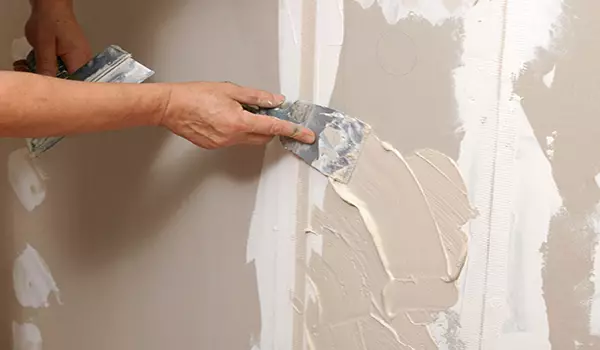
After complete drying of the starting mixture, proceed to apply the finish coating. For this, a large and small spatula applies. Small portions of the mixture are superimposed with a small spatula on a large one. Then the mixture is evenly applied to the surface with a thickness of 1.5 - 2 mm.
Article on the topic: Bedroom design: the right choice of color, beds, furniture
Before you begin to put the walls of the walls under the wall wallpaper, wait for the complete drying of the previous layers. To do this, you will need to wait about 12 hours. Then you can apply the finish putty.
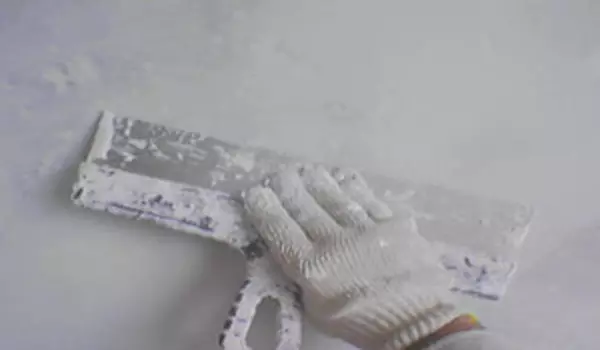
After complete drying of the layer, you can proceed to the ending grinding using sandpaper.
ATTENTION: Previous processing of the primer is recommended before applying each subsequent spilek layer.
Do I need to use the reinforcing grid?
Plaster grid is often used in finishing works. It happens plastic, metal or fiberglass.The reinforcing grid should be applied in the following cases:
- when applying a thick layer of plaster;
- When applied to the mixture on concrete slabs;
- In order to seal cracks and seams.
It is worthwing to know that when conducting internal works, a grid is needed, but not necessarily. It can not be used if it is planned for pasting of durable walls with vinyl, phlizelin or quartz wallpaper. If you are going to use decorative paints or paper wallpapers, it is very desirable to use the reinforcing grid.
The metal grid is often used during uneven walls (drops of 4 or more centimeters). It is recommended to use steel grids, since this material is the most string to corrupt alkalis.
Video "Washing walls under the wallpaper"
The video clip shows the putty of the walls under the wallpaper stages, with reference, some tricks that allow you to perform work much more efficiently.